Monday, June 4, 2012

Ottobre 03/2008-11

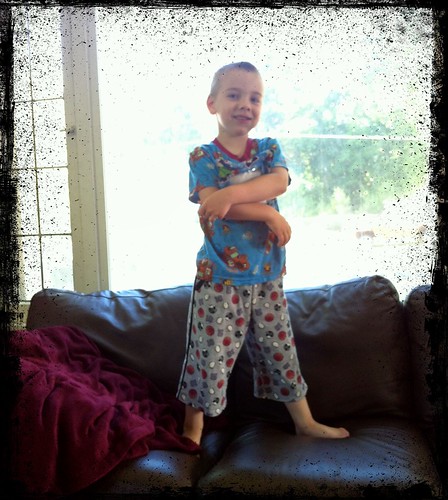
Logan has these shorts. He loves them so very much. But I made them nearly 3 years ago and they have been in heavy circulation since then. And boys are not known for being gentle on their clothing. They are raggedy. And not in a deconstructed, cool way. The hems are falling out, the knees are covered grass stains where they don't have holes and the pockets are falling apart.
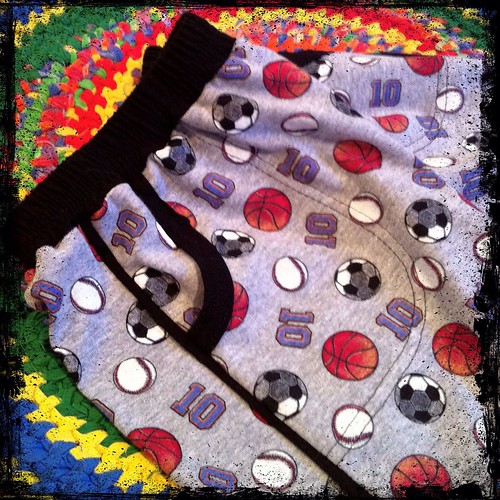
It was time for a new pair. Fortunately, I had enough of the printed rib knit left over to just squeeze these out.
The pattern is the same as the prior pair, Ottobre 03/2008-11, the "Summer" shorts. They really are a great combination of easy sewing and fun details.
The pockets are bound and there is a trim strip stitched to the side seam. This time, rather than topstitching the trim down, I folded it wrong sides together and treated it like flat piping. It was a little simpler to sew and I like the look of it. The last time I made these shorts, I was an Ottobre newbie and had neither serger nor coverstitch machine at my disposal. I have to say, this version not only is much nicer, it sewed together significantly more quickly. In fact, I went from tracing the pattern to handing them over to the boy in less than 2 hours.
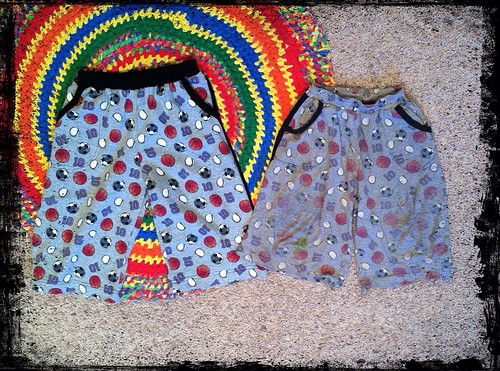
For the sake of the laughs, here they are next to the old pair. Not only do we still have the old pair, I had to pull it out of the laundry as he wore them a few days ago. The picture really doesn't do justice to just how competely worn out these are. They went straight in the trash after this picture was taken. I'm so glad he finally nagged me in to making their replacement!

Saturday, June 2, 2012

Ottobre 04/2010-2 & 06/2008-2

Now that I have given this little outfit to the recipient, I can show it to you.
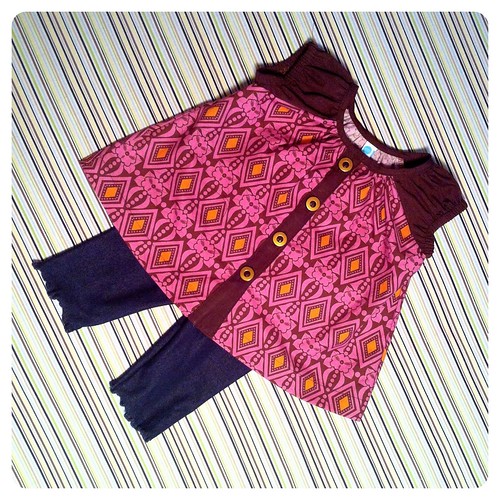
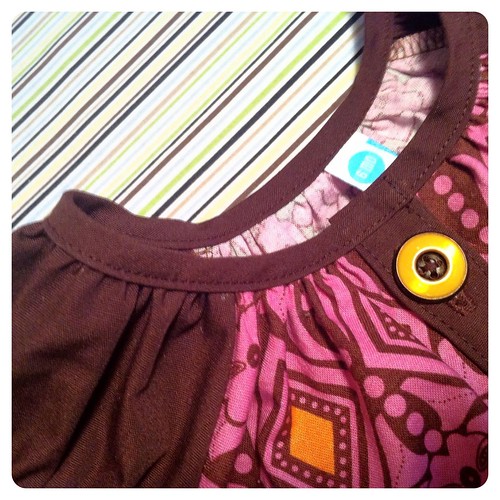
I'm ridiculously please with how well this turned out, if the truth be known. The top is from the 04/2010 issue of Ottobre. I chose it for several factors - front closure, sleeves and easy fit, but I wasn't sure if I really LOVED the style, although I did like it pretty well. Now that it is done, I really do love it. I have never had a single item of clothing that went together quite this perfectly, which is a relief since I really don't like gifting items that aren't perfect.
The front button bands - oh, I just want to sing about them. I don't know about you, but when I attach bands (or collars, waistbands, cuffs, etc) like this, the top and bottom aren't generally perfectly balanced. I try to get the right side to look great, but sometimes the stitching slips off the band on the wrong side, or the stitching isn't quite right on the edge. These bands are perfect. Can you see the stitching in the photo. Seriously, I'd never have believed I sewed these myself.
And then, lightening struck twice, and the binding is just as even. I'm not sure if this should be my new go to baby girl dress or if I should retire it now for fear I will never again achieve this level of perfection.
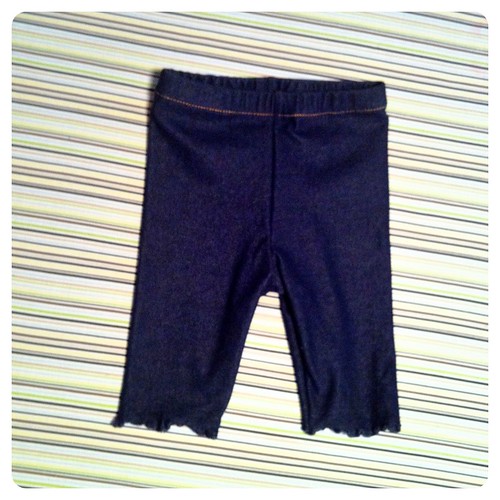
The little pants are a basic leggings pattern (from 06/2008, but Ottobre has published several, I just happened to have this one traced already). I sewed them up in denim colored knit from Joann and topstitched the waist in denim gold topstitching thread to give them a bit of a "jeggings" look. The fabric had this cute ruffled selvedge, so I just used that as my hem. It is really soft and I thought it would be more comfortable for baby, not to mention cute.
I hope Mommy and baby like the new outfit!

Friday, June 1, 2012

Monthly Roundup: May 2012

May was a surprisingly productive month around here.

I made:
1) Ottobre 03/2008-7 shorts for Duncan
2) Ottobre 03/2011-6 tee for Duncan
3) Frankenpattern PJ top for Logan
4) Simplicity 2290 PJ bottoms for Logan
5) Vogue 1050 pants for me
6) Mother's Day Maxi for me
7) Stretch & Sew 200 tee for me
8) Vogue 8330 jeans for me
9) RTW Shade tee copy x2 for me
10) New Look 6723 wearable muslin for Breanna
11) Simplicity 1955 Barbie dress for Myra
12) Simplicity 8170 PJ set for Myra
13) Ottobre 06/2008-2 leggings as a gift
14) Ottobre 04/2010-2 dress as a gift (These last two have yet to be blogged.)

I had a long stretch of selfish sewing in the middle, which was really nice, but I still managed to keep up with kid sewing and got the wedding dress to the ready to cut stage. I sewed a total of 15 garments, 26.25 yards of fabric, of which 20 yards came from the stash.

The next few months will be busy ones, as I adjust to a summer schedule, and spend a lot of time working on the wedding dress. Posting and productivity may fall off a bit. I hope you stick around! The final wedding dress should be pretty amazing.

I have a few side projects that I would like to get to in June. I have a few pieces of gingham that I would like to have in my wardrobe.
I love this 70s blouse with the wide collar.
I'm also seriously mad about Tilly's gingham skirt. Good thing I have several pieces of gingham...

Wednesday, May 30, 2012

Simplicity 8170

Myra hit a crazy growth spurt last month, and suddenly many of her dresses and PJs are too short. Since she still has some dresses that are wearable, the greatest need was for jammies.
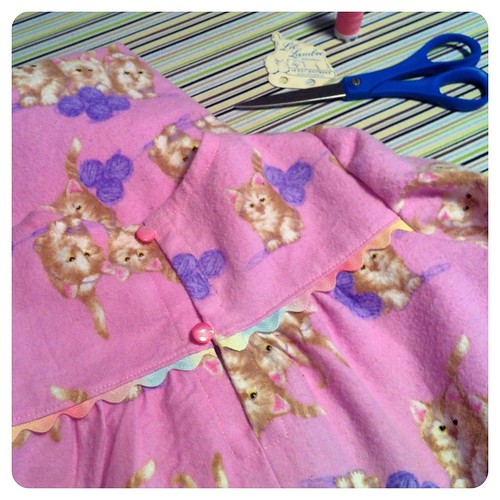
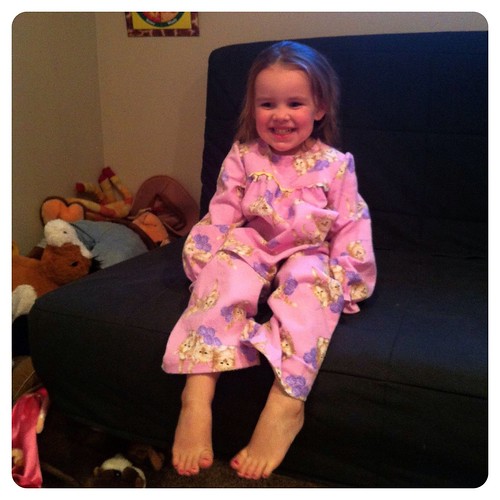
This is "vintage" (1977) Simplicity 8170, which I made for her last winter. Since they were a little big on her then, they are fitting her well now, and we both really like the style.
Here is the back view. I'm quite pleased with how well I lined up the yoke across the button placket. The fabric is a cotton flannel from Hobby Lobby, which was a gift from Myra's grandma, given the same time as the flannel for these PJs for Logan. Myra chose the rainbow rick rack trim. I thought it would be horribly tacky, but it actually works and it definitely fits Myra's colorful personality.
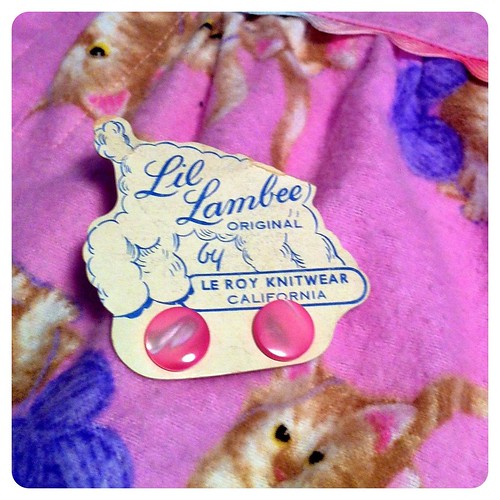
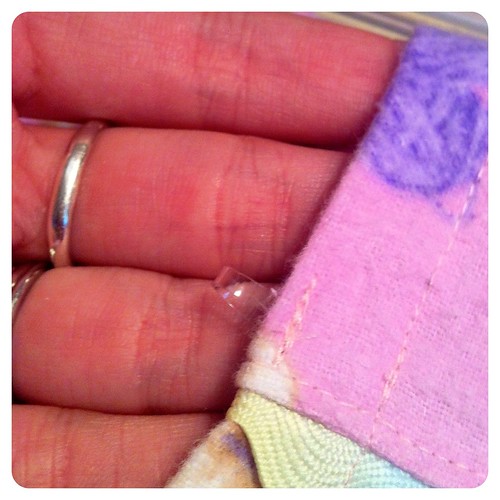
Myra also selected these sweet vintage buttons from my stash. I had a hard time snipping them from this adorable little card they came on. Isn't that cute?! It was probably cuter before the Lil' Lambee lost his head, but still...
For the button loops, I took the easy way out and stitched some clear elastic hair loops into the back opening. There isn't a seam here, so I just had to topstitch them down, and I don't really love how that looks, but it is functional.
I'll be pretty sad when Myra outgrows this pattern. We've gotten some really sweet jammies out of it!

ETA: I was so sad thinking about how much I liked this pattern that I just bought the next size up, and in the meantime found a new place to buy vintage patterns.

Tuesday, May 29, 2012

Wedding Dress Progress

No peeking, Steven!!
This picture has nothing to do with the dress. I just wanted to be sure the thumbnail didn't show up on Facebook and reveal any tidbits to the groom.

I have been working steadily on Breanna's wedding dress for the last month or so, and I wanted to show you all where we are now. I've never sewn for Bre before, so I started with some measurements, and made a very rough muslin with a small (1/2) petite adjustment right off the bat, as well as lengthening the skirt 2 inches to have it fall below the knee. I also added some fullness to the skirt at the hem.
Here is the first muslin, all pinned up. I took an additional 3/4 inch out of the bodice length above the bust, as well as 1/2 inch tucks in the neckline to eliminate some gaping there. I did a small (1/2 inch) FBA and took out another 3/4 inch below the bust, as well as raising the neckline another 1/2 inch. This baby is drafted like a Burda! The skirt was great though. I did a second muslin of the bodice only (no pictures) and took another small pinch out of the princess seam below the bust, but otherwise the fit was great.
Here is where we stand now. This will be sort of a wearable muslin that Breanna can use for trashing, rather than destroying her actual wedding dress. If you are unsure of what I am talking about, you aren't alone. Apparently there is a new(ish) phenomenon in the photography world whereby brides wear their wedding dresses in situations in which they are destroyed or dirtied. I definitely was not a fan of this happening to the real gown, so this muslin will serve as a dress she can trash, without me going into shock. It doesn't have the fullness in the skirt that the final gown will have, and rather than a lace overlay, I have just used tulle. Otherwise, the bodice details are as they will be in the final gown.
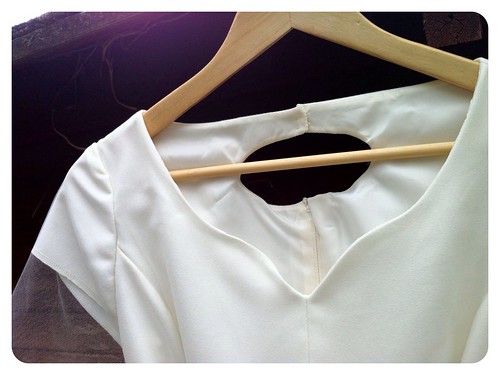
Here is the front neckline. Isn't it lovely? The final version will also have lace trim around the neckline.
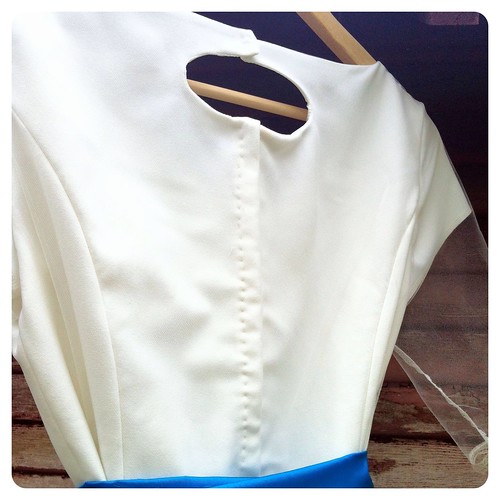
In back, there is a small keyhole, which will also be trimmed in lace in the final version. The keyhole closes with small snaps. The back is closed with a hand picked zipper, which will be covered with a button and loop overlay.
Here's a little construction tidbit for you. When I first started garment sewing again, and was whining about how much I hated setting in sleeves, my Mother commented on a past post that in the atelier Chanel, they didn't ease stitch sleeves, rather they pinned in the cap ease with lots of teeny pins. At the time, I thought that sounded insane, but I'm coming around to Mlle's method. I feel like I have much more control over how the sleeve eases this way. The fullness is precisely where I want it for a perfect fit.