Showing posts with label tutorial. Show all posts

Tuesday, March 17, 2020

Fabric surgical style mask free pattern and tutorial

Surgical mask Pattern for teens and adults

Download the printable PDF of the pattern and these instructions here - https://drive.google.com/file/d/1tndLstvBlJlJdF7XKq2Ug6FjbtCF0mzi/view?usp=sharing

Disclaimers: This mask will NOT protect you from direct exposure to viruses or other pathogens including coronavirus. It is simply not possible, using DIY materials, to replicate the level of protection needed to filter out viral particles. This mask will help you avoid touching your face and will give you some protection from dust and particles. It is very important to remember that the surface of the mask, both the outer and inner parts, should be considered contaminated when they are worn, and should not be touched. If you touch the mask, wash your hands immediately. Once the mask has been worn, it should be laundered in hot water and the wearer and launderer should thoroughly wash their hands. This mask is NOT your primary line of defense!! Good handwashing is!! As a physician, I have made every effort to make this mask as protective as possible, but you should always seek the advice of your own physician when making medical decisions.
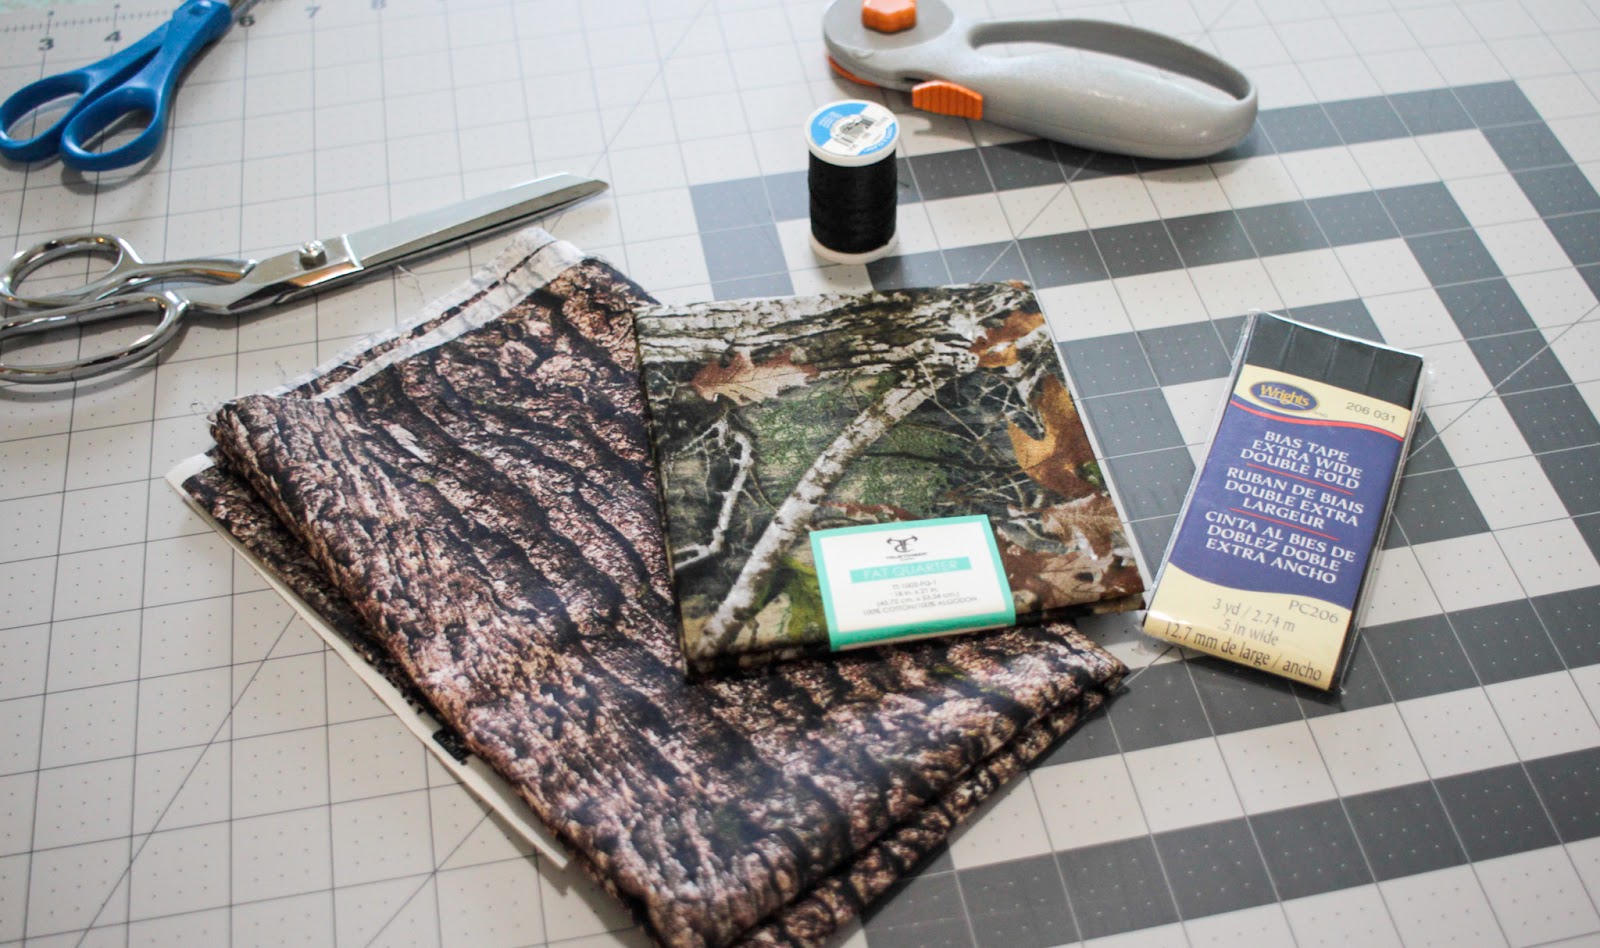
Supplies:
  • 2 pieces of fabric around 8 inch square. These need to be tightly woven fabrics such as good quality quilting cotton, cotton and cotton blend poplin or other tightly woven fibers. Prewash your fabric in hot water, as that is how you will need to launder your completed mask. I do not recommend knit fabrics for this project as they are far more open in their construction. 
  • Nonwoven interfacing, an 8 inch square. A midweight fusible is what I am using. It should be the papery type of interfacing. Again, you want it to prevent the flow of particles, but not completely inhibit air flow.
  • Bias tape for binding. Extra wide double fold is the easiest to work with. If you are making the style with elastic ear loops, you will need around 25 inches. For the style that ties on, you will need around 3 yards.
  • A 6 inch wire twist tie (like for bread bags). This will provide structure around the nose and should not be omitted! In a pinch, straighten out one from a bread bag. They can be purchased on amazon.
  • Elastic for ear loops, if you are making this style. Either ⅛ in elastic or elastic cord would be the best choice. ¼ inch elastic is a bit bulky and uncomfortable.

Tutorial:

Cut your fabric and interfacing per the pattern. Fuse the interfacing to your outer fabric if you are using a fusible product. If not, layer the interfacing with your outer fabric and treat them as one. Feel free to baste them together if needed.
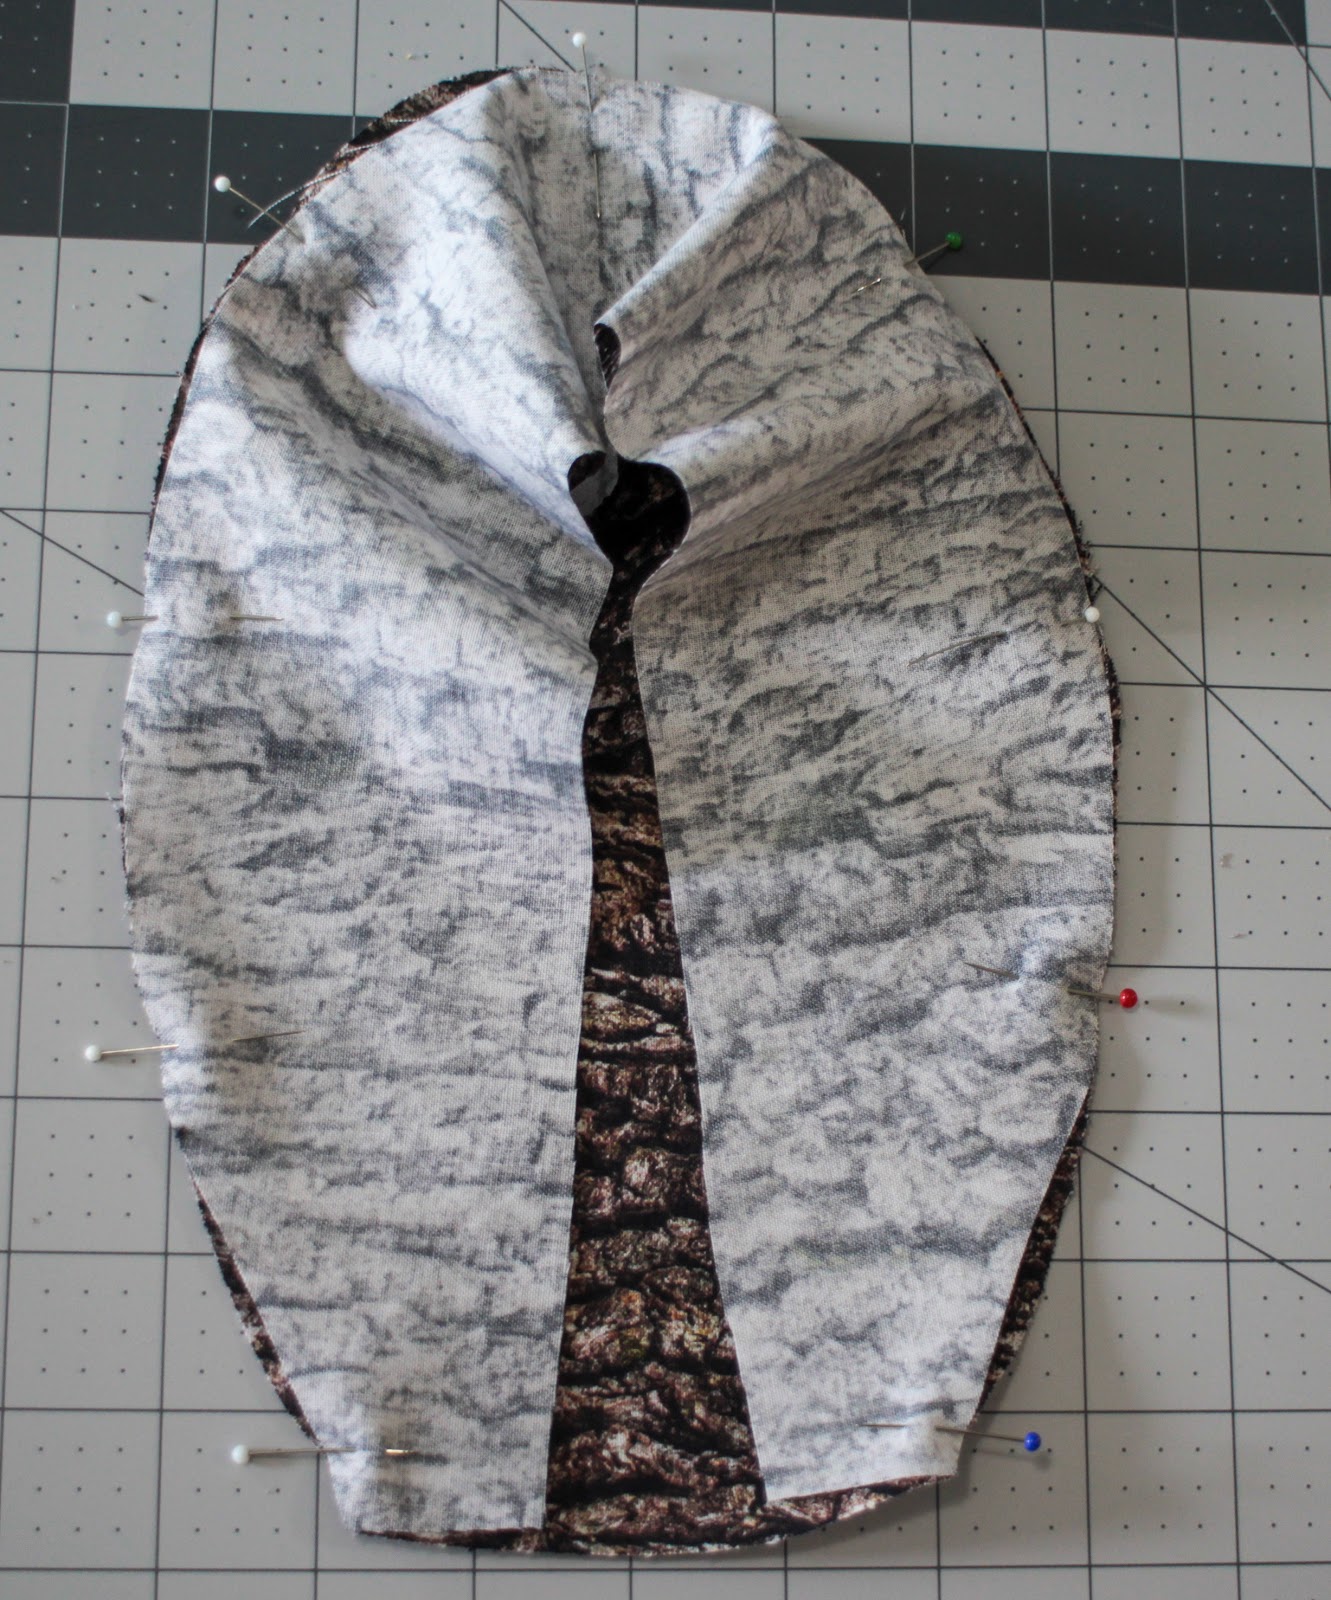
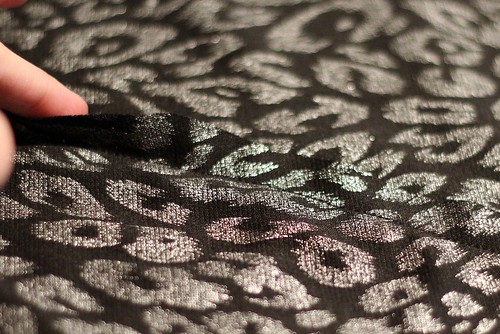
Layer the fabric wrong sides together and pleat it per the pattern. You should fold out (with the insides of the mask together) along the top line of each pleat, and fold in on the lower line. The upper fold should come down to the dotted line. Your pleats should meet together along the mask. Press your pleats firmly with a hot iron. Trim the edge to even it out. 
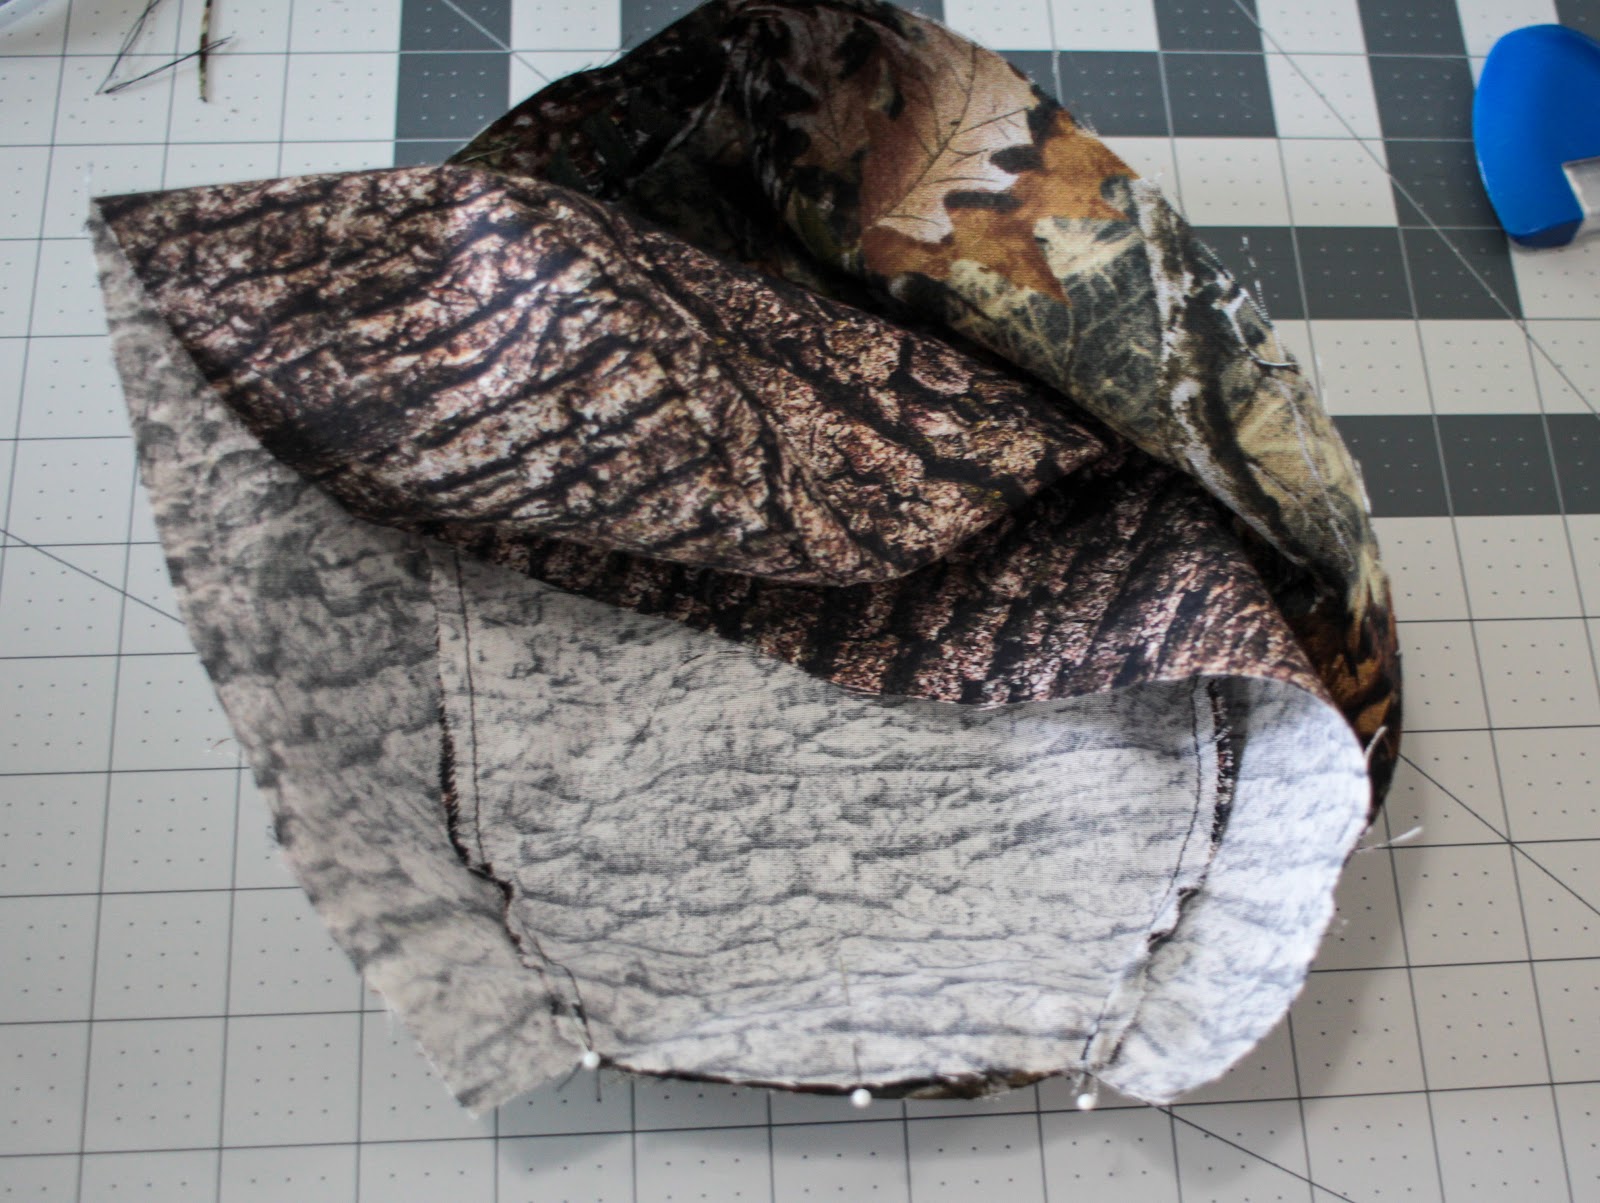
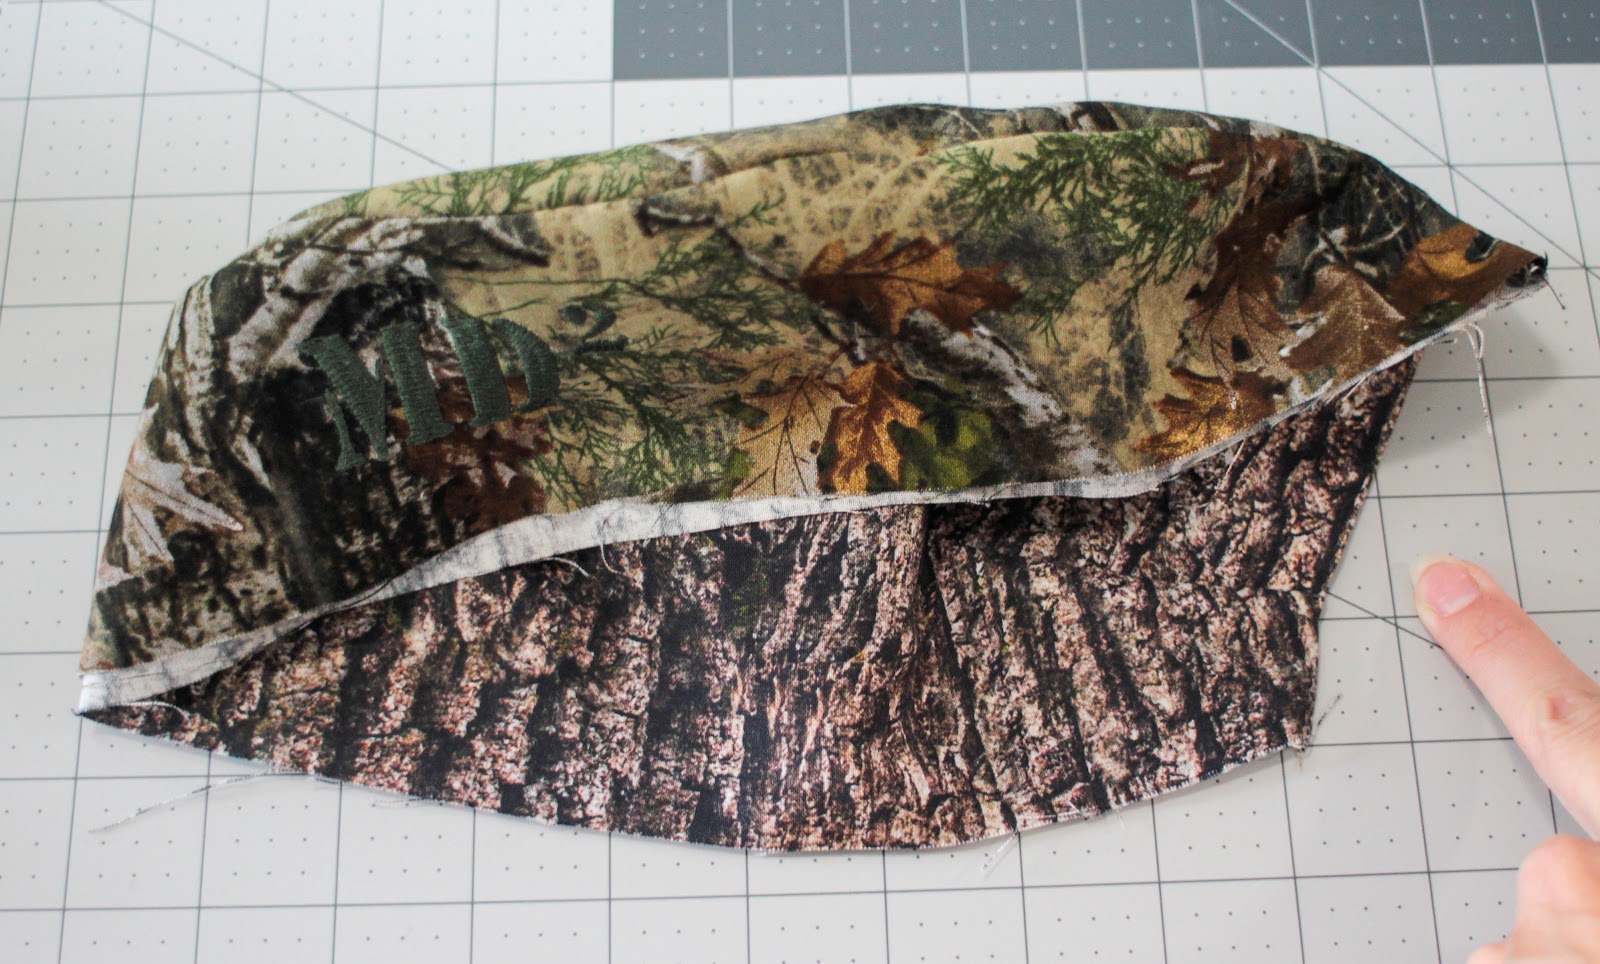
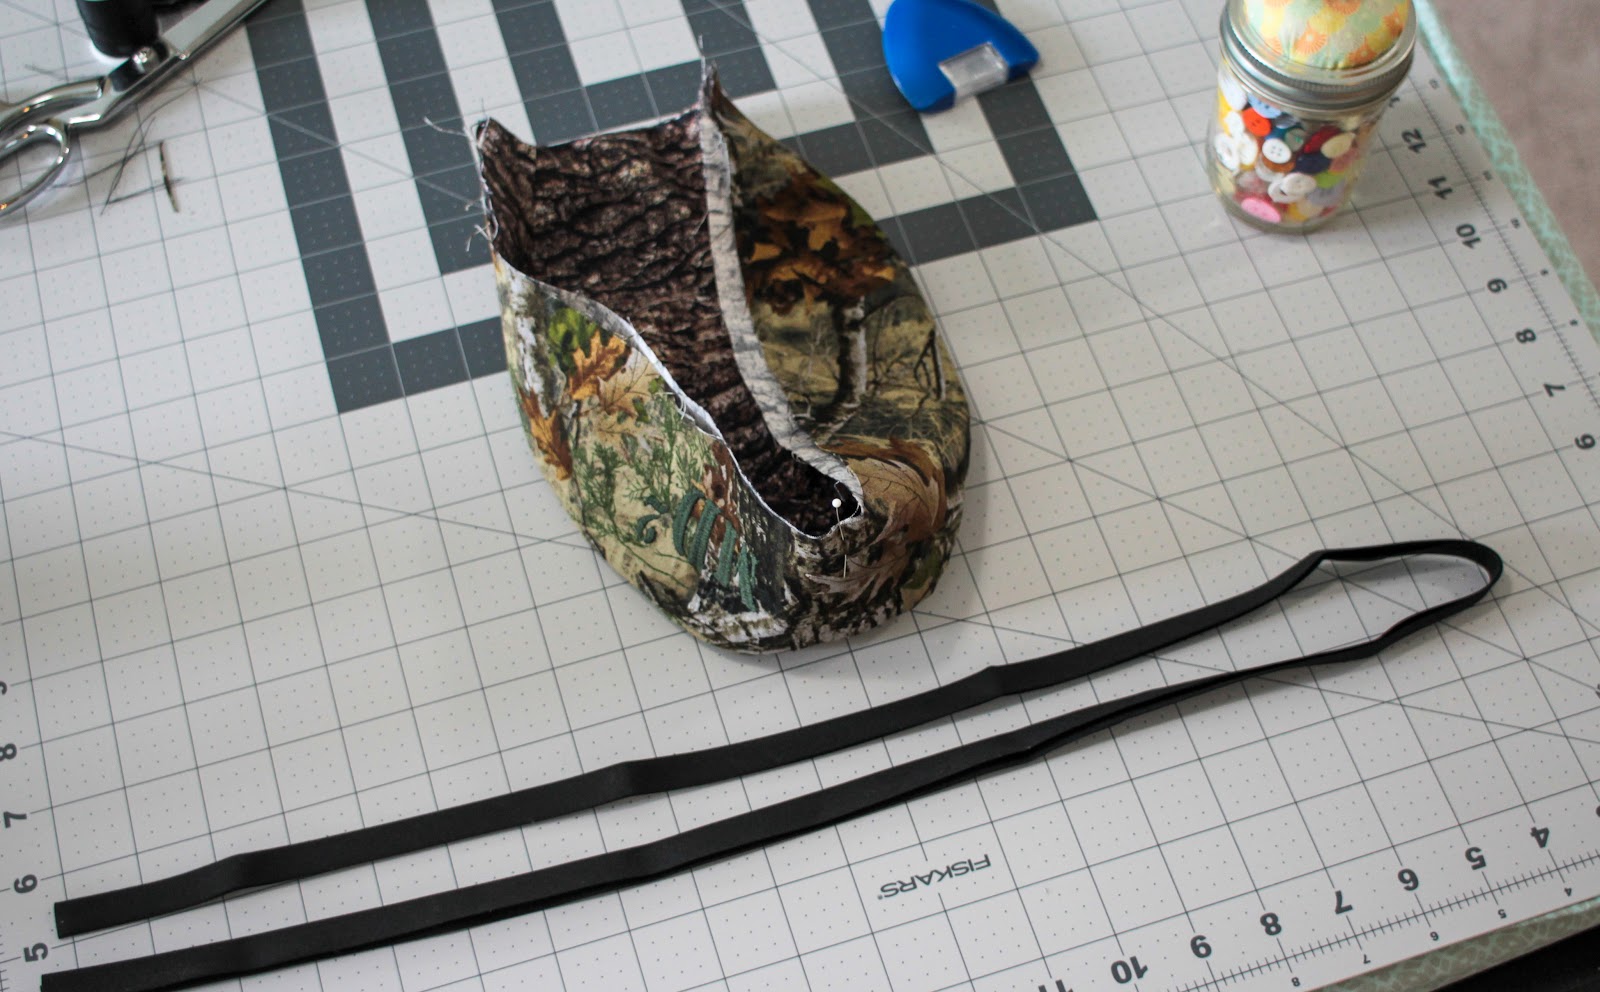
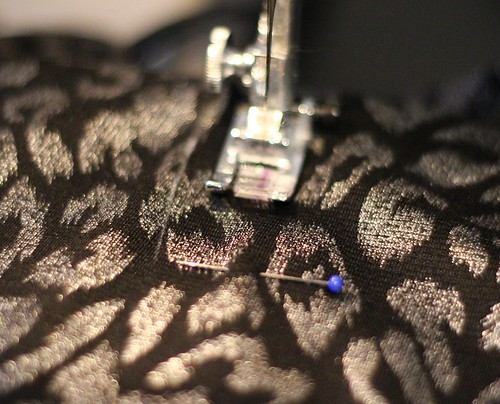
Apply binding to the pleated, short sides of the mask and sew it in place. I use a zigzag stitch to make sure I’m capturing both the front and back edges in a single pass.
Trim the binding across the top and bottom edge, trimming the edges cleanly at the same time. A rotary cutter is great for these trimming steps, but not essential.
If you are making the style with elastic loops, cut your elastic to the desired length. About 6.5 inches is what seems to work for the average adult. Align the binding along the top edge, tucking under the raw ends at each edge. You can baste it in place if you need to. Place the ends of each piece of elastic along the top edge and fold the binding over it. Tuck the wire twist tie under the binding in the center area of the mask. If you need to, glue or tape this in place so it doesn’t slip around.
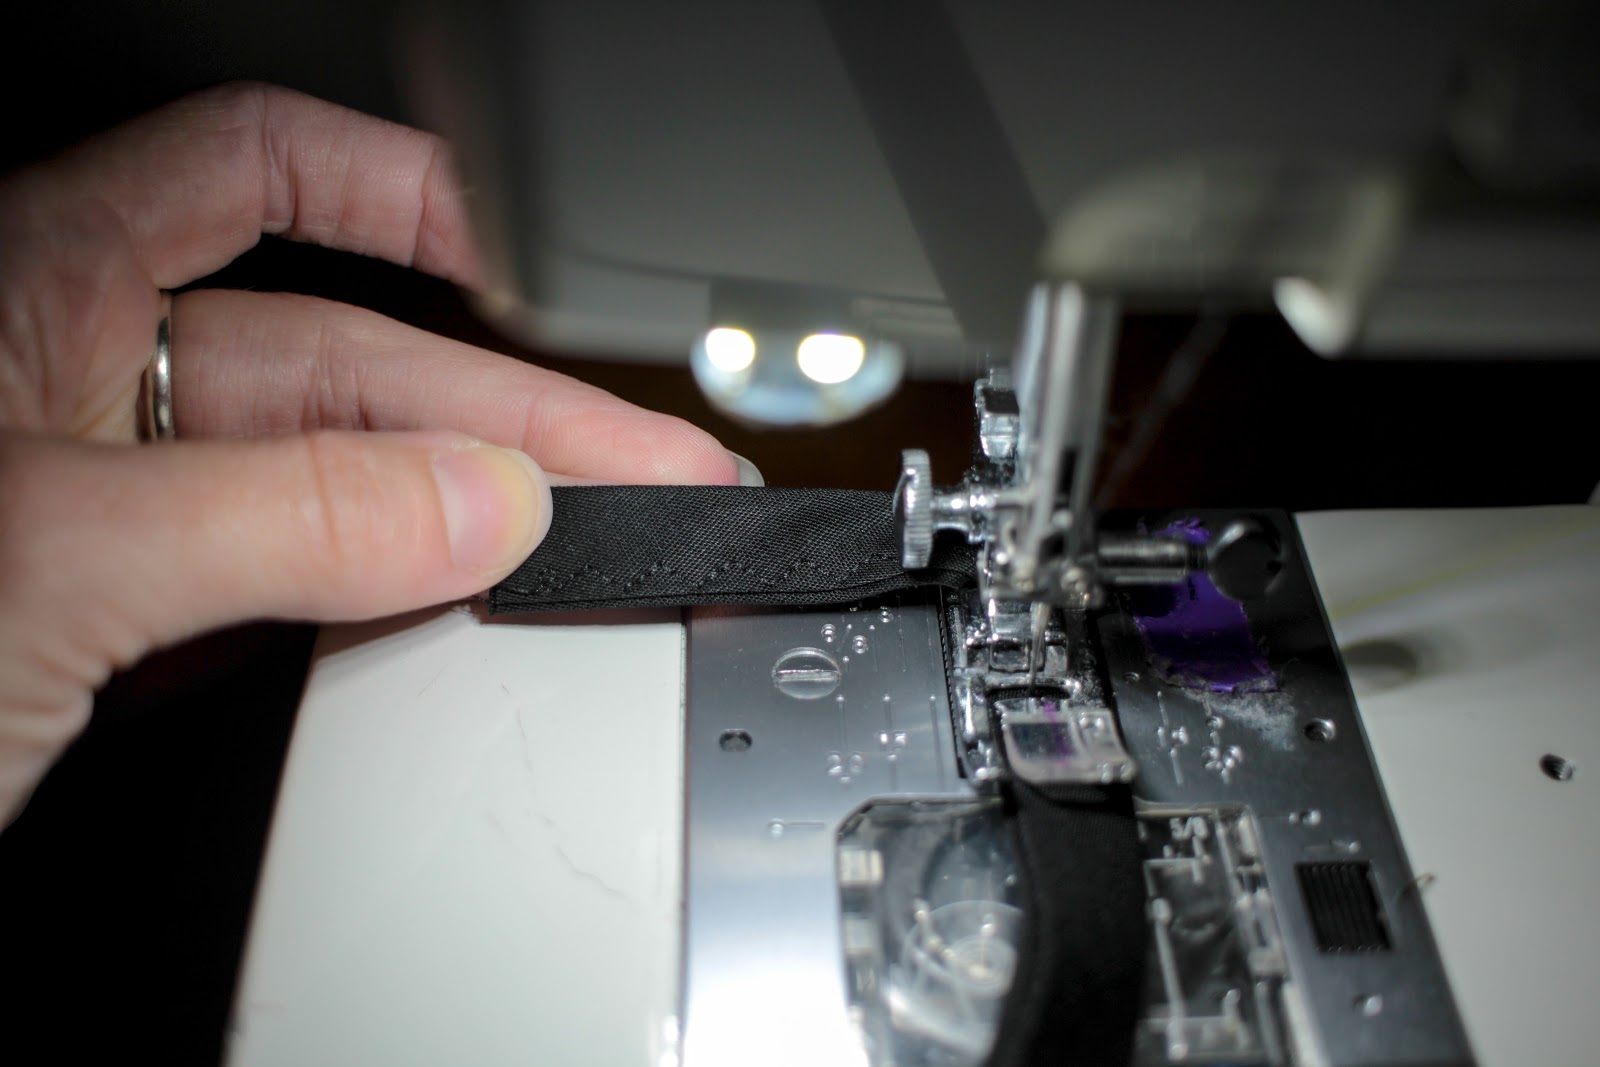
Pin the binding in place. Stitch down the binding, being sure to stitch across the ends to secure the elastic.
Repeat this step on the bottom edge, omitting the twist tie, this time looping the elastic from the top down to the bottom on the same side, and enclosing the elastic in the same way as the top.
Stitch as for the top.
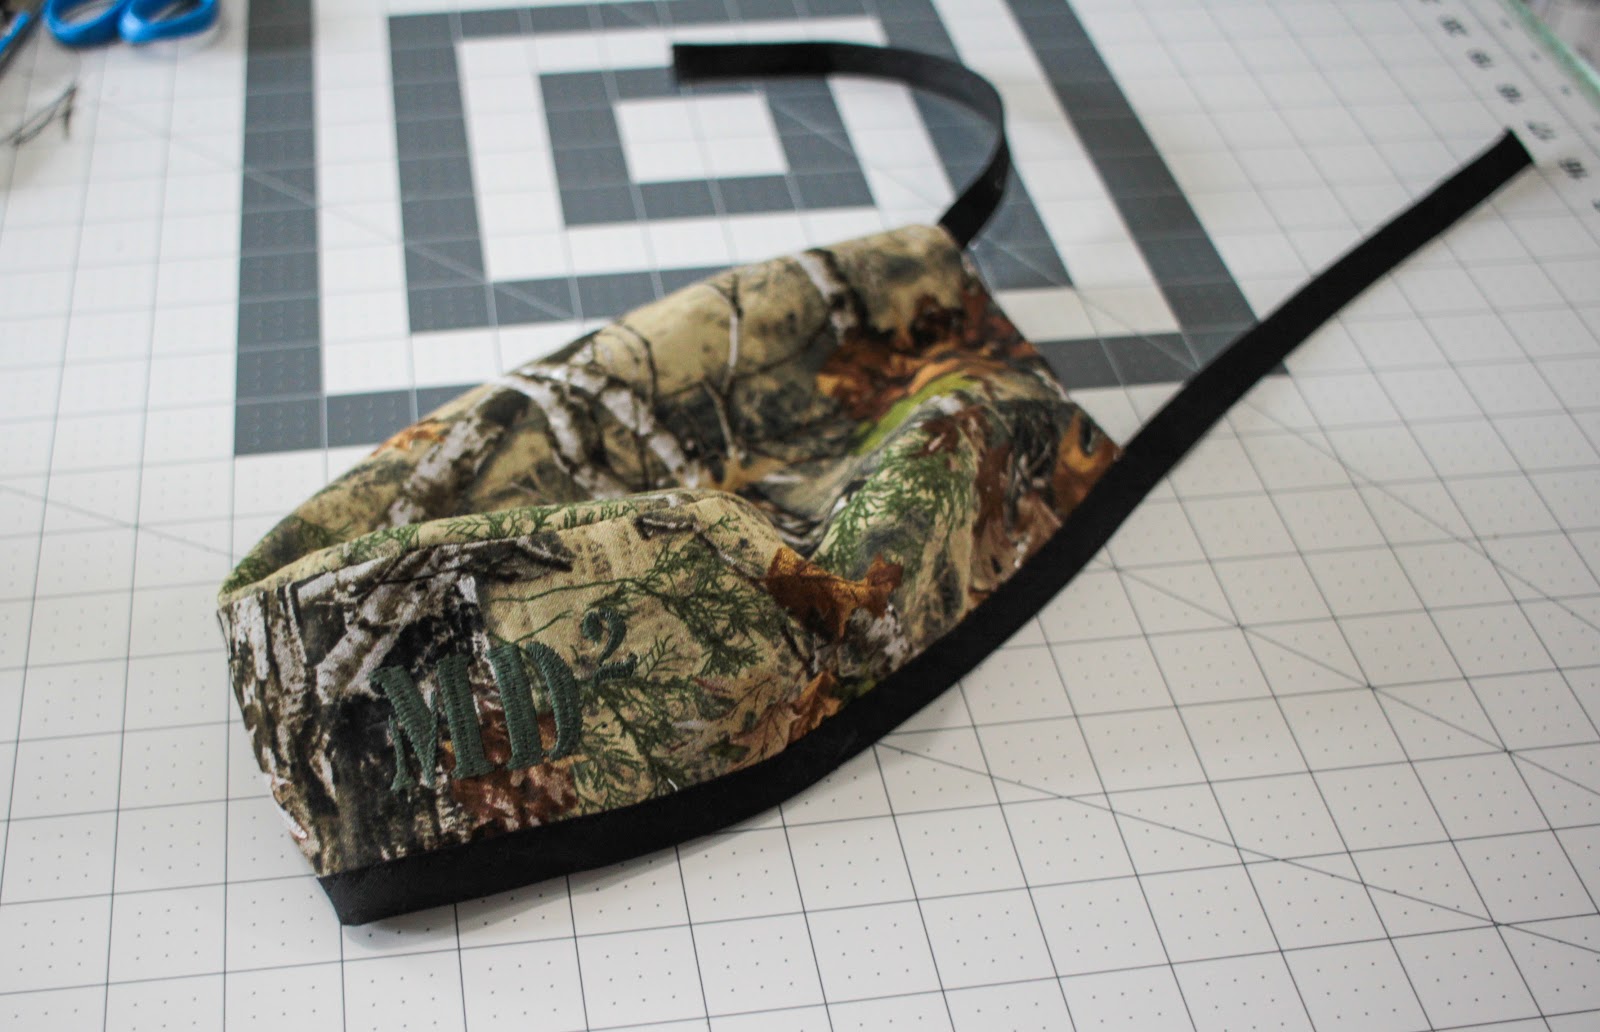
If you are making the style with ties, you will apply your binding to the top and bottom similar to the way you applied it on the sides, but this time, leaving long tails to form your ties. Cut a 48 inch piece of binding. Measure out your binding to 20 inches, then open the binding and sandwich the mask in place. Tuck the wire twist tie under the binding in the center area of the mask. If you need to, glue or tape this in place so it doesn’t slip around.
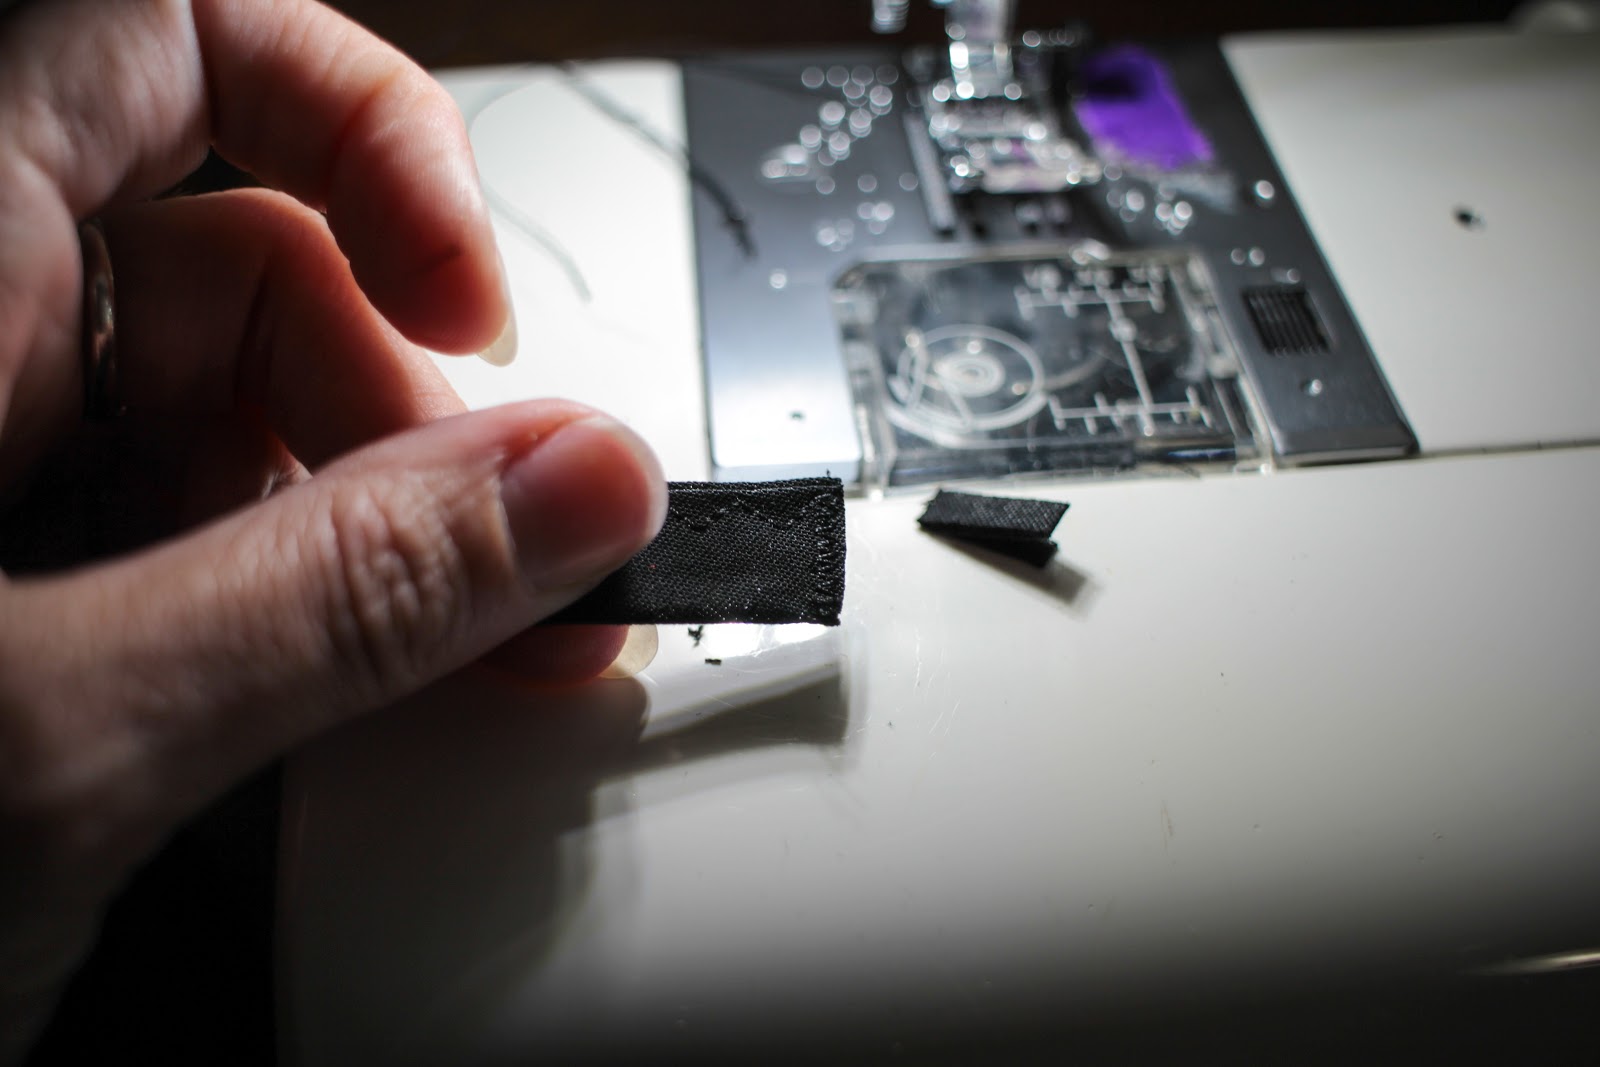
Pin the binding in place. Measure the second tie again to 20 inches past the other edge of the mask and cut your binding. Now stitch the entire length of the binding. You can tuck under the edges to finish them if you wish, or just stitch across them.
Do the same for the bottom edge, omitting the twist tie.
To wear the mask with ties, tie the upper ties around the head first, wrapping them securely to the back of the head, then tie the lower ties upward, ensuring a snug fit under the chin. Tie the ties on top of the head.
This mask is actually demonstrating poor fit as well. The mask is too large for her face, as you can see from the large gaps on either side. She also has a significant gap around her nose because the mask is too tall.
Much better! In order to create a mask that fit her petite face, I printed the pattern piece at 90% scaling and followed the same process to assemble the mask. With a smaller mask, she has a snug fit fit that will protect her much better. When the mask is worn, it should fit snugly around the nose and face. Use the wire on the top to fit the mask to your nose, and open the pleats to tuck the mask under your chin.
You’re done! Wear your mask in good health. And wash your hands!

Monday, July 1, 2019

Reversible Scrub Cap Tutorial with Free Pattern and SVG!

You will need:
The pattern pieces (click here). Be sure to assemble the band piece by overlapping the two pieces and taping as indicated on the pattern pieces.
2 pieces of coordinating fabric, ½ yard each or a fat quarter will work
42 inches bias tape. I used extra wide for this tutorial, but if you prefer narrow, that also works
Thread
Something to use to cut - either shears or rotary cutter
A sewing machine
An iron
Nice to have
Press cloth
Pressing ham


1: Press your fabric! Particularly if you are using a fat quarter as they are often quite creased from being folded.

2. Cut out your pieces. You will need one top piece and one band (cut on the fold) out of each coordinating fabric. If you are using fat quarters, fold in half and cut the band first, then unfold to cut the top. As you are cutting, be sure to notch or mark the center front and back of the top and center front of the band at the upper (curved) edge. If you are using a cutting machine to cut your pieces, you will need a 12x24 inch mat, as this will cut out single layer.

3. Right sides together, match up the center front of the top with the center front of the band and pin.

4. Going around the top, pin the band in place right sides together along the round edge. Sew with a 1/4 inch seam allowance all around the curved edge of the cap. Leave the bottom edge unsewn. Your band should match fairly closely, but as you are matching up curved edges, you may have to ease the top piece slightly into the band. Don’t worry about basting stitches or anything - it’s not that much. When you stitch this at your machine, be sure that the top is down against the feed dogs as your sew, and hold your work taught as it stitches. This will allow the feed dogs to ease in the top as needed.

5. Press your seam down toward the band. This is much easier if you have a pressing ham!
6. Now repeat steps 3-5 with your other coordinating fabric.

You should have 2 little caps!
7. Fold one wrong side out and the other right side out and nest them right sides together.

8. PIn and stitch the two layers together along the back edge of the cap, matching the center back and the seams.

9. Press the seam open, then nest the two layers WRONG sides together, folding at your newly pressed seam. Now Press the seam flat, making sure your fabric isn’t rolling to one side or the other.

Now it’s starting to look like a cap! My finger is indicating your back seam. You still should have raw edges along the lower border of the cap. Let’s take care of that, as well as making ties all in one step.

10. Make sure that the raw edges of your cap are aligned and place a pin at center front of the band. Get your bias tape and if you haven’t already, cut a 42 inch long piece and fold it in half to determine the center.

11. Matching the center of your tape with your center front pin, wrap the tape around the raw edges of your cap. You want to stick it in as far as you can, aligning the cut edge with the fold inside the tape. Pin the tape in place all around the cap. (Note: If you are a bias tape pro, you can do this without all the pinning. Your ties will be 10 inches long, so just stitch up the 10 inch ties first, and insert the cap at the point, and then stitch around, adding the second 10 inch tie at the end.)

12. Start stitching at one end of your bias tape. If you notice in the above picture, one side of the bias tape is less wide than the other. This is done intentionally at the factory to make it easier to apply. Be sure you are stitching with the “shorter” side up so that when you get to the cap section, you will be confident you are stitching through all the layers, since the bottom side hangs farther over. Stitch all the way down the edge of your first tie, around your cap and along the edge of the other tie, all the way to the end in one pass.

I like to use a 3 step zigzag stitch for this - I just like the way it looks - but you can choose any stitch you prefer. Some machines have interesting decorative stitches and this would be a great place to use them! Have fun!

13. Finish the end of your bias tape ties by either narrowly hemming them, or zigzag stitching across the ends and trimming off any excess. I find hemming a bit bulky, so I go the zigzag route. You could also add a knot at the end, or even a decorative bead.

Look at that! You’re done! Now you’re the most stylish in the OR! I added some embroidery to mine, and if you are interested in embellishing your cap in some way, do so before you assemble the pieces. It’s much easier to embellish flat fabric!

ETA: Several of y'all have asked about making these caps in a single layer, which is a great way to conserve fabric and make them faster! My friend Kristine made a great video showing us all how to easily convert the pattern to a single layer. Even if you are doing a double layer cap, she has some great tips for sewing the pattern in general! Check out her video here!

To download the pattern pieces, and a pdf of the instructions, click below!
Pattern
Instructions

And just for kicks (and so I could play with my new Cricut Maker), I also created an SVG file for those of you who have cutting machines that can handle unbonded fabric. You can download the SVG here. If you need to resize, the band should measure 4.324in x 22.648in, and the top should measure 6.758in x 10.408in.
Note: the svg file will not open in your browser, so if you click on it, you will get a plain black screen and it looks like it doesn't work. You will need to right click on the link and download the file, then upload the svg file into your cutter software.

Thursday, September 11, 2014

The Bellini Sew Along - FBA!

Hey cats and kittens! Remember when I promised you an FBA tutorial just for the Bellini? Well it's here!
Well, it's not EXACTLY here. It's over at the Capital Chic Blog! Head on over and check it out, and if you haven't already, pick up your Bellini pattern while you are there. It's a Sew Along!

Friday, February 21, 2014

Vogue 1378 Donna Karan pants

I've had Vogue 1378 in my stash pretty much since it came out. The top is cool, but these pants are amazing. For some reason I just didn't get around to sewing them.
And then Sara of The Pretty Pickle DID sew them! And I had to have them. Immediately.
Of course, I used a printed black knit, so all the seam detail is lost. This fabric is awesome though, amirite? It's metallic printed ponte from FabricMart.
Here's Vogue's line drawing. How freaking awesome are those pants?!! Donna Karan is brilliant.
I did make a few minor changes to the pattern. My typical changes for Vogue pants are to add an extra inch to the front and back rise and scoop out the rear crotch a bit. For these, I decided to use an exposed elastic finish that requires only about 1/4 inch of seam allowance, and the pant has a 1 inch allowance for the elastic casing, so Vogue pretty much did my alteration for me! Thanks! I do find that these are a bit lower in the back rise than I prefer. I'll raise them about 1/2 inch at CB next time.
Sometimes I have to add length, but Sara noted that they were drafted quite long, and my scientific method of holding the pattern pieces up to myself convinced me that the leg length was good. And it is.
The other rather major change I made was to cut my waistband elastic with negative ease (1 inch less than my actual waist measurement). Vogue wants you to add 3 inches to your waist measurement for your waistband elastic, but I'm pretty sure that's a recipe for failure. I like my pants to stay up, thankyouverymuch.
My favorite feature is the adorable front slit. It makes my legs look even longer, and my heels look even higher. Loves. So, what's keeping you from sewing this?? Worried about all those lapped seams, eh. Well, I took a few pics while I was putting these together, so hopefully that will help.

Today's Tip: Exposed edge construction lapped seams. This method is what I use when the fabric's raw edge will be exposed on the right side of the garment.
Start with the piece that will be on the bottom of the lapped seam. I used the pattern line drawing to keep track of what goes where. There are a lot of pieces to this pattern and many of them have a similar shape, so be sure to mark them well. On the bottom piece, I mark a placement line 2 seam allowances (in this case 5/8+5/8=1 1/4) from the cut edge.
Now lay the overlay pattern piece with the cut edge aligned with the marking you made. Pin it together with your pins perpendicular to the cut edges. Pin frequently so that the edges don't shift. Hand baste if it makes you more comfortable.
Stitch along the 5/8 seam line. It may help you to mark the stitching line 5/8 inch away from the cut edge on the upper layer. For this ponte knit, I used a triple stitch for this line of stitching.
Here is how it looks once it has been stitched. There is a raw edge on the right side as well as one the wrong side (not pictured). If you want to add some decorative topstitching, this would be the time. I used my coverstitch machine to add another 2 rows of stitching, one line of stitching on either side of the first one.
Once you are done with all the stitching, trim away any excess seam allowance close to the stitching. I like applique scissors for this step, as they protect the fabric underneath from an accidental cut. You can also trim away the excess seam allowance from the wrong side of the garment, if you choose.
When you finish, you should have a trendy, raw-edged seam!

Thursday, June 27, 2013

Hemming knits: The faux band

I wasn't planning on blogging about these shorts, since there is totally nothing interesting about them, but I tried a new hemming technique that I thought was pretty cool, and I wanted to share it with you.
They are basic elastic waist one piece shorts. I used the 03/2011-20 pattern for skirted leggings, since I already had it traced at a shorts length. The fabric is nylon/lycra spandex from Spandex World.
You'll notice that the hem edge looks like a separate hem band, but it isn't! It's a standard single fold hem, no separate pattern piece, no wonky stretching. Now, this won't work on an area like an neckline, where you have an inside curve, but it is perfect for sleeve openings, leg hems or the bottom hem of a garment. Here is how it works.
First, turn up your hem allowance and pin. You can use the fusible thread technique from this post to get a crisp edge if you would like, but I kind of like the soft fold for this. Note: I'm hemming these flat, but this technique works just as well in the round.
Now fold your pinned hem back on itself, right sides together. If you've ever made a machine blind hem, the technique is the same. You should have three layers of fabric at the bottom edge now, the raw edge of your fabric and the fold of your hem. Line them up neatly.
Now sew along the bottom edge, giving a scant 1/4 inch seam allowance. Make sure you catch all three layers. I'm using  my serger for this step, but it works just as well using a regular sewing machine. Just be sure you are using a stretch stitch and catching all of the layers in your stitching.
It comes off the machine looking like this. The faux band is stitched firmly to the garment. Fold the band down and...
there you have it! It looks just like a banded finish, without the fuss! If you want a more streamlined look, give it a press or topstitch the seam allowance toward the garment and away from the band. For a more sporty look like this, just leave it unpressed.
Here is how it looks on the finished shorts.
Myra says they're comfortable, and it's a nice easy finish. Hopefully you'll find this a useful way to finish knits as well.