Showing posts with label romper. Show all posts

Saturday, July 28, 2012

Ottobre 03/2011-11

Duncan has decided that diapers are fun to remove, and elastic waist pants and shorts present no challenges to the little nudist, so we've been dressing him in overalls and rompers, which gave me a good reason to sew this one.
The pattern is #11 from the 03/2011 issue. It's another one that I wanted to make as soon as I saw it. 
I did make a few changes to the design. I really dislike back closures on baby and toddler clothes, and the original design had a back zipper. Instead, I switched the neckline with a envelope style (from the Happy Animals tee, #12 from the same issue) so that I could just pull it over his head. I also omitted the interfacing in the waistband panels, since I needed those to stretch over his shoulders. I cut the back waistband and tee on the fold.
The fabrics I used were all given to me, so this is pretty much a free garment! Even the button was left over from another project. The tee is a printed interlock from Joann that my mother had left over from a project for my nephew, and the denim colored knit as well as the ribbing used for the binding were given to me by a friend when she de-stashed.
So, laugh now. Y'all, I seriously thought all those snaps were blue!! I need better light in the sewing room. Once those suckers are in, there is no getting them out, so Duncan has a mismatched snap. 
How cute is that kid?? I did make them a little bit long. If his rompers are too short, he reaches his little hand up there and sneaks his diaper out the pant leg, and then I don't notice until I find the diaper. Or a puddle. These have elastic on the back leg to snug them up, and with the extra length we'll have to see if he can manage his trick. Little stinker.

Thursday, August 18, 2011

Simplicity 4711

Now, I realize that I speak with a maternal bias, but seriously,
Is that not the CUTEST BABY EVER!!! Yes, half that genetic material and the romper were provided by me. Grandma crocheted his sweet little blanket.
Here is the romper without the distractingly adorable child. The pattern is Simplicity 4711, alas now OOP. This copy was a generous gift from Amber. Thank you so much!! It is a lovely pattern and I really enjoyed sewing it up. For my average sized 8 month old, I sewed a size small, which is pretty much perfect. (Simplicity seems to think this is a 3-6 month size, but Duncan wears a 12 month in RTW. Be warned.) I did use a 3/8 seam allowance at the waistline seam to give me an extra 1/2 inch of length. I think it would have fit fine without, but the extra wiggle room is nice.
Here is the back view. As you can see, the closures are in the back, and extend down into the shorts with a continuous lap placket inserted into the CB seam. If you've never done a continuous lap before, this is a great way to start. It's much easier putting it into the seam than it is slashing an opening. I used teeny little 3/8 buttons, which are are really adorable, but as a 3 time mommy, I should have known better. Getting those things buttoned onto a wiggly 8 month old was not easy!! Next time - snaps.
There are snaps in the crotch for diaper change purposes. Simplicity calls for snap tape here, but I have never liked using that stuff. I used a couple of interfaced bias strips, which I applied like a binding on the underlap and a facing on the overlap, then applied the snaps after the fact. I also sewed these with 3/8 seam allowances rather than 5/8 so that the snaps would end up centered on the seam line.
The main fabric is a cotton seersucker from Joann (I think) and the collar and tie are cotton broadcloth from FabricMart. I used 1/4 inch twill tape for the trim rather than ribbon. I think it has a nice texture with more "boy" appeal than shiny ribbon. It also bends around the curved hems nicely. I also topstitched the collar, which the pattern doesn't call for. It isn't obvious, but I rather like the effect.
The collar application was interesting. The neckline is finished with bias tape, and only the back half of the collar in enclosed within the tape. The front half comes down into the two points, which are simply tacked to the front bodice. The little tie is a separate piece, also tacked down. If you make this for a little one, be sure to tack that sucker down securely. Duncan has been chewing on it all day.

Friday, April 17, 2009

New Look 6794

I love this pattern. I just love looking at that cute little girl on the front. 
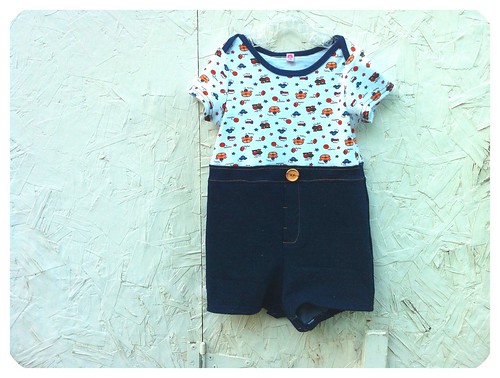
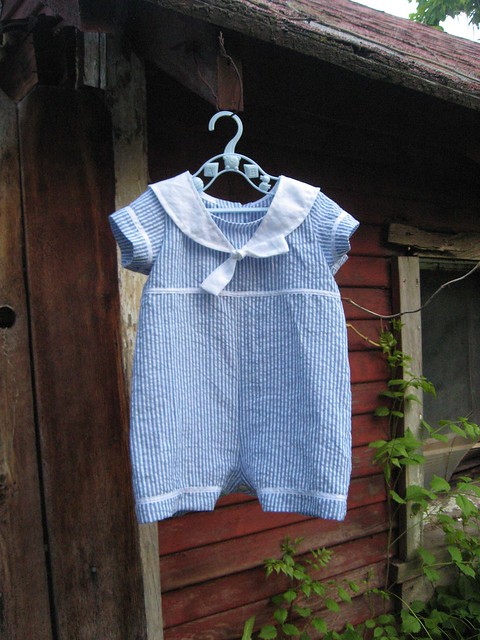
Myra got this pattern and fabric (as well as some others still to be sewn) for Christmas from my mother. Every time I spot the envelope, I want to put down whatever I'm sewing and just make this outfit. I finally did!! I have to say that initially it was the cute little jacket (view C) that drew me to this pattern, but I am now so much more in love with the romper (view A) that I am already planning the next one I'm going to make. I honestly think it is the cutest thing ever to come from my sewing machine. I also love that there is so much you can do with it in terms of embellishment. The design itself is so simple that the sky is the limit! The pattern itself calls for rick rack and eyelet lace, as well as little bits of trim tacked on, but that bib just screamed “applique me!”, so I did. Anyway, here is my interpretation of view A, and a closeup of the bib applique. 
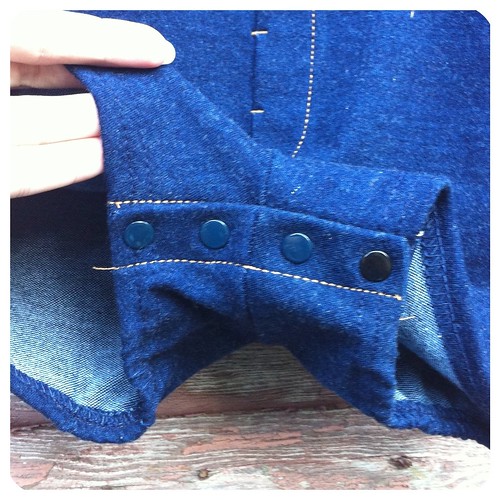
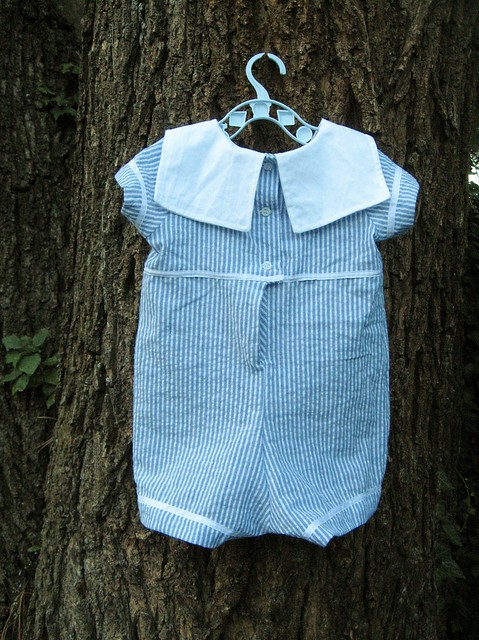
I am not entirely happy with how the eyelet came out around the bib. I didn't measure well, and so the binding shows. Ah well, live and learn. Next time it will be better. Otherwise, I love it!! The bib is lined, which is nice, and the pattern instructions call for machine stitching rather than hand stitching to close the opening for turning, which I approve of. I hate hand sewing. It is also interfaced both front and back, which I really like, since it gives it a nice uniform appearance. I did deviate from the pattern instructions in the little matter of the snap closure. Rather than using 
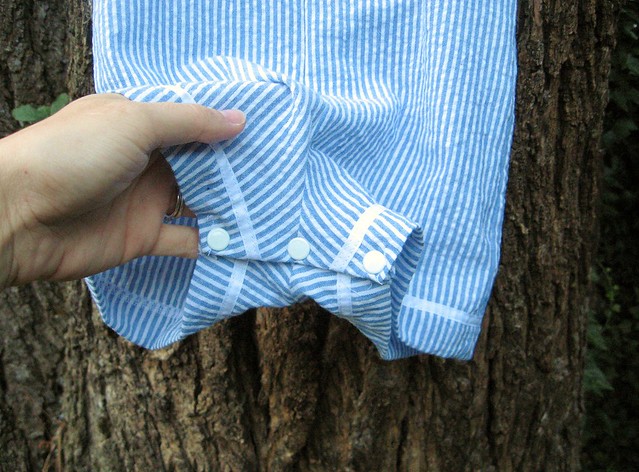
storebought snap tape, I sewed on bias rape to which I applied snaps. This worked really well and I got exactly the spacing and size of snaps I wanted, as well as being able to use whatever color of bias tape I wanted. Hot pink snap tape is hard to come by!
Of course, I couldn't stop with just the romper, I had to have that jacket!! Mom gave us the cutest girlie buttons 'n' bows fabric that was perfect for that frilly jacket, and which I used in the applique on the front of the romper. Matchy-matchy. Here is view C and a close-up of the pocket that I added. I'm not sure about that pocket. Leave me some comments, y'all, should I take it off? I'm not sure it really goes.
I have a few grumbles about this pattern. First of all, there is no interfacing. Yes, that's right, those buttonholes go through two layers of thin cotton, and that is all. What were they thinking?? If I make this again, I will definitely interface the self facings on the bodice front. The collar has piping, which stiffens it nicely, so that's OK. Grumble number two is that cute ruffly skirt, all trimmed with eyelet (note – None of the binding shows. I learned!). The pattern instructions tell you to make a narrow hem, stitch it down, then add the eyelet behind the hem, stitching along your initial stitching line. First of all, is that a recipe for failure, or what??? There is no way that I would be able to stitch exactly in the original stitching line without a few wiggles. Also, the hem is curved. Hello! No ease stitching?? Nope, not called for. D'oh! So, what I did was sew the eyelet on the right side, facing in at the hem stitching line, then use it to pull my hem around and press it to the back. I folded the raw edge under the eyelet binding on the wrong side and viola, the skirt is done – no swearing needed. One new technique that I learned from this pattern was applying piping. I had never done it before and was a little nervous. I have a bit of a love-hate relationship with anything that requires a zipper foot. This was no biggie. It turned out well, so I'm excited about new fun with piping now. I did use commercial piping, but I can see how easy it would be to make my own, and how fun!!
So, together - 
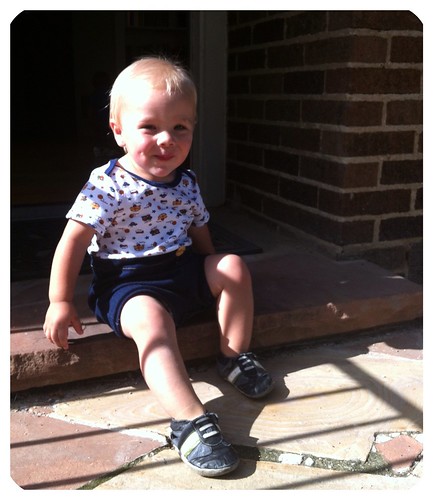
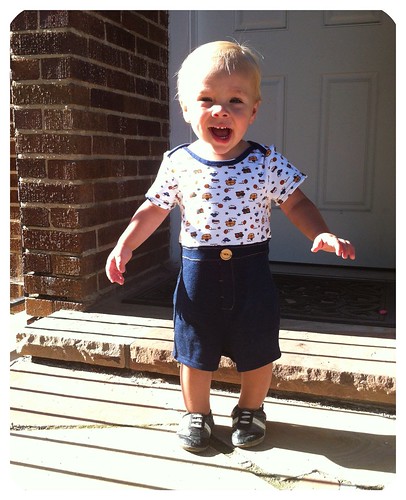
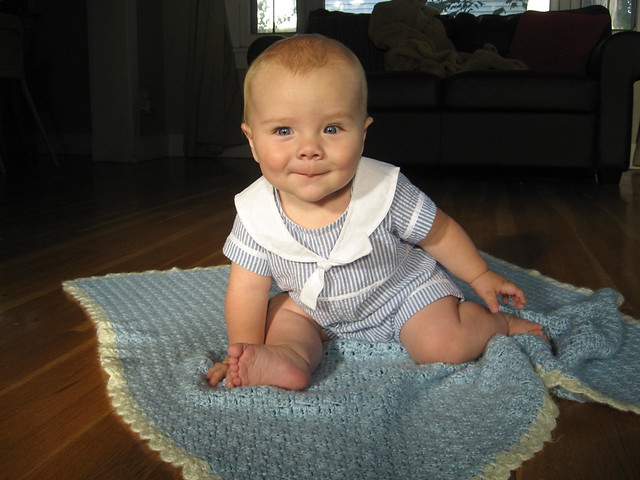
And on my little princess! Cute!!!