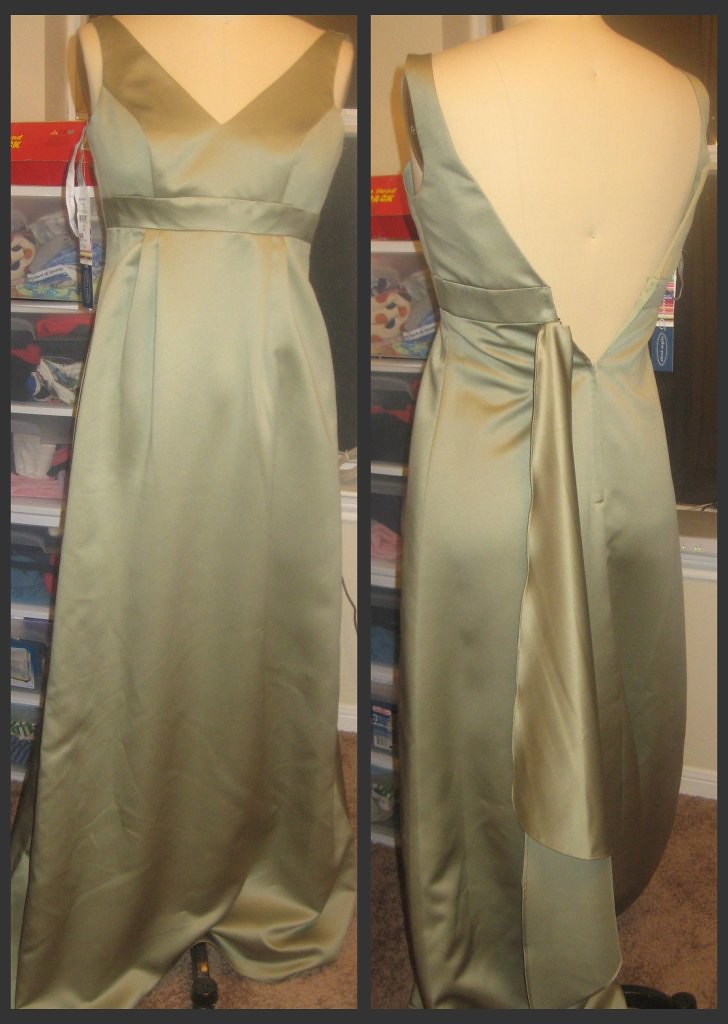


This was a pretty interesting project and taxed my ingenuity at quite a few points! It was fun, but I'm glad to get back to patterns! Up next will be the bridal bolero, then I'll need to get busy with Easter sewing. Where has this month gone?


 It was originally a shirt from a local middle school's Field Day, and I thought that their mascot was pretty cute, so I incorporated the screen print into the front of the shorts. The shorts are (again) New Look 6641.
 But I was inspired by clevergirl's awesome remake of her 4790. So, now it is a fun wrap skirt!! I took off 4 inches from the top, which lengthened the waistline to the point that it wraps around me twice. I added a waistband per the instructions in Sew What! Skirts. The waistband fabric was salvaged from the too short underskirt. There was just enough to match plaids and go around me thrice. Perfect!
 How cute is that!? The idea came from my friend Hayley. She had a yard sale a few weeks ago and I bought her out of cute stuff to repurpose. She had this sweet little boys button up that I hadn't seen and she suggested that I turn it into a skirt for Myra. Sweet idea!
 Here is the shirt. It is a boys size small. Here is how it becomes a skirt!!
 4. Make a casing at the top edge by folding under your total hem allowance, then tucking under 1/4 inch to clean finish the edge. You may have to remove a button from the area of your casing. Just snip it off. Edgestitch the casing down, leaving an inch open at one of the seamlines to insert your elastic.
  5. Cut a piece of elastic about 1 inch less than the waist measurement of your girlie. Insert your elastic into the casing. I use a safety pin on the end I am pushing through and a straight pin on the other end to keep it from pulling all the way in.
 6. Stitch your elastic together with a wide zigzag and edgestitch closed your casing.
 Add girlie trim and wear!
 This method can be used to make a skirt out of pretty much anything and for pretty much anyone. I generally prefer a more shaped skirt for a grown up, since the elastic waist tends to add bulk at the waist, hip and butt - not places I want added bulk - but it can be done.
  Here is a skirt I made out of two pillowcases for me. I only put elastic in the back half to reduce waist bulk. It worked out OK, since the fabric was quite thin.
This skirt was also made this way, but with the fabric cut along the selvage edge on the crossgrain. Since the selvage became the bottom edge, I didn't have to hem. For the width I measured Myra's hips (with diaper on!) and roughly double it, so that there would be plenty of room for movement. For a slimmer skirt, you could use less width, but be sure that it measures at least 3 inches greater than your widest part, or you won't be able to get it on!
This is a fun and easy way to make a quick skirt in less than an hour. Go ahead! Give it a try!
 I actually wear it quite often; more than I expected to, since I hadn't been much of a skirt person. With the unbelievable heat in Texas this summer I have found the comfort and cool of a skirt to be life saving, so I've been making and wearing them quite a lot.
 I think more of my jeans will be going this route...
 And a close up of the pocket. I think they're a bit wild, but that's OK when you're not quite three, and Logan loves them.
 I also went to a yard sale yesterday morning. I'm putting myself on a fabric diet, at least until I can use up some of what I already have. That means yard sale tee-shirts aren't off limits, right? Anyway, I cruised the house for loose change and went. There is always a yardsale somewhere in my neighborhood, and we were not disappointed.
 I got two shirts and a skirt (and two rattling balls for the kids) for a buck fifty! Sweet! The skirt is too small, but only by a little and it is long and an a-line, so I am going to chop off the top half to make it knee length and add a drawstring and have myself a comfy linen skirt. One of the shirts is a XXXL size yellow tee shirt that I bet I can get both shirt and shorts for Logan out of. Tons of fabric. The other shirt is a way too small for me button down shirt with row of pintucking and lace insertion on the bodice. I think it will make a very lovely dress for Myra. And all for a dollar fifty! I have to start hitting more yard sales!

