


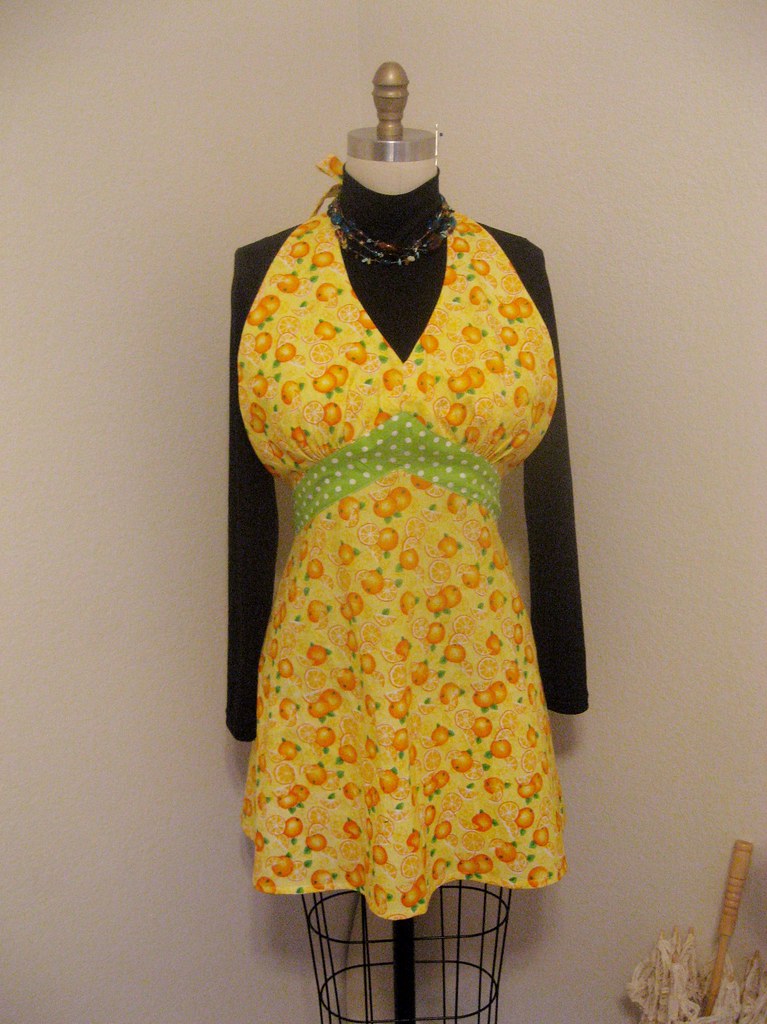


 Here it is with the ties in front, which is generally how I wear an apron. I like that this pattern has nice long ties!
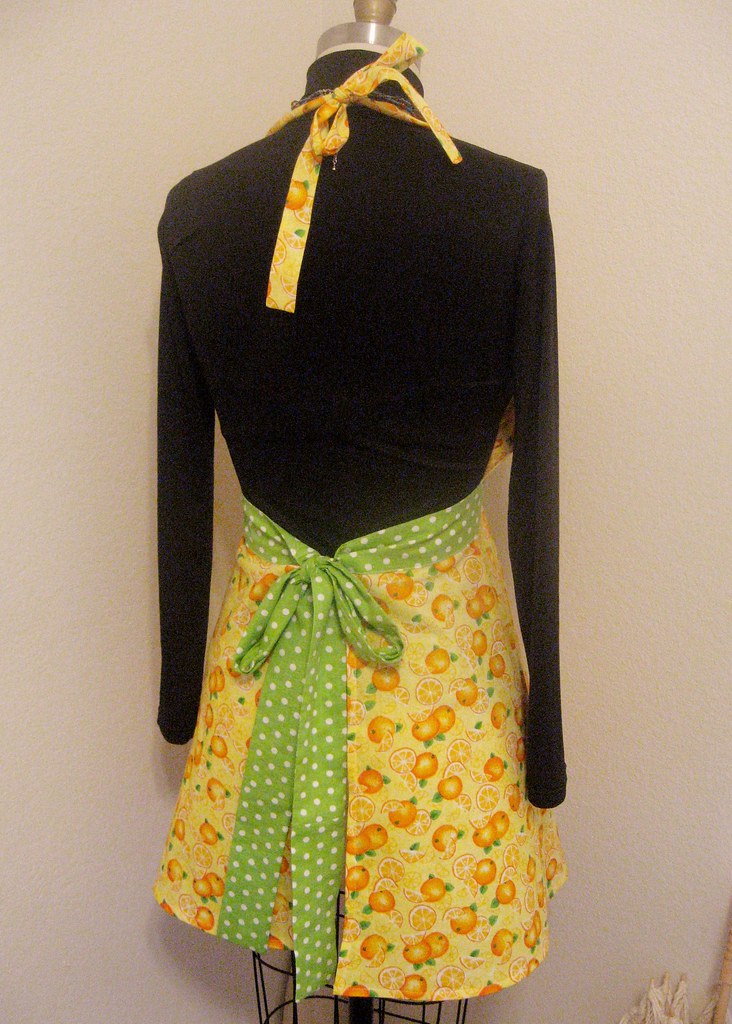
 And with the ties in the back. I think it looks almost like a strappy formal this way. I love that black fabric! I only had a teeny bit and I used nearly every shred making this apron. I think I may have to head over to Hobby Lobby and get some more. It is so cute!
 First, line up the facing with the band, matching notches, blah, blah.
 Now, feel for your strap inside the two pieces and mark the edge on the wrong side of your facing piece (where you will be stitching). Then make a perpendicular mark from the apron edge to your line.
  Same thing on the other side. You can see that this one is a little tricky due to the curve. Follow the edge of the strap only for a few millimeters here and then come back up to your seam allowance. You can see where I drew in a little curve to remind myself. These are your new sewing lines. Ignore your seam allowances for this bit - they will only get you in trouble. You can grade back up (or down) to your seam allowances once you have cleared the strap.
 After you have stitched, but before you trim your seam allowances and finish your seams, turn out your strap and be sure that the corner is tight. If it isn't, stitch again. You can see that I had to add an additional line of stitching an eighth of inch or so in.
 Trim and turn - Viola! Perfect squares with straps coming out exactly where they should and no fabric hanging over the edge.
 And at the waist. Also perfect!
 Start with your trimmed loop.
 Get a big 'ole needle. I use a giant embroidery needle. Thread it with sturdy thread. The color doesn't matter. I used fluorescent orange so that y'all could see it.
 Put a stitch into the seam allowance near the stitched corner.
 Tie it off snugly. You don't want this to come untied while you are trying to turn your loop!!
 Gently insert the needle between the two layers of fabric and in between two stitches as close to the point where you pivoted your stitching as possible.
 "Thread" your big needle through the loop. Be careful not to come through the fabric. This is why I use a big needle. It is easier to keep a hold of!
 Here is what is likely looks like up top. You can see my orange knot at the corner. The fabric is bunching up around the knot, trying to turn!
 With your fingers, gently tuck the knot into the loop.
 Then VERY gently so as to not break your thread or your knot, pull the needle while working the fabric over itself.
 When you see the corner coming out the end, you can just yank it the rest of the way. You're home free!
 Now you just have to straighten it out and press it. An added bonus is that since you pulled the loop through at the corner, your stitched corner comes out nice and sharp, with a very professional look.

 All three aprons are made from the same pattern, same view, but I wanted each to have it's own personality, so I varied the ruffle, pocket and trim to individualize them a bit. The green gingham/birdhouse print is the closest to the actual pattern. I think it has a very sweet, pioneer sort of look.
 This one was the quickest to make, since there aren't pockets and I used pre-gathered eyelet. I love this fabric and may have to go back to get some more to make a blouse for me. It was so wonderful to work with.
 You'll have to wait until Sunday for an action shot. I'll be sure to get one with the bonnets, too. They are a riot!!
