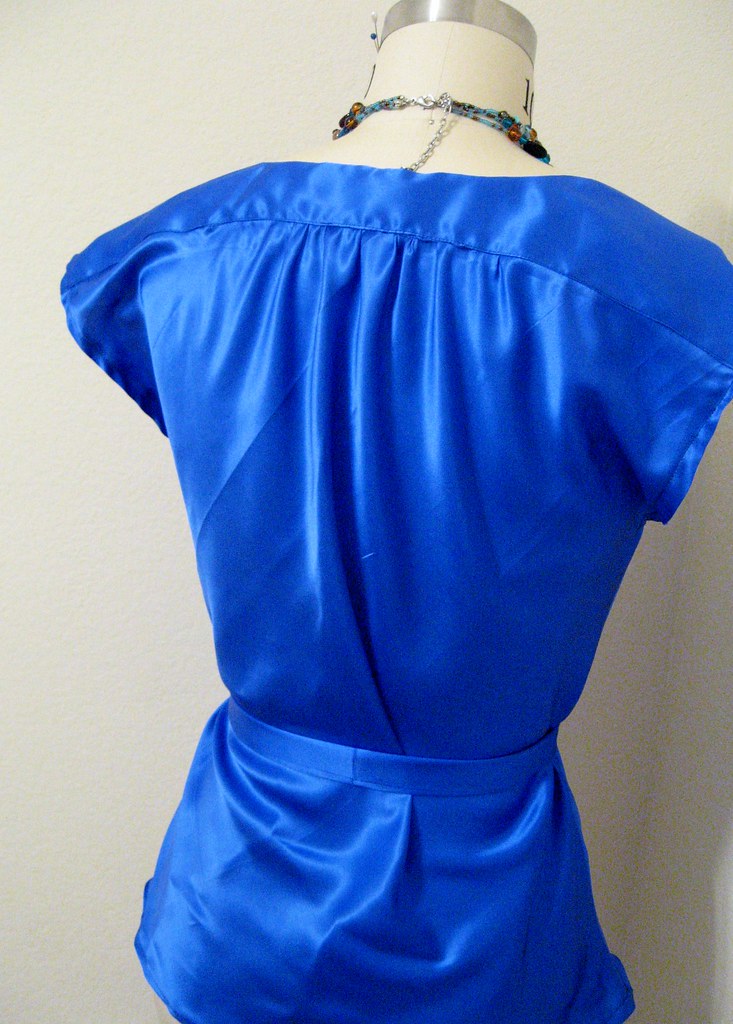
I really want to make a 40s shirtwaist dress out of one of my luscious lengths of challis, but Mitch's pants get priority over all the things. Still, I didn't want to miss out on the fun at the
chalet, so I thought this top would be a quick project that would work well in challis.
Oh wait, did I say quick? Somehow I neglected to consider the fact that this pattern is cut on the bias. Given the inherent slippy and slidey ness of challis, cutting it on the bias is asking for trouble...
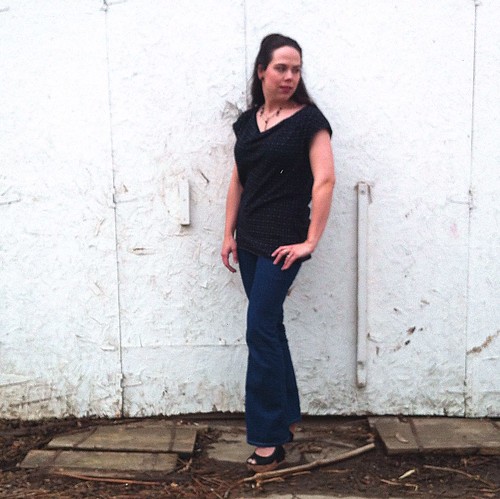
Despite the fight I had with the fabric, the resulting top is rather nice. The pattern is one I've used before,
Simplicity 2418.
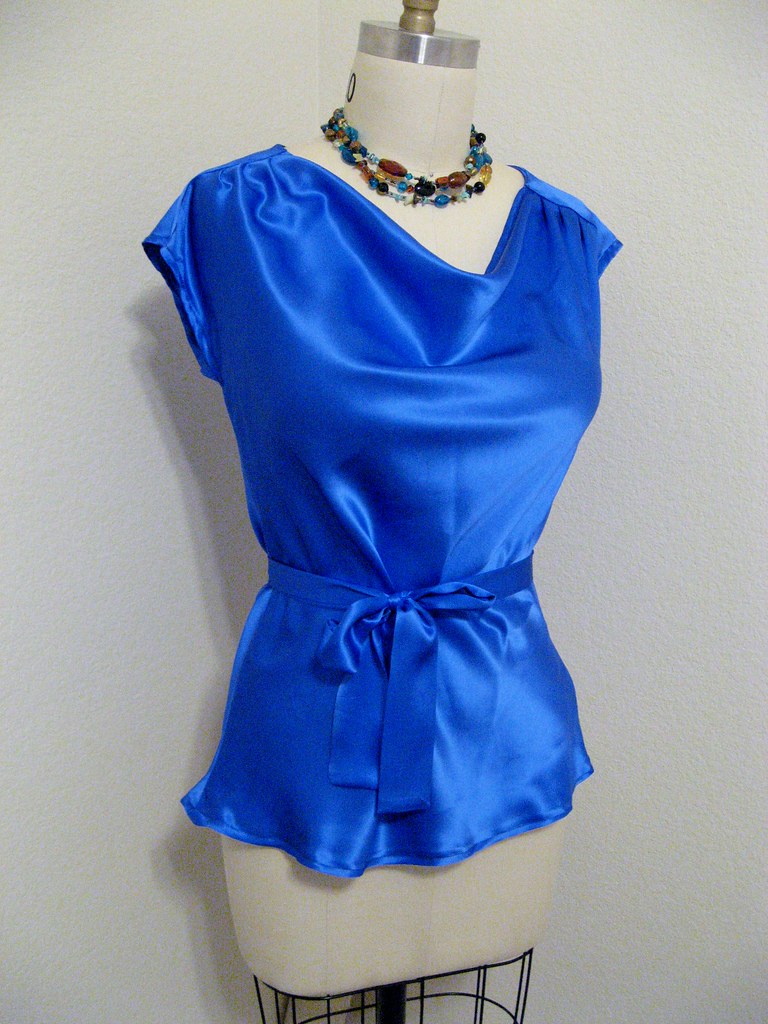
That time I made it out of silk charmeuse. I really am a glutton for punishment.
I didn't make any fit changes from the last time I made it, so I will refer you to
that post for the details on fit. I did add an inch to the length, which makes it 3 inches longer than view B and 1 inch shorter than view A.
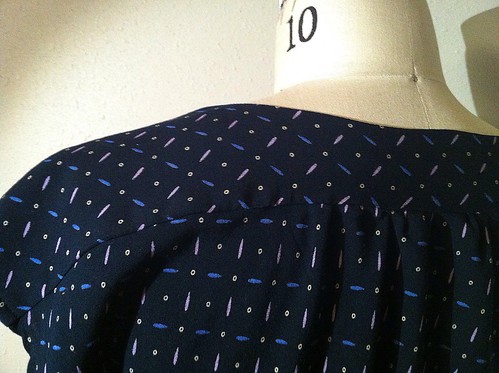
This is really the only picture that shows the fabric well. Sorry for the crap photography. I'm without the good camera at the moment, and the iPhone isn't a fan of the overcast skies we have. Anyway, I really love the way this print plays with the bias elements of the top. The yoke is actually cut on grain, but the fabric is printed with the dominant "stripes" on the bias, so it sort of tricks the eye.
I'm still hoping to make my challis shirtwaist, but I'm glad I got at least one challis garment made this month. I know this top will be a big player in my wardrobe, if Spring ever comes to the Salt Lake Valley. You can't tell from the pictures, but snow is falling.
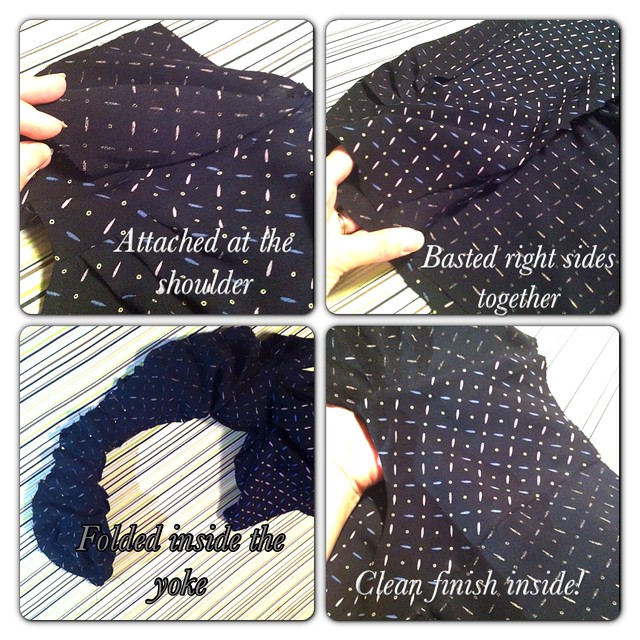
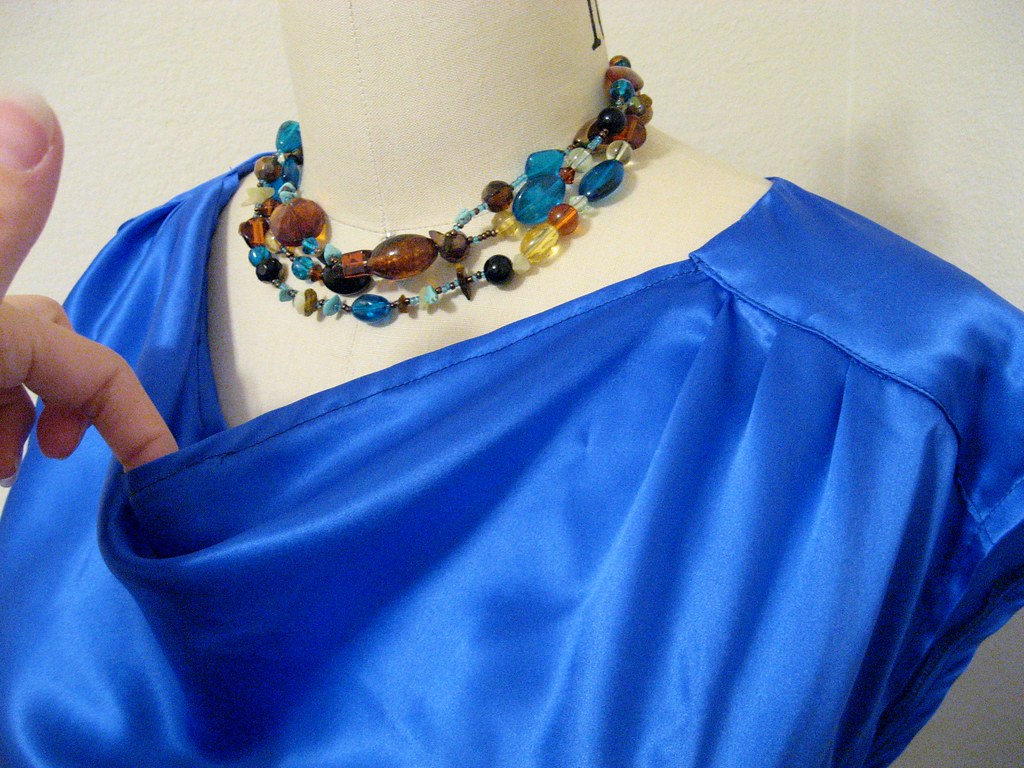
Before I close, I want to share an idea I've had. I feel like the sewing community has given me so much, I want to share a little back. So from here on out I'm going to end each post with a little tip that relates to the project. Some of them will probably be "duh, Katie, everyone knows that.", but hopefully I occasionally I'll share something that someone finds worthwhile. For today, I want to share my thoughts on shoulder yokes. If ever you are making a blouse or dress that has a yoke (the shaped strip of fabric that goes over the shoulder), you have an opportunity to really bring your garment to the next level by lining the yoke. I've noticed that fewer patterns include this, and it saddens me, as a lined yoke provides a beautiful interior finish, as well as providing structure in the shoulder of the garment. Lining a yoke isn't difficult and only takes a few more steps than attaching it unlined. I think it is well worth the extra effort.

Here are the steps I took to line the yoke of this blouse. I'd happily write you a tutorial, but I always use
the one that kbenco wrote and I don't think I can do it any better, so I will refer you to
her blog for the full process.