Showing posts with label 08/2007. Show all posts

Tuesday, February 26, 2013

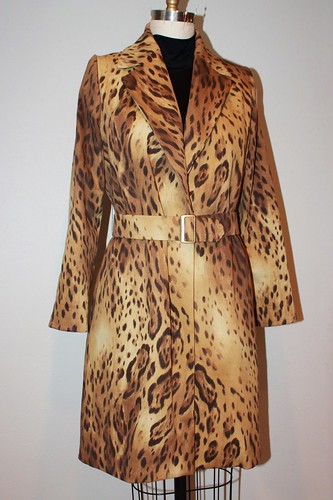
Burda Magazine 08/2007-112B leopard coat

This morning I made the belt, stitched the belt loops and came upstairs to force Mitch to admire show Mitch my new creation, and he noted that it had just started to snow - perfect for pictures!!
And he was right. Not to mention he gave up his own man-cave time to take my blog pictures. He's the best, y'all.
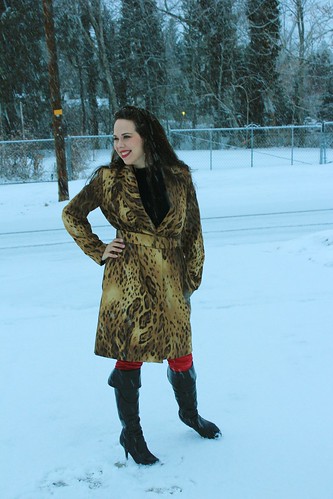
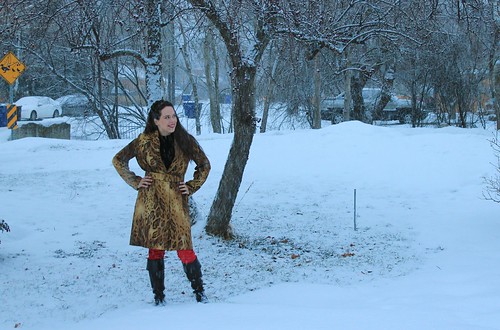
But you want to hear about the coat, don't you? I apologize if I gush a bit, but I am very pleased with it. There may be an excessive number of pictures. You've been warned.
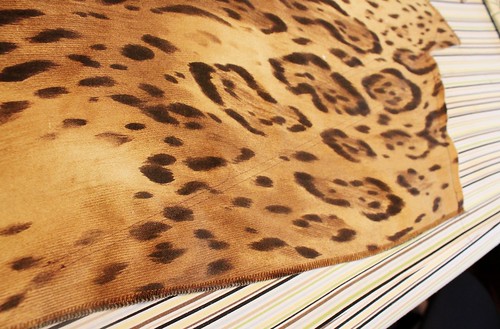
So, the coat began with this amazing fabric. It is a stretch poplin from Mood, which is still available as I type this. You can get yours here. I ordered it knowing that I wanted a leopard print coat, which it obviously became, but if you aren't really coat inclined, this fabric would also make great pants, a skirt or a lighter jacket. It has a nice amount of stretch and is fairly hefty in weight.

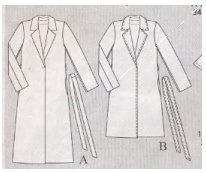
The pattern that I used is from the 08/2007 issue of Burda magazine. I made the shorter length. I chose this pattern for it's uncomplicated lines, as I really wanted my fabric to be the star. Despite it's simplicity, this is really a well thought out pattern. Some details...
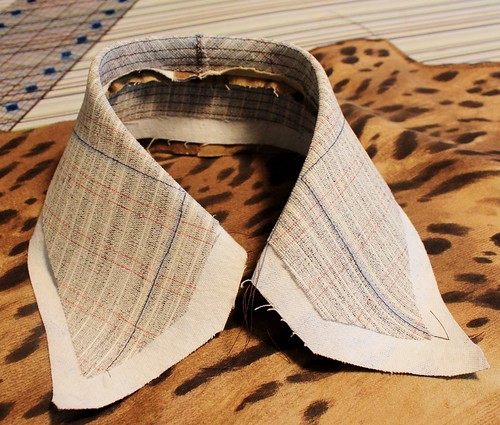
The collar construction was really interesting, and built a ton of shaping into what would otherwise have been a big old sack. It's a bit difficult to see from this photo, but the undercollar is in two pieces, with a separate stand that adds shape to the back neckline. The collar back also extends into a dart that shapes the front of the coat and the lapel. The construction was a little tricky, and the Burda instructions were not particularly helpful. If you make this coat, the thing to remember is that the lapel to collar seam has to be sewn first, then the back neckline seam, which extends down into the dart in one pass. It was really fun to sew, once I figured it out. If you want to see details of the tailoring, click here.
The pattern called for a self fabric tie belt, but I decided I wanted a wide buckled belt. I went with a 2 inch wide buckle, as that was as wide as I could find, and I do like it. The belt was simple to make, as the buckle has no tongue, which meant no eyelets to set and made the buckle assembly easier. It works with this thick fabric.
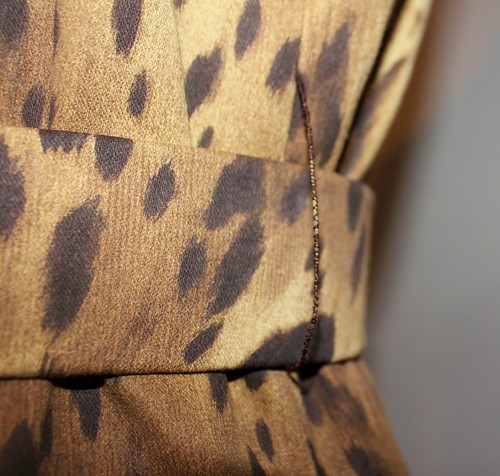
Thread loops hold the belt in place. I used this method, so the only handwork was actually attaching them.
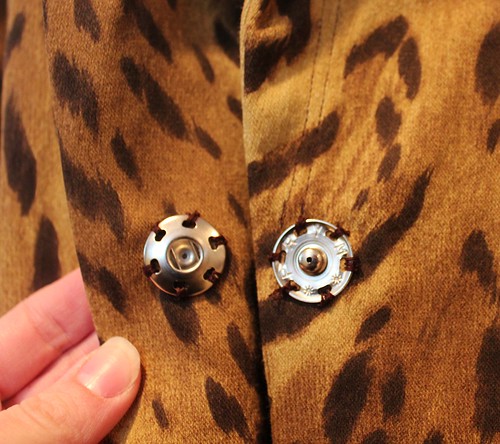
One of the things I really like about this style is the lack of visible closures. This snap is actually covered by the belt, so it looks like the belt is the only thing holding it closed. No buttons or zippers to distract from my fabulous fabric.
As far as fit goes, I did make a few alterations, primarily in the shoulders and back. The back was drafted with a totally straight seam, which on me, meant tons of extra fabric pooling at the waist, while it was still a bit snug in the back and backside. I basically just drew a curved back seam, shaping it in at the waist and giving myself more ease in the mid-back and down from my hips.
You can see on the dress form that it is fairly sleek in back, although I did leave more ease in the waist. The belt pulls that in, while the coat stays comfortable. I also narrowed the shoulders a little. The style is meant to have a slightly dropped shoulder, but that isn't what I was looking for. I added a small pad as well to firm up the shoulder line.
You wanna see the lining?
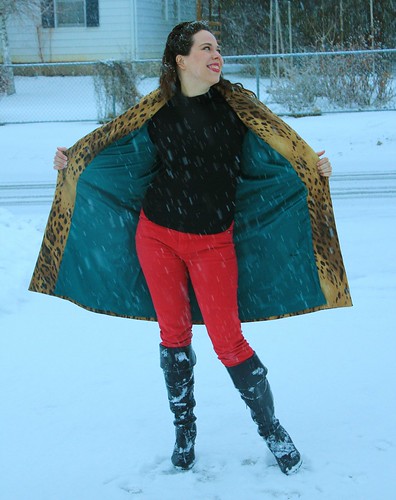
Teal!! Isn't it gorgeous!?! It's a stretch satin from Fashion Fabrics Club and it is really luscious. It's soft and silky, but also a little beefy - really perfect for a coat lining. The pattern actually only called for a half lining to the waist, but I went ahead and drafted a lining to the hem. If you're going to make a coat, you really ought to line the thing for real, right?
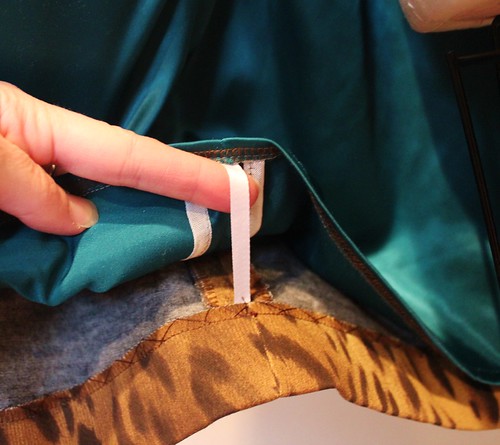
Coat linings are generally left free at the hem, and tacked in place at the side seams. I used a technique from Connie Long's Easy Guide to Sewing Linings that uses narrow ribbon, or in this case, twill tape in place of hand sewn French tacks. You simply stitch in the tape as you hem the lining, then tack it (I did this part by hand) into the coat hem.
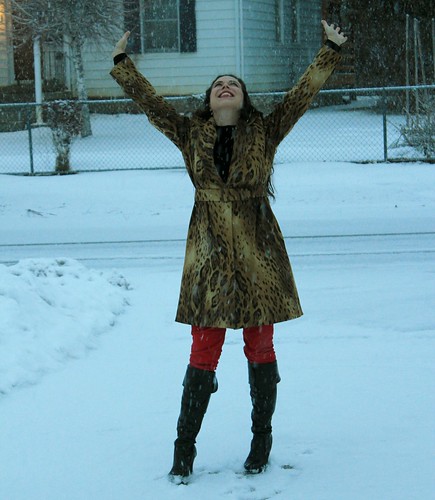
I made a coat! And I love it!
Monday, February 25, 2013

Tailoring by machine

Hey all! Sorry I just dropped off the earth for a week there! It wasn't intentional, but I've been working on my coat, and making good progress, then the household was hit with the crud that's been going around, so the weekend was sort of shot. The coat should be done in a day or two, but before the big reveal, I wanted to talk a little about the tailoring I did on this one.
For this coat, I decided to try the machine method of tailoring. I've use the fusible method and the handsewn method, so this is my first attempt at tailoring by machine. I used my usual favorite tailoring resource, Tailoring: The Classic Guide to Sewing the Perfect Jacket. I have an older edition than the one in the link, but the material is the same. I really love this book, and if you are even remotely interested in tailored garments, you really should have it in your personal library.
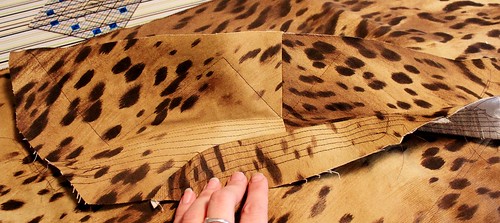
Anyway, here is my undercollar. All of the padstitching is done via curved lines of machine stitching. This particular pattern had a separate partial collar band which really helped shape the collar as well. I padstitched it separately and then sewed the two together.
Here you can see the major down side to machine tailoring - all of the stitching is visible from the right side of the undercollar. I did increase the contrast on this photo to make it really stand out, but IRL it does show. Since this fabric is a thin, smooth poplin, hand padstitches would have shown as well, so I decided that it wasn't a dealbreaker for me, particularly as I don't wear my collar up.
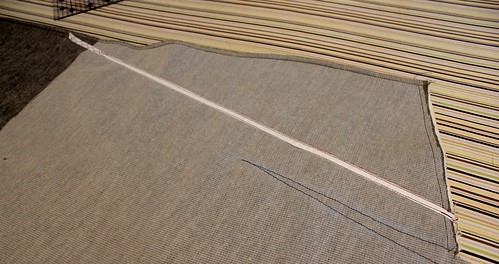
For the chestpiece, I sort of did my own thing. My outer fabric is a stretch poplin, and I really wanted to preserve the stretchiness in the body of the coat, so instead of tailoring with rigid canvas, I decided instead to underline the entire coat with a beefy wool jersey (for warmth, too) and use fusible tricot in the upper half of the coat, above the waist. I also taped the roll line. I really think that of all of the many things we do when we tailor a coat or jacket, taping the roll line makes the biggest difference, particularly when you consider how easy it is to do.
Again, this was done using the machine method, so the lines of stitching show, but are hidden under the lapel when the coat is worn.
Here's a little preview of how it all came together. The structure of the collar is really nice and crisp, and the body of the coat feels nice and substantial thanks to the wool jersey underlining. I can't wait to get it all finished and show it to you!!

Tuesday, January 29, 2013

Burda 08/2007-112 coat muslin

I'll admit, I'm not the best at making muslins. I know, I'd probably have better final outcomes if I did, but it is easily my least favorite part of sewing. Still, when one making a coat, even I think a muslin (test garment) is in order.
Here is the line drawing for Burda 08/2007-112.  As you can see, it is a fairly straight cut coat, shaped pretty much just with the belt, although there is a small dart that is hidden under the lapel that provides a small amount of shaping in the chest.

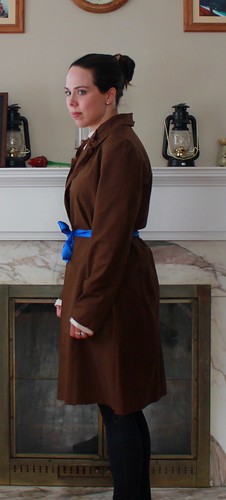
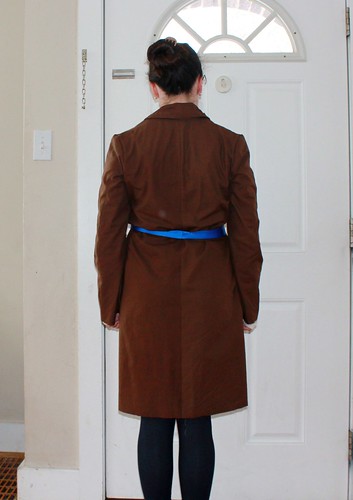
Here is an old sheet, cobbled loosely into the form of the coat, and tied with a random sash. Looks a bit like a bathrobe at the moment. My fit concerns here are all in the shoulder and sleeve. The shoulder seems to be slightly dropped, and I'm not sure if that is style or size. I do have narrow shoulders in front. The fold falling from the shoulder line is suggesting too much fabric there, so I need to consider that. The sleeves also seem to be twisting. I have no idea what that is about.
From the side, the sleeve looks great, and the hemline and side seams fall straight and even.I'm wondering if the collar is falling too far back, though.
In back, it looks OK, although there are a few wrinkles in the armpit in this pic. I'm not sure if those are real or just posture related.
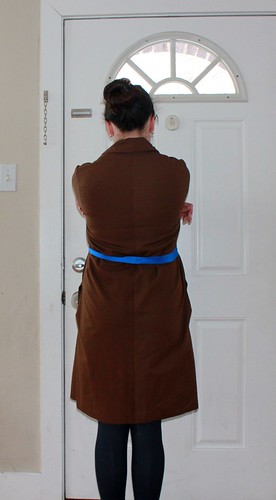
With my arms forward, it looks OK, but feels a little snug across my back and rear. I think I will release the center back seam from about mid back all the way down and add some width there for movement ease.

What do you think?