Showing posts with label doll. Show all posts

Monday, August 11, 2014

Lovely Lolita Blythe dress

Ruth told me in no uncertain terms that she was tired of me sewing for Barbie and she wanted a new dress.
Don't let her sweet face fool you. She rules the roost. So of course, she got her new dress.
Ruth has a Pullip type 3 body, so she's considerably smaller than Barbie. Fortunately, Pullip enthusiasts are a crafty bunch, so there are tons of detailed sewing patterns available.
This is the Lovely Lolita Puffy sleeve dress, designed for Blythe, but you can see it works well for the Pullip body also. It is a bit large in the waist and short in the skirt, but I think that contributes to the sweet look.
Since I wasn't sure it was going to work for Ruth, I modified the pattern to simplify it just a little. As designed it has a doubled sleeve that has the appearance of an undershirt/dress combo. I skipped the undersleeve/cuff and also omitted the belt.
Of course, I had to keep the sweet little collar, even though it was a bit fussy to turn. I added a line of yellow buttons to the bodice as well.
The pattern also includes an elastic waist crinoline, which Ruth is a bit embarrassed to show you. There is a pattern for socks/stockings included, but I didn't think they would work well on Ruth's longer legs.
The crinoline really gives the skirt a nice poof, but to add to the volume I also underlined the skirt panel in silk organza.
The bodice is also fully lined, as per the pattern. I used silk organza here as well. Lining fabrics at this scale can add bulk, but this isn't a problem with organza.
Ruth and I are both pleased with her new dress. It's terribly sweet, and it suits her well. As a bonus, it fits Skipper too, so now I know that I can use Blythe patterns to sew for Skipper. Very cool.

Saturday, January 25, 2014

Ottobre 04/2004-12 ruffle knit dress

While the serger was still threaded with red after making 
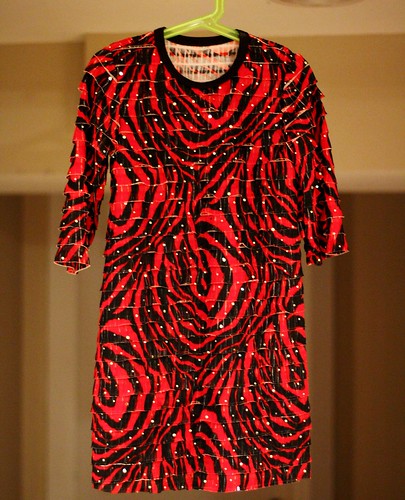
my sweater, I decided to finally sew up this sequined zebra ruffle knit that I bought for Jungle January last year.
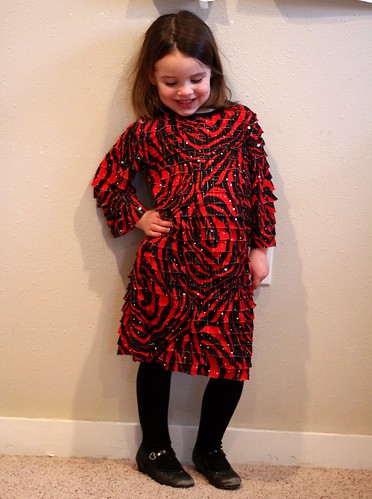
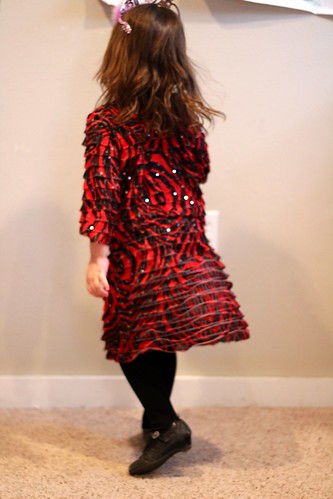
Fabric with this much going on called for an extremely simple design with minimal seaming. I chose a basic a line dress from the 04/2004 issue of Ottobre.
The dress is drafted for woven fabrics, so I went down a size from Myra's usual. I've also found that the older issues of Ottobre tend to incorporate more ease. As you can see, this is a loose fitting dress, despite being a size smaller than she typically wears.
This was my first time sewing with ruffle knit, and I wanted to share a few things that I've learned so far. As I mentioned, it's definitely to your advantage to choose a simple design with minimal seaming. A simple one piece dress like this one is great. A skirt with an elastic waist or a basic tee or tank would also work well.
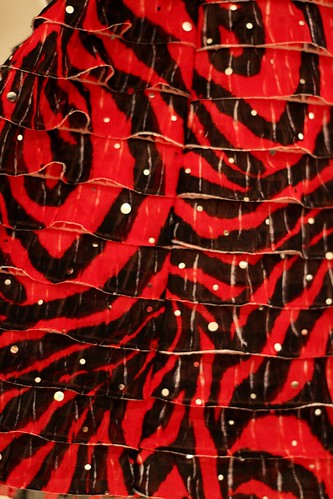
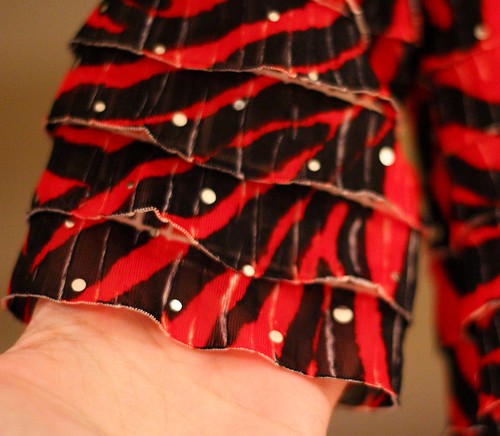
When laying out your ruffle knit, remember that you must use a with nap layout, making sure that all your ruffles are falling in the correct direction. You will also need to treat the ruffles as stripes, and match them accordingly. I found that if I cut out my pieces on the fold, I ended up cutting into the ruffles accidentally, so I recommend using a single layer layout. It is also ESSENTIAL that you baste the ruffles down in the seam allowances prior to starting construction. You do not want to end up with a ruffle going the wrong direction in a seam! I like using a zigzag stitch to baste them down, as it preserves the stretch of the knit.
For the neckline and armholes if you are making a tank, you'll need to consider an edge finish. I used a rib knit binding, making sure that my ruffles were basted in place prior to applying the binding. Another option would be a facing or lining, but you'll want to use another fabric, as the ruffles would add bulk. A soft tricot knit or swimwear lining would be perfect.
One fun aspect of sewing ruffle knit is that the ruffles provide a perfect easy hem finish! Just trim away the mesh underneath the bottom ruffle. The mesh won't fray, in fact, mine curls up nicely out of the way. The ruffles themselves are already finished on the bottom edge.
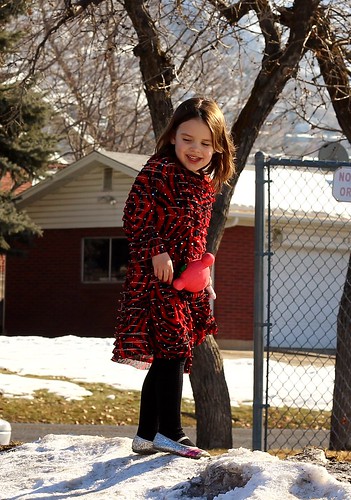
Despite the slim skirt on this dress, the ruffles give it plenty of movement, much like a flapper girl fringe. Myra loves twirling in it!
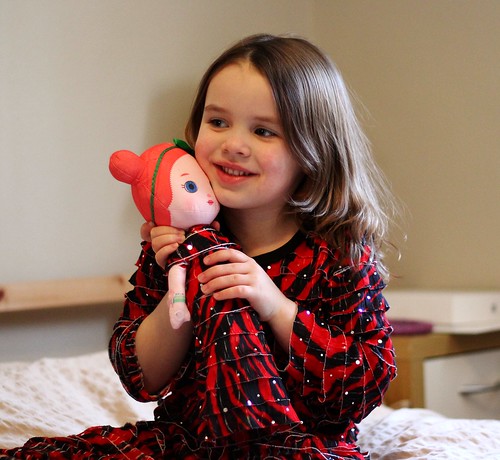
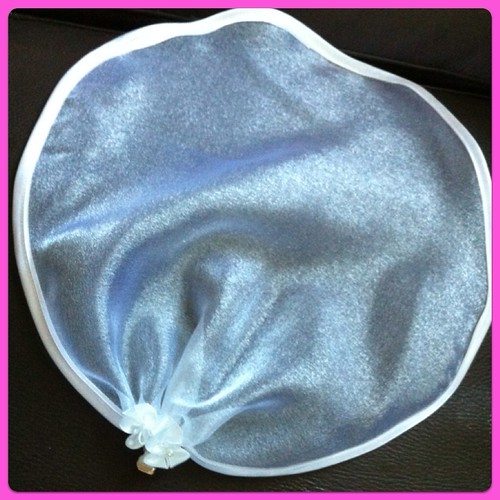
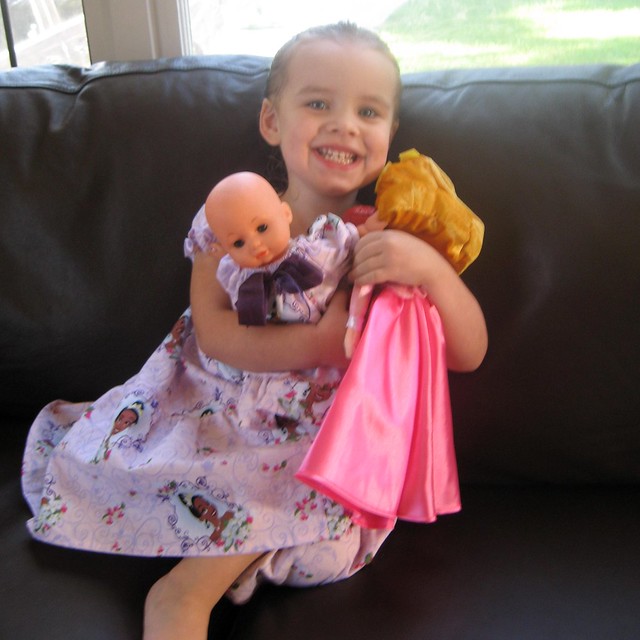
Since Myra's dress left a few largish scraps of knit left, I also made a dress for 
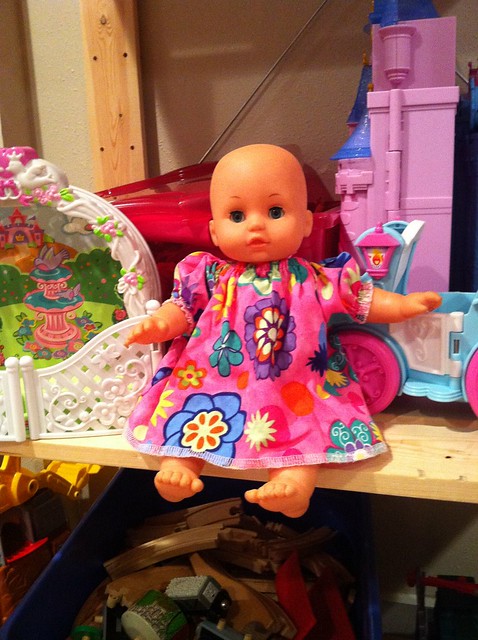
Myra's favorite doll. Myra insists that her dolls always wear floor length gowns. The ruffle knit drapes in a pretty little cape over her shoulders.
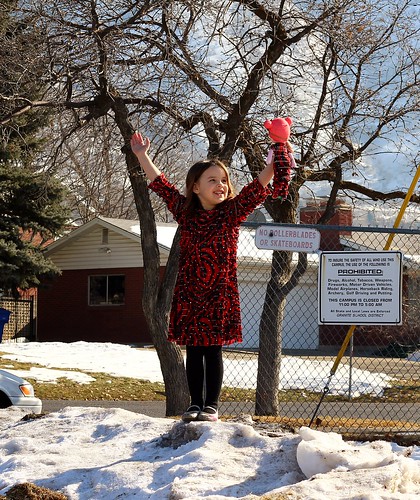
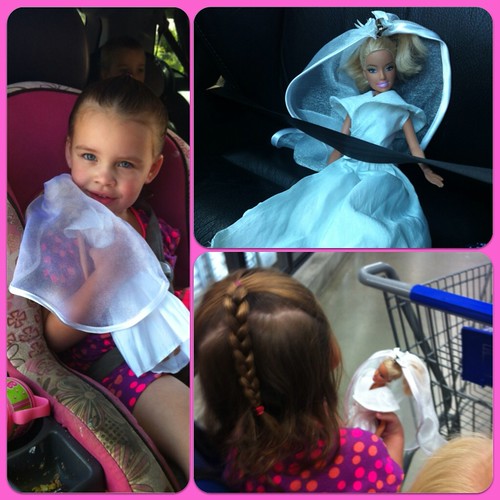
Myra and her Myra doll are both very happy with their new dresses. 
They are perfect for exploring.

Thursday, February 7, 2013

Butterick 4910 nightgowns

Now that Myra has been wearing her nightgown in place of PJs for a few weeks, it is clear that she is fully converted. She's been asking for more gowns, but the pattern I used before takes a lot of yardage, and my stash was in shorter "PJ" lengths.
So I decided to use Butterick 4910, which I have used before for this costume, this top and this dress. Since the gingerbread dress actually still fits her, I just used those pattern pieces and added length to make it floor length.
I made up all of the girly flannel I had in my stash - pink polka dots for one and a ballet themed print for the other. Both pieces were purchased at Joann.
I added a faux button placket to the polka dot one, just by appliqueing a strip of lace at center front and stitching on some coordinating buttons.
To the ballet themed gown, I just tacked a pink bow at center front. It's easier to tell the back from the front this way.
After I finished cutting out the ballet gown, there was a big chunk of flannel left that wasn't really big enough to save, but it was just enough for a matching gown for Myra's favorite baby doll. I used the pattern I drafted here.
Now my little sleeping beauty has plenty of gowns fit for a princess.

Thursday, June 14, 2012

Simplicity 8333

There has been a lot of wedding talk* around here lately, and Myra was already a bit obsessed with brides, so she's been bugging me very interested lately in when I am going to sew her Barbie the promised wedding dress. Well, I don't really want to commit to the time I suspect it will take to make the Princess Katherine recreation right now (I do have a REAL wedding dress I'm working on!), so I decided to try out a different, but still fancy dress for Barbie's first wedding dress.
The pattern I used was part of my recent thrifting haul. It is Simplicity 8333, published in 1987. Although this isn't the "wedding" dress included with the pattern, I like it's lines much better than the fluffy, ruffly 80s wedding dress that is included. This dress is a simple wrap dress with a large collar. The skirt is full and gathered and it closes with a single snap at the waist. I used some scraps of taffeta left over from a previous wedding project and added a lace overlay to the collar, made of a swatch of Giselle stretch lace from fabric.com.
The bodice is actually pretty interesting. For Barbie clothes, it is extremely unfitted. In fact, the only seams are at the shoulders, so there is no shaping in the body at all. The wrap gives it some waist definition. The armholes are actually cut out of the bodice, clipped and turned under. All of the edge finishing is a simple 1/4 inch hem.
The veil is a large circle of organza, bound with satin binding and gathered at one edge. I topped it with some ribbon bows I had lying around and sewed on an alligator clip to affix it to Barbie's head. The clip is actually much too large and a bit unsightly, but it is easy for Myra to manage on her own, and I didn't want to spend all day fixing Barbie's veil.
Myra is thrilled with her new Barbie bride. She's always an appreciative child, but she was literally speechless when I showed her this. Myra's generally not one to cart toys around with her, but Barbie went everywhere with us.

* For those that may be curious, work on the wedding dress is proceeding well. We checked the fit on the lining this weekend, and only a minor tweak is needed, so I'm putting the bodice together now and we'll recheck the fit before I cut and assemble the lace overlay, There'll be a lot of precise work on the lace to do, and no chance to make fit changes at that stage, so I want it to be perfect before we proceed.

Friday, August 12, 2011

Birthday dresses

Myra loves her birthday dress, but as an added incentive I made her baby doll a matching dress as well.
Of course, you can't really see any of the dresses, since Myra is clutching Baby, Aurora and Jessie to her chest.
Here is the prototype, modeled by Myra's baby. It is a basic peasant style top with elastic shirring at the sleeves and cased elastic at the neckline, just like Myra's. For the final version, I added a 2 inch ruffle at the hem and a big purple bow at the neckline.

I couldn't find any free patterns that I liked for a 12 inch baby dress, and Simplicity patterns weren't on sale, so I decided to just draft it myself. I used the peasant top tutorial from indietutes. Her tute starts at a size 2 and is intended for a human, so I did have to scale it down a bit.
These are my pattern pieces. For the basic square shapes, the bodice (the upper piece in the photo) measures  7 3/4 inches tall and 5 1/4 inches wide. The sleeve measures 4 3/4 by 3 3/4. 3/8 inch seam allowances and 1/2 inch casing and hem allowances are included. For the armhole and neckline shaping, I just freehanded a curve . You do want the same curve on your bodice and armhole, so I drew the curve on one piece and then traced it onto the other. Vegbee's tutorial goes through the assembly so I'm not going to recreate the wheel  here, but should you need a peasant top or dress for a 12 inch baby doll, there you have it! This makes a knee length dress on my 12 inch tall baby, with the ruffle it goes to her ankles. I imagine this pattern would also work for an 18 inch doll, with appropriate length modifications.