the other child begs for mercilessly, until in a fit of annoyance, his mother caves and makes him a darn pillow already!
I had this little piece of helicopter flannel. It was less than a half yard, which isn't enough for really much of anything, but is just right for a pillow.
Good thing that kid is cute...
I've been busily sewing fun stuff for me, but my bias is hanging and there are a lot of buttons that need sewing on. I'll have something fun to show you tomorrow, I hope!
ETA: I am loving all of the ways our kiddos say pillows!! Over here, Myra calls hers a "p'loh" and Logan says, "piddow". So cute!! Keep them coming!
Also, for beangirl and anyone else who may be interested, The pillows are just 45 wide fabric, folded right sides together and trimmed to a length that looks right (I know, helpful, right?). Then seamed on the three open sides with an opening left to stuff. I've been using regular old polyester fiberfil and them slipstitching the opening shut. Easy 30 minute project and it keeps the house apes happy.
Friday, April 9, 2010
Thursday, April 8, 2010
McCall's 5522
Hallelujah!! I just made a blouse straight out of the envelope with NO alterations and it FITS!!! I can see why this is such a popular pattern. I'm going to make about 16 more of them.
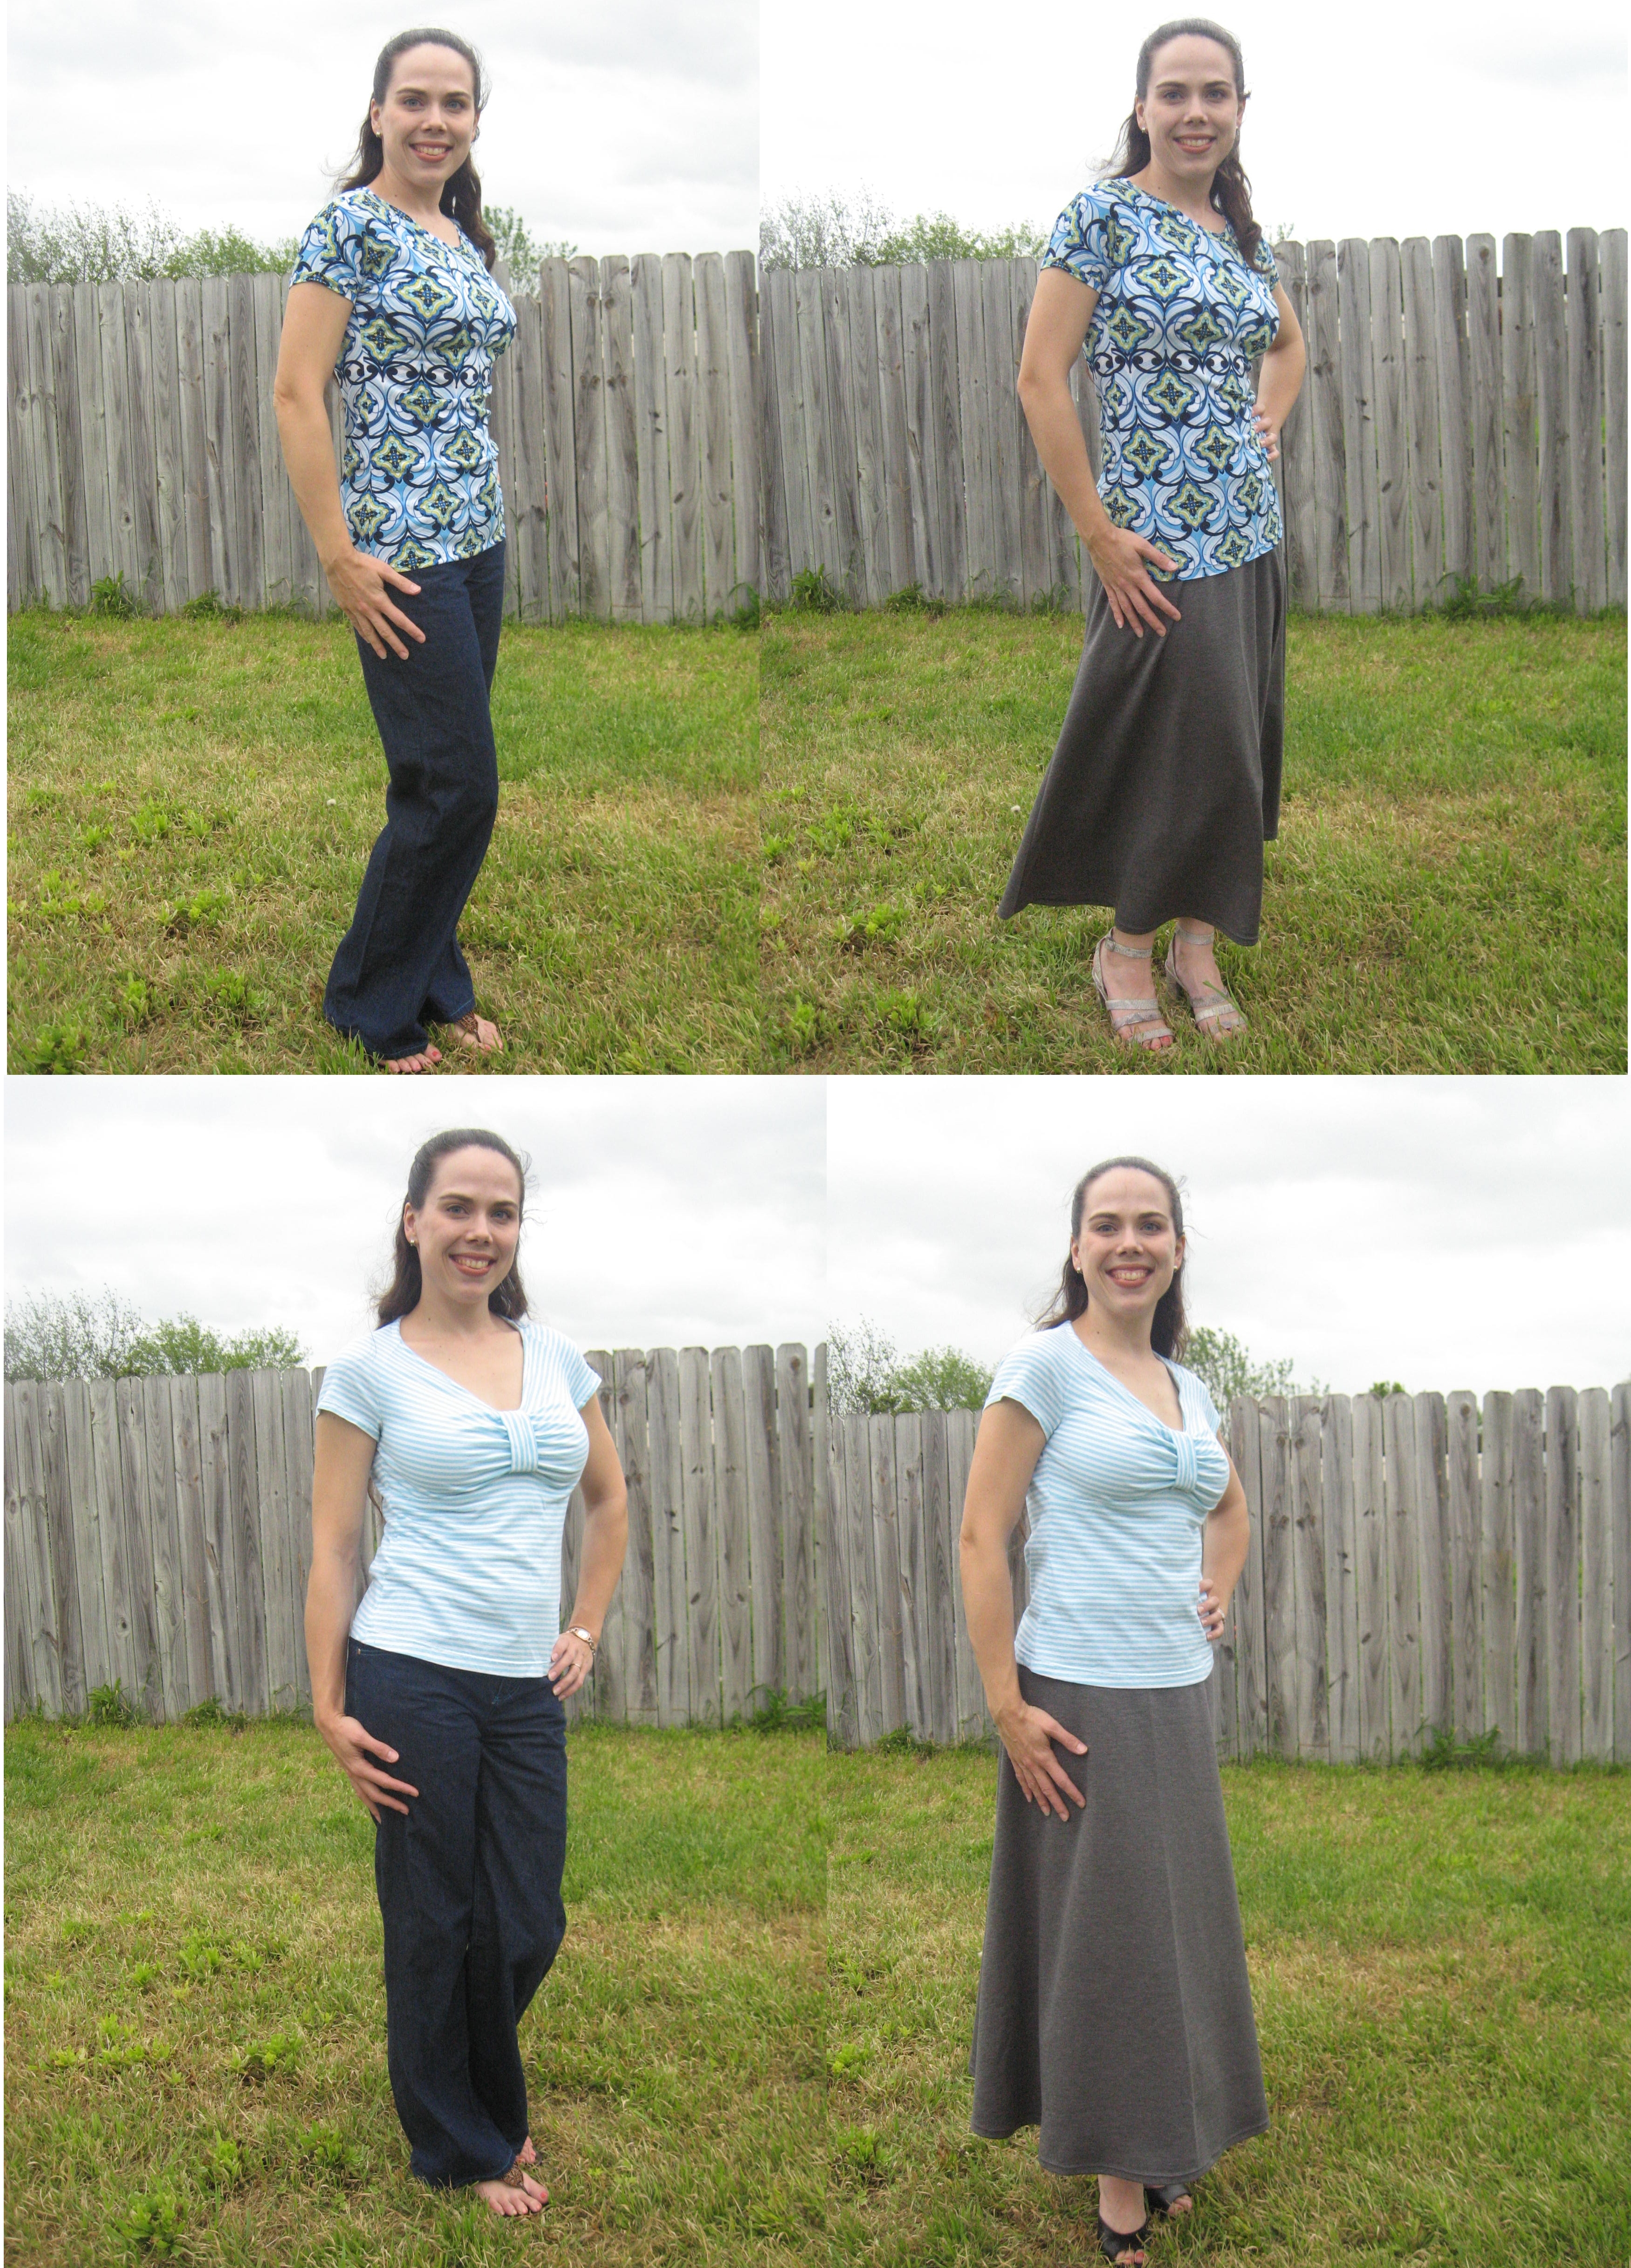
I've been sewing a size 12 (which is one size smaller than my measurements), and adding an FBA. The last two tops that I've made have been a bit of a disappointment fit-wise. For this one I decided to just bite the bullet and sew the size 10. Since this is a "Made for You" pattern with cup sizes, I didn't do an FBA, just used the D cup pattern pieces. I cannot believe how well it fits. I was nervous about it, and sewed it with 1 inch side seams (which meant I totally ignored the pattern instructions, but whatever). I didn't need the extra space. The fit is amazing. I didn't like the giant puff sleeves though, so I just used the plain long sleeve from the pattern and shortened it to a cap. There is a ginormous amount of ease in the sleeve cap, and rather then fight with it, I just made it a puffed sleeve. Yes, there is that much ease. But I like it.
If I was the nit-picky type, I'd probably point out the slight bit of extra room in the back, suggesting that maybe a sway back adjustment would have been appropriate. But I'm not. This time. The only change I will make (besides the wee pinch in the back) would be to lengthen it, but that is just my personal preference. I'm wearing it with my low-rise Jalie jeans, and as you can see, it covers the topic.
I LOVE THIS PATTERN!!
Check my top out on Make it Wear It at The Train to Crazy
I've been sewing a size 12 (which is one size smaller than my measurements), and adding an FBA. The last two tops that I've made have been a bit of a disappointment fit-wise. For this one I decided to just bite the bullet and sew the size 10. Since this is a "Made for You" pattern with cup sizes, I didn't do an FBA, just used the D cup pattern pieces. I cannot believe how well it fits. I was nervous about it, and sewed it with 1 inch side seams (which meant I totally ignored the pattern instructions, but whatever). I didn't need the extra space. The fit is amazing. I didn't like the giant puff sleeves though, so I just used the plain long sleeve from the pattern and shortened it to a cap. There is a ginormous amount of ease in the sleeve cap, and rather then fight with it, I just made it a puffed sleeve. Yes, there is that much ease. But I like it.
If I was the nit-picky type, I'd probably point out the slight bit of extra room in the back, suggesting that maybe a sway back adjustment would have been appropriate. But I'm not. This time. The only change I will make (besides the wee pinch in the back) would be to lengthen it, but that is just my personal preference. I'm wearing it with my low-rise Jalie jeans, and as you can see, it covers the topic.
I LOVE THIS PATTERN!!
Check my top out on Make it Wear It at The Train to Crazy
Labels:
blouse,
McCalls 5522,
misses
Wednesday, April 7, 2010
Vintage Simplicity 2823
I've been dying to make this sweet little vintage dress for Myra. When my Aunt Lil sent me this fabric, I immediately thought of this pattern. And so they are together.
I purchased the lace, but all of the other components of this dress were given to me. The pattern from my friend Gerry, my Aunt sent the fabric and the buttons came from my friend Starla. I even sewed it on the machine Starla gave me! It seemed appropriate to sew the vintage dress on the vintage machine.
Here is the yoke and buttons up close.
This pattern is so sweet, and I really love the design, but I have to say that I read the instructions and went, "What??" I wonder if women in the 40s ever used their sewing machines??? There was so much hand sewing! The hem, the bias bound yoke, the trim, and the buttonholes (!) all are supposed to be hand sewn. I didn't even hand sew on the buttons... The instructions were very complete, though. I had understood that vintage instructions were frequently too brief and assumed that you knew the basics, but these included instructions for seam finishing and stay stitching which I think modern patterns skip all too often. There were also good instructions for those hand worked buttonholes.
It is a perfect fit on my little princess. Isn't she sweet??
Here are the panties that the pattern included. They aren't my favorite. I prefer the Ruby's bloomers pattern from Weekend Sewing, but they are cute.
We took a LOT of pictures, but I'll just share a few of my favorites.
After our little photo shoot, Myra wanted to help with her next dress...
I purchased the lace, but all of the other components of this dress were given to me. The pattern from my friend Gerry, my Aunt sent the fabric and the buttons came from my friend Starla. I even sewed it on the machine Starla gave me! It seemed appropriate to sew the vintage dress on the vintage machine.
Here is the yoke and buttons up close.
This pattern is so sweet, and I really love the design, but I have to say that I read the instructions and went, "What??" I wonder if women in the 40s ever used their sewing machines??? There was so much hand sewing! The hem, the bias bound yoke, the trim, and the buttonholes (!) all are supposed to be hand sewn. I didn't even hand sew on the buttons... The instructions were very complete, though. I had understood that vintage instructions were frequently too brief and assumed that you knew the basics, but these included instructions for seam finishing and stay stitching which I think modern patterns skip all too often. There were also good instructions for those hand worked buttonholes.
It is a perfect fit on my little princess. Isn't she sweet??
Here are the panties that the pattern included. They aren't my favorite. I prefer the Ruby's bloomers pattern from Weekend Sewing, but they are cute.
We took a LOT of pictures, but I'll just share a few of my favorites.
After our little photo shoot, Myra wanted to help with her next dress...
Labels:
dress,
girls,
Simplicity 2823,
vintage
Tuesday, April 6, 2010
Easter pictures
We finally got some pictures of all of us in our Easter clothes.
Here is Logan. It's hard to get a picture of him sitting still... His shirt is Ottobre 02/2005-25, and the pants are 01/2009-25.
Here's Myra, showing off New Look 6575.
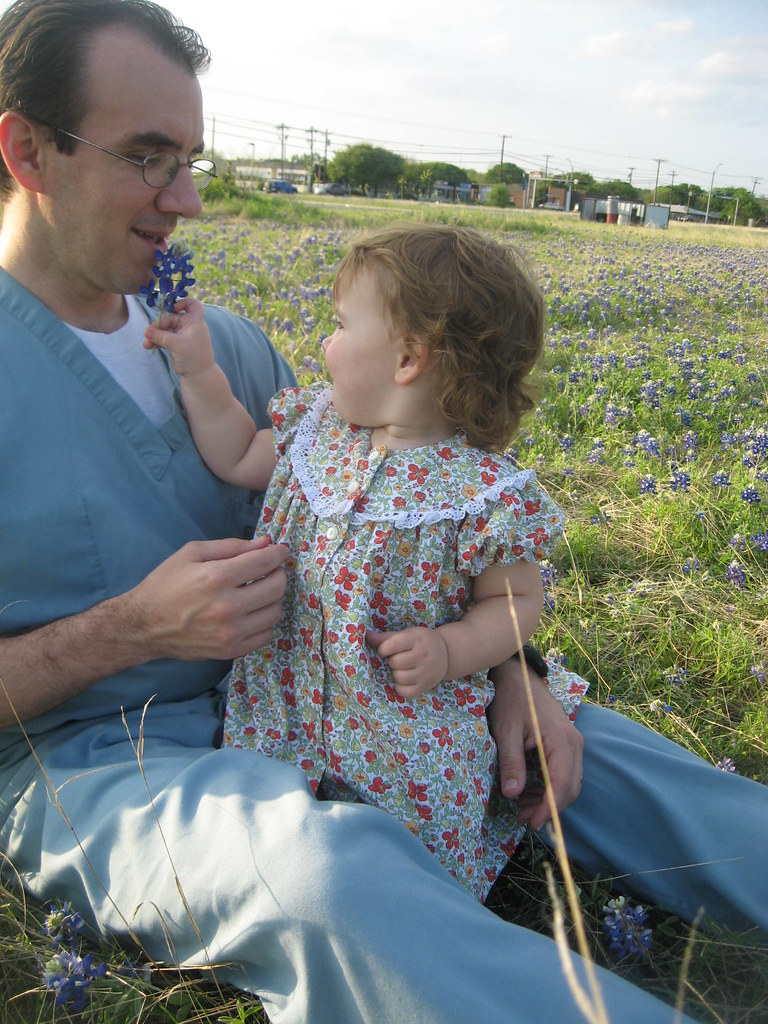
Here in Central Texas, we have a bit of a tradition in that we all go a little crazy when the Bluebonnets are in bloom and take family and kid pictures in the fields that are all around.
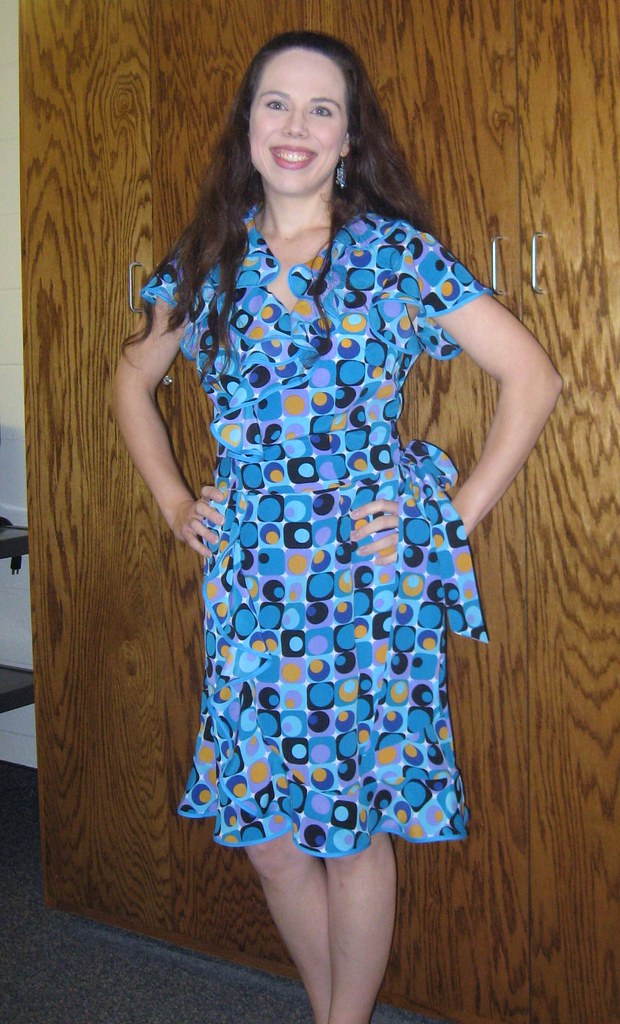
Here I am in McCall's 6024. Sorry no Bluebonnets, I was too busy corralling kids to get pictures of myself! This one was taken at church.
Here is Logan. It's hard to get a picture of him sitting still... His shirt is Ottobre 02/2005-25, and the pants are 01/2009-25.
Here's Myra, showing off New Look 6575.
Here in Central Texas, we have a bit of a tradition in that we all go a little crazy when the Bluebonnets are in bloom and take family and kid pictures in the fields that are all around.
Here I am in McCall's 6024. Sorry no Bluebonnets, I was too busy corralling kids to get pictures of myself! This one was taken at church.
Labels:
holiday
Monday, April 5, 2010
The Mini Wardrobe - the final cut.
Thanks so much to everyone who commented with thoughts about which tops to include in the mini wardrobe. I've been stewing over it all weekend! There were some seriously compelling arguments in all directions, but I finally just went with a simple vote and the two knit tops won by a landslide!
So, here is the updated storyboard.
And the final composite.
I will say that this was a seriously tougher decision then I thought it would be! The fact that the woven top was the more difficult piece to sew has weighed on my mind, and I nearly went with it to replace the printed RTW copy tee, which is a very simple design. In the end though, not only did the tee get almost twice as many "votes", I just like it better, so in it goes. I have worn all of these pieces now, and I have to say, I really love them all. No matter how the contest goes, I totally won, since I got to add all of these wonderful pieces to my closet. As a bonus, I discovered an unexpected talent for fashion design in my hubby! Who knew?!
So, here is the updated storyboard.
And the final composite.
I will say that this was a seriously tougher decision then I thought it would be! The fact that the woven top was the more difficult piece to sew has weighed on my mind, and I nearly went with it to replace the printed RTW copy tee, which is a very simple design. In the end though, not only did the tee get almost twice as many "votes", I just like it better, so in it goes. I have worn all of these pieces now, and I have to say, I really love them all. No matter how the contest goes, I totally won, since I got to add all of these wonderful pieces to my closet. As a bonus, I discovered an unexpected talent for fashion design in my hubby! Who knew?!
Labels:
contest
Subscribe to:
Posts (Atom)