I've mentioned that I'm participating in
Kitschy Coo's
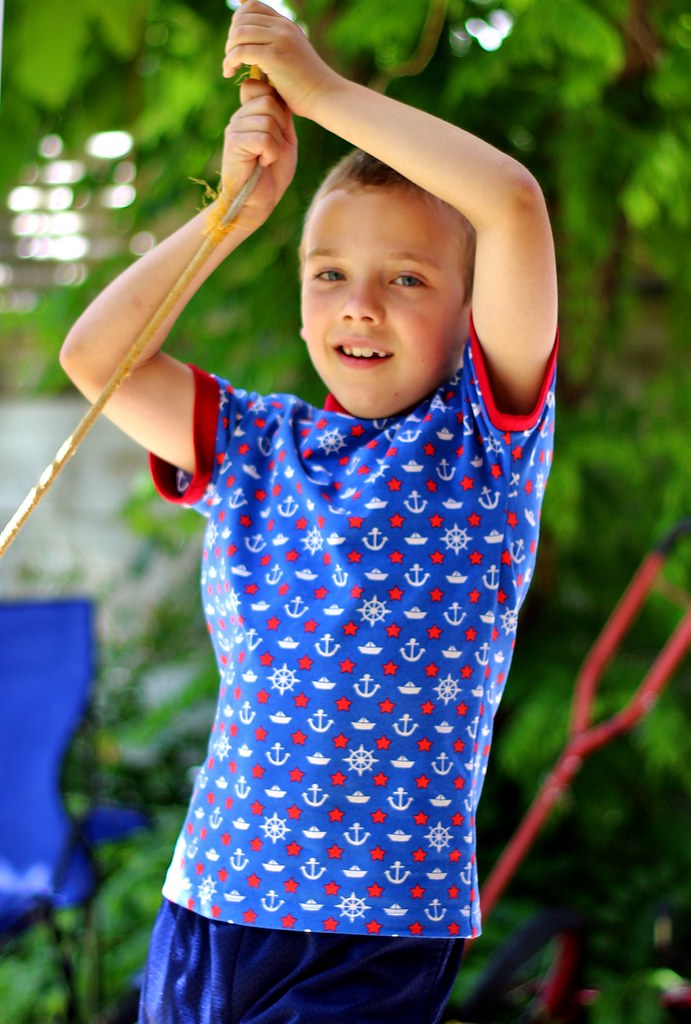
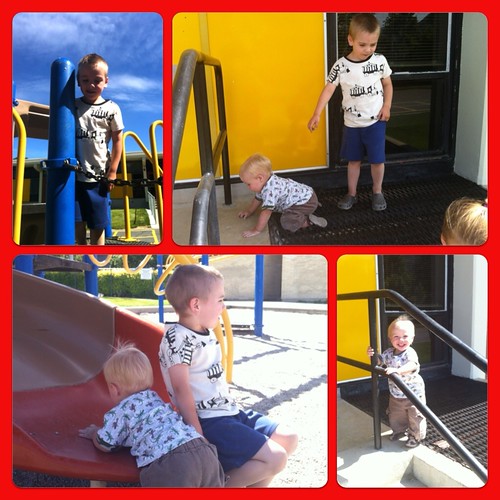
Dolmaniac's Sew-Along, and here is my first effort. Amanda was kind enough to draft the pattern to fit all of my kids, so naturally they all got new shirts! First, the boys...
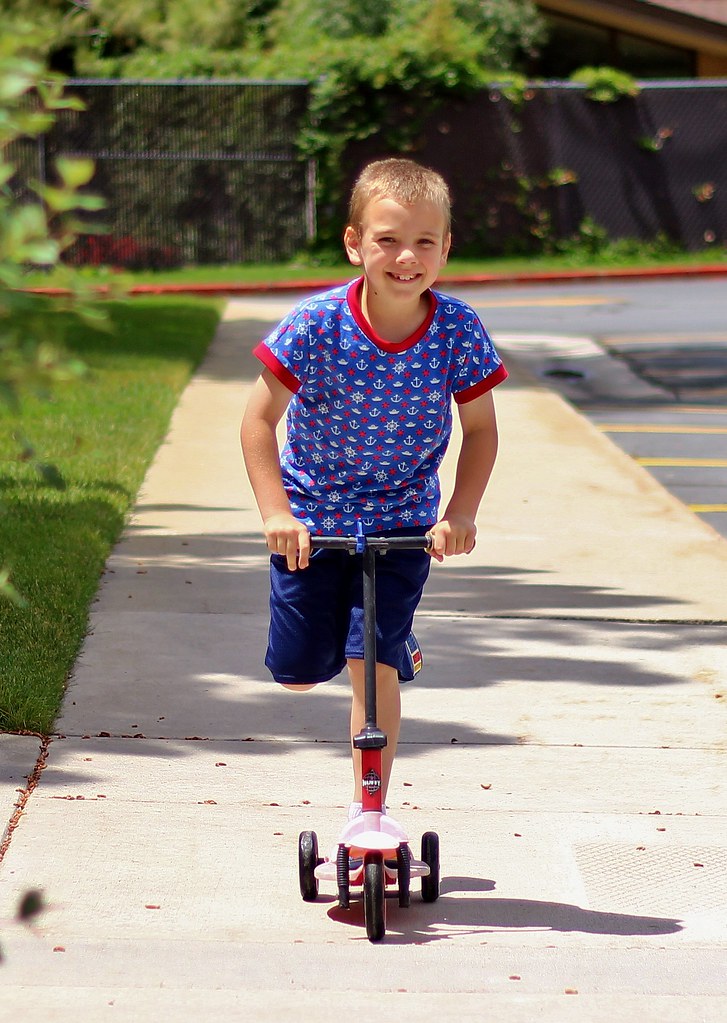
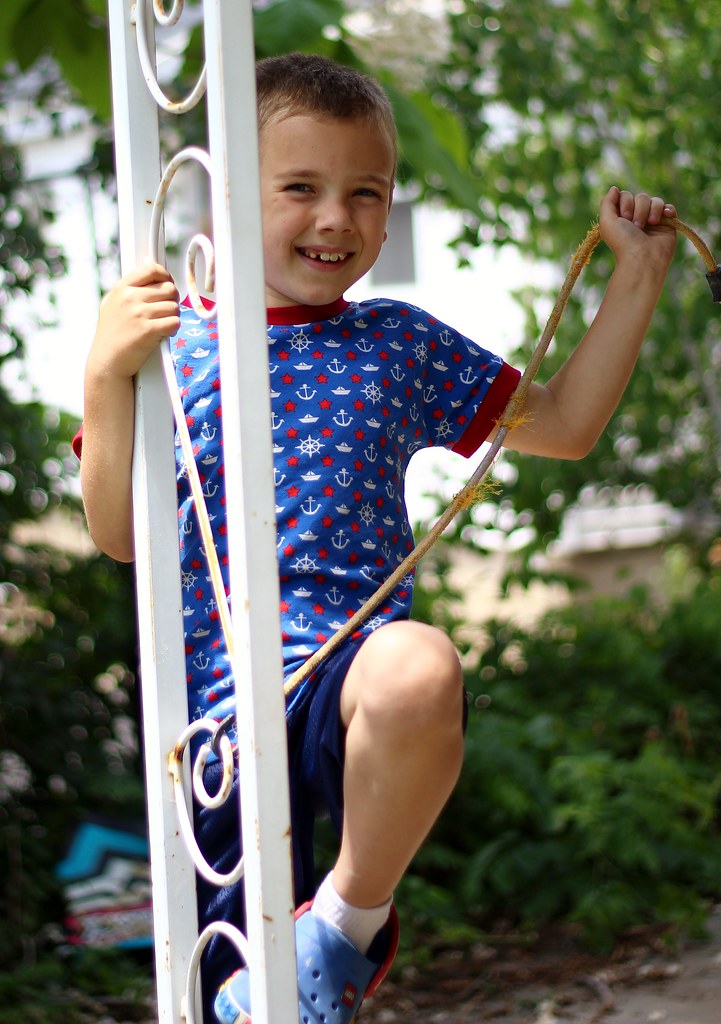
I love that this tee works just as well for boys as it does for girls. Both my boys are happy and comfortable - not to mention cute! - in their Dolman Tops.
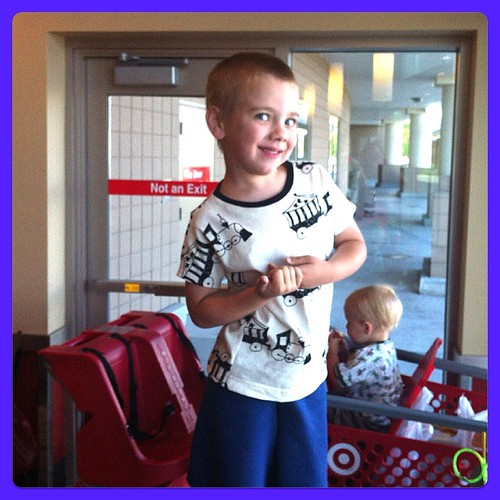
Logan was the most in need of a new shirt, so I made his first. And he is all smiles! The size 5/6 is a perfect fit.
The pattern is the
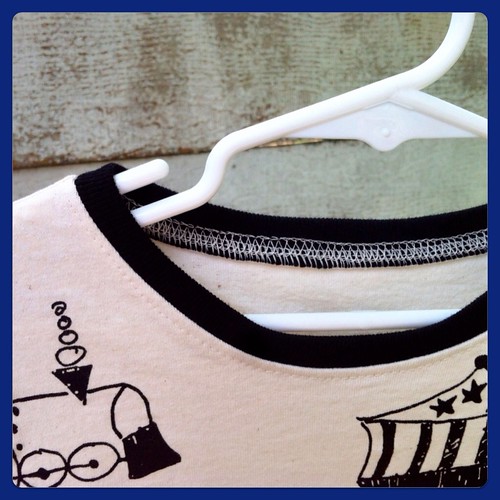
Dolman Top by Kitschy Coo. I used a fun circus train screen printed jersey (from
the Fabric Fairy) for Logan's top, with black ribbing for the neckband. Since Logan has some sensory integration issues, I didn't use the armbands or waistband. He doesn't like his clothing to be at all constricting. This pattern is really perfect for him, as he can be sensitive to clothing with a lot of seams, and this top only has 4.
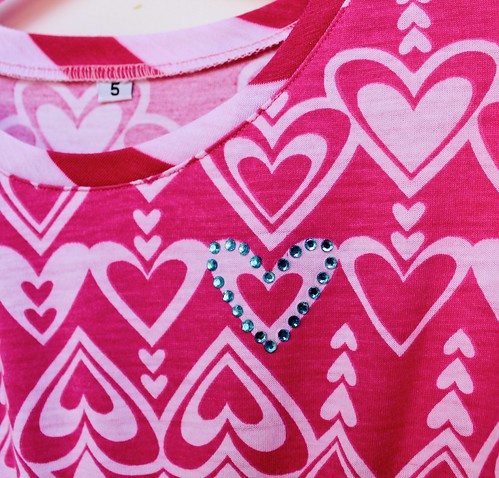
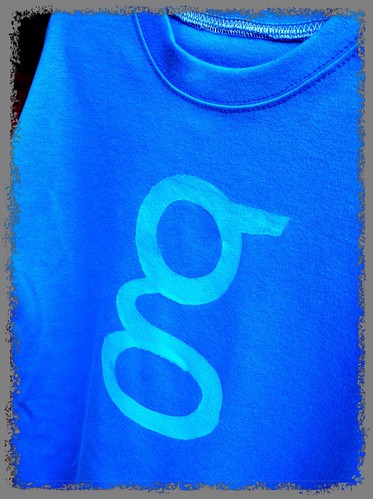
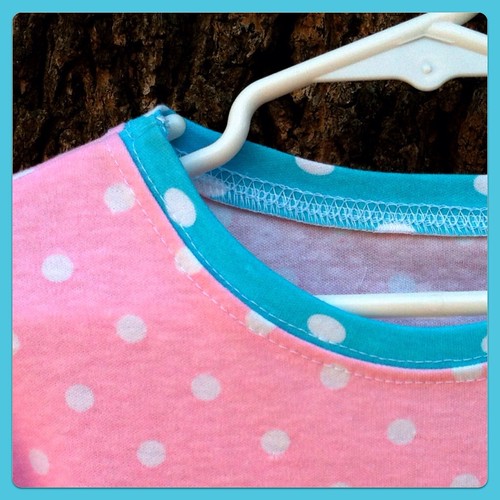
The neckband application method used in the pattern is really superb. See how smooth and flat it lies? Beautiful drafting, there. I used my coverstitch machine to topstitch the band, with cream thread in one needle and black in the other. The two lines of stitching straddle the seam, so the cream stitching blends with the cream top and the black stitching with the black neckband.
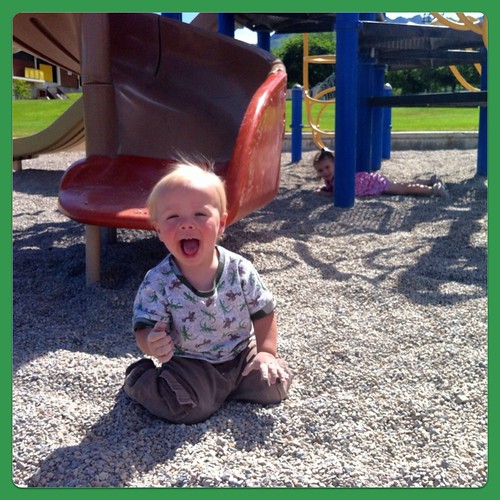
This photograph expresses best how we all feel about this pattern and shirt. Can you hear the chorus of angels?
Duncan likes his, too. For him, I used the smallest size - 18M/2T. It has a looser fit than Logan's, but Duncan is barely 18 months old and a bit small for his age anyway. The neckline is nice and generous, so it was easy to get over his giant head.
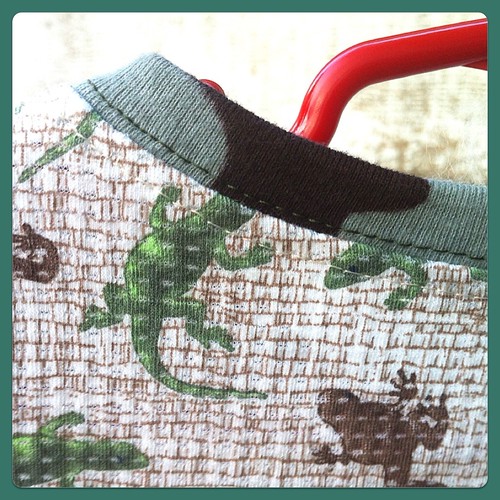
The fabric for Duncan's top is a cotton-lycra waffle knit that my mother brought home from Expo a couple of years ago. It is super soft and comfy and you can't get much more 'boy' than frogs and lizards. Just to be clear on the subject, I used a camo rib knit for the neck and arm bands.
The topstitching is a little easier to see on this one - green on the band and cream again for the top. Several RTW garments that the kids have are topstitched this way, and I think it gives it a more professional look.
We are all smiles about our
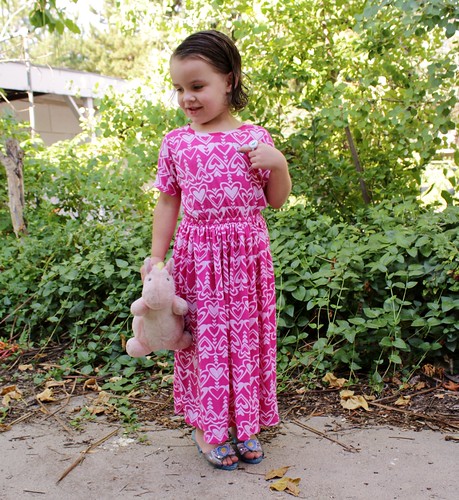
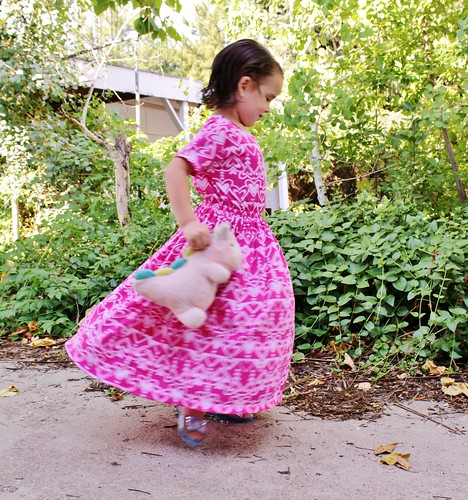
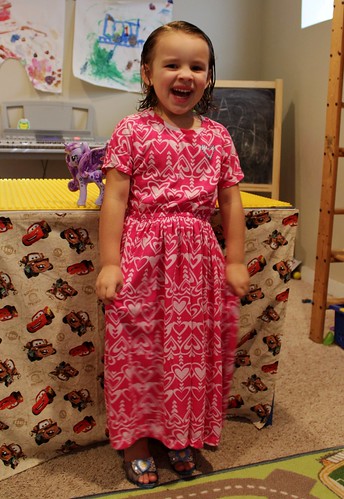
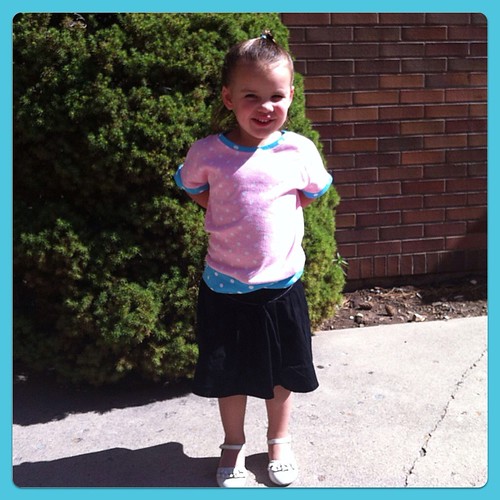
Dolman Tops! Next up will be a girlie version, then I'm going to mix up the pattern a little to try some other fun options. Stay tuned! And be sure to check out all of the Dolman Tops in
the Flickr group and add your own!


