Showing posts with label shirt. Show all posts

Sunday, November 3, 2019

It's a Jalie Halloween!

I don't think I have very many costume years left with this one, so I was pretty thrilled when she designed her own costume this year. Fortunately, it was doable within a pretty quick time frame, as time has been in short supply lately.
Here she is with her original design. She made a few tweaks to it before we got going, so the final result isn't exactly like her model, but it is exactly what she wanted! She asked me to make her silver leggings with a coral top that had gold sleeves. As you wish...
For the top, I made Jalie 2805, with the crew neckline and 3/4 sleeve. Other than cutting the sleeves out of a contrasting fabric, the pattern required no alterations to manage Myra's vision.
She requested her costume feature an amulet at the hip, so I added it with heat transfer vinyl as per her instruction.
The pants are made with Jalie 3887, the Clara leggings. I've been terribly remiss as a blogger, as I've made at least a dozen of these in various sizes and from various fabrics. Myra LOVES this pattern, and this is actually the second size I've traced for her. I do add some height in the back waist, which is a typical adjustment for Myra.
The Clara is an amazing basic leggings pattern and it was perfect for this crazy hologram lycra. For the record, it's also fantastic in DBP, cotton-lycra, rayon-lycra and denim knit. We really love this pattern.
Love the fit in back as well!!
And while it was made for Halloween, it also works as daily wear, if you are a sassy preteen!

Thursday, June 6, 2019

Angela Wolf Ruched Tee

Lately, I've been having a hard time feeling inspired. We're busy, and with summer vacation here, my sewing time is extremely limited, but I ran across some YouTube videos recently by Angela Wolf, which led me to her Facebook group, which resulted in this top. Sometimes inspiration takes roundabout paths, and you just have to go along for the ride.
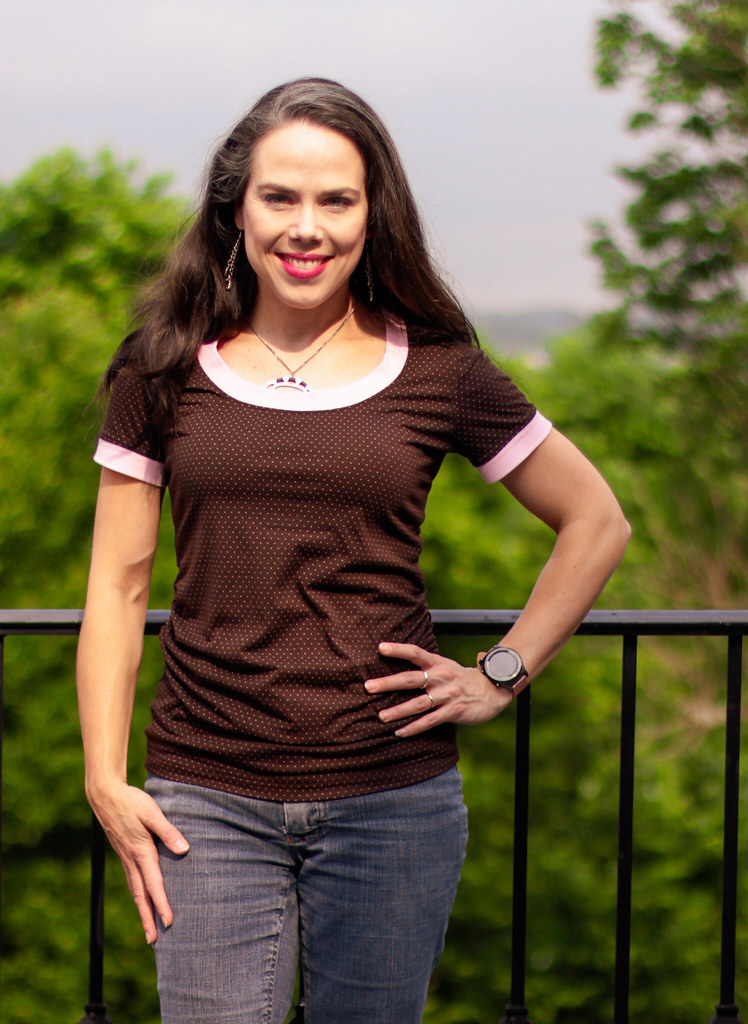
This is the Ruched Tee by Angela Wolf Patterns. I know, I have a zillion basic tee patterns, but every time I pulled one out, I just didn't want to sew it. And I really DID want to sew this one! I have no regrets.
The skinny on this pattern - it's a fitted scoop neck tee with sleeve and collar options. Since this was my first time sewing it, I went with the simplest options, which were a short sleeve and a narrow banded neckline.
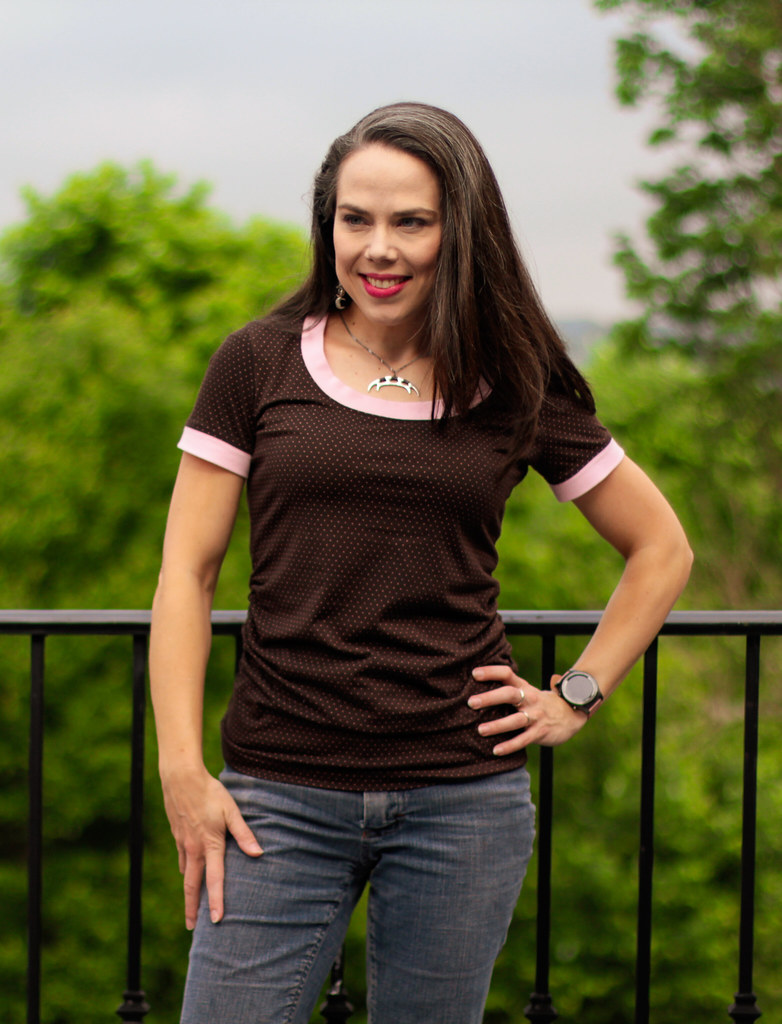
Isn't that a lovely neckline? Wider bands can be troublesome sometimes, but this one lays nice and flat. Of course, I couldn't leave well enough alone, so I added a band to the sleeve hem as well, for a ringer tee look. Me likey.
The shaping is nice through the back, and the neckline hugs the back neck perfectly. I really like the finished length as well. I find it very flattering, but also allows easy back pocket access. Essential for me, as that's where I generally stick my phone.
Of course, it wouldn't be called a ruched tee if there wasn't ruching! The pattern includes options for ruching either or both side seams, as well as the longer sleeve lengths. The instructions were really fantastic. This is my first Angela Wolf pattern, but I was so impressed by the pattern quality that I've already ordered her jeans pattern as well. The instructions are in a lovely spiral bound notebook, and the pattern is printed on really nice quality paper. It was a pleasure to use!
This fabric has been in the stash so long I can't recall when I bought it, but it had a fabricmart sticker on it. It's a lightweight rayon lycra with a perfect drape for this top. The bands are a pink rib knit that perfectly match the teeny pink polka dots. I'm pretty sure it's from Chez Ami. I miss their fabric!
So, the verdict? This pattern is a huge win! I will definitely be making it again. There is a cowl neck option! Y'all, I love a cowl neck! And I can't wait to get my jeans pattern. I do love making jeans. You know, sometimes sewing inspiration can be tough to find. I'm glad my random path led me here. Back to the sewing machines!

Tuesday, April 16, 2019

McCalls 6122

Y'all, it's been so long since I sewed a Big 4 pattern, I wasn't sure I remembered what to do! But I'm struggling mightily with lack of time and lack of mojo, so when inspiration struck, I knew I needed to run with it.
And despite wrangling my usual alterations, and remembering how to sew a woven, I'm glad I did. It felt good to tackle something a little more challenging than leggings or a tee shirt.
So, this pattern is McCalls 6122, which is of course, long out of print. It's a Palmer/Pletsch  pattern, so I feel like the instructions were a little better than the run of the mill Big 4 which was nice, since the collar construction was a little unusual, and I didn't make it easy on myself by adding embroidery.
It's a pretty straightforward sew though, for the most part. The front bodice is cut on the bias, which looks pretty cool in my slubby chambray. The peplum has a narrow, curved hem, and the bodice shaping comes from vertical waist darts.
The button placket is interesting though. I've sewn concealed plackets, but generally I've seen them done as foldover plackets. Since the collar points are continuous with the facing and blouse front, that doesn't work here, so instead, the placket is pieced onto the blouse front and the facing, then tucked in like a long, narrow in seam pocket. That works out well both to keep the placket from interfering with the collar, and also to eliminate any issues that might arise from the bodice front being on the bias, since the placket piece is cut on grain.
In back, you can see the wrinkles from this morning's car ride with my kids, as well as the nice shape back here. There are vertical darts for shaping, as well as the waist seam. You can also sort of see the collar. There is an undercollar there, but the upper part is continuous with the front facing, much like constructing a shawl collar.
One of the reasons I selected this pattern was that I wanted to embroider! And those collar points were just begging for some subtle motifs. The design is from Urban Threads, and is intended to look like jewelry, but I went for shades of blue for a tonal look. I did stitch the "gem" in the center in pink, with an overlay of pink metallic. It's subtle, but pretty.
But what of the fit? Well, I'm not overjoyed, but I'm not entirely unhappy either. I did my usual Big 4 alteration - shortening above the bust and slimming down the sleeve cap. That part isn't bad, but the collar buckles somewhat, which tells me I should have shortened it a little bit more, or taken a wedge out of the neckline. I also think that armhole gaping is telling me an FBA was in order. Dang it. I should have gone with my gut and done one, but it fit so well in the tissue! I wonder how many more times I'm going to have to learn that lesson...
So, it's not perfect, but it is comfortable and cool, and I'm feeling pretty good about tackling something not so easy. Now if only my kids would stop asking for leggings and tee shirts....

Monday, September 25, 2017

Ottobre 03/2015-24

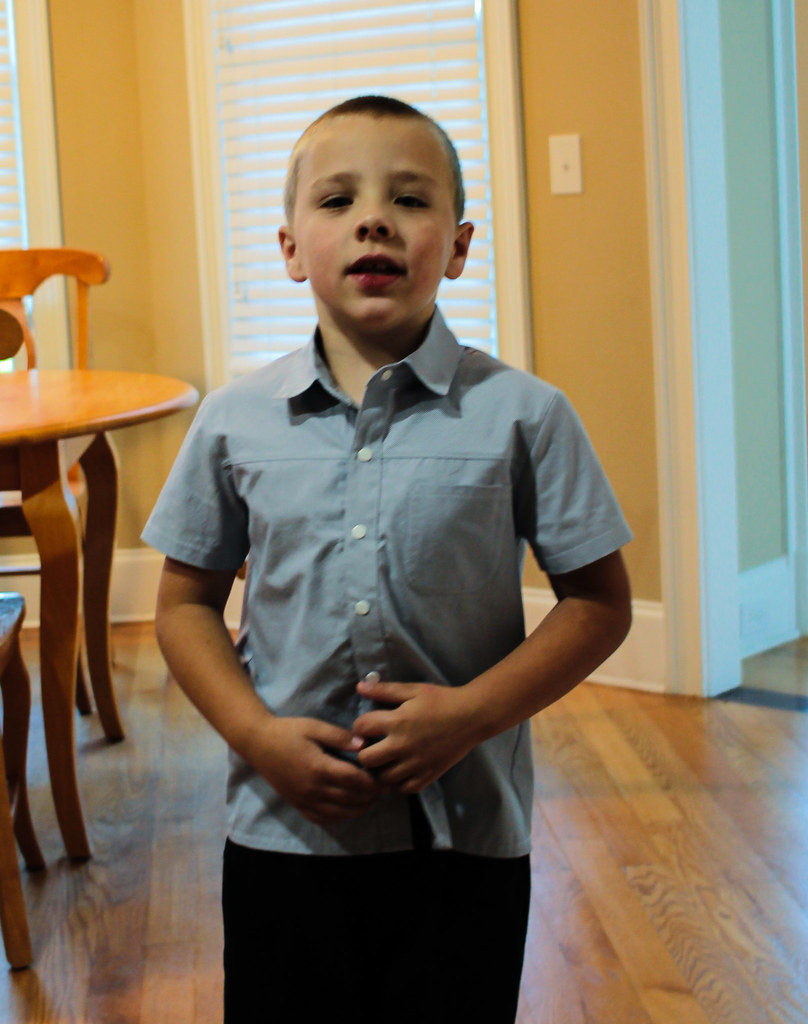
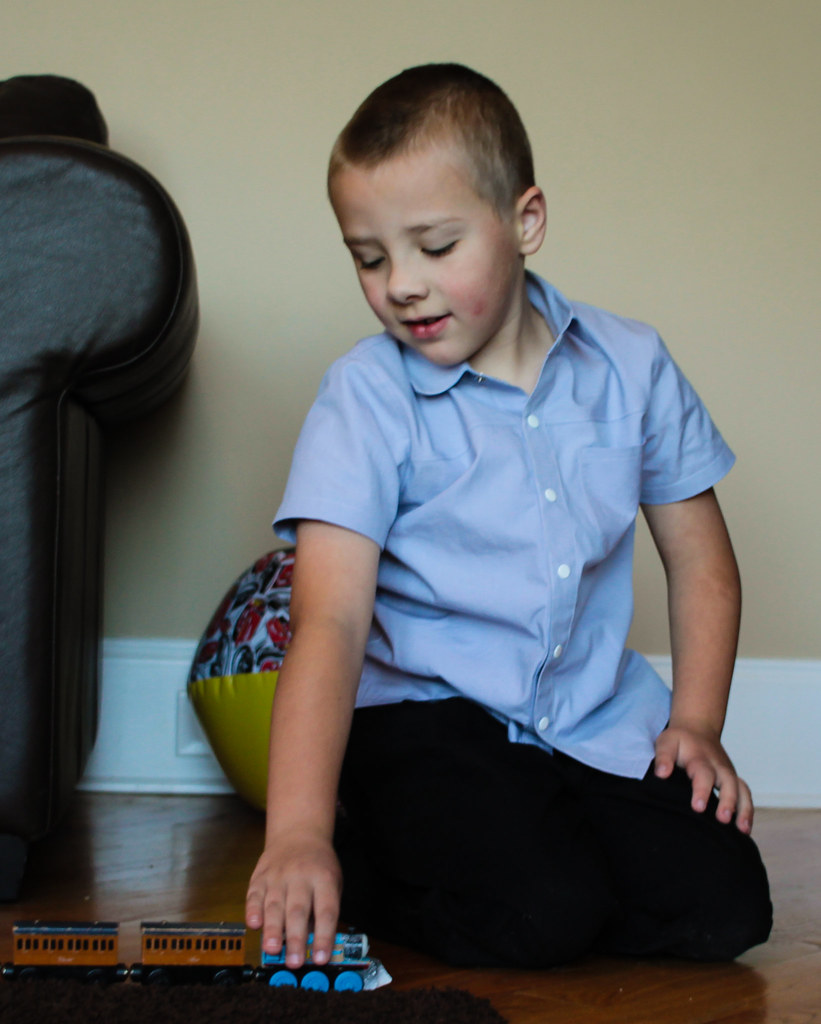
This sweet faced boy doesn't get much sewing time. He has a lot of handmade clothing passed down from Logan, so he really doesn't need much, and he lives in tee shirts and shorts anyway. He only has one dress shirt, and it was purchased for Logan, so it's in rough shape now. It was time for a nice new one of his own.
This is Ottobre 03/2015-24, which is a sport shirt with some nice details. The back yoke is echoed in front and there are several pocket options.
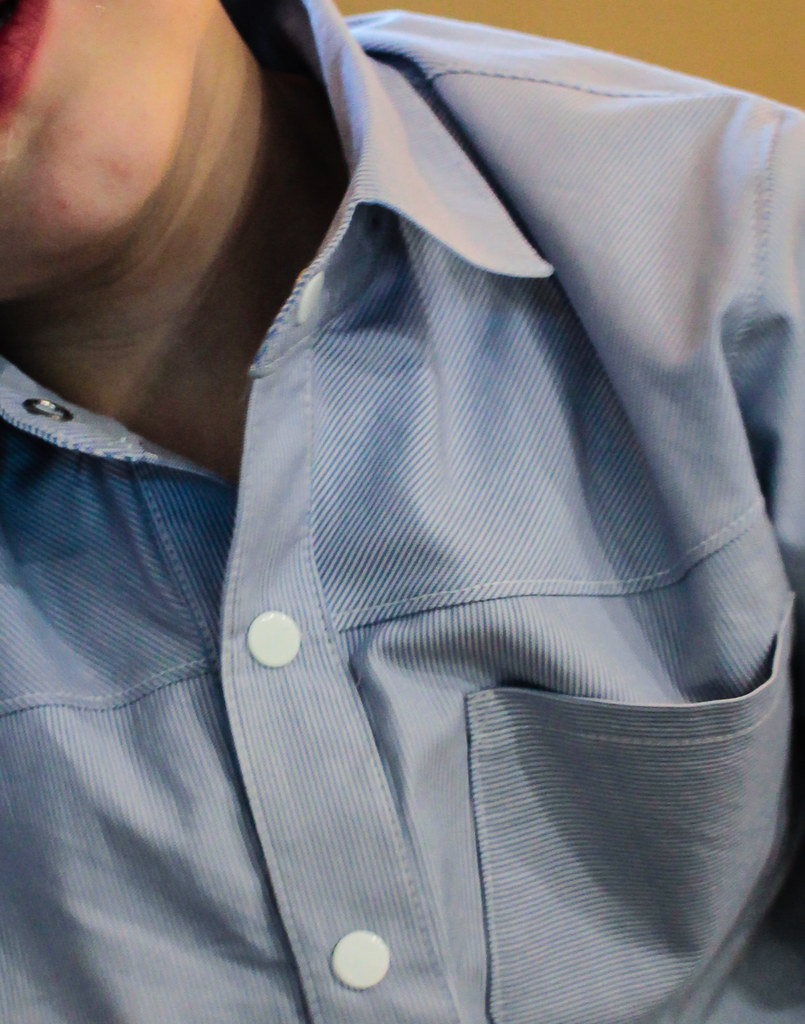
The fabric I used is a tiny stripe, so I had fun playing with directions along the yoke and pocket. I cut the main body of the shirt on grain, with the front yoke on the bias and pocket on the cross grain.
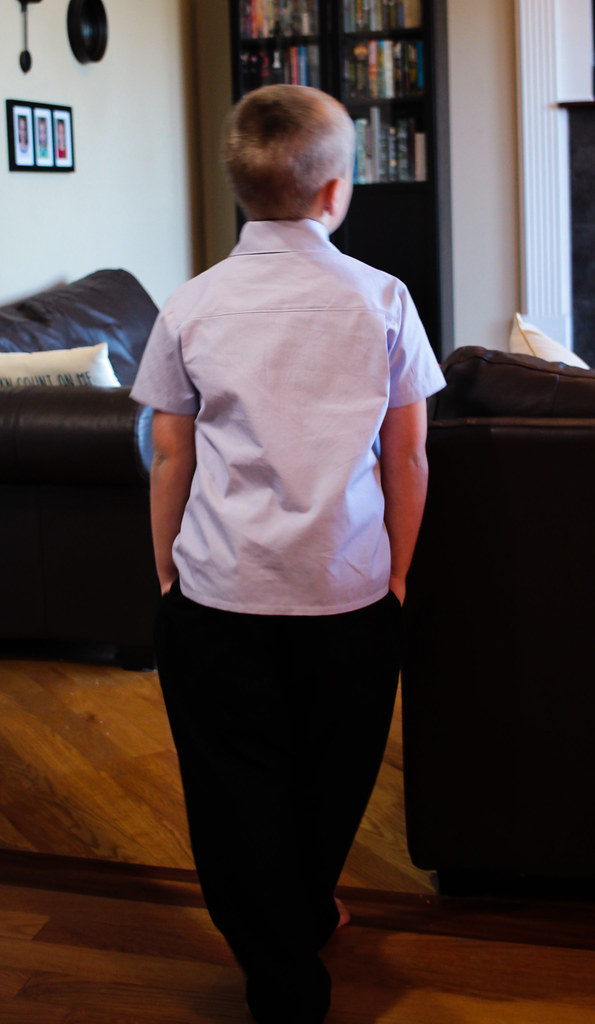
In the back, the yoke is on the cross grain. The shirt has a nice fit, with just a little shaping.
Back ease is incorporated into two pleats near the armhole area, rather than the traditional center back pleat. I like the sporty look it has. It suits Duncan's active personality.
The shirt has button bands and a one piece collar. The pattern calls for buttons, but since Duncan likes to Hulk out of his clothing, I went with snaps. I hadn't applied snaps in a while, so it took me a few tries to get them on properly, but I like the way they turned out.
I've missed sewing for my sweet boy. There never seems time enough for all the projects I'd like to do, but I definitely need to make more time for Duncan.

Saturday, August 13, 2016

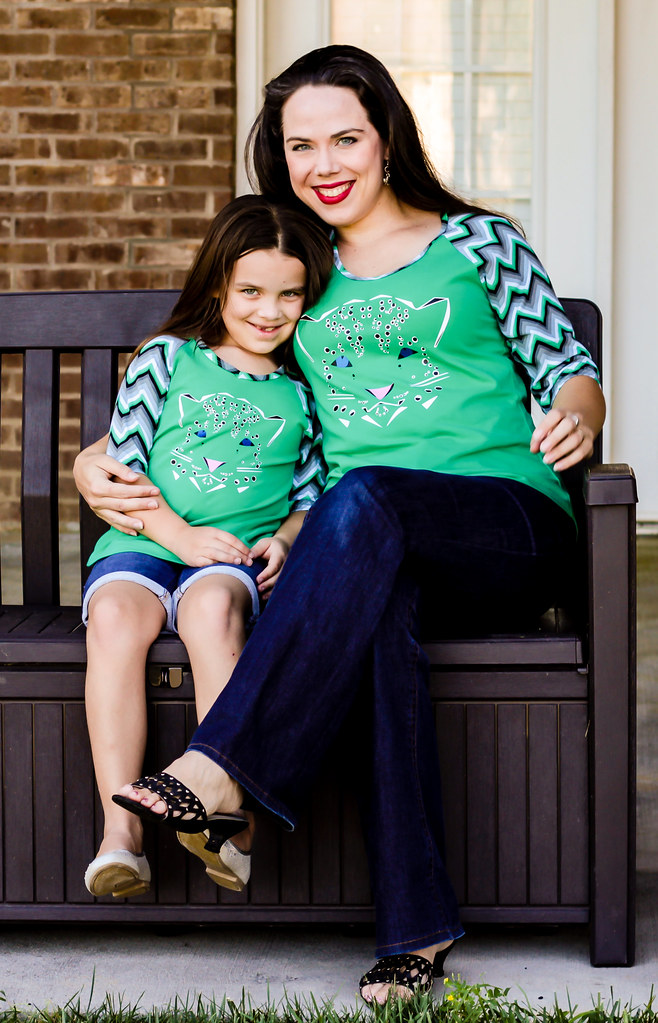
Jalie 3245 for two!

After making Myra's sweet dress, I wanted to do something quick and easy, which this would have been, if it hadn't been the craziest week ever. Fortunately, I finally got a chance to sit down to the machines and whip these out.
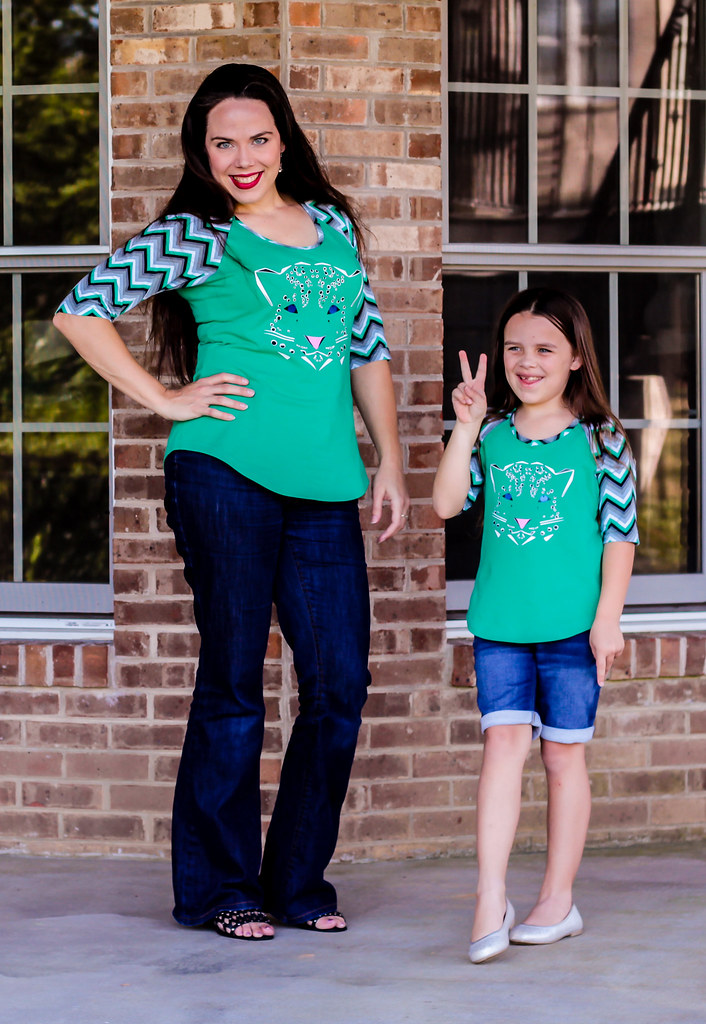
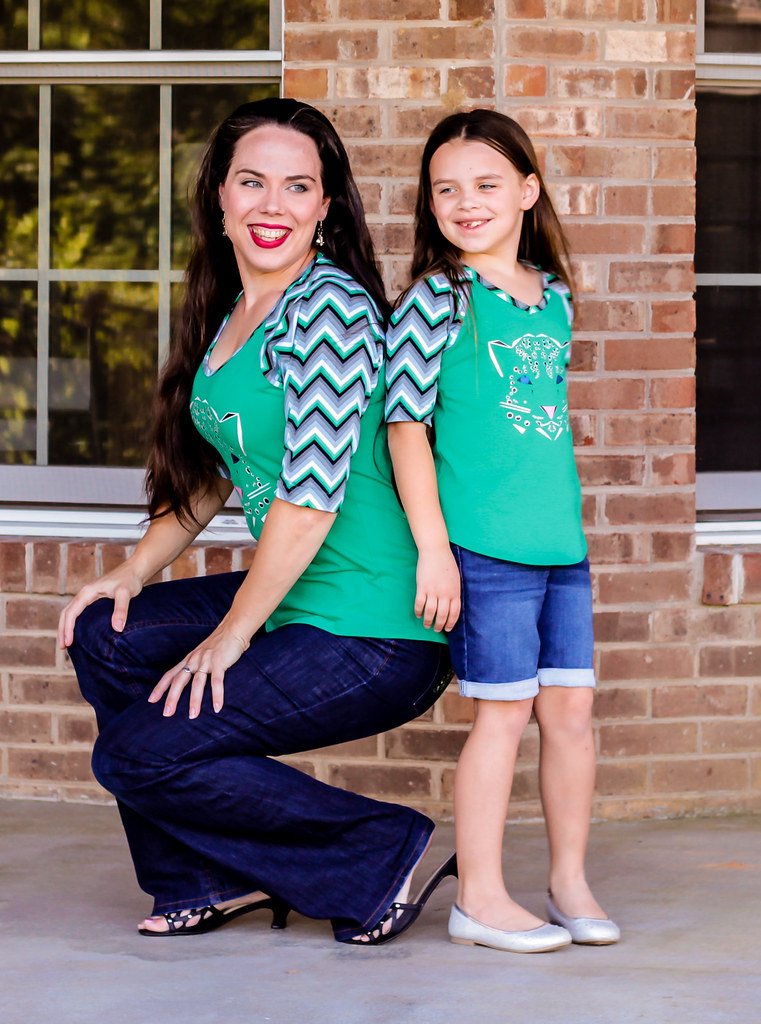
The pattern is Jalie 3245, which I bought after seeing all the amazing tops Gillian made with it. I'm not really a tunic girl, but I like the way this is semi-fitted, but has a relaxed vibe. And I especially like that Jalie patterns come in a zillion sizes, so Myra could have one too!
She likes that idea. Myra has gotten quite picky about her clothes, so these days I've been very careful to get full approval for items before I start sewing them. This one was a surprise, so I am beyond thrilled that she loves it and thinks I am the best mommy ever - at least for the moment...
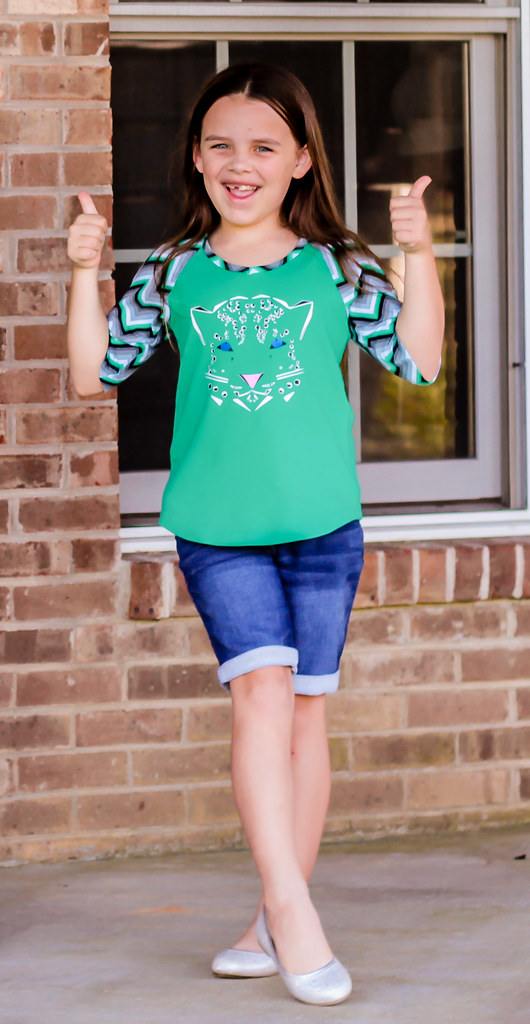
So, the pattern, Jalie 3245, is a raglan style tee/tunic, which also features a racerback tank/tunic. The sleeve is semi-fitted and elbow length. The neckline is bound, which I did on my coverstitch binder, but Jalie includes excellent instructions for knit binding on a regular sewing machine.
Both tee and tunic styles feature a shaped hem in the style of a baseball tee, which is a pretty fun feature. The hem allowance is 3/4 inch, which is about the deepest hem reasonable with a curve like this. I think the next time I make this I'll only use 1/2 inch hem, just to make it a bit less annoying to sew.
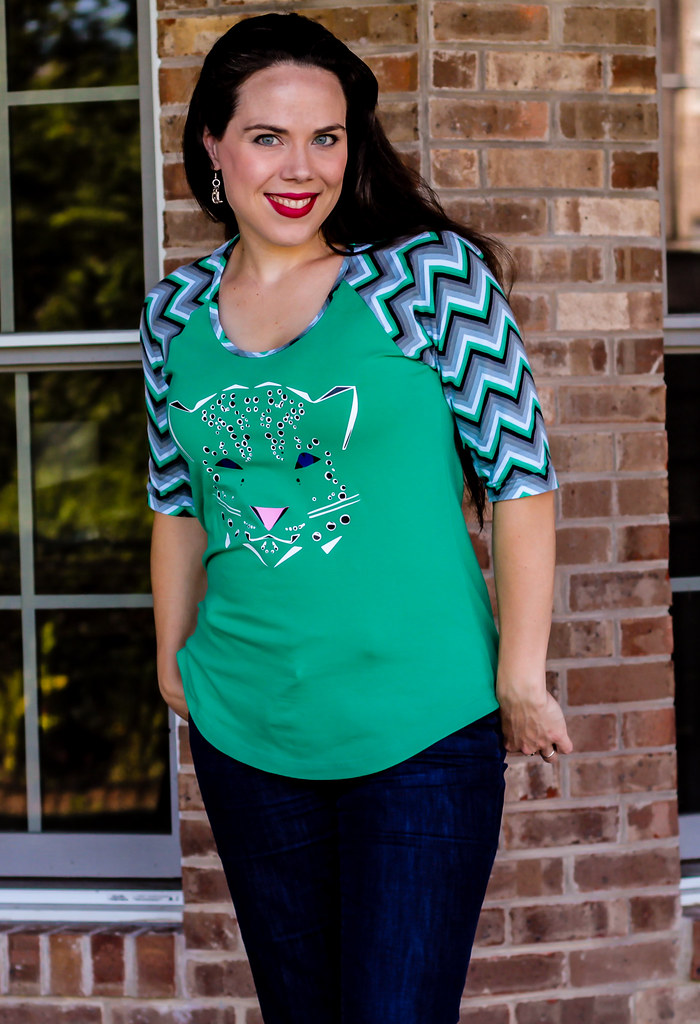
The fabrics I used are from the Laguna Cotton line at fabric.com. These two were coordinates, so the color matching was done for me - yay! I also decided to add a fun graphic snow leopard decal to the front of the shirt - done in HTV with my Cricut. It was challenging to layer all the colors, but I love the finished look.
Myra and I are both pretty happy with our shirts. I'll definitely be using this pattern again.

Monday, July 11, 2016

Avengers Assemble: Phase 2

Well, the boys got their hero shirts, and I was going to make one for Mitch next, but I was still not happy with my pattern choices for him, so while I was considering those options, I decided to go ahead with mine.
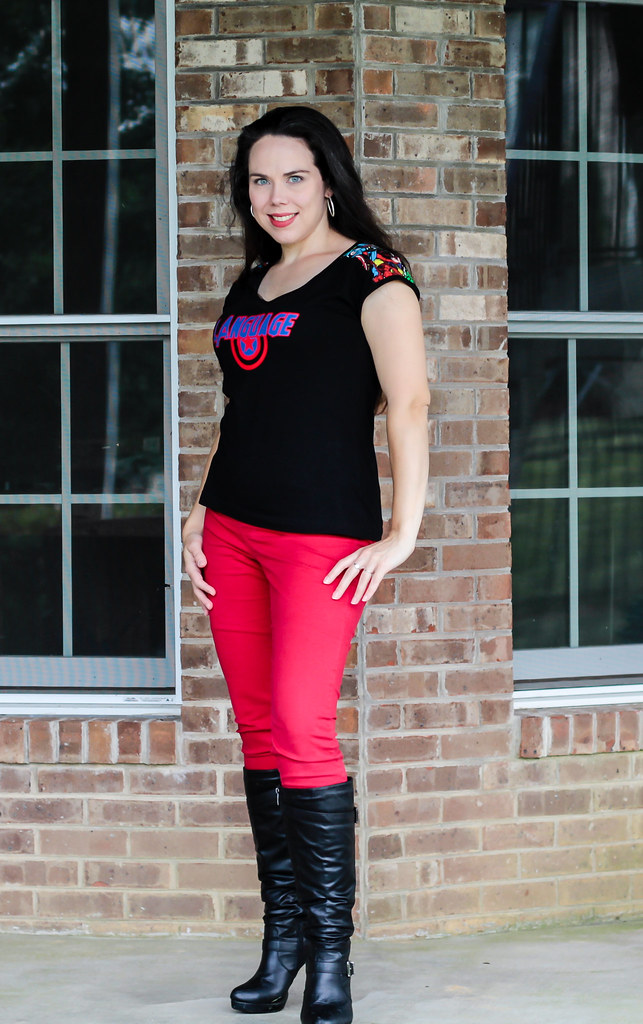
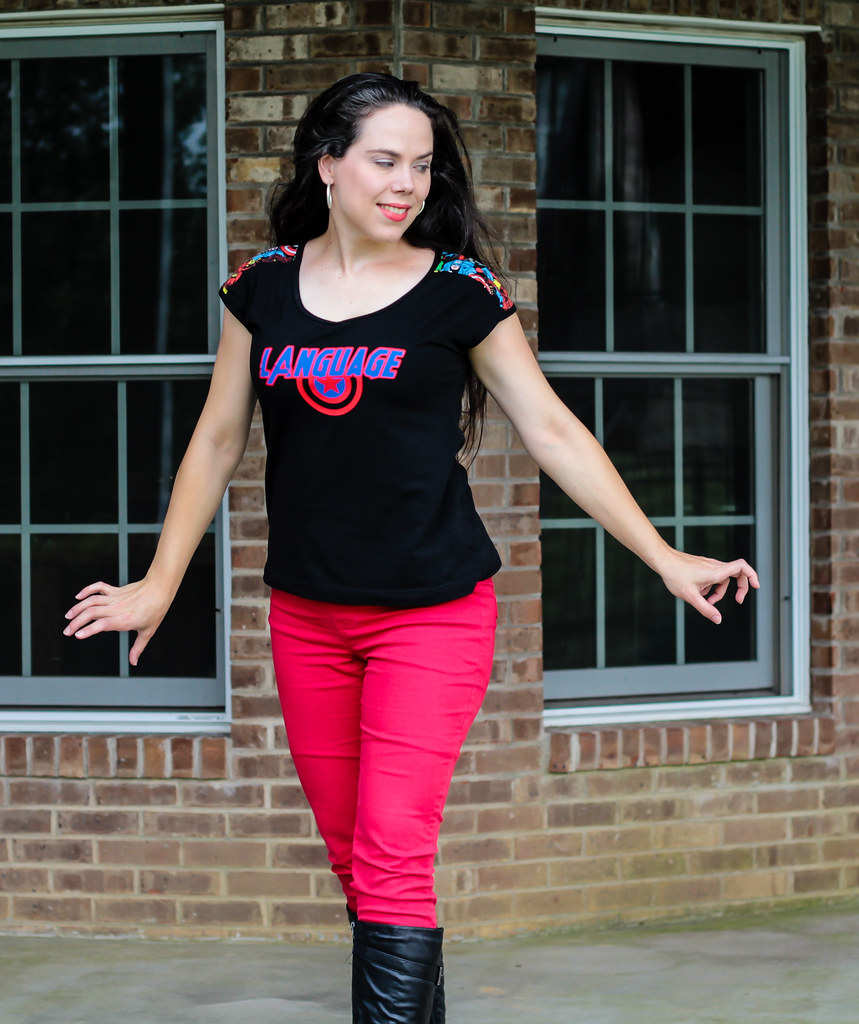
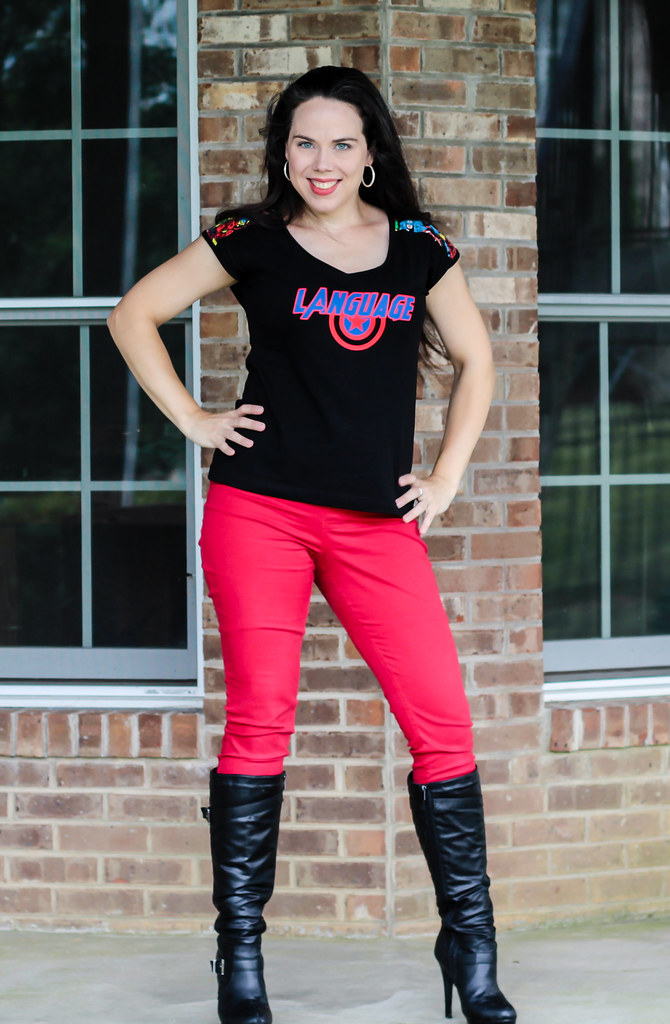
Again, I used the combination of black Laguna jersey and printed Marvel jersey, both from fabric.com. The bindings are also the Laguna jersey, although this wasn't an ideal choice. The recovery is great, but it was a bit curly and thin, so getting it through the coverstitch binder was a bit of a hassle.
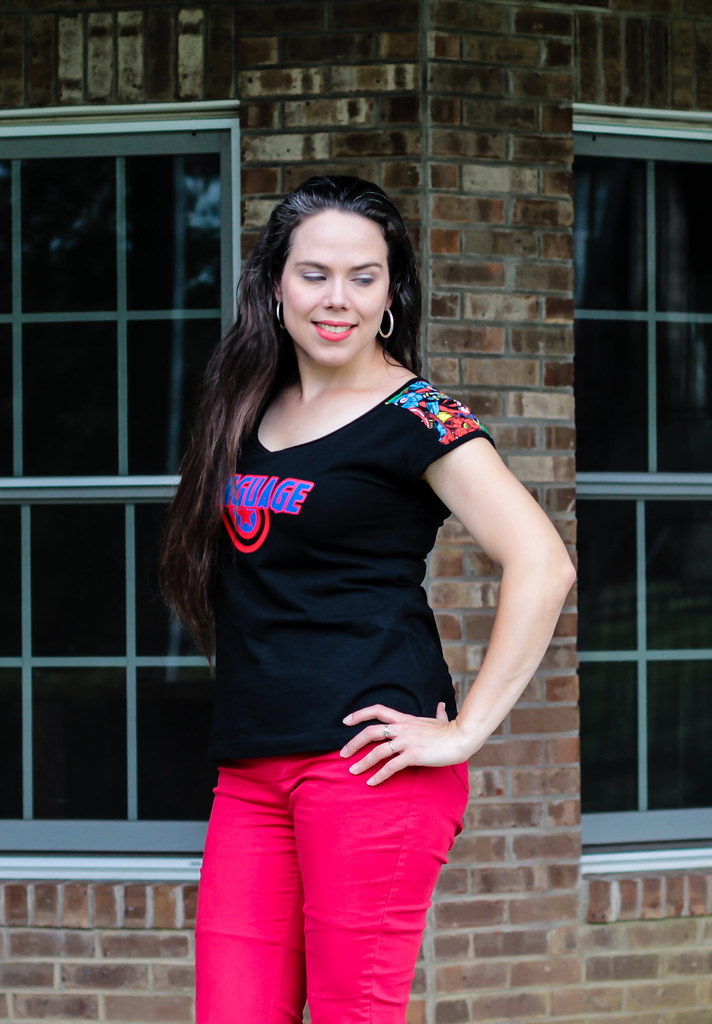
The pattern is from the 02/2015 issue of Ottobre Woman. It's a pattern I've been meaning to try, and the shoulder yokes were perfect for the little splash of Avengers jersey. It's otherwise a very basic cap sleeve tee with bound, scoop neckline. The armholes are also bound.
As far as sizing goes, I made a straight 38, with the exception of lengthening the shoulder line out to a size 42 for a longer sleeve. Since the style isn't otherwise particularly fitted, I didn't make any other adjustments. I could have added a dart, but I dislike darts in jersey, so I'll live with the armpit fold. That's hard to get rid of in a kimono sleeve anyway.
Cool points if you recognize the reference of my decal! If you don't, feel free to watch it here - but there's NSFW language!
Y'all see Cap there on my shoulder? He's watching my language...
Friday, July 8, 2016

Avengers Assemble! Phase 1

A few months ago I came across some Marvel Avengers themed jersey at fabric.com. Although we are generally a DC family, we'll admit that the Avengers can be pretty awesome as well. Shirts were needed.
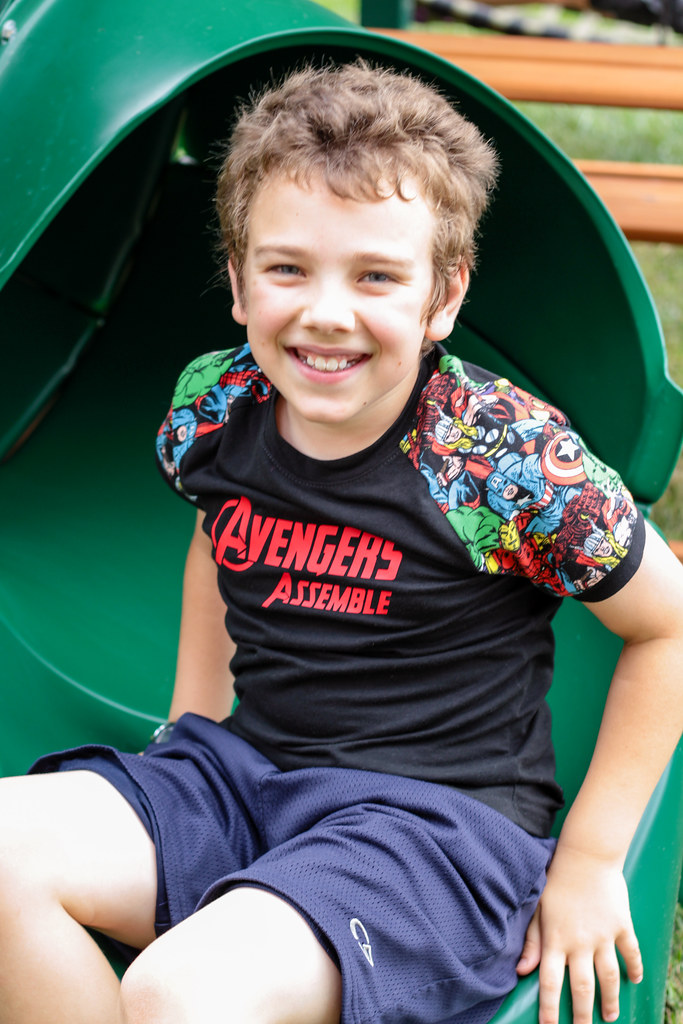
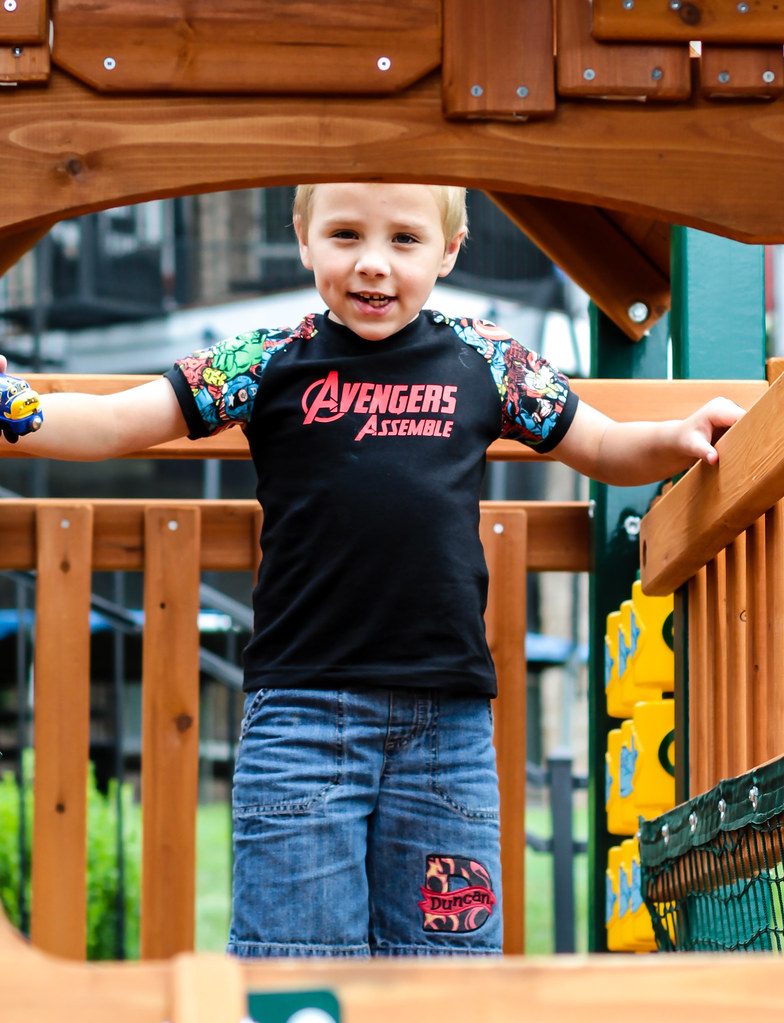
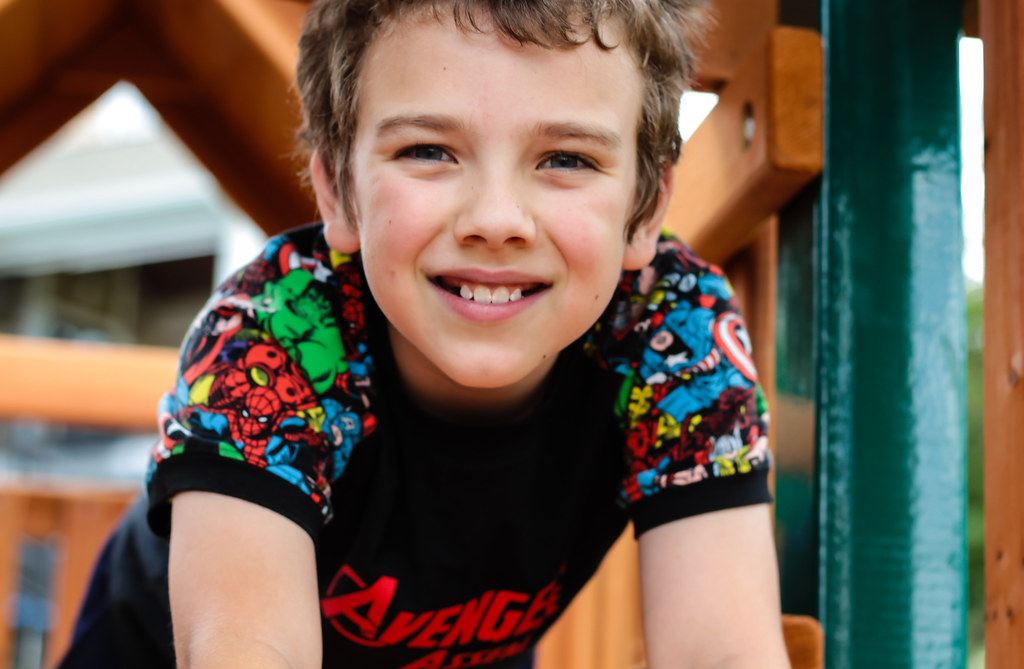
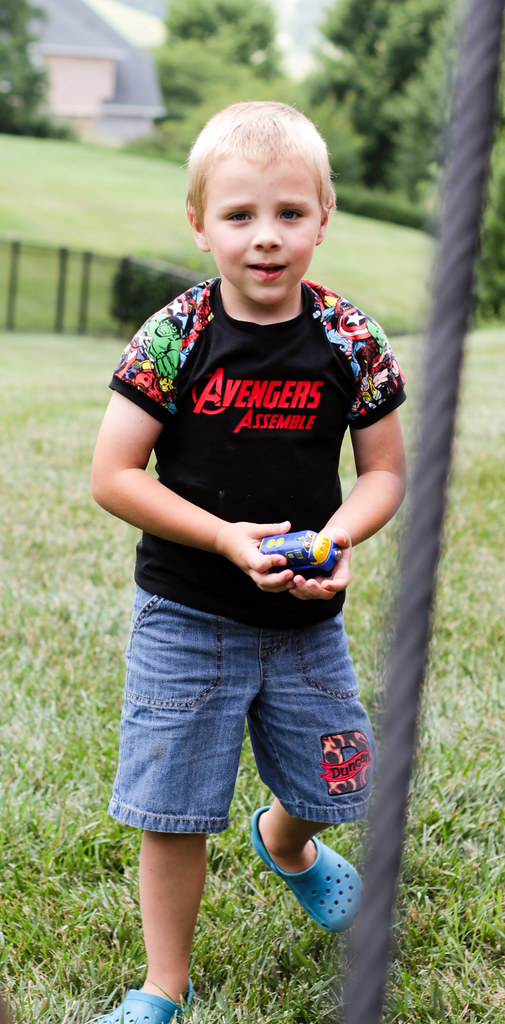
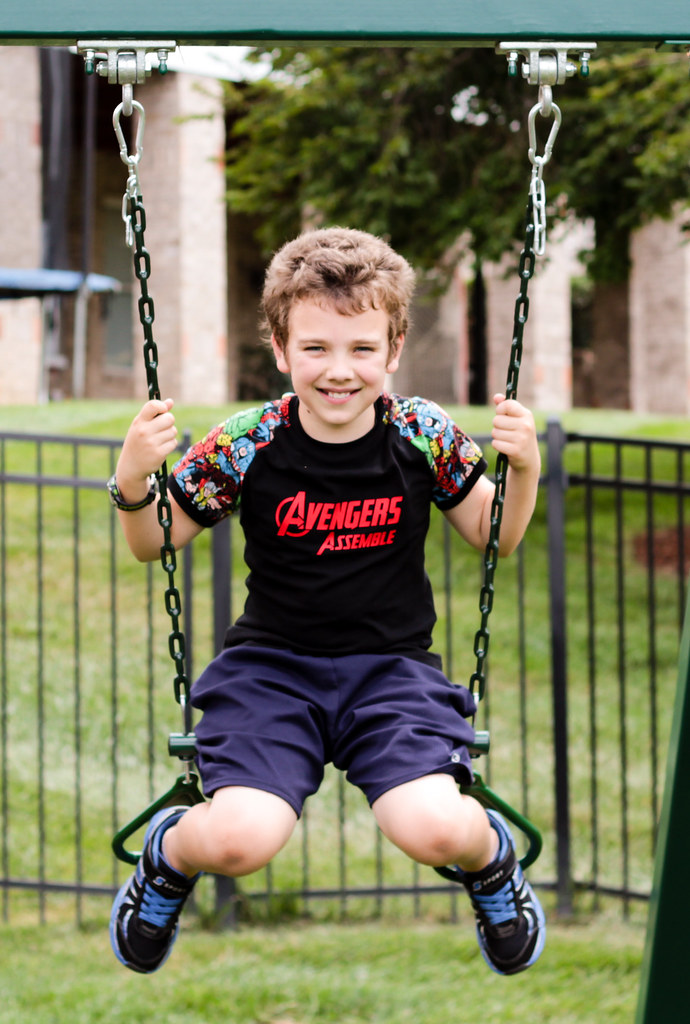
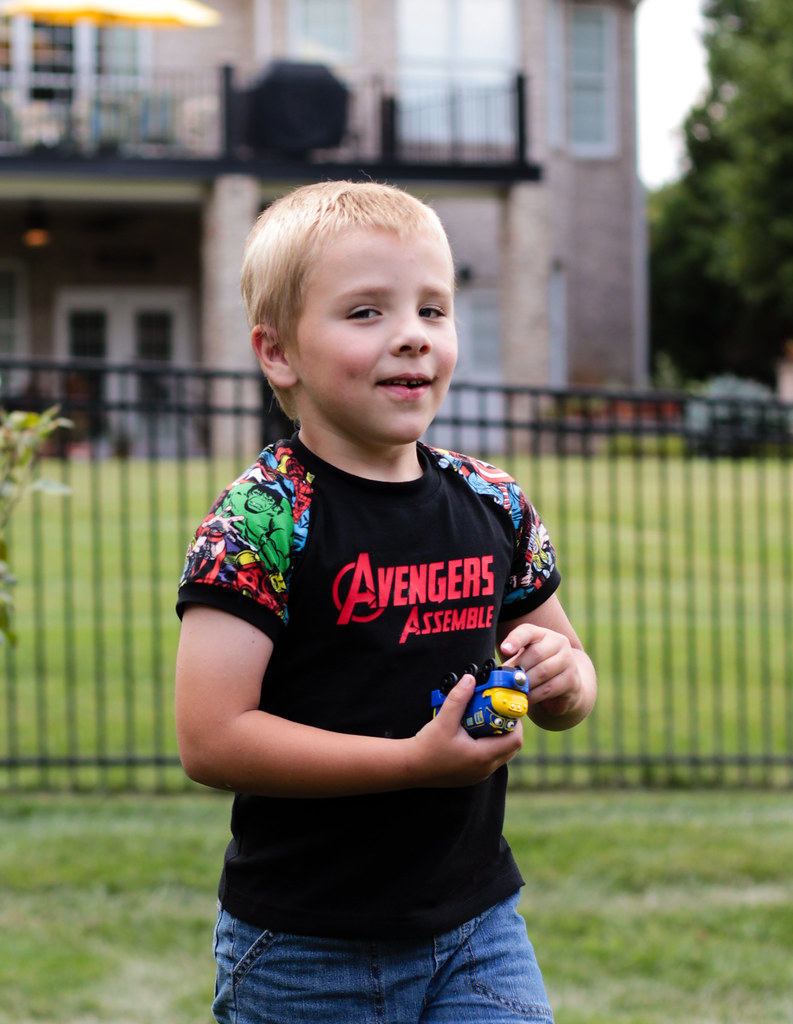
I started with Logan. His shirt is from the 03/2010 issue of Ottobre. It's a short sleeved raglan tee with a neckband and sleeve cuffs. I elected to do the sleeves only in the Avengers print. The remainder of the shirt is Laguna knit from fabric.com.
I could pretend I mixed the fabrics to make my Avengers print stretch farther, but the truth is, I wanted to add an HTV decal with my Cricut. I love that thing. Black makes a nice dramatic background for red!
When I was selecting patterns, I almost passed this one by. I wasn't sold on the sleeve cuffs. I'm really glad I went ahead and did them though. I like the ringer effect of the band.
The fit of the tee is long and slim, which has a nice modern look, despite the fact that the pattern was published 6 years ago. Ottobre is always ahead of the game! Duncan's tee is from the same 03/2010 issue, but his is number 18. It's the same style, but in a different size range.
The two fabrics are well matched in weight and both are nice quality, which means the boys are happy and comfortable in their new shirts.
In order to keep things extra comfortable for my sensitive guys, I made size tags out of scraps of HTV to iron onto the inside of the shirts. I had been using woven tags to keep track of sizes, but I like this so much better! No more itchy tags!
Duncan approves. And there's lots more Avengers fabric left to use! Stay tuned for more Super Sewing!