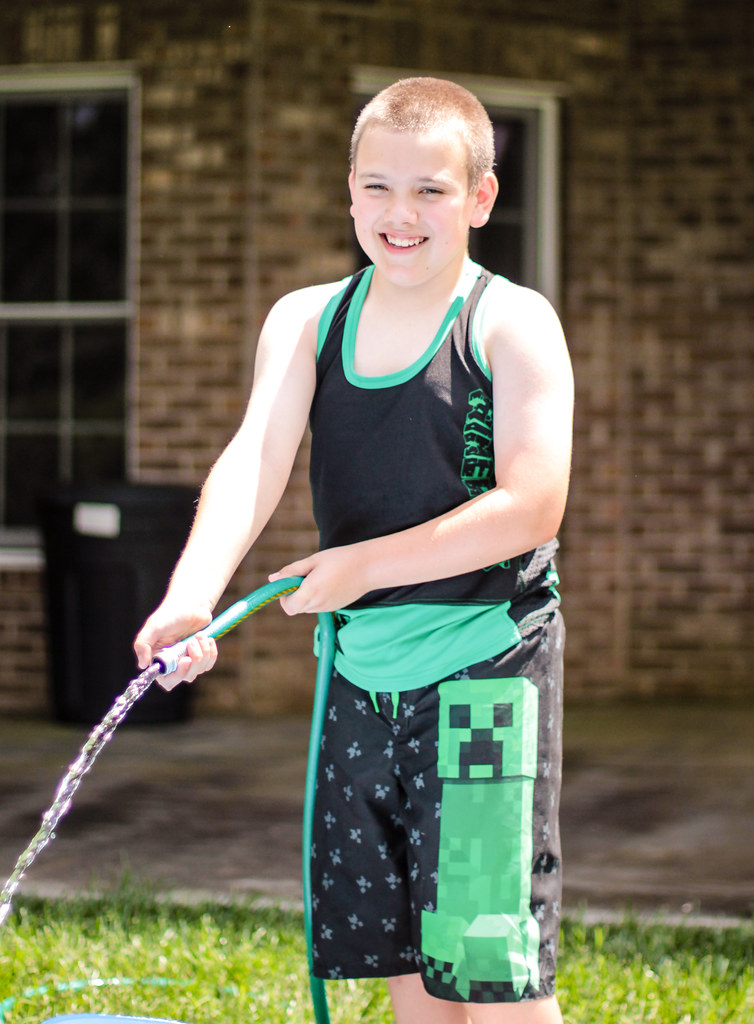
It's that time of year again! School is out in a few days and my kids are looking forward to lots of swim, sun and playing outside. Logan needed new swim togs this year, and while he found some cool Minecraft trunks he liked, we came up empty for a top.
Mom to the rescue. Logan specifically wanted a tank top, not a sleeveless shirt. And I wanted it to be wicking polyester so it would dry quickly and be comfortable in the heat. Neither requirement was an easy one...
The fabric turned out to be the least challenging. After searching at my usual favorite spots and coming up empty, I just did a Google search and found an impressive line of wicking jersey at Wazoodle. They had a range of colors and weights to pick and choose from. I went with the classic Minecraft color scheme of black and green. Shipping was fast and the quality is excellent, so I'll be shopping there again.
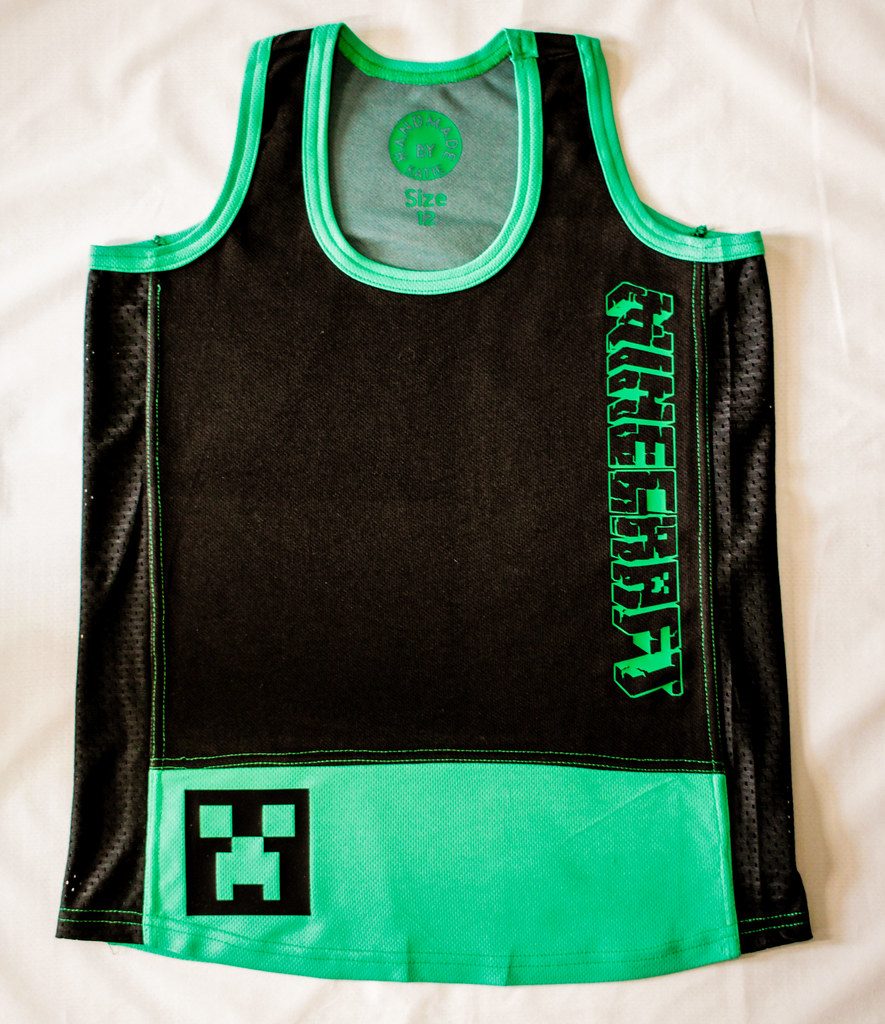
The larger challenge was the pattern. Boys tank top patterns fizzle out after the toddler sizes and Logan isn't quite big enough for mens sizing yet. Even Ottobre failed me! Logan was very specific about wanting a tank top and not just a sleeveless shirt. So, I had to get a little creative. I decided to start with the ladies racer back tank by Jalie (3245). But since it has decidedly feminine lines, I used the Jalie Nico raglan tee to get a more masculine shape, blending the two patterns together at the underarm. And since I was hacking up a couple of patterns anyway, I decided to do some color blocking and add mesh side panels for comfort. All in a day's work.
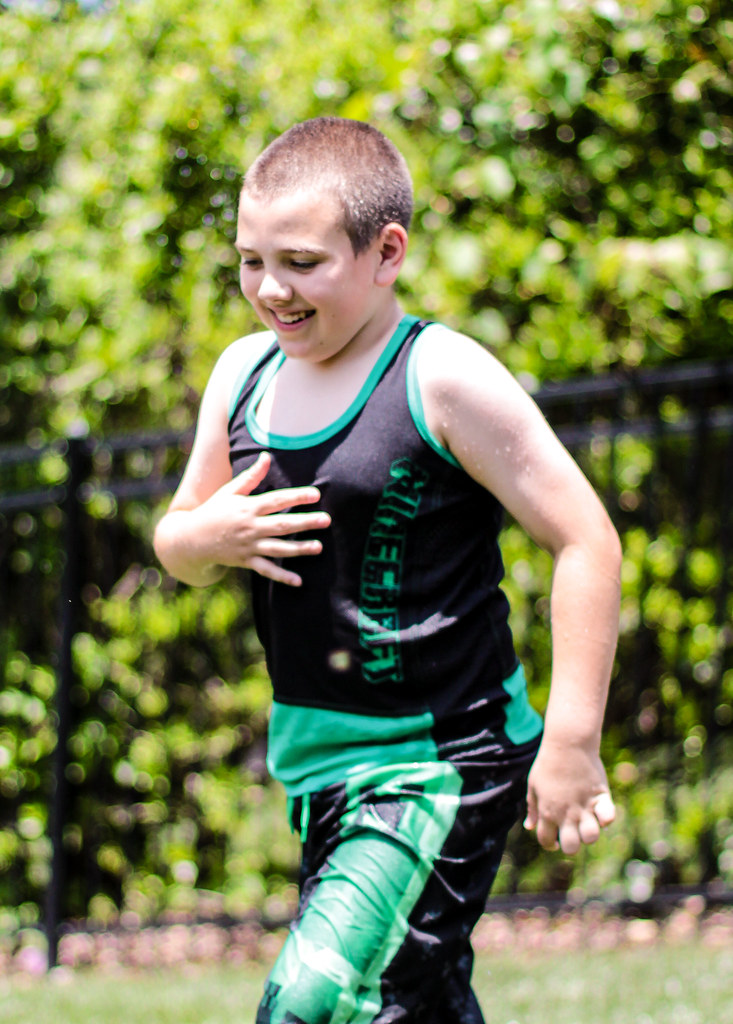
Logan is very happy with it. He loves the way it looks and fits and says it is very comfortable. I even got a hug from my not physically demonstrative boy. I think as I look at him that the armhole could be slightly lower, but really, it's a pretty good fit.
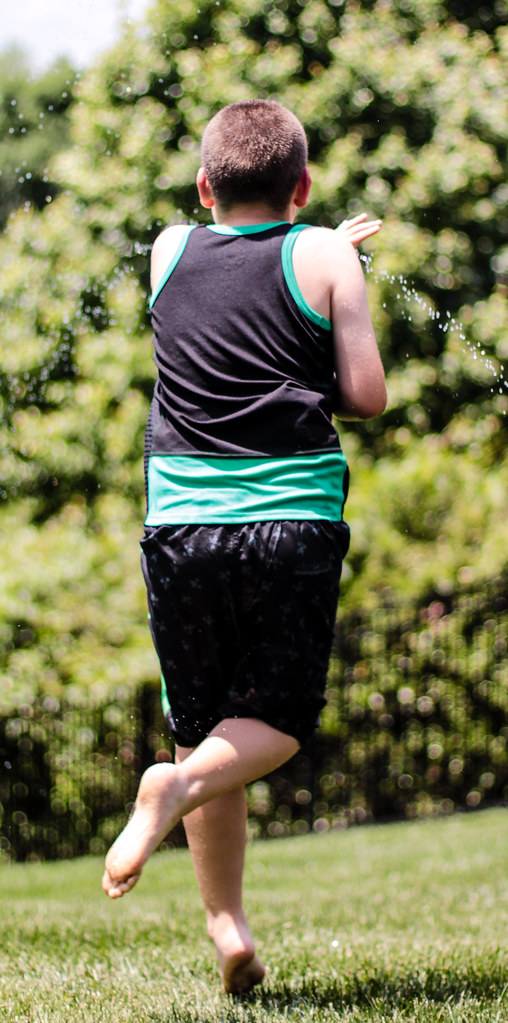
The fit through the back is pretty good though, and it looks well proportioned overall.
On the side, I added 4 inch wide panels of athletic mesh - the sort with large holes that jerseys are made of. It gives the tank some more breathability as well as a cool sporty look. I also color blocked the front and back with green on the lower 6 inches of the tank, and used the same green jersey for the neck and armhole bindings.
I got my Cricut in on the party for some finishing touches with a creeper face and Minecraft logo. I used a silicone HTV that has a slick feel. It's a cool texture that goes with water play well. I also coverstitched all the seams, both for a touch of contrast stitching, and to be sure the insides were nice and soft. No itchy seams!
It was a little more patternwork than I have been doing lately, and it was nice to use that part of my brain. Logan loves his tank, so that's the most important thing. I had fun making it, too.
Showing posts with label swimsuit. Show all posts
Tuesday, May 22, 2018
Wednesday, July 27, 2016
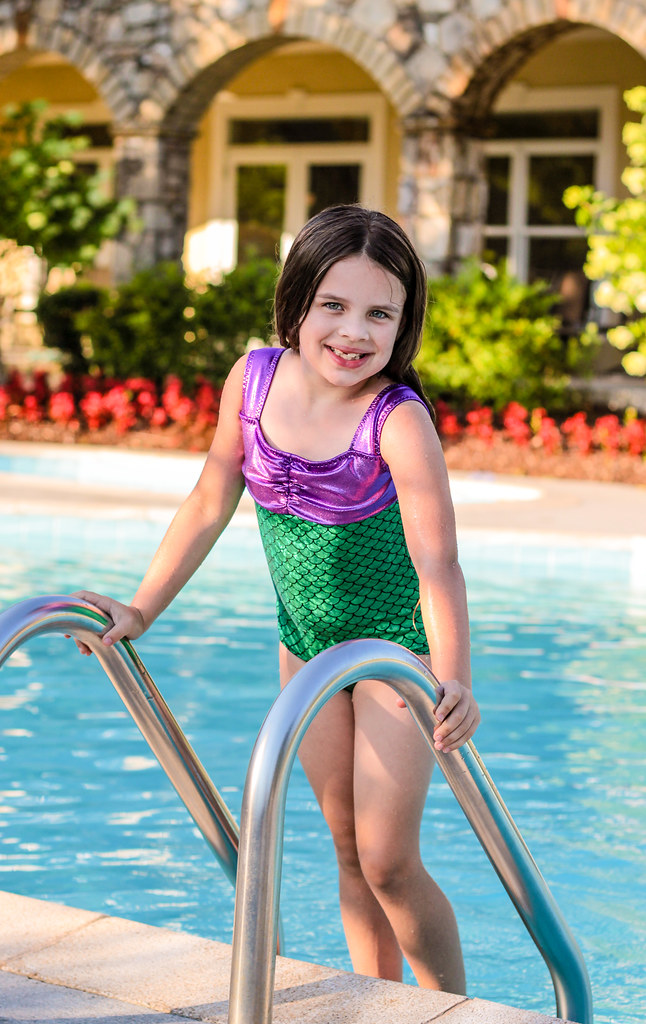
Summer Swimwear Tour! The Call Ajaire Classic Maillot - Ariel style
Last week, we took our summer vacation. Of course, Myra needed a new swimsuit, and I happened across this AMAZING fabric at Blue Moon.
Obviously, this mermaid fabric needed the perfect pattern! I started tracing an Ottobre that was just ok, but then I got an email from Ajaire asking if I would participate in the Summer Swimwear Tour, and there it was - the perfect Ariel pattern!! I've been so busy that I haven't participated in a pattern tour in a while, but this was a must. Not only is the Classic Maillot exactly what I needed, but all the patterns in the tour are pretty awesome, and I know I'll use them all, not only for Myra but also for me.
But we're here to chat about the Classic Maillot! The pattern is a pdf - I know, who wants to tape those together, but for a kids' swimsuit, assembly really isn't that big a deal, and Ajaire makes it as easy as possible with good assembly markings and a grid that allows you to only print the pieces you need for the view you are making.
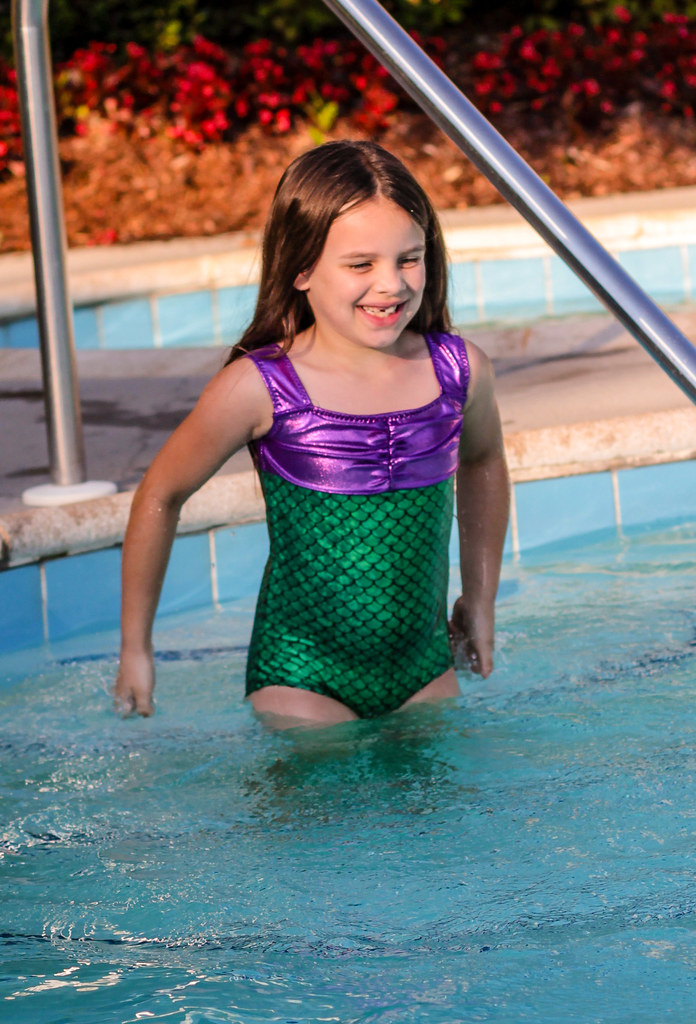
For the Ariel look, I combined the front of view D, with the back of view B. That gave me a tank style suit with ruching at the bustline (for the shells) and green scales just below the bustline (for the tail). Combining the two views was pretty easy, as the pattern pieces are clearly marked, indicating which piece to use for which view, and the instructions are divided into sections by view as well.
Fit-wise, Myra measures as a perfect size 7, but I did find the straps were significantly too long for her and the chest is too wide, as you can see in this pic. Since the construction order allows for strap alterations, I was able to shorten those (2 3/4 inches), but there wasn't anything to do for the chest width. I think shortening the elastic in the next one will fix that problem.
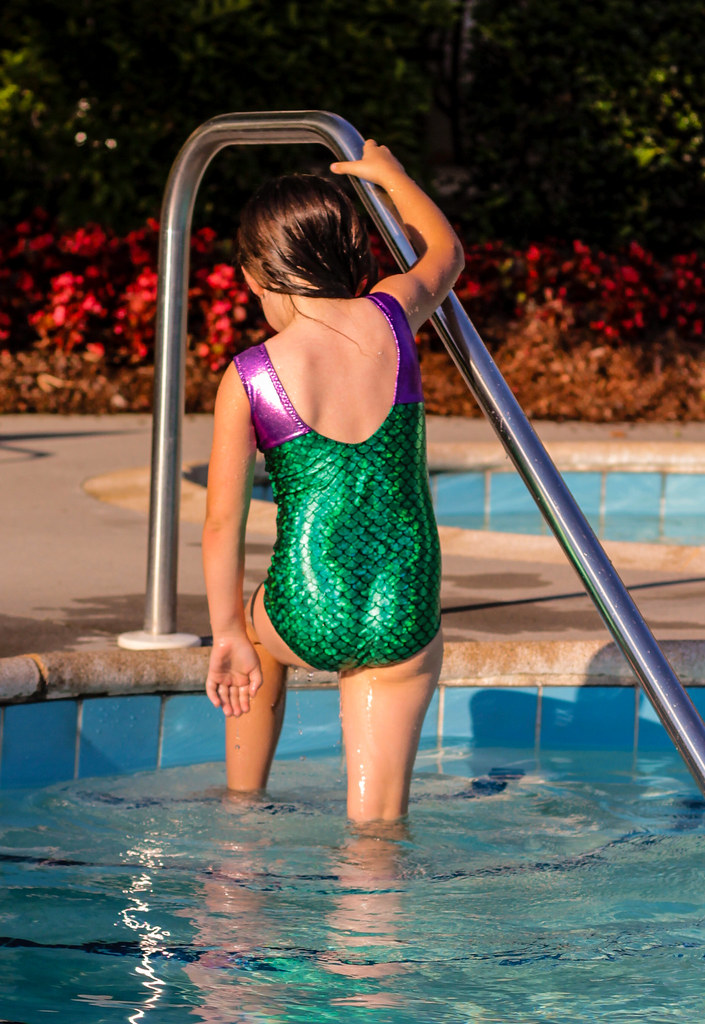
The fit from the rear is fantastic though, even keeping her bum covered when she takes a step. Myra has a pretty ample backside - poor child inherited my narrow chest and ghetto booty - so rear coverage is always a challenge in a swimsuit. This one wins and the back neckline has a nice scoop shape, but the straps stay in place.
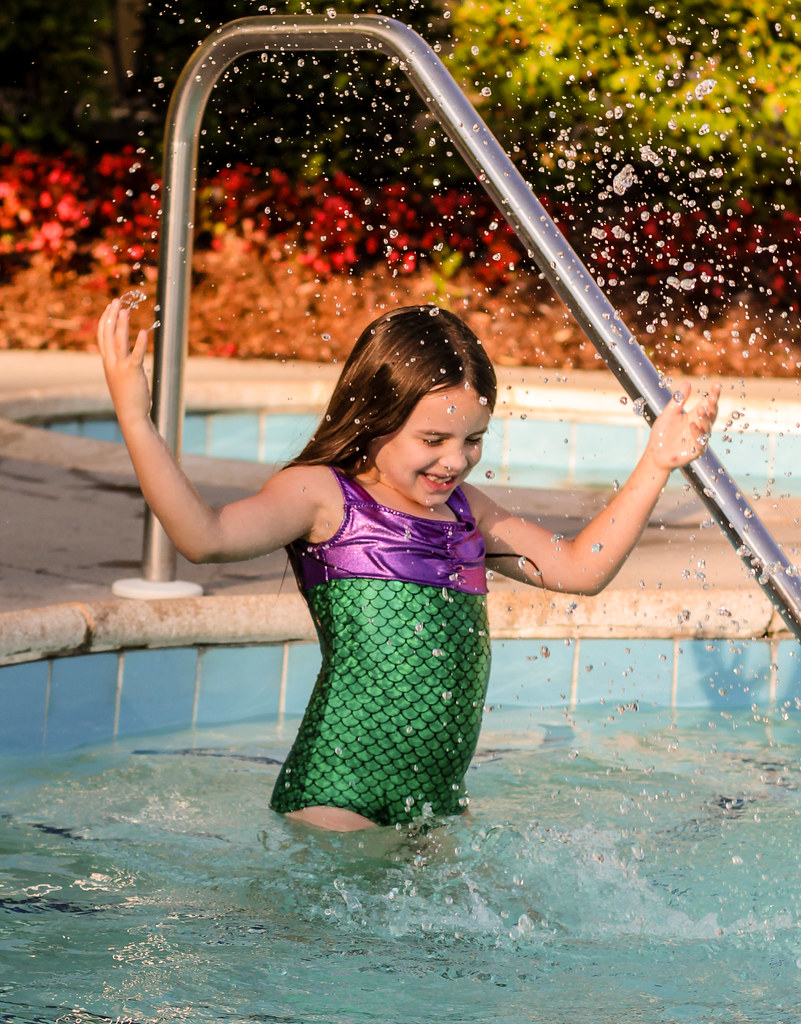
Myra played hard all week in her suit, and it was great. Although when she initially put it on, she wasn't happy with the neckline gaping, while she was at the water park she had no troubles or wardrobe malfunctions, and by the end of the first day she was as much in love with her suit as I am.
In fact, my little mermaid got rather a lot of attention for her suit. Several teenage girls who were themselves sporting mermaid tails told Myra how much they loved her suit. It made her day, and mine too! Teenagers are so picky!
I hope you enjoyed my little corner of the Summer Swimwear Tour! Be sure to check out all the other bloggers in the tour and the wonderful swimwear they made! There are two other amazing patterns, so be sure you don't miss them! And scroll down for sales from the Tour sponsors as well as a great Giveaway!!
Obviously, this mermaid fabric needed the perfect pattern! I started tracing an Ottobre that was just ok, but then I got an email from Ajaire asking if I would participate in the Summer Swimwear Tour, and there it was - the perfect Ariel pattern!! I've been so busy that I haven't participated in a pattern tour in a while, but this was a must. Not only is the Classic Maillot exactly what I needed, but all the patterns in the tour are pretty awesome, and I know I'll use them all, not only for Myra but also for me.
But we're here to chat about the Classic Maillot! The pattern is a pdf - I know, who wants to tape those together, but for a kids' swimsuit, assembly really isn't that big a deal, and Ajaire makes it as easy as possible with good assembly markings and a grid that allows you to only print the pieces you need for the view you are making.
For the Ariel look, I combined the front of view D, with the back of view B. That gave me a tank style suit with ruching at the bustline (for the shells) and green scales just below the bustline (for the tail). Combining the two views was pretty easy, as the pattern pieces are clearly marked, indicating which piece to use for which view, and the instructions are divided into sections by view as well.
Fit-wise, Myra measures as a perfect size 7, but I did find the straps were significantly too long for her and the chest is too wide, as you can see in this pic. Since the construction order allows for strap alterations, I was able to shorten those (2 3/4 inches), but there wasn't anything to do for the chest width. I think shortening the elastic in the next one will fix that problem.
The fit from the rear is fantastic though, even keeping her bum covered when she takes a step. Myra has a pretty ample backside - poor child inherited my narrow chest and ghetto booty - so rear coverage is always a challenge in a swimsuit. This one wins and the back neckline has a nice scoop shape, but the straps stay in place.
Myra played hard all week in her suit, and it was great. Although when she initially put it on, she wasn't happy with the neckline gaping, while she was at the water park she had no troubles or wardrobe malfunctions, and by the end of the first day she was as much in love with her suit as I am.
In fact, my little mermaid got rather a lot of attention for her suit. Several teenage girls who were themselves sporting mermaid tails told Myra how much they loved her suit. It made her day, and mine too! Teenagers are so picky!
I hope you enjoyed my little corner of the Summer Swimwear Tour! Be sure to check out all the other bloggers in the tour and the wonderful swimwear they made! There are two other amazing patterns, so be sure you don't miss them! And scroll down for sales from the Tour sponsors as well as a great Giveaway!!
Join in on the Summer Swimwear Tour fun by using the hashtag #sewswimtour to share your favorite swimwear makes. And don't forget to enter to win these fabulous prizes from our other sponsors!
Prizes include:
- 1 pattern The Classic Maillot pattern by Designs by Call Ajaire
- 1 pattern The Swim and Surf Shorts by Gracious Threads
- 1 pattern Just Keep Swimming by The Wolf and the Tree
- 1 pattern of choice (excludes bundles) by Pienkel
- 1 pattern of choice by AimerLae & Finn
- 1 pattern of choice by Rachel Rossi Design
- Free Jellyfish Swim Cap pattern via Sew by Pattern Pieces Group
- 1 pattern of choice by Dandelions n Dungarees
- 1 pattern of choice by E + M patterns
- 5 patterns of choice by George & Ginger
- $30 gift certificate by The Fabric Fairy
- 1 pattern of choice by Sunday Girl Designs
- 1 pattern of choice by 5 out of 4 Patterns
That's 17 patterns + $30 in fabric!!
Enter the giveaway below:
During the tour Designs by Call Ajaire is offering 20% off all patterns in the Etsy shop using the code SWIMTOUR, Gracious Threads is offering 15% off the purchase of 3 or more patterns in her shop (no coupon needed), and The Wolf and the Tree is offering 15% off patterns in her shop using the code SWIMTOUR as well. So take a few minutes to visit Call Ajaire, Gracious Threads, and The Wolf and the Tree and of course the rest of the lovely blogs we have on the tour:
Wednesday, July 23, 2014
Kids Clothes week, day 1: Ottobre Mermaid swimsuit, take 2
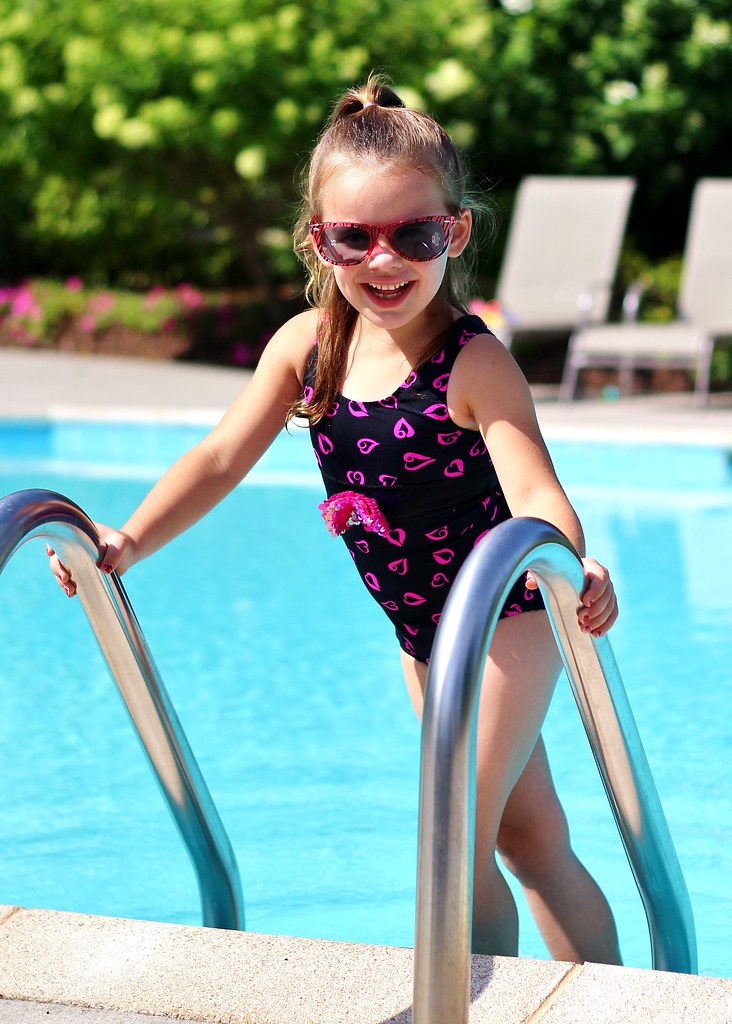
The kids' favorite thing about our new neighborhood is the community pool that is practically in our back yard. They've been swimming nearly every day, and while the boys' board shorts are holding on strong, Myra's suit from last year was nearly transparent from wear.
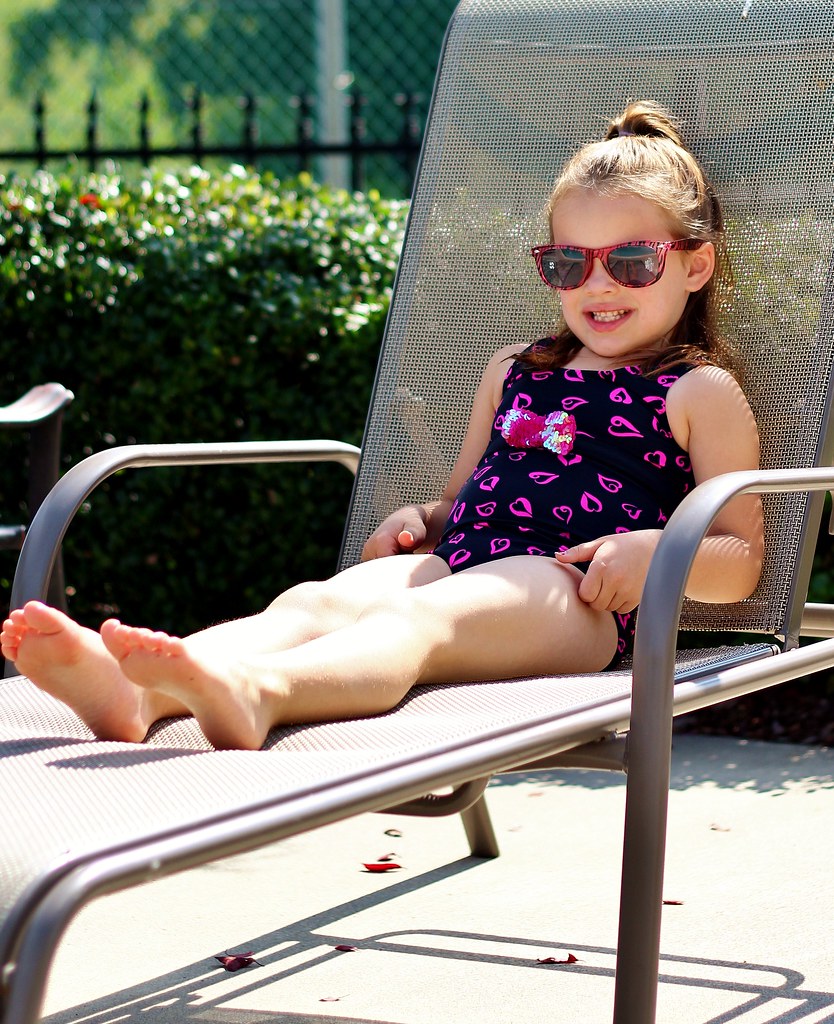
And since this is Kid's Clothes Week, I got right on it! She's been begging for a suit out of this fabric since my friend Catrin gave it to me, so she's pretty thrilled.
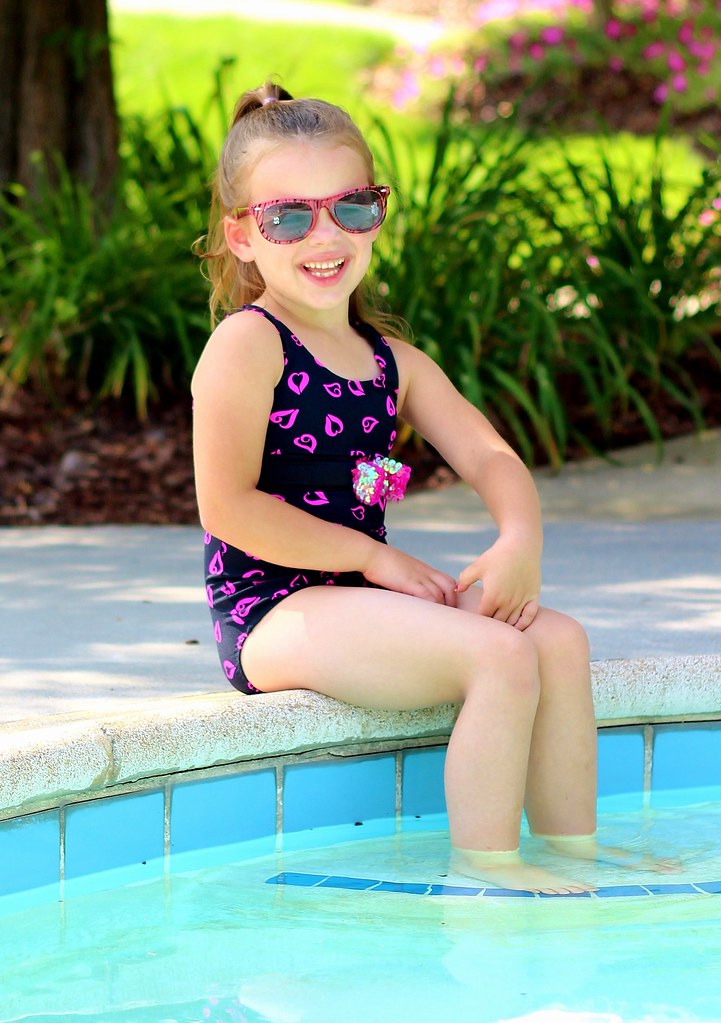
The sequin bow totally sealed the deal. Pink hearts and sparkles? Yes, please.
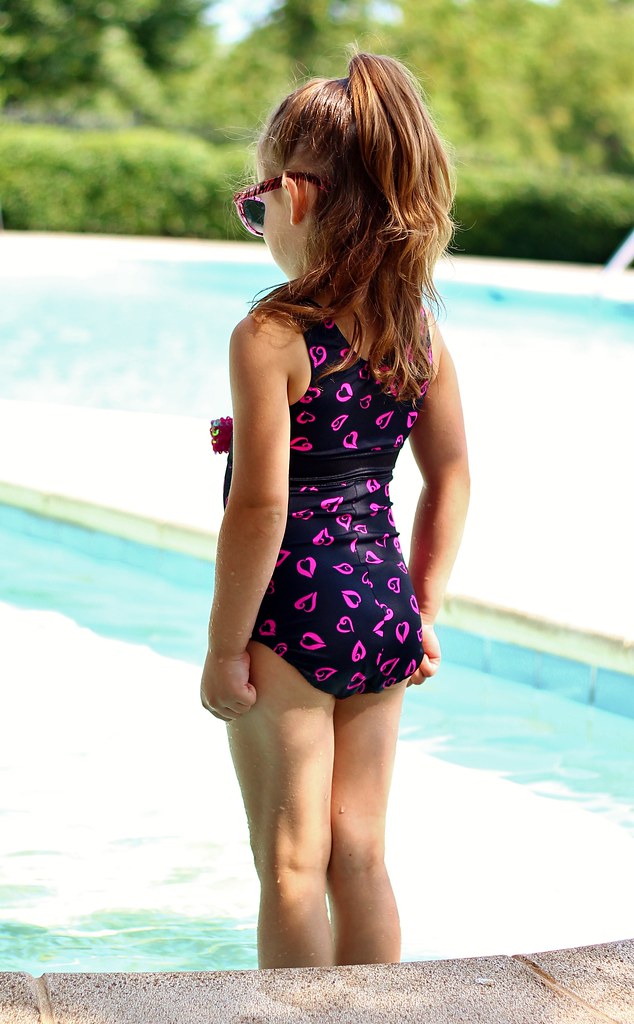
The pattern I used is the same as last year's suit - the "mermaid" suit from the 03/2011 issue of Ottobre. I added 1/2 inch of length to the midriff band, but otherwise used the same size.
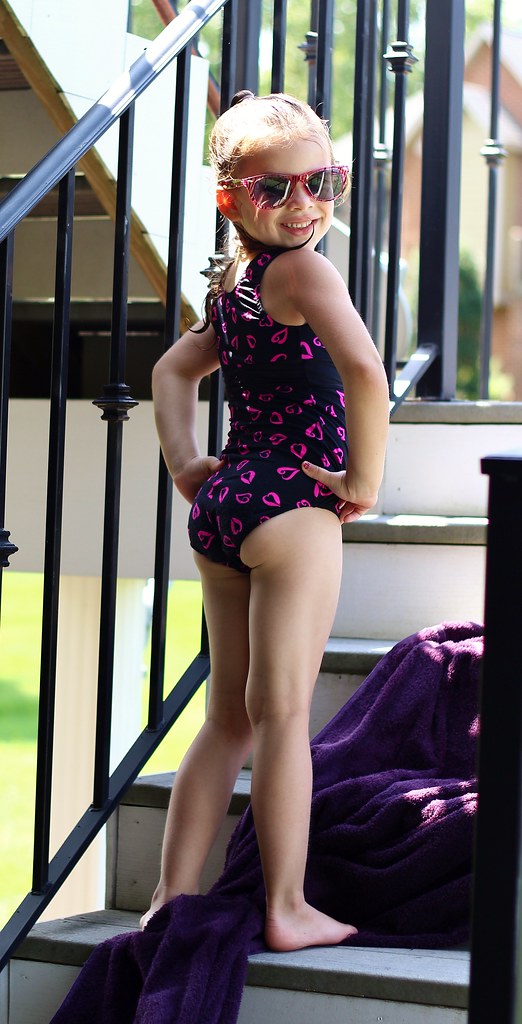
Myra obviously inherited my swayback. But I LOVE the fit over her backside. She gets her ghetto booty from me too, but this suit covers it well. No pool wedgies here.
Both fabrics are 4 way stretch nylon lycra. The black is a bit shiny, but the color match is good. Once I constructed the front, it looked a little boring, so I tacked the sequin bow to the center of the midriff panel. It's just a piece of stretch sequin trim I had around, hand gathered to form a bow shape. Myra loves it.
Myra has thoroughly pool tested her new suit, and it has passed with flying colors. Hopefully the extra length will allow her to wear it some of next summer as well. At least until I can get my act together and sew her a new one...
Either way, it's a win this year! And she might just manage to wear it out before school starts in 2 weeks. Sheesh.
And since this is Kid's Clothes Week, I got right on it! She's been begging for a suit out of this fabric since my friend Catrin gave it to me, so she's pretty thrilled.
The sequin bow totally sealed the deal. Pink hearts and sparkles? Yes, please.
The pattern I used is the same as last year's suit - the "mermaid" suit from the 03/2011 issue of Ottobre. I added 1/2 inch of length to the midriff band, but otherwise used the same size.
Myra obviously inherited my swayback. But I LOVE the fit over her backside. She gets her ghetto booty from me too, but this suit covers it well. No pool wedgies here.
Both fabrics are 4 way stretch nylon lycra. The black is a bit shiny, but the color match is good. Once I constructed the front, it looked a little boring, so I tacked the sequin bow to the center of the midriff panel. It's just a piece of stretch sequin trim I had around, hand gathered to form a bow shape. Myra loves it.
Myra has thoroughly pool tested her new suit, and it has passed with flying colors. Hopefully the extra length will allow her to wear it some of next summer as well. At least until I can get my act together and sew her a new one...
Either way, it's a win this year! And she might just manage to wear it out before school starts in 2 weeks. Sheesh.
Labels:
#30,
activewear,
girls,
Ottobre 03/2011,
swimsuit
Saturday, June 29, 2013
SwimAlong 2013: Board Shorts
I know the SwimAlong has officially ended, but summer hasn't! I'm sure I'm not the only one still sewing swimwear, so we'll just all keep going!
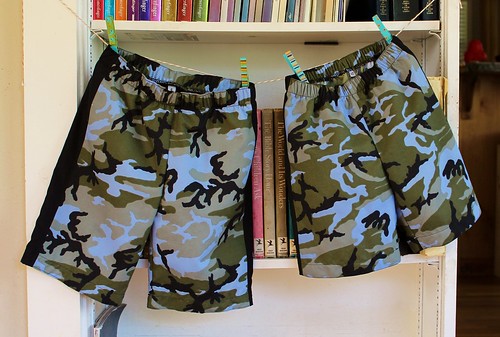
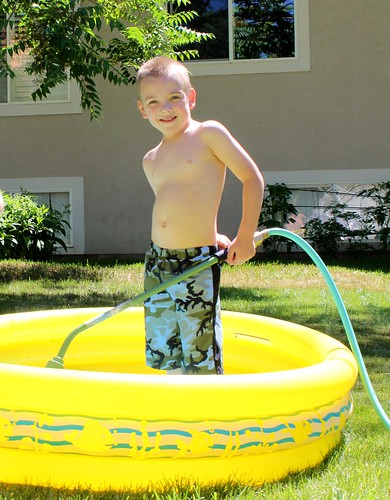
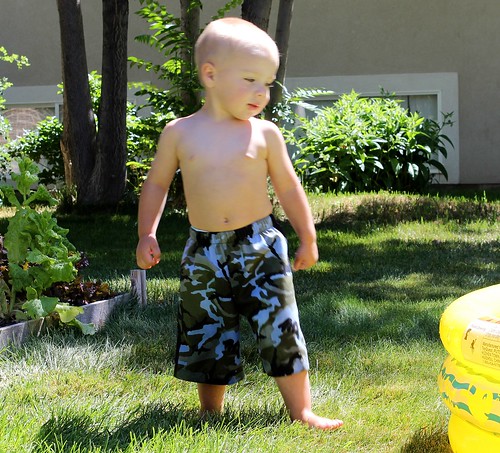
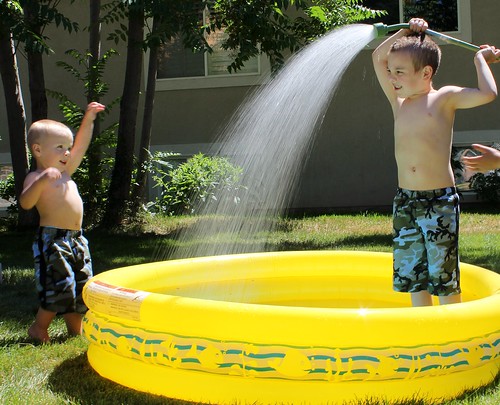
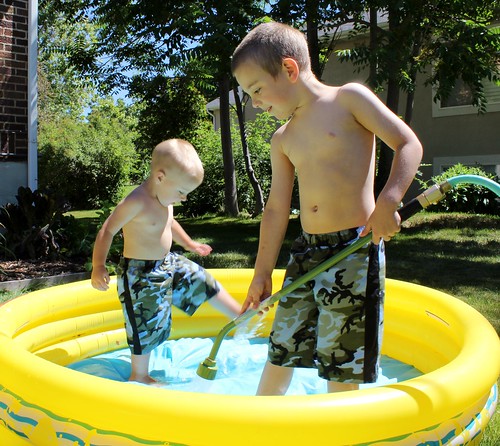
Poor Logan was wearing swim trunks at least 2 sizes too small. And while Duncan has two pair of hand-me-down trunks that fit him OK, they aren't great. So I decided to sew up matching board shorts for my boys, while they'll still let me dress them alike.
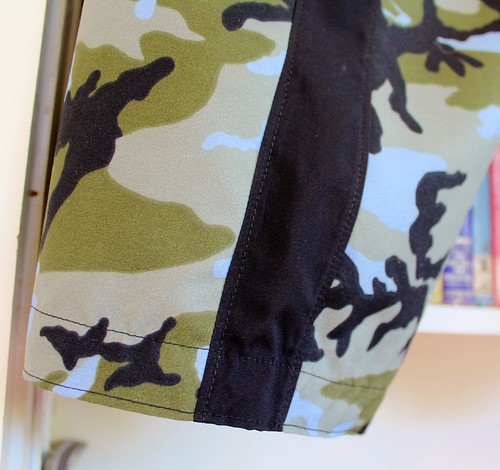
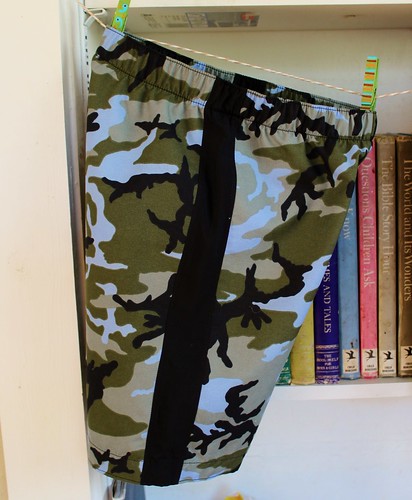
The boys are in two different size groupings (Logan is a 116 and Duncan wear a 92), so I couldn't use the same pattern. Instead, I just chose two basic elastic waist shorts patterns and styled them the same way. I eliminated all pockets and separate waistbands, and for Duncan's added a strip of fabric at the side seam to match the one on Logan's.
Logan's shorts are from the 03/2012 issue of Ottobre, model # 10. I've made them for him before, twice in fact, and he wears them regularly. Although these are drafted for a knit fabric, I knew they had sufficient ease to work in a woven. I did omit the pockets and added a casing for the waist, rather than a separate knit waistband.
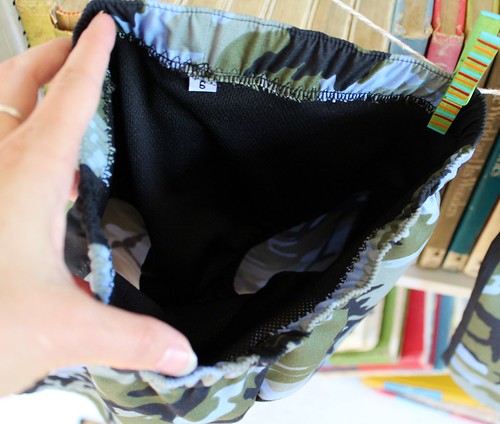
Logan's shorts also got a swimshorts style lining. This was so easy to add! I used Kitschy Coo's Boy Cut Brief pattern, since it only has side seams. The fabric I used is an athletic mesh, like you might see in lightweight running jerseys. I elasticated the leg openings with swim elastic, just like a regular swimsuit, and stitched the waistline to the top edge so that it was caught in the casing stitching. Logan says it is comfortable and that these are his favorite shorts. Yay!
For Duncan, I used the 03/2006 issue of Ottobre. There is a series of shorts in that issue from the same block, one of which (#10) has a separate hem band. I used that version, omitting the hem band and hemming at the seam level, to make a shorter pant. As you can see, these are plenty long, so I'm glad I shortened them! Again, I omitted the pockets and added the side seam band. Since Duncan is still wearing swim diapers, I didn't include a lining, so these were even easier to sew.
I noticed that the boys' RTW trunks have tons of topstitching, so I jazzed these up a little with topstitching down the side stripe, as well as a double line of stitching at the hem, which I echoed at the waistband. This had the added benefit of taming the somewhat unruly microfiber poly fabric I used.
Both shorts are made of polyester microfiber "board shorts" fabric from RockyWoods.com. (The link takes you right to the board shorts page.) This fabric is exactly like the fabric you see in RTW shorts and I was very pleased with it overall, but it wasn't the easiest to sew.
There are a few things that can help make it easier. The first is to make sure you use a sharp, fine point needle. I used a Microtex needle in a 70/10 size. This has a very fine point, which is perfect for punching through this densely woven fabric, without puckering or causing pulls.
The other important tip I have is to be sure you press very well. Do test first to get the optimal heat setting on your iron. This is polyester and you can melt it. Use the highest heat you can without damaging the fabric, and use steam. Be sure to press each seam both flat and open or to one side. You also want to be very diligent about finishing your seams. This stuff is very ravelly, and it will be subjected to a lot of stress. You don't need a serger (although that is a quick and easy option if you have it), just finish the edges with a 3-step zigzag or use french seams.
Despite the vagaries of the fabric, these whipped up quickly and the boys both like them. I know they'll both get a ton of use. If you're thinking about dipping your toe in the swimwear sewing pool, board shorts are an easy and fun place to start!
Labels:
activewear,
boys,
shorts,
SwimAlong,
swimsuit
Monday, June 17, 2013
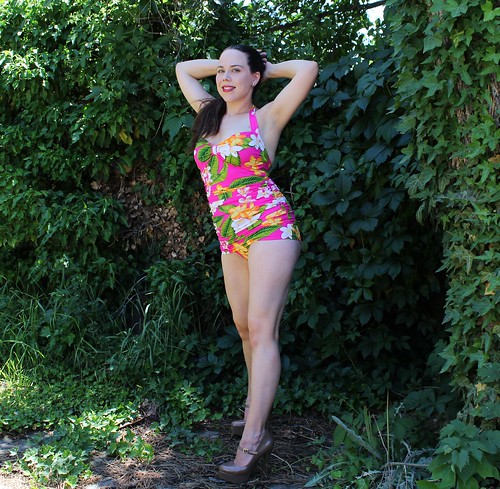
Closet Case Files: Bombshell swimsuit - And is it ever!
ETA: You can get the Bombshell swimsuit right now as part of Perfect Pattern Parcel #3! Pick your own price for a fabulous bundle of patterns, and do some good for charity!
Hey SwimAlong crew! After making suit after suit for the girl child, I finally got brave and made one for me.
And what was I waiting for?? This suit is so much better than anything I could have bought in the stores. And it was just as easy as the ones I made for Myra.
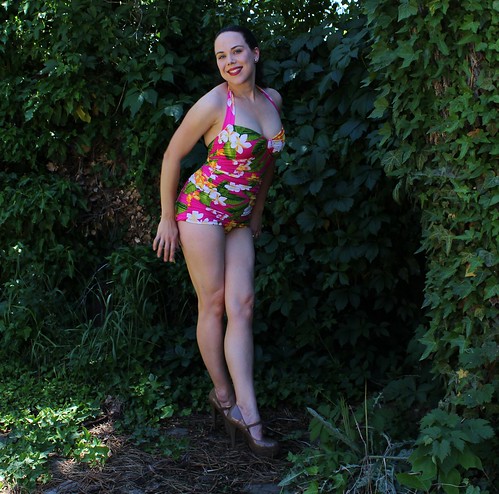
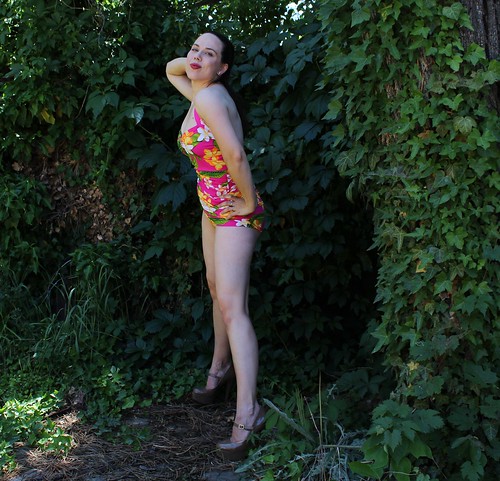
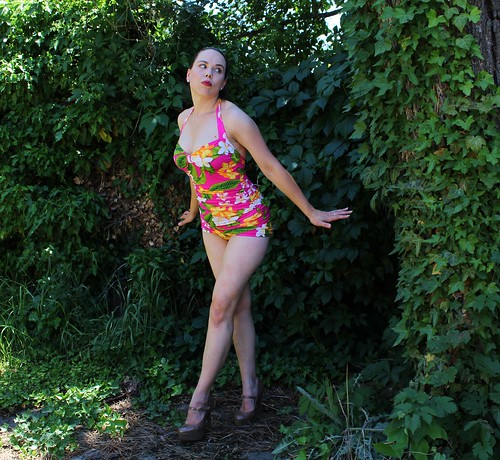
I used the new Bombshell Swimsuit pattern from Closet Case Files, and boy is that name right on the money! I totally feel like a pinup in this thing! Which is pretty amazing for a 30-something mother of three, let me tell you. I warn you now - the photos got a little campy...
If you've seen the pattern, you can see I sewed view A. The suit has nice low cut leg openings, with a ruched overlay in front, making it a swim dress, sort of. The leg openings in front under the panel are more of a mid-cut opening, so they allow for a good range of movement, but the overlay gives the look of a lower cut front leg. There is a full lining, and the option to insert bra cups.
ETA:
The instructions were really great. I loved that Heather included instructions for both regular sewing machine and serger. The only thing I did differently was to use my coverstitch to topstitch the elastic, rather than a zigzag stitch. If you have that option, I'd go for it. The suit looks seriously professional, but I think a zigzag would have been fine, too.
Although the ruching takes some time and precision to do, I think the completeness of the instructions more than makes up for the relative complexity and this would be a great suit for a beginner to swimwear sewing.
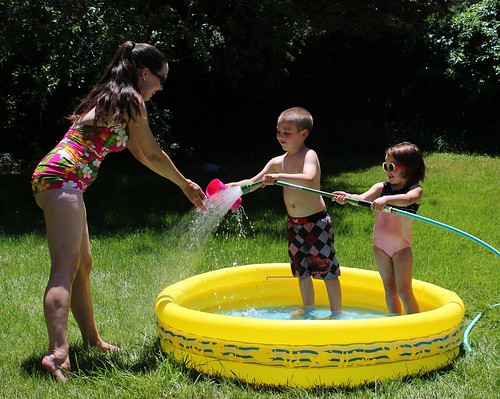
And lest you think I spend all day swanning about my backyard teasing cabana boys - here's what the suit really did today. And it was awesome. I haven't had a suit that fit me in a couple of years, so the kids were beyond thrilled that mom could play in the water and run through the sprinkler with them. If the truth be told, I was darn thrilled, too.
ETA:
Country Girl Couture asked about support in the suit, and I meant to tell you about it, so here it is! I added bra cups and a band of 3/8 inch elastic to support the girls. This won't be enough for say, swimming in a Triathlon, but it held the girls up while running in the sprinkler and jumping in the kiddie pool. In order to place the cups and elastic, I sewed the darts in the lining as the first step, then basted the lining pieces together and tried on the suit. Pin it to your bra, since it doesn't have any straps. I pinned the cups in place over the girls, then used a washable marker to draw a line under the bust. I zigzagged on the cups, then attached the elastic, making sure it just abutted the bottom edge of the cup. Once they are on, trim away the lining under the curve of the cup.
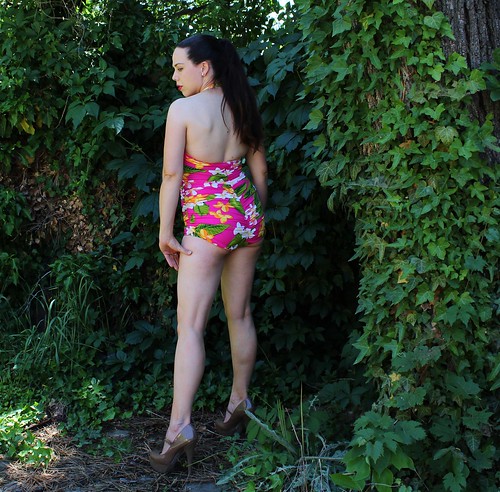
In the back, ooh, la la! Y'all, my tooshie has never had it so good! Full coverage leg openings are comfortable and cover the assets, while the ruching gives the appearance of lift and smooths over any -ahem- rough patches.The instructions were really great. I loved that Heather included instructions for both regular sewing machine and serger. The only thing I did differently was to use my coverstitch to topstitch the elastic, rather than a zigzag stitch. If you have that option, I'd go for it. The suit looks seriously professional, but I think a zigzag would have been fine, too.
Although the ruching takes some time and precision to do, I think the completeness of the instructions more than makes up for the relative complexity and this would be a great suit for a beginner to swimwear sewing.
And lest you think I spend all day swanning about my backyard teasing cabana boys - here's what the suit really did today. And it was awesome. I haven't had a suit that fit me in a couple of years, so the kids were beyond thrilled that mom could play in the water and run through the sprinkler with them. If the truth be told, I was darn thrilled, too.
Thursday, June 6, 2013
Ottobre 03/2011-30: Mermaid Swimsuit
Hey SwimAlong crowd! First swimsuit of the season - done!
I like sewing kids swimwear. Fewer fitting issues to worry about.
Given my last post, I'm sure you can guess that this is NOT a Big 4 pattern. This is from the 03/2011 issue of Ottobre. I have used this issue a ton! It has a lot of really great, versatile styles in it. This suit is #30, the Mermaid swimsuit.
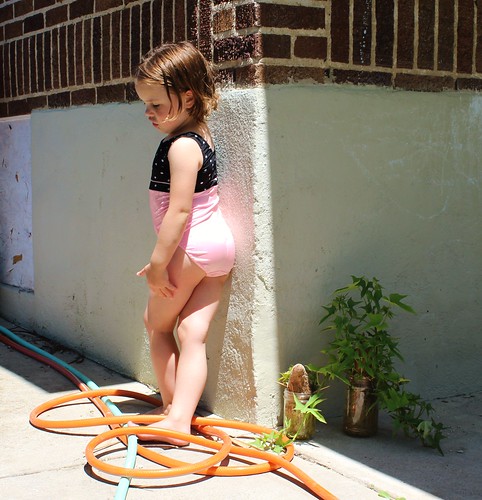
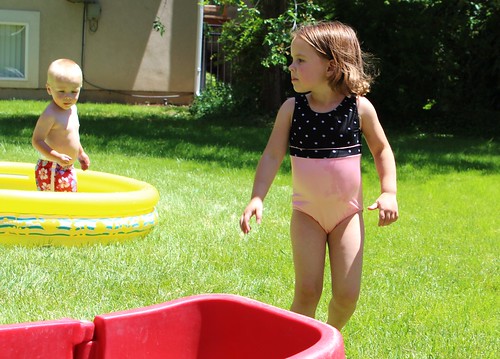
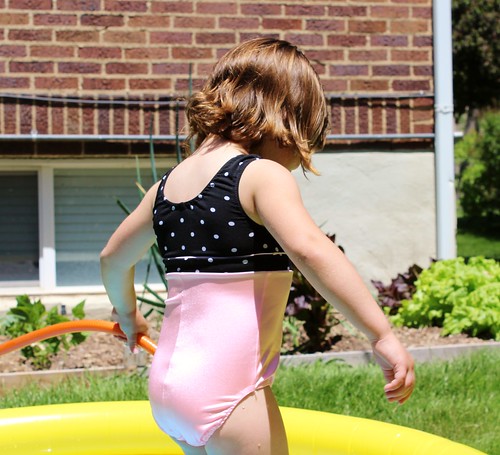
I made some minor style changes. The original is made of a solid and stripe in pink and white, with the stripe on the lower section and midriff band. I decided to put the polka dot on the upper bodice and midriff instead. I also omitted the bow, but added some stretch piping to the seam between the midriff band and the bodice, just to highlight that seam.
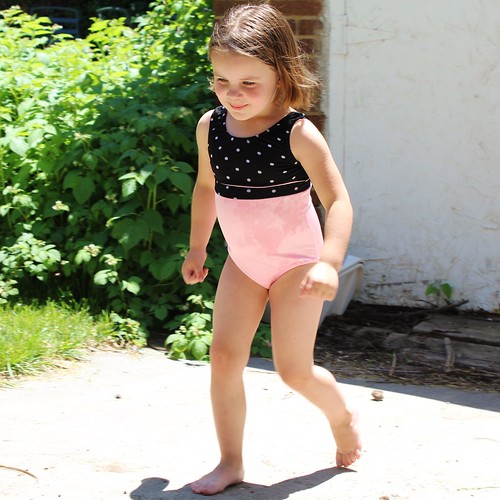
I'm very pleased with the fit, particularly in back. Myra has a pretty prominent backside, and this suit covers it well. She measures nearly exactly to a size 104, so that is what I made. As you can see, it fits her well, but there is a small amount of room to grow.
I finished all of the openings with rubber elastic. I used 1/4 inch wide rather than 3/8. I prefer the thinner elastic for children's wear, but it is a little trickier to work with. I topstitched with my coverstitch machine. In retrospect, I wish I had used the narrower stitch rather than this wide one. Since the elastic is so narrow, I think it would have been a little nicer looking.
Not that you can tell when she's on the move! The suit is performing well, and she really likes it, so it's definitely a win.
Happy summer! Now to sew up some trunks for my boys...
Today's tip
This is a quickie, but hopefully useful. This pattern didn't include specific lengths for the elastic in the leg, arm and neck openings. Fortunately, the Singer Sewing Activewear book has a handy chart so that you can figure it out yourself. This is especially great if you need to alter an opening for fit or personal preference. Since the book is out of print, I'm going to share the chart here.
If you click on it, it will take you to Flickr, where you can see it much larger. Hope it helps you!
Given my last post, I'm sure you can guess that this is NOT a Big 4 pattern. This is from the 03/2011 issue of Ottobre. I have used this issue a ton! It has a lot of really great, versatile styles in it. This suit is #30, the Mermaid swimsuit.
I made some minor style changes. The original is made of a solid and stripe in pink and white, with the stripe on the lower section and midriff band. I decided to put the polka dot on the upper bodice and midriff instead. I also omitted the bow, but added some stretch piping to the seam between the midriff band and the bodice, just to highlight that seam.
I'm very pleased with the fit, particularly in back. Myra has a pretty prominent backside, and this suit covers it well. She measures nearly exactly to a size 104, so that is what I made. As you can see, it fits her well, but there is a small amount of room to grow.
I finished all of the openings with rubber elastic. I used 1/4 inch wide rather than 3/8. I prefer the thinner elastic for children's wear, but it is a little trickier to work with. I topstitched with my coverstitch machine. In retrospect, I wish I had used the narrower stitch rather than this wide one. Since the elastic is so narrow, I think it would have been a little nicer looking.
Not that you can tell when she's on the move! The suit is performing well, and she really likes it, so it's definitely a win.
Happy summer! Now to sew up some trunks for my boys...
Today's tip
This is a quickie, but hopefully useful. This pattern didn't include specific lengths for the elastic in the leg, arm and neck openings. Fortunately, the Singer Sewing Activewear book has a handy chart so that you can figure it out yourself. This is especially great if you need to alter an opening for fit or personal preference. Since the book is out of print, I'm going to share the chart here.
If you click on it, it will take you to Flickr, where you can see it much larger. Hope it helps you!
Subscribe to:
Posts (Atom)


.jpg)
.jpg)