Sunday, November 3, 2019

It's a Jalie Halloween!

I don't think I have very many costume years left with this one, so I was pretty thrilled when she designed her own costume this year. Fortunately, it was doable within a pretty quick time frame, as time has been in short supply lately.
Here she is with her original design. She made a few tweaks to it before we got going, so the final result isn't exactly like her model, but it is exactly what she wanted! She asked me to make her silver leggings with a coral top that had gold sleeves. As you wish...
For the top, I made Jalie 2805, with the crew neckline and 3/4 sleeve. Other than cutting the sleeves out of a contrasting fabric, the pattern required no alterations to manage Myra's vision.
She requested her costume feature an amulet at the hip, so I added it with heat transfer vinyl as per her instruction.
The pants are made with Jalie 3887, the Clara leggings. I've been terribly remiss as a blogger, as I've made at least a dozen of these in various sizes and from various fabrics. Myra LOVES this pattern, and this is actually the second size I've traced for her. I do add some height in the back waist, which is a typical adjustment for Myra.
The Clara is an amazing basic leggings pattern and it was perfect for this crazy hologram lycra. For the record, it's also fantastic in DBP, cotton-lycra, rayon-lycra and denim knit. We really love this pattern.
Love the fit in back as well!!
And while it was made for Halloween, it also works as daily wear, if you are a sassy preteen!

Monday, July 1, 2019

Reversible Scrub Cap Tutorial with Free Pattern and SVG!

You will need:
The pattern pieces (click here). Be sure to assemble the band piece by overlapping the two pieces and taping as indicated on the pattern pieces.
2 pieces of coordinating fabric, ½ yard each or a fat quarter will work
42 inches bias tape. I used extra wide for this tutorial, but if you prefer narrow, that also works
Thread
Something to use to cut - either shears or rotary cutter
A sewing machine
An iron
Nice to have
Press cloth
Pressing ham


1: Press your fabric! Particularly if you are using a fat quarter as they are often quite creased from being folded.

2. Cut out your pieces. You will need one top piece and one band (cut on the fold) out of each coordinating fabric. If you are using fat quarters, fold in half and cut the band first, then unfold to cut the top. As you are cutting, be sure to notch or mark the center front and back of the top and center front of the band at the upper (curved) edge. If you are using a cutting machine to cut your pieces, you will need a 12x24 inch mat, as this will cut out single layer.

3. Right sides together, match up the center front of the top with the center front of the band and pin.

4. Going around the top, pin the band in place right sides together along the round edge. Sew with a 1/4 inch seam allowance all around the curved edge of the cap. Leave the bottom edge unsewn. Your band should match fairly closely, but as you are matching up curved edges, you may have to ease the top piece slightly into the band. Don’t worry about basting stitches or anything - it’s not that much. When you stitch this at your machine, be sure that the top is down against the feed dogs as your sew, and hold your work taught as it stitches. This will allow the feed dogs to ease in the top as needed.

5. Press your seam down toward the band. This is much easier if you have a pressing ham!
6. Now repeat steps 3-5 with your other coordinating fabric.

You should have 2 little caps!
7. Fold one wrong side out and the other right side out and nest them right sides together.

8. PIn and stitch the two layers together along the back edge of the cap, matching the center back and the seams.

9. Press the seam open, then nest the two layers WRONG sides together, folding at your newly pressed seam. Now Press the seam flat, making sure your fabric isn’t rolling to one side or the other.

Now it’s starting to look like a cap! My finger is indicating your back seam. You still should have raw edges along the lower border of the cap. Let’s take care of that, as well as making ties all in one step.

10. Make sure that the raw edges of your cap are aligned and place a pin at center front of the band. Get your bias tape and if you haven’t already, cut a 42 inch long piece and fold it in half to determine the center.

11. Matching the center of your tape with your center front pin, wrap the tape around the raw edges of your cap. You want to stick it in as far as you can, aligning the cut edge with the fold inside the tape. Pin the tape in place all around the cap. (Note: If you are a bias tape pro, you can do this without all the pinning. Your ties will be 10 inches long, so just stitch up the 10 inch ties first, and insert the cap at the point, and then stitch around, adding the second 10 inch tie at the end.)

12. Start stitching at one end of your bias tape. If you notice in the above picture, one side of the bias tape is less wide than the other. This is done intentionally at the factory to make it easier to apply. Be sure you are stitching with the “shorter” side up so that when you get to the cap section, you will be confident you are stitching through all the layers, since the bottom side hangs farther over. Stitch all the way down the edge of your first tie, around your cap and along the edge of the other tie, all the way to the end in one pass.

I like to use a 3 step zigzag stitch for this - I just like the way it looks - but you can choose any stitch you prefer. Some machines have interesting decorative stitches and this would be a great place to use them! Have fun!

13. Finish the end of your bias tape ties by either narrowly hemming them, or zigzag stitching across the ends and trimming off any excess. I find hemming a bit bulky, so I go the zigzag route. You could also add a knot at the end, or even a decorative bead.

Look at that! You’re done! Now you’re the most stylish in the OR! I added some embroidery to mine, and if you are interested in embellishing your cap in some way, do so before you assemble the pieces. It’s much easier to embellish flat fabric!

ETA: Several of y'all have asked about making these caps in a single layer, which is a great way to conserve fabric and make them faster! My friend Kristine made a great video showing us all how to easily convert the pattern to a single layer. Even if you are doing a double layer cap, she has some great tips for sewing the pattern in general! Check out her video here!

To download the pattern pieces, and a pdf of the instructions, click below!
Pattern
Instructions

And just for kicks (and so I could play with my new Cricut Maker), I also created an SVG file for those of you who have cutting machines that can handle unbonded fabric. You can download the SVG here. If you need to resize, the band should measure 4.324in x 22.648in, and the top should measure 6.758in x 10.408in.
Note: the svg file will not open in your browser, so if you click on it, you will get a plain black screen and it looks like it doesn't work. You will need to right click on the link and download the file, then upload the svg file into your cutter software.

Thursday, June 6, 2019

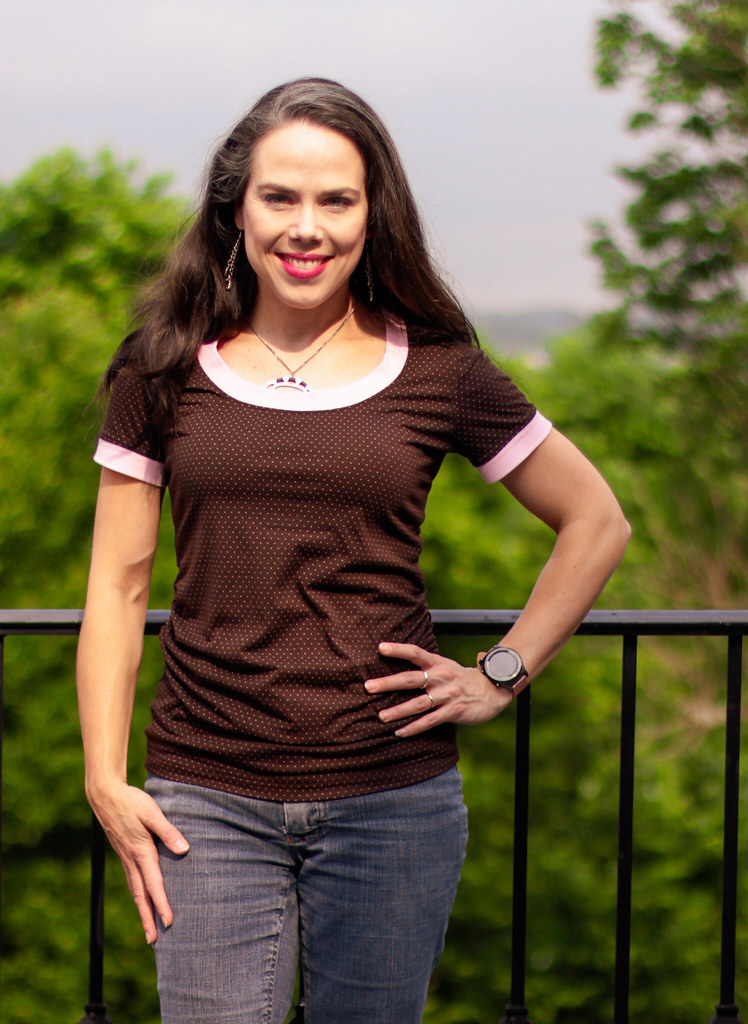
Angela Wolf Ruched Tee

Lately, I've been having a hard time feeling inspired. We're busy, and with summer vacation here, my sewing time is extremely limited, but I ran across some YouTube videos recently by Angela Wolf, which led me to her Facebook group, which resulted in this top. Sometimes inspiration takes roundabout paths, and you just have to go along for the ride.
This is the Ruched Tee by Angela Wolf Patterns. I know, I have a zillion basic tee patterns, but every time I pulled one out, I just didn't want to sew it. And I really DID want to sew this one! I have no regrets.
The skinny on this pattern - it's a fitted scoop neck tee with sleeve and collar options. Since this was my first time sewing it, I went with the simplest options, which were a short sleeve and a narrow banded neckline.
Isn't that a lovely neckline? Wider bands can be troublesome sometimes, but this one lays nice and flat. Of course, I couldn't leave well enough alone, so I added a band to the sleeve hem as well, for a ringer tee look. Me likey.
The shaping is nice through the back, and the neckline hugs the back neck perfectly. I really like the finished length as well. I find it very flattering, but also allows easy back pocket access. Essential for me, as that's where I generally stick my phone.
Of course, it wouldn't be called a ruched tee if there wasn't ruching! The pattern includes options for ruching either or both side seams, as well as the longer sleeve lengths. The instructions were really fantastic. This is my first Angela Wolf pattern, but I was so impressed by the pattern quality that I've already ordered her jeans pattern as well. The instructions are in a lovely spiral bound notebook, and the pattern is printed on really nice quality paper. It was a pleasure to use!
This fabric has been in the stash so long I can't recall when I bought it, but it had a fabricmart sticker on it. It's a lightweight rayon lycra with a perfect drape for this top. The bands are a pink rib knit that perfectly match the teeny pink polka dots. I'm pretty sure it's from Chez Ami. I miss their fabric!
So, the verdict? This pattern is a huge win! I will definitely be making it again. There is a cowl neck option! Y'all, I love a cowl neck! And I can't wait to get my jeans pattern. I do love making jeans. You know, sometimes sewing inspiration can be tough to find. I'm glad my random path led me here. Back to the sewing machines!
Tuesday, April 16, 2019

McCalls 6122

Y'all, it's been so long since I sewed a Big 4 pattern, I wasn't sure I remembered what to do! But I'm struggling mightily with lack of time and lack of mojo, so when inspiration struck, I knew I needed to run with it.
And despite wrangling my usual alterations, and remembering how to sew a woven, I'm glad I did. It felt good to tackle something a little more challenging than leggings or a tee shirt.
So, this pattern is McCalls 6122, which is of course, long out of print. It's a Palmer/Pletsch  pattern, so I feel like the instructions were a little better than the run of the mill Big 4 which was nice, since the collar construction was a little unusual, and I didn't make it easy on myself by adding embroidery.
It's a pretty straightforward sew though, for the most part. The front bodice is cut on the bias, which looks pretty cool in my slubby chambray. The peplum has a narrow, curved hem, and the bodice shaping comes from vertical waist darts.
The button placket is interesting though. I've sewn concealed plackets, but generally I've seen them done as foldover plackets. Since the collar points are continuous with the facing and blouse front, that doesn't work here, so instead, the placket is pieced onto the blouse front and the facing, then tucked in like a long, narrow in seam pocket. That works out well both to keep the placket from interfering with the collar, and also to eliminate any issues that might arise from the bodice front being on the bias, since the placket piece is cut on grain.
In back, you can see the wrinkles from this morning's car ride with my kids, as well as the nice shape back here. There are vertical darts for shaping, as well as the waist seam. You can also sort of see the collar. There is an undercollar there, but the upper part is continuous with the front facing, much like constructing a shawl collar.
One of the reasons I selected this pattern was that I wanted to embroider! And those collar points were just begging for some subtle motifs. The design is from Urban Threads, and is intended to look like jewelry, but I went for shades of blue for a tonal look. I did stitch the "gem" in the center in pink, with an overlay of pink metallic. It's subtle, but pretty.
But what of the fit? Well, I'm not overjoyed, but I'm not entirely unhappy either. I did my usual Big 4 alteration - shortening above the bust and slimming down the sleeve cap. That part isn't bad, but the collar buckles somewhat, which tells me I should have shortened it a little bit more, or taken a wedge out of the neckline. I also think that armhole gaping is telling me an FBA was in order. Dang it. I should have gone with my gut and done one, but it fit so well in the tissue! I wonder how many more times I'm going to have to learn that lesson...
So, it's not perfect, but it is comfortable and cool, and I'm feeling pretty good about tackling something not so easy. Now if only my kids would stop asking for leggings and tee shirts....

Tuesday, February 26, 2019

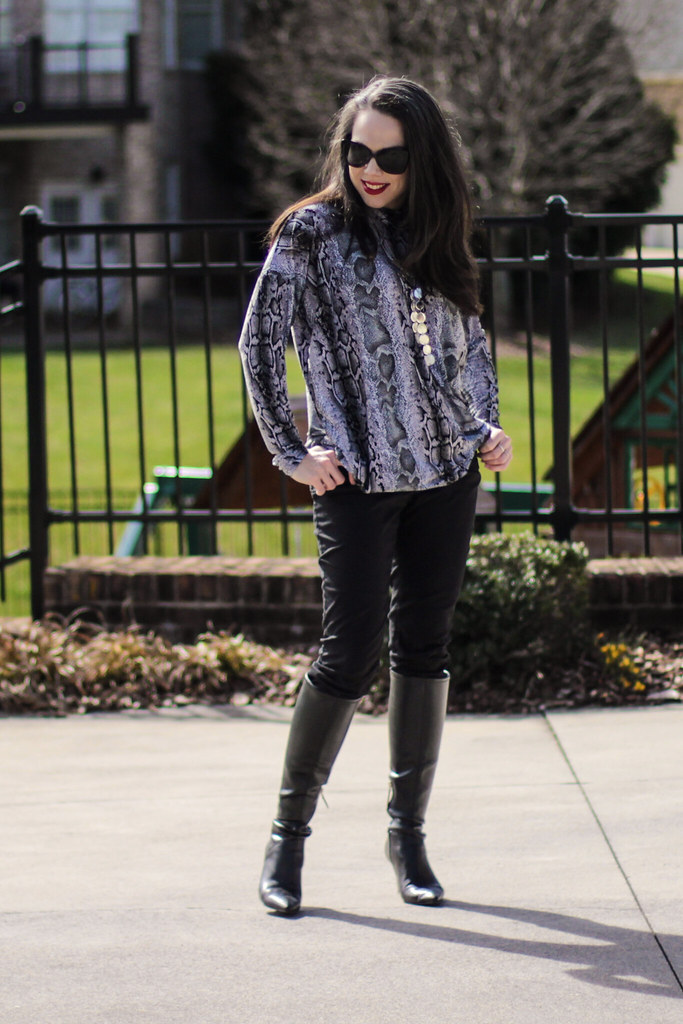
Jalie Eleonore and Yoko, a match made in heaven!

So, y'all probably have noticed by now that I'm a bit of a Jalie fangirl. I sew their patterns a lot for everyone in my family, and I have always been happy with my results.
So, when Jalie released the Yoko top for FREE, naturally I was quick to download it!! And then I sat on it, because I just haven't had the time to sew that I wish I had.
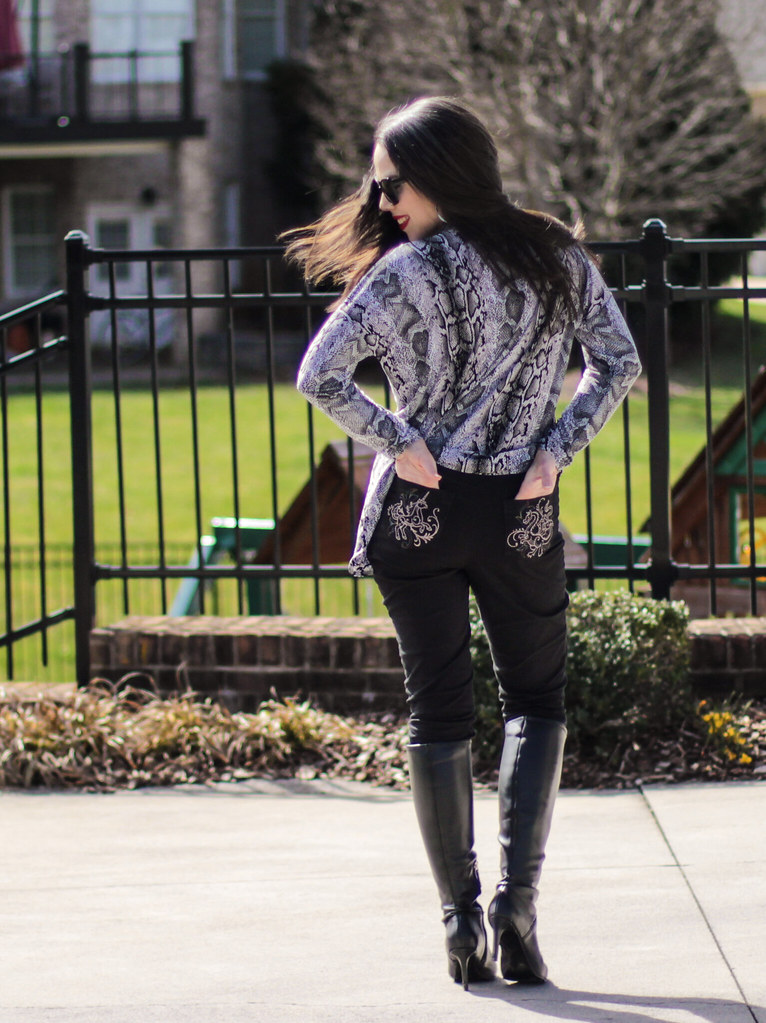
But then I made a pair of Eleonores in basic black, because everyone needs black pants, right? I've made quite a few pairs of these (see here), so I won't go into great detail about them, but I did do a few fun things...
Rainbow metallic unicorn and dragon pockets were a must! I love fun back pockets, even on "basic" black pants.
I also added real pockets to the front. The pattern is drafted with a faux pocket, which is kind of a pain to sew, and also irritates me every time I try to put my hand in it. Now they are real pockets! Jalie offers an add-on to the pattern, if you want your own front pockets. I drafted them myself though.
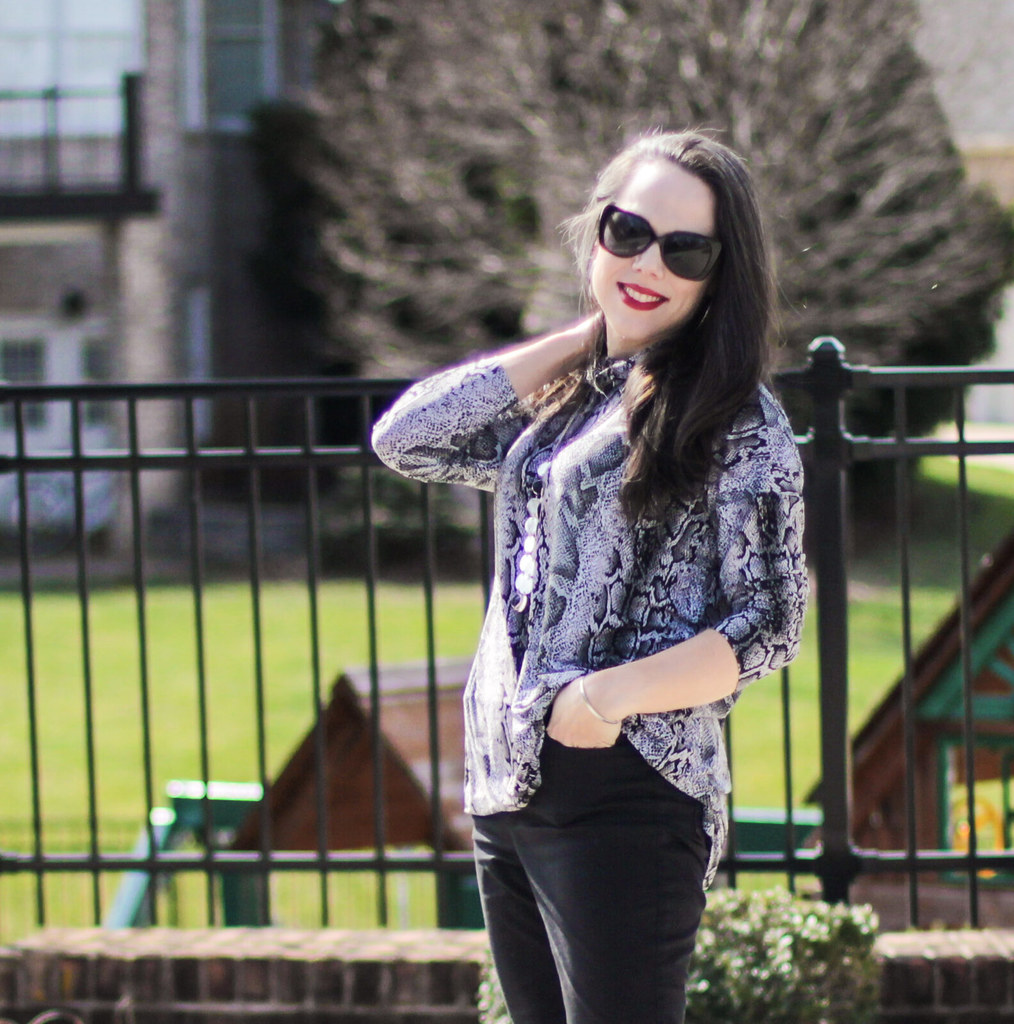
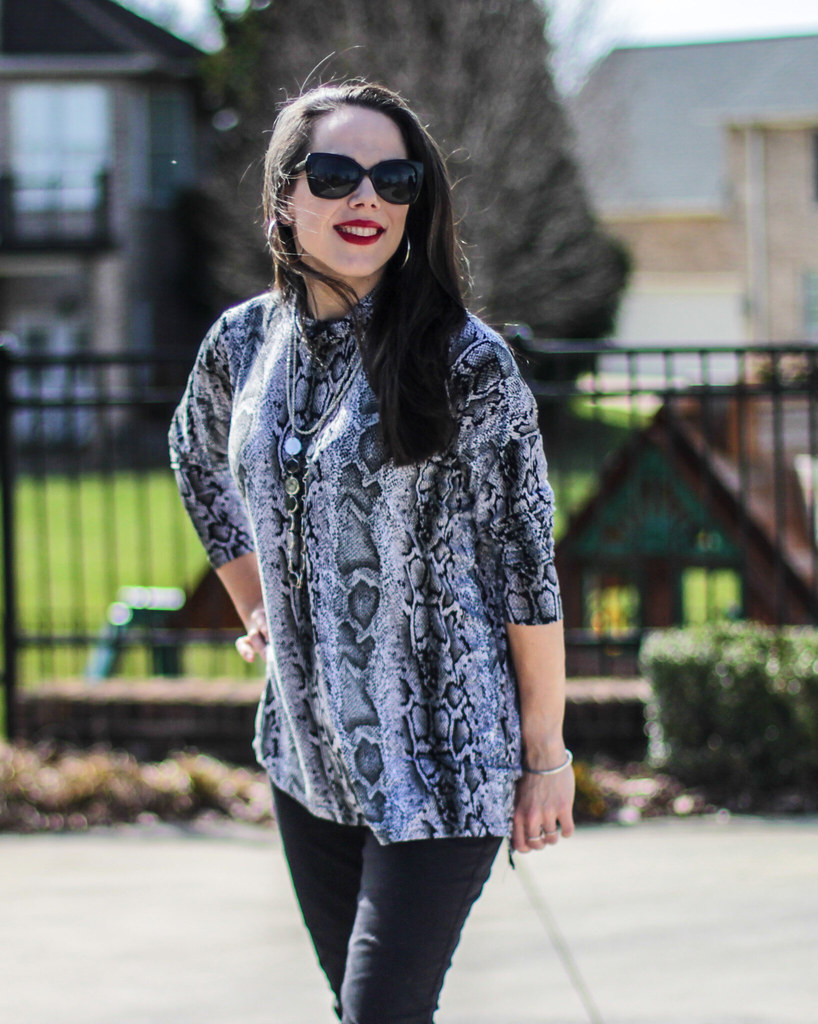
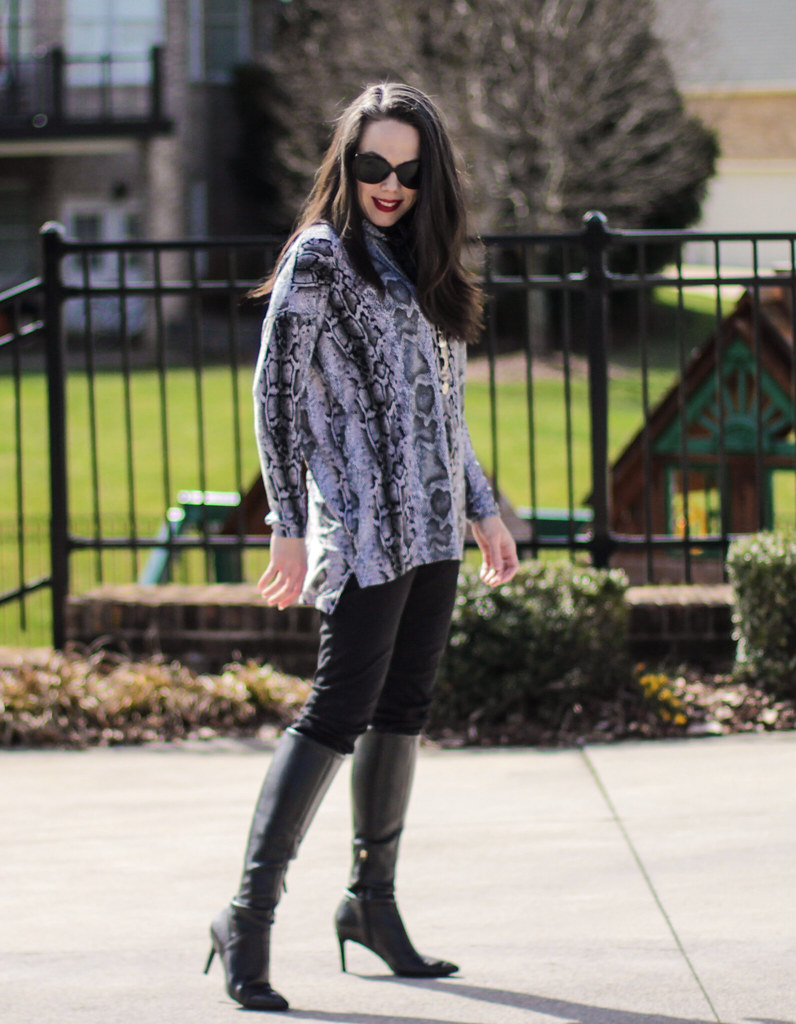
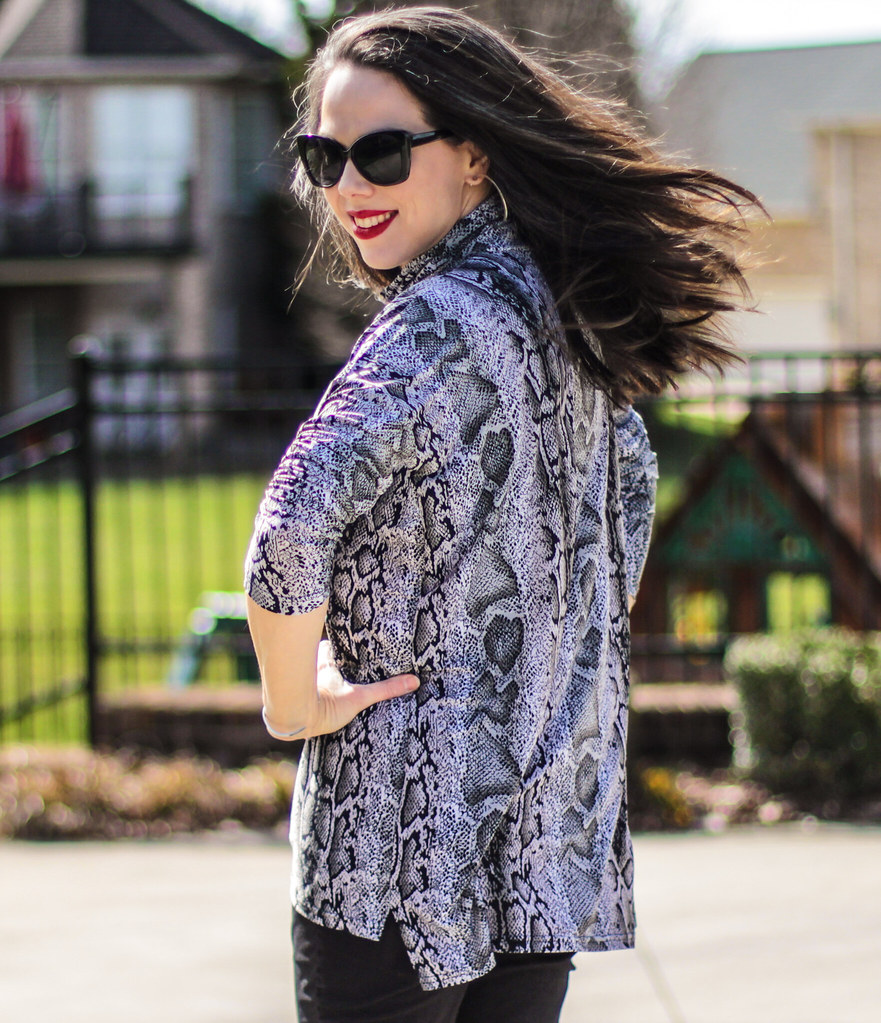
But this blog post is about the Yoko! Did I mention it's a free pattern?! Go download it! It's a basic loose fitting tee with a dropped shoulder, long sleeves and a turtleneck. It's a super quick sew!
I made mine out a a nice, slinky ITY jersey. I love how it flows when I wear it! I've seen it made out of pretty much every knit imaginable, and it always looks awesome.
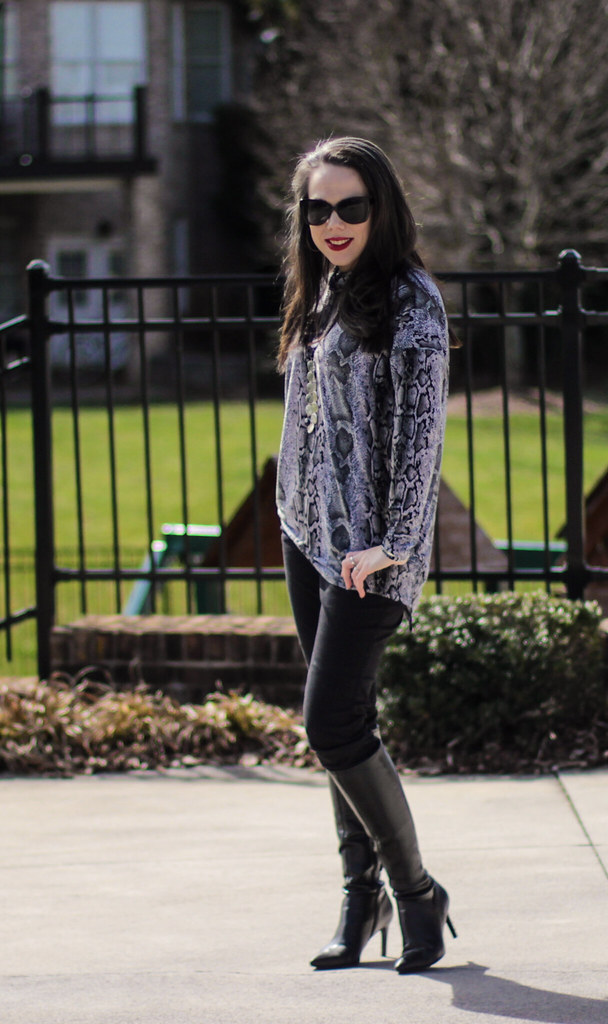
I did make on wee alteration to mine - I just can't leave well enough alone. Since I was planning to wear it with skinny jeans, I wanted more of a tunic look, so I added 2 inches to the length in front and 4 inches in back. When I sewed the side seams, I left the last couple of inches open as a vent. The top is loose enough that I don't need it for ease, but I like the look.
You can see it here as well. Another feature I love about this top is the sleeve. It's nice and long, but snug enough that I can push it up to get a 3/4 sleeve look as well.
I may have started out to sew basic pants, but I don't think I ended up with anything basic at all! I love this outfit, and feel like a total rock star in it!