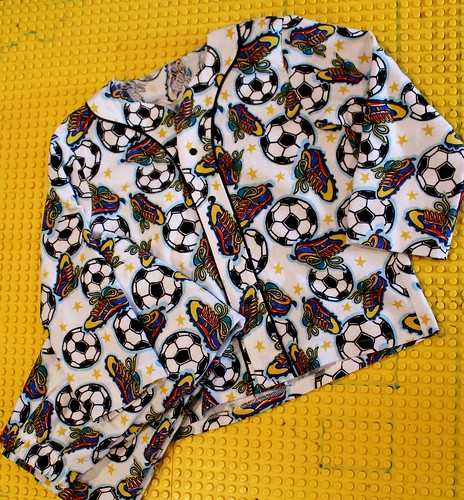
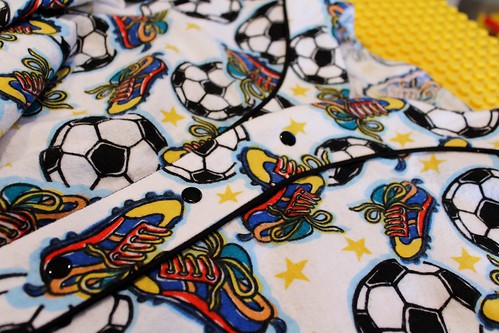
I'm afraid this post isn't going to be earth shattering, but I wanted to record the info for my own purposes. For some reason, I can never remember which patterns for PJs I like and what sizes I have used! It's a problem. Anyway, I finally got a chance to do some sewing, and the boys need PJs.
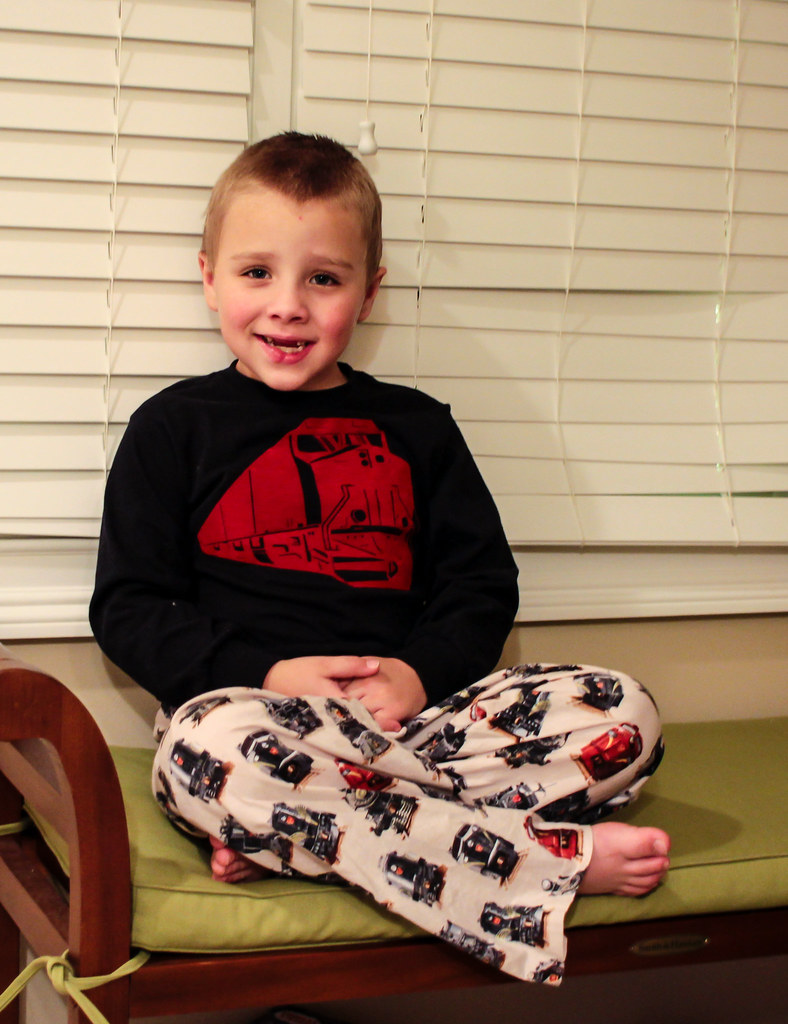
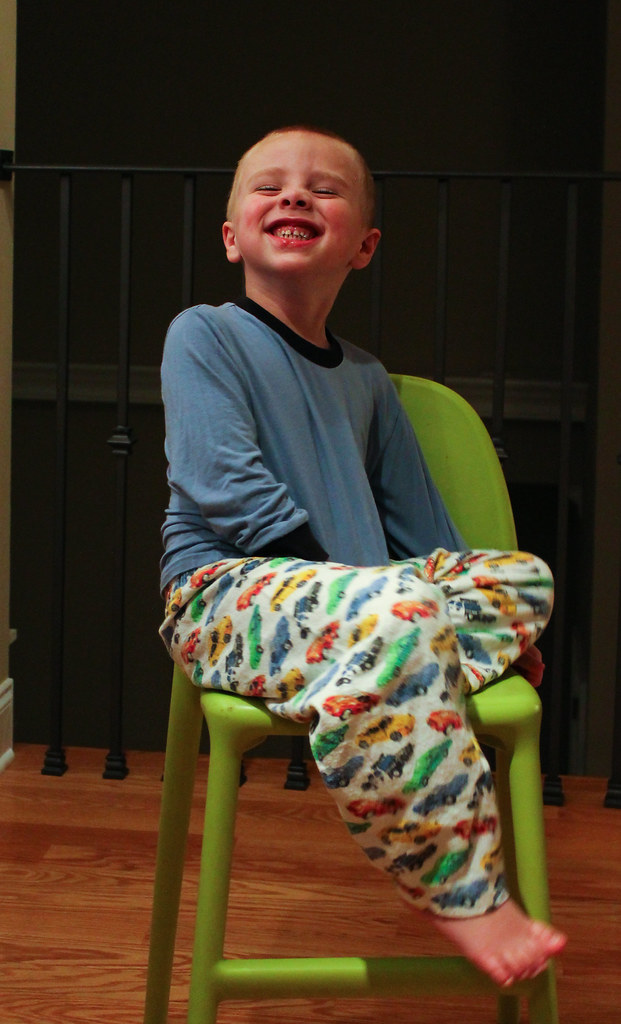
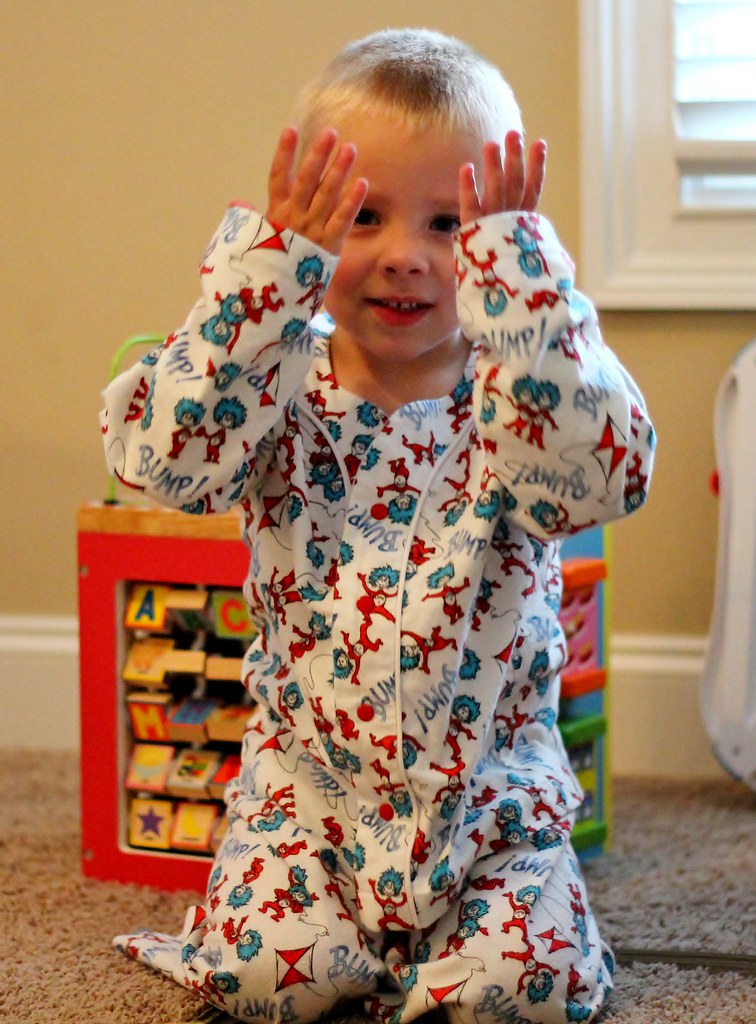
I started with Duncan, as his need was the greatest. The shirt is a blank from Walmart that I added the diesel engine to with flocked HTV, It's fun and fuzzy. For the pants, I used the Goodnight Sweetheart pants pattern from the Sewing for Boys book. I've been using it successfully for years, but Duncan is in the largest size now, so we'll be retiring it soon. Sad day. I did have to shorten it significantly. I took 3 inches off the length, and it's still got some grow length.
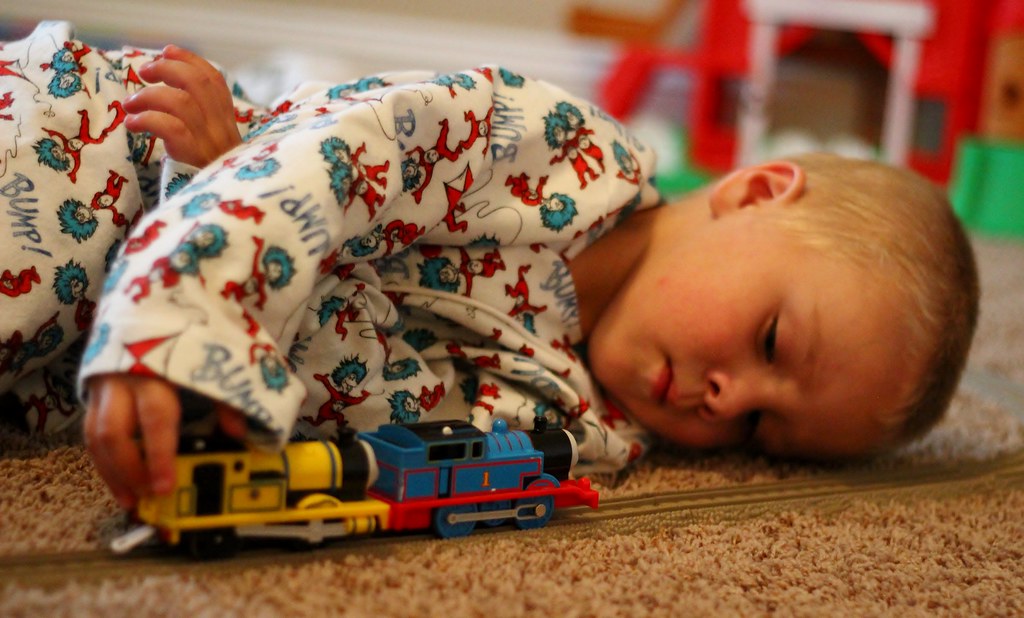
He likes them very much because TRAINS. The fabric is quilting cotton from Fabric.com. Not my favorite choice, but train printed fabric is difficult to find in anything else.
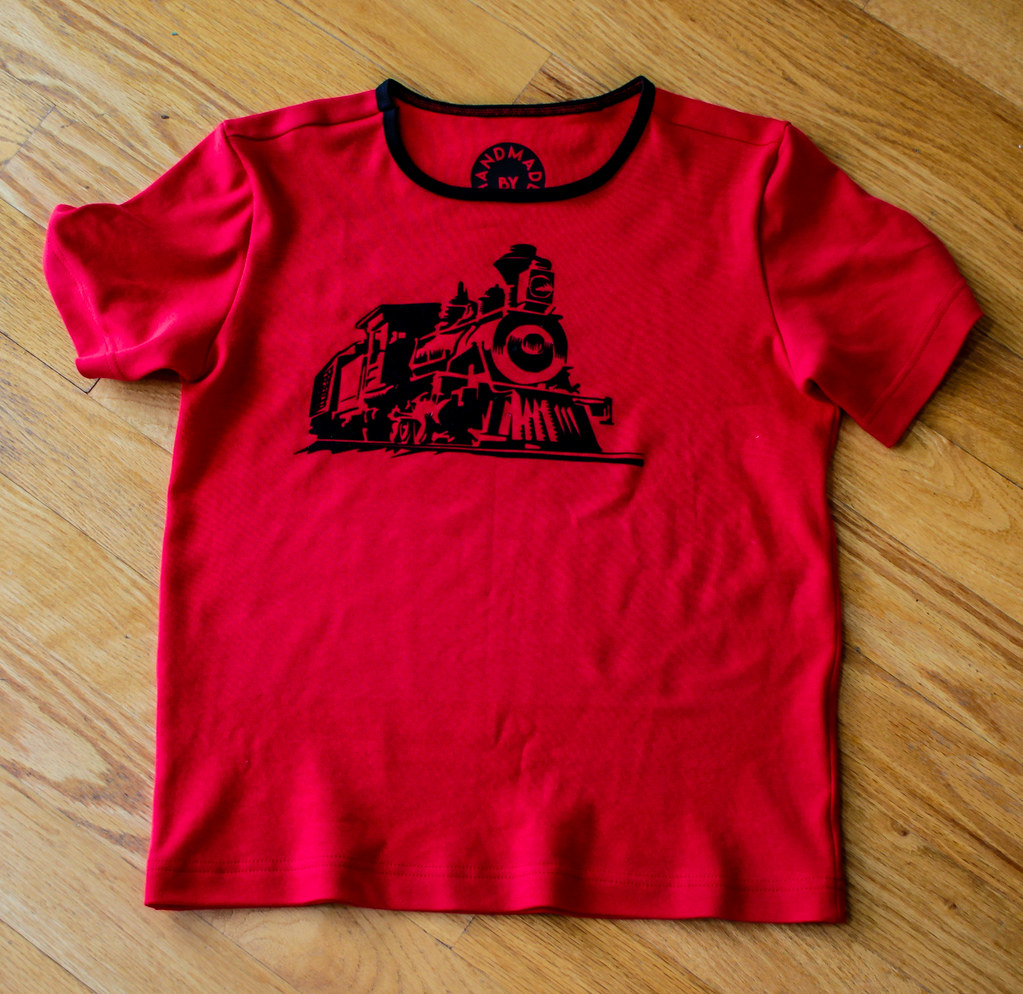
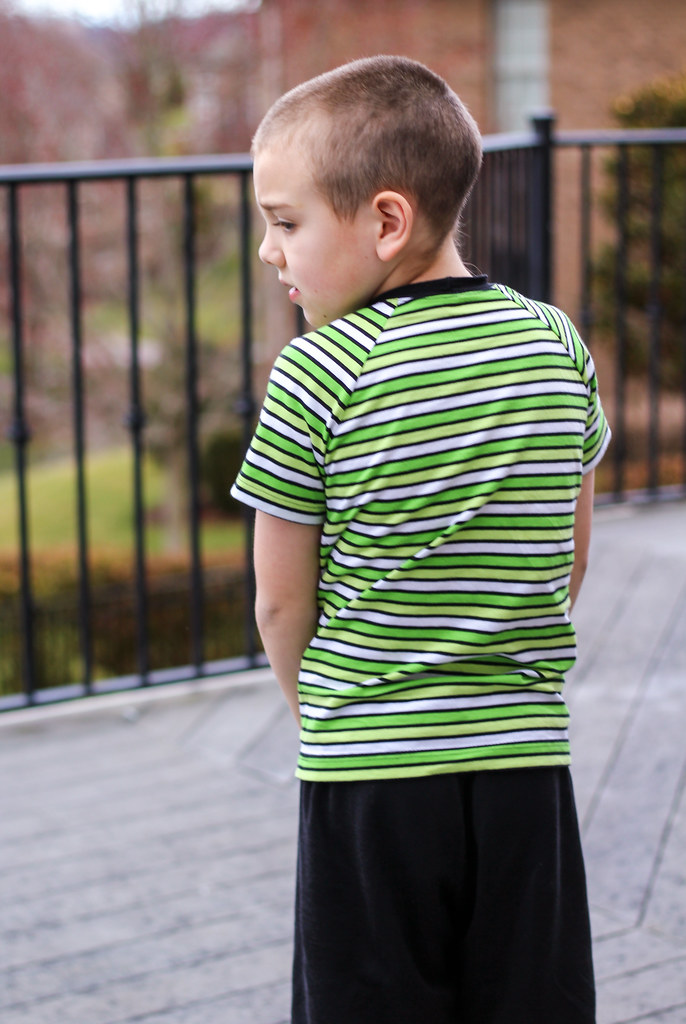
Logan was a wee bit trickier. He prefers shorts and short sleeved tees for his PJs. All the stores around here have switched over to winter stock, so long sleeves are all that are on the shelves. So, the shirt is mommy-made.
I was a little apprehensive about this, actually. I know, just a tee shirt, but sizing for Logan has been really challenging me lately. He's getting into pre-teen sizing, and I don't have the same intuitive feel for that as I do for children's sizing. The last tee I made him was on the small side, and I didn't want that to happen again. After some discussion with the ladies in my Ottobre sewing yahoo group (Thank you, ladies!!) I decided to go with the Dirt tee from the 01/2015 issue of the magazine, as the photo of the shirt looks on the looser fit side. He falls pretty squarely into the measurements for a 148, but after also comparing a few of his favorite tees with the pattern, I ended up sewing the next size up.
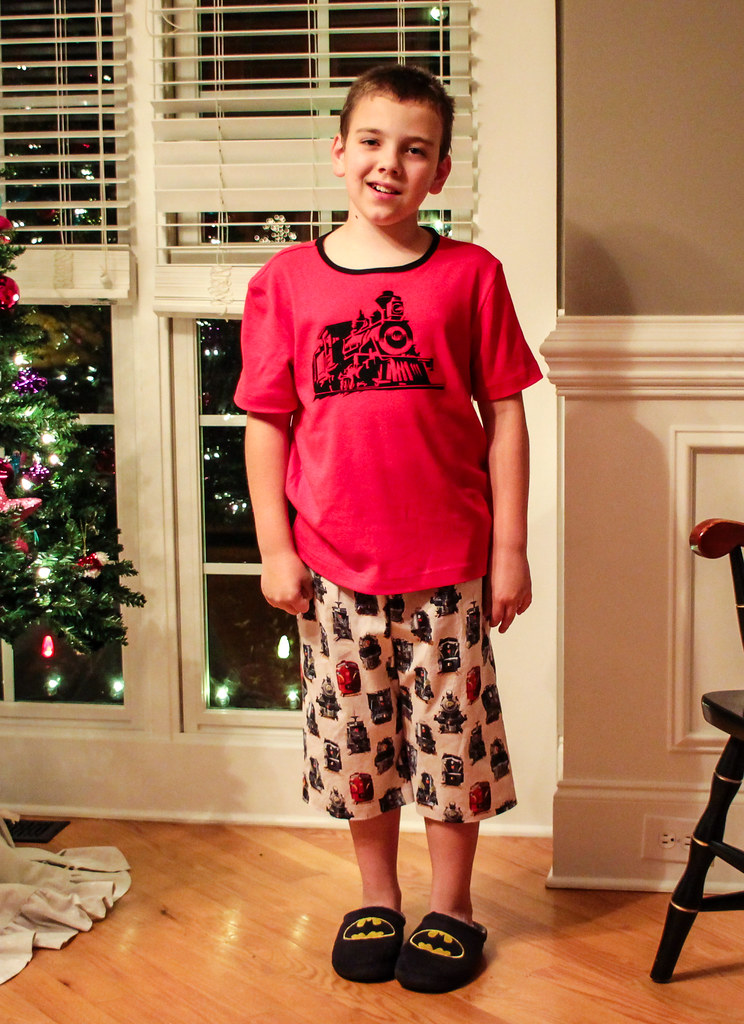
He loves the way it fits, so yay! I think the neckline is a bit wide, but since it's a PJ top, I'm not too fussed about it. If I were making it for him to wear to school, I would have made a band for the neckline, rather than the narrow binding, and probably brought in the neckline 1/2 inch or so. The fit through the body is just the way he likes it though, so win! He likes the shorts very much too, and declares he is happy with his PJs.
The shorts are from the 06/2011 - the Green Check boxers. I went with the same size in the boxers as the tee, but of course, cut the waist elastic to Logan's actual waist measurement, which was 25 inches. I skipped the fly as Logan will never use it, and added a tiny bit of topstiching to the side seams, While Logan was wearing them last night, he happened to need a pocket and I was informed that future PJs needed pockets. Ok, then. The boxers are long - coming to below his knee - but he says he prefers them that way, so that was a win.
I'm happy to have a PJs formula for the boys that will work for now, and I have plenty more train fabric to work with, so there will be more of these forthcoming.
I took over 100 pictures. And that was the best one...
It seems like every year my kids all need PJs at once. You'd think I could manage to plan for this better, but every year it seems like I am making 12 or so sets of PJs. At least this year it was just the boys.
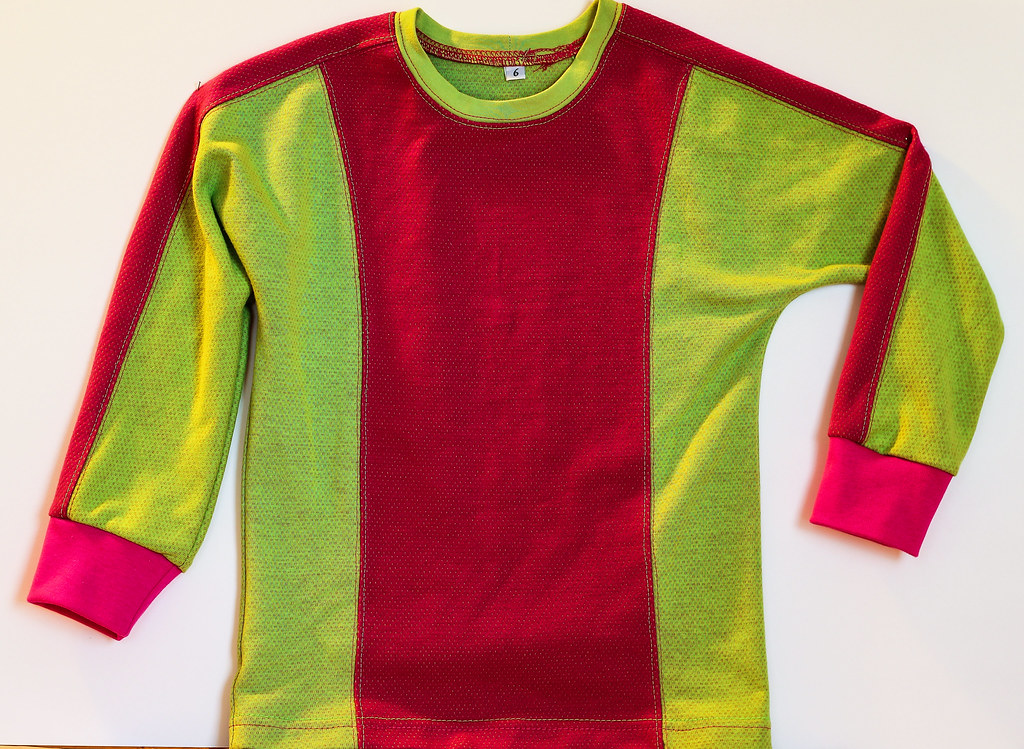
Sort of. Myra has a collection of nightgowns that I made her several months ago. They all still fit and she loves them, but a friend of hers gave her these fleece pants, and she needed a top to go with them.
It turns out to be sort of fortuitous actually. I've been wanting to make this pattern (Ottobre 06/2010-18) for her since the magazine came out. In 2010. I even bought this fabric with this very pattern in mind. In 2010. I was so on the ball about it in fact, that this is the largest size the pattern is drafted in. And when I got the magazine she was too small for the smallest size. Seriously, how does that even happen?!
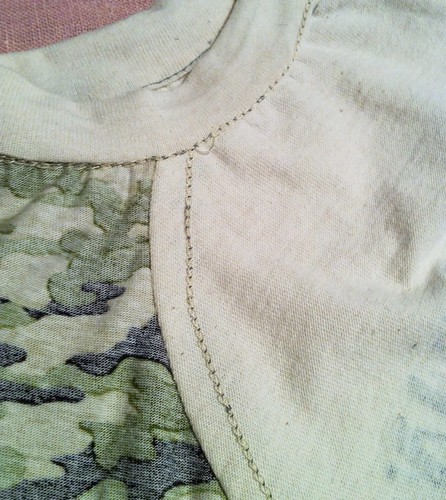
Since I had waited until the last possible moment to make this, I decided to go all out with the topstitching. I did a line of stitching on either side of each seam, with the thread color contrasting the fabric. Myra loves it. And it wasn't as hard to do as it looks. I just threaded my coverstitch with the two colors in either needle. This pic also show the cool fabric. It is a knit double cloth. The pink layer is an athletic mesh which is bonded to the green jersey layer. The green shows through the holes in the mesh, and the pink bonding stitches show on the green side. It's a very neat effect.
Duncan's PJs are extremely basic. The pants are one piece pants adapted from Sewing for Boys. The shirt is long sleeve, cuffed sleeve from Ottobre. I honestly can't remember which one it is, but there is one in nearly every issue.
He likes them, and I made 3 sets, so I busted a ton of stashed flannel and knit scraps on these. Total win.
And last but not least we have Logan. Logan decided recently that he wanted to change PJ styles. His past pajamas have been long sleeve and long pants, both made of flannel. He told me a few weeks ago that these were too hot (note: It was snowing at the time.) and that he wanted short sleeve tee shirts and shorts for sleeping. So, here we go. This is set #1, made with Ottobre 03/2013-23/39 and 06/2011-37.
I've made him two sets so far, and he's very happy with both. You can see the second set in the top picture. Those two sets were random stashbusted fabrics, but I find that the stash is very low on older boy friendly knits, so I ordered a few, and then I'll make more. You can never have too many comfy PJs.
Duncan has lately been busting out of his old PJs. Like, literally his toes poke out of holes in the footies.
I know. And for some reason, there aren't any hand me down PJs in his size right now. Fortunately, it's Kids Clothes Week! Time for new ones!
They're a little large at the moment, but I know they won't be for long. He's growing up so fast. At least I can keep him in crazy printed PJs for a little longer.
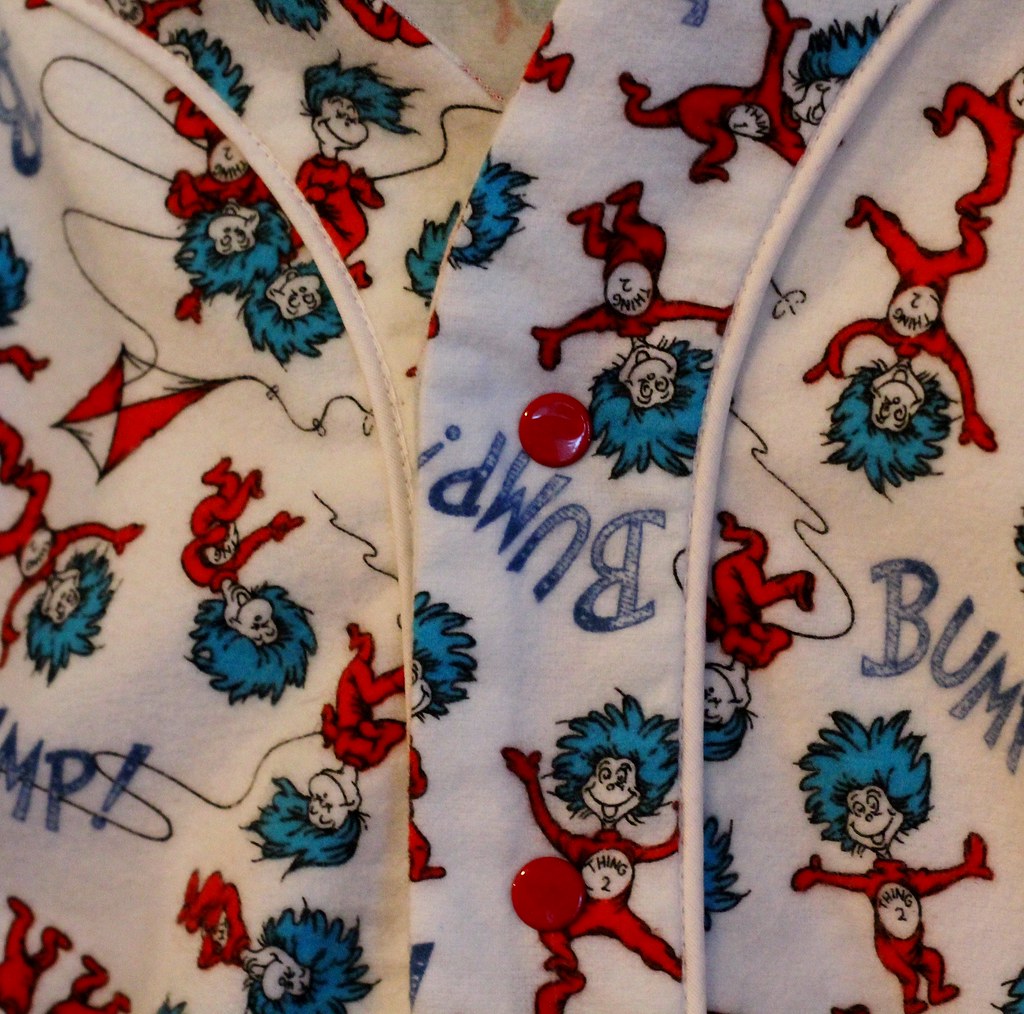
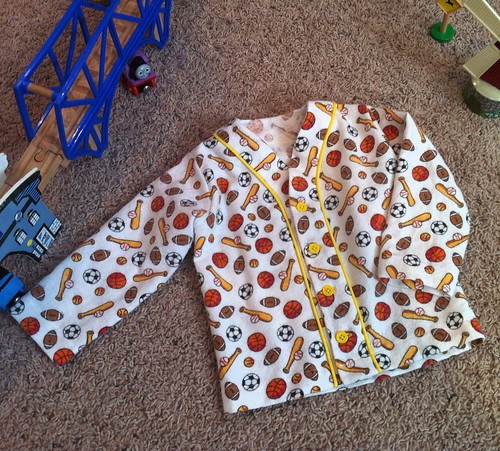
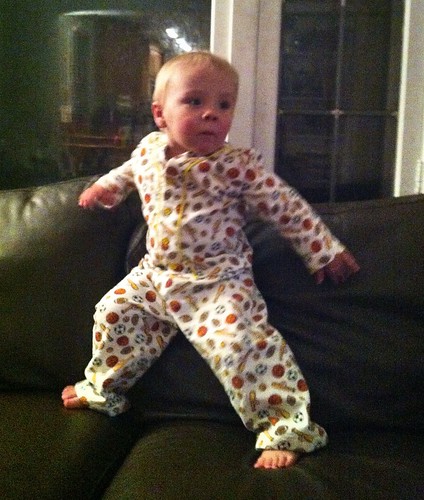
The pattern I used is from the book, Sewing for Boys. It is the Goodnight Sweetheart PJs, which feature an external neckline facing with piping, button (or in this case, snap) closure and a shaped neckline. The pants are basic, but the pattern includes the option of cuffs and a fly opening.
I really LOVE the piping detail on the facing. It makes it look very professional, but it also makes edge finishing the facing super easy to do. I used white piping for this set. I originally thought red would be fun, but the red piping I had was just a touch too light, while the red snaps in stash were a perfect match. So, I went with white. It's more subtle, but I like it.
The fabric is a super soft flannel by Michael Miller. It was part of my very first Tennessee fabric purchase. I bought it at a local quilt shop, Tennessee Quilts. It is seriously fantastic quality, which is good. Dunc is hard on his clothes.
Despite the tough guy exterior, a cozy set of flannel PJs makes every guy happy.
Logan always seems to need pajamas in multiples. He outgrows them all at once, so I make them all at once, thus perpetuating my problem...
But I can't refuse that sweet face.
I pulled some stash flannel that I think was given to me several years ago. There wasn't any identifying mark on the selvage, so I don't know where it came from , but both pieces were very soft and thick. Perfect for PJs.
I used the Goodnight Sweetheart PJ pattern from Sewing for Boys. Logan and I have been really happy with it. It looks great and the external facings are perfect for my sensitive guy. I used prong style snaps for the closure.
I made the pants a little long, so hopefully he'll be able to wear them a while.
They're great for jumping!
Today's Tip
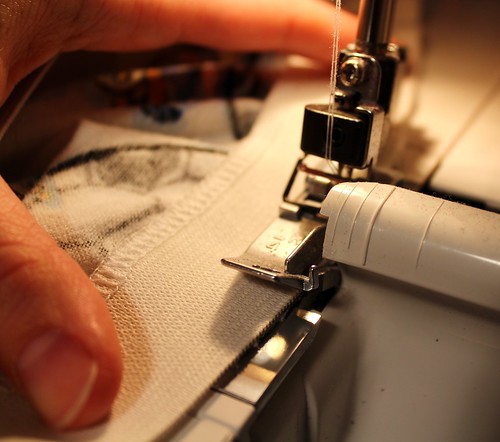
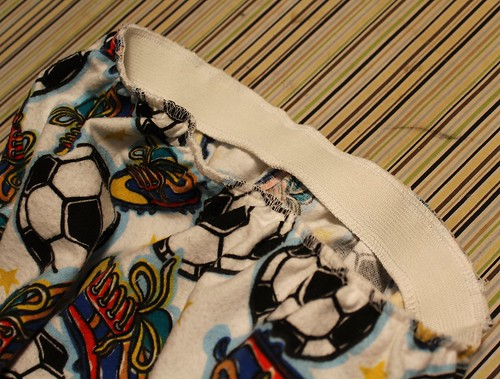
The PJ pant has an elastic waist, and the pattern calls for a casing, but I prefer to attach the elastic in the round and fold it over for a more RTW finish that doesn't shift, bunch, twist or curl. I've had trouble doing this with my serger, but I found a method that works for me and I wanted to share it.
For my serger, it seems like it is critical for the blade to be disengaged and the elastic to be on top for a clean serge. Before I begin, I drop the upper blade. This is a quick operation on my serger, but check your manual for how to do it to your machine. Since the blade can't trim, you have to make sure your fabric and elastic are aligned well with nothing hanging off the edge. Then stretch the elastic to fit the waistline and serge it on!
The serger does a nice job cleanly finishing the edge for you.
Once it's folded over and stitched down, it looks totally pro.
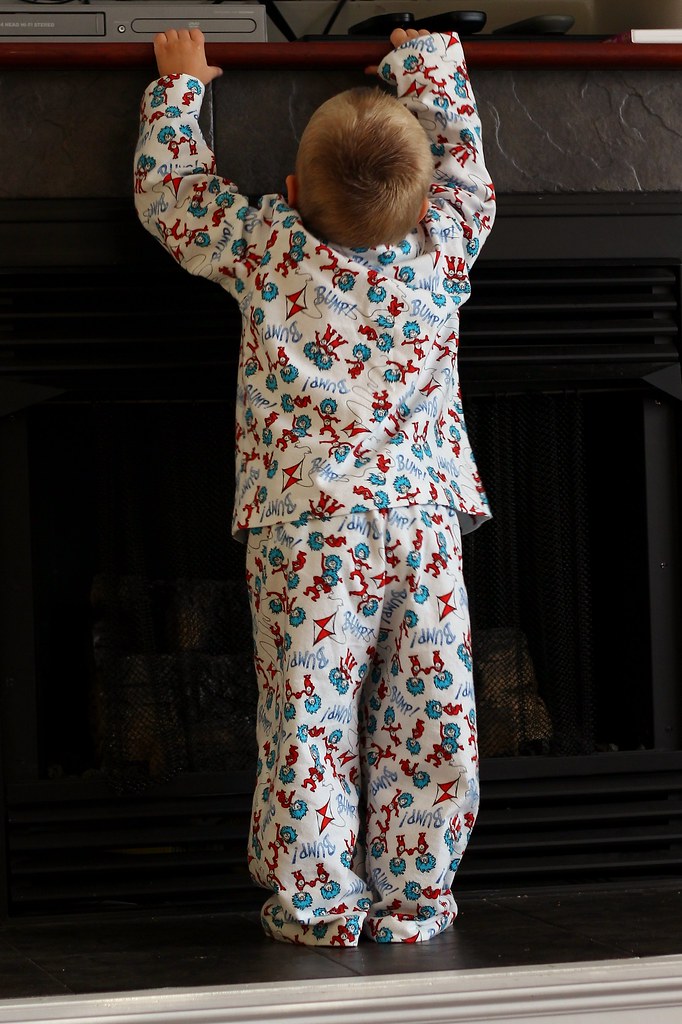
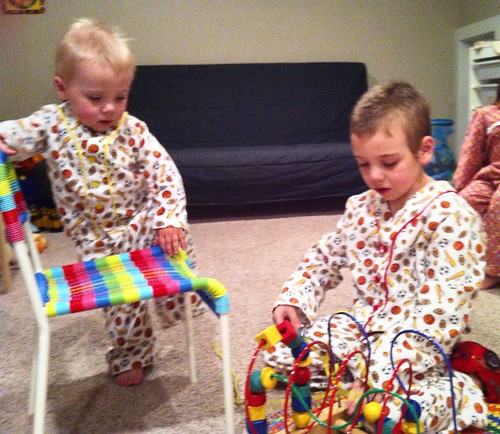
Both my boys were in need of new jammies, and I happened to have a very large piece of boy-themed flannel that had been given to me, so I decided to make them matching PJs. I don't think Logan will tolerate this sort of behavior much longer, so I thought I'd better get them made now.
The pattern I used is from the Sewing For Boys book. The PJ pattern in the book is only graded down to the 2/3 size, which is too large for Duncan, so instead I used the Out on the Town jacket, which is collarless and has a curved neckline, just like the PJ pattern.
Very few modifications were required to make the jacket into PJs. Since the jacket is designed to be lined to the edge, I did add hem allowances to the sleeve and bottom edge, and had to create my own facings. The pattern has a shaded area that indicates where the main jacket pieces are to be interfaced, and I used those as my facing pieces.
They didn't match up to each other perfectly, but they aren't intended to be facings, so I don't consider that a problem with the pattern. If you're doing this though, do be sure to true your pattern pieces before you cut fabric.
I followed the instructions for the PJs and I love the way the facings are attached with piping. It was so easy and it looks really great! The insides are lovely, with the seams enclosed within the facing. For my boys, I used two different colors of piping and buttons, so that they would be easy to sort out in the wash/
For the pants, I used the Kicking Back Sweats and Two Faced pants that I had already traced for the boys. They needed a little length added, since both boys have grown since I traced out those patterns in February, but otherwise they were great.
I didn't do the cuffs or faux fly that are included in the pattern, but I did stitch a little button to the waistband. It's always nice to have an extra button around, and it makes it easy to tell back from front. In this case, it will also make it easier for me to tell Duncan's pants from Logan's since they are pretty much identical other than size.
Getting reasonable pictures of two very active, wiggly boys in low light was well nigh impossible. But they both really like their new jammies, and so do I.
For this month the Sewing For Boys Sew Along over at Boy, Oh Boy, Oh Boy is making pants. The patterns are the Two-Faced pants (size 3M-18M) and the Kickin' Back Sweats (size 2/3-6/7). Lucky me to have boys in both sizes! I got to make both!!
For Duncan, who is 13 months old, I made the 12-18M size in the Two-Faced Pants. For Logan, who is 5 years old, but has short legs for his age, I made the 6/7 in the Kickin' Back Sweats, but had to shorten it about 4 inches. Easily done since they aren't hemmed. I just lopped the extra length off and dotted some fray check on the end of the seam so it wouldn't unravel.
The patterns are quite similar - one seam type pants with cased elastic waistbands. Both have pockets - more on that in a moment - and have hems left raw. They are both fairly loose fitting and are suitable for both woven and knit fabrics. I used a snuggly sweatshirt fleece for these. The Two-Faced Pants are intended to be made in two different fabrics, one for each leg. It's a cute look, but since I wanted to boys to match, I didn't do it. Next time...
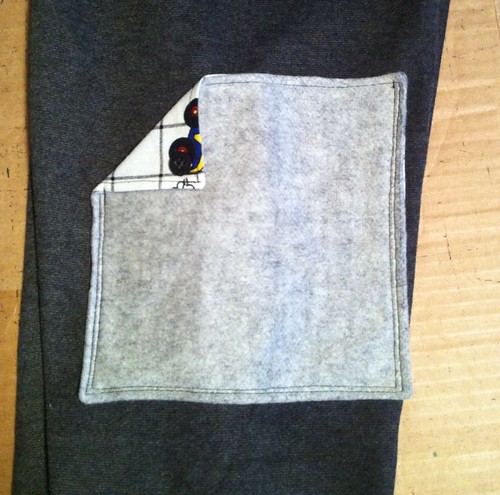
Each pant had it's own pocket. This little rounded one is from the Two-Faced Pant pattern. I decided to use both pockets for both pants. I used the fuzzy side of the sweatshirting for one face of the pocket and a cotton print for the other face. For the baby pants, I used the cotton print as the main fabric and folded down the fleece for the "flap".
For the big pants, I used the fleecy side as the main fabric. This is the pocket from the Kickin' Back Sweats pattern. I turned down one corner to echo the flap in the other pocket.
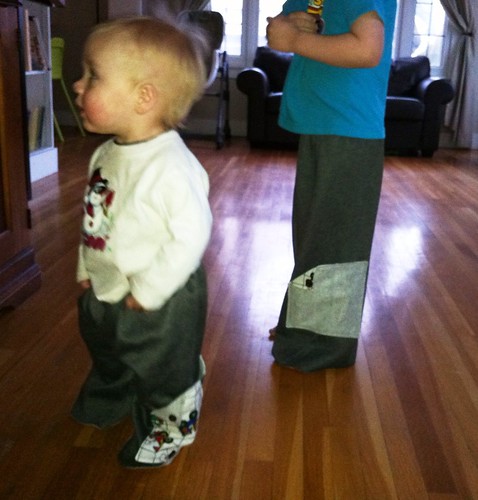
Here is the side with the square pockets on both boys.
Overall, I think this is a great basic pant pattern for boys. I'm sure I'll be using it again for both of them.
I got my two boys to wear their new tees yesterday.
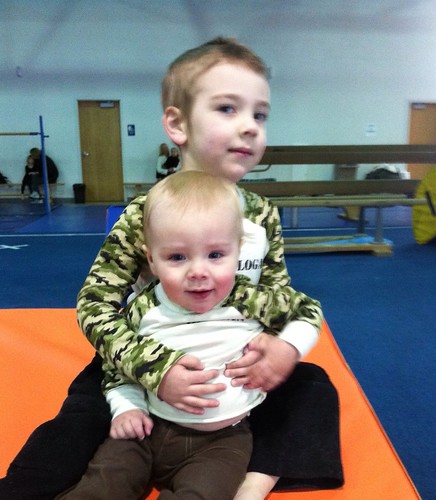
Aren't they sweet. Both tees worked out well, size-wise. For Logan, who is a pretty average sized 5 year old, I made the size 6/7 from the Sewing For Boys book. It is a very slim fit shirt, even though I made a size larger than I should have needed for him. The length is good, but Logan likes his shirts long. It comes down fairly low on his hips.
Duncan is 13 months old, but on the small side (he was 71 cm long at his 12 month checkup). He is wearing the size 74 and it is a perfect fit in the body, but the neckline was a bit snug over his giant (and I say that clinically - his head circumference is off the growth chart) melon. Further versions of this tee will use the snap placket in the raglan seam to get it over his big brains.
Of course, the important thing is that both boys like their shirts and are comfortable in them. Win.
And the coat? Come by tomorrow. I might have something exciting to show you...
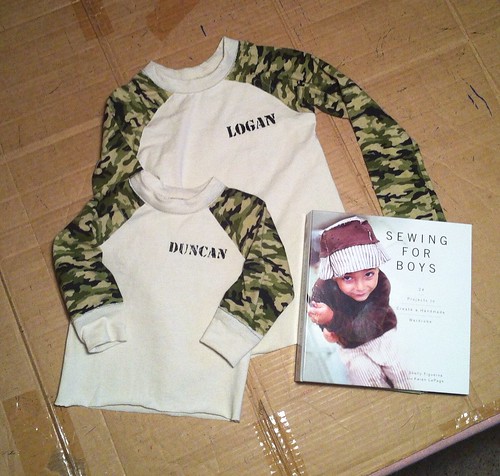
I haven't done a "What I got for Christmas" post because I thought it would be more fun to spin things out as I used them and tell you what I thought. One of my gifts from dh's parents was the book Sewing For Boys. By way of introducing the book, and as a part of the Sewalong over at Boy, Oh, Boy, Oh, Boy, I thought I'd show you my first project from the book.
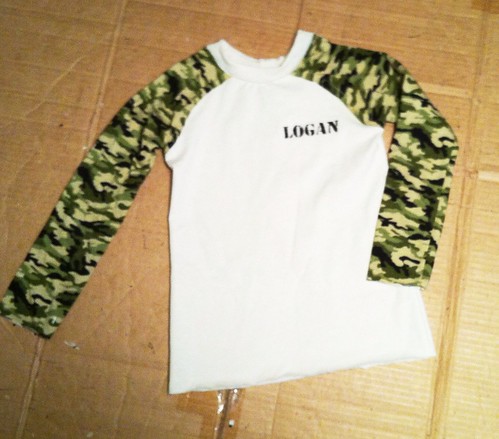
This is the Raw-Edge Raglan, which is the first pattern from the book. In terms of the book itself, it is not typical of this type of project oriented book, in that there are no general sewing instruction. I think that is great!! I've never found that a project book does a great job at teaching sewing, and this way there is more room for the patterns. For this project, I found the pattern itself well drafted and the instructions were clear. You'll be seeing more from this book, I guarantee.
I liked the results so much, that I had to make one for my littlest guy, too! The pattern in the book is only graded down to a size 2-3 and Duncan is a 12-18 month size, so I used an Ottobre pattern (04/2010-1 if you're interested) for the basic pieces, and the assembly instructions from the book.
Overall, the book is easy to use (love a spiral binding!) and nicely arranged, with glossy pictures of all of the pieces, mixed and matched in various ways. The patterns are in a tidy envelope in the front of the book. The patterns are nested by size, but not overlapping like Burda or Ottobre, so tracing is a breeze. The instructions for each pattern are well written and illustrated with line drawings. As a bonus, they use very technical sewing terms, you know, like "wonky". I love that!
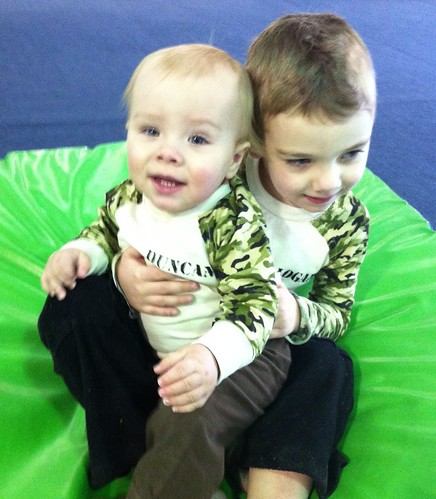
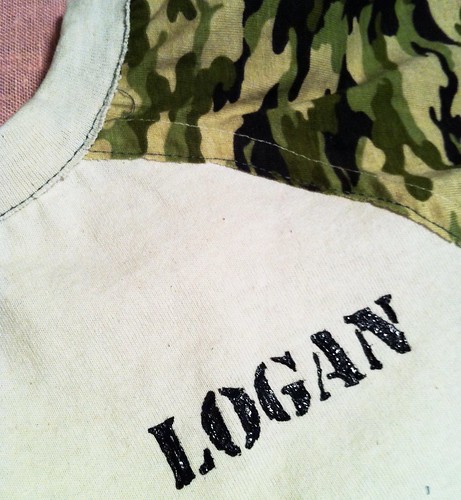
And here is why it is called the Raw-Edge Raglan! The seams are sewn wrong sides together, then topstitched down for a slightly deconstructed look. To mine, I added Logan's name, stenciled on with freezer paper. I was going for a sloppily spray painted on the side of a Hum Vee sort of look, so I didn't use a paintbrush. I just sort of smooshed the paint on there to give it some texture. I think it turned out pretty cool.
I did a similar stenciled embellishment on Duncan's tee, and also added cuffs. The Otto pattern I used included cuffs and I thought that would be cute, not to mention adding a bit of warmth. I applied the cuffs the same way that the neckband is applied, which is to stitch the band to the wrong side, flip it the the right side and topstitch. That left me with a TEENY little loop to try to topstitch down. Way too small for the free arm on my machine, so I basically sewed it blind. It turned out reasonably well, but I don't think I'll be doing that again...
As a cool side effect of the inside out seaming, the inside of the shirt is incredibly smooth. For Logan, who has some sensory integration issues and does not like anything itchy to touch his skin, this is an extra bonus.
And here is my inspiration for this shirt! This is my Dad, taken after he returned from some sort of overseas mission, the details of which were classified, but involved growing a beard.
This song ran through my head the entire time I was sewing. Makes me cry like a baby every time...