I was so thrilled when
Rachael contacted me to test out her newest pattern,
the Bess Top. I'd seen some of her early versions on Instagram, and I just love the fun construction of the yoke and pleat at the shoulder. I couldn't wait to try it myself!
And it did not disappoint! This was such a fun top to sew! And it works up really quickly.
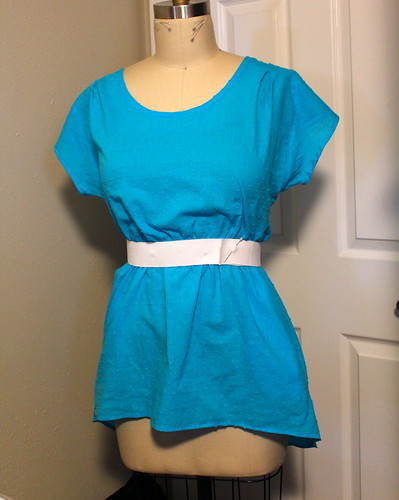
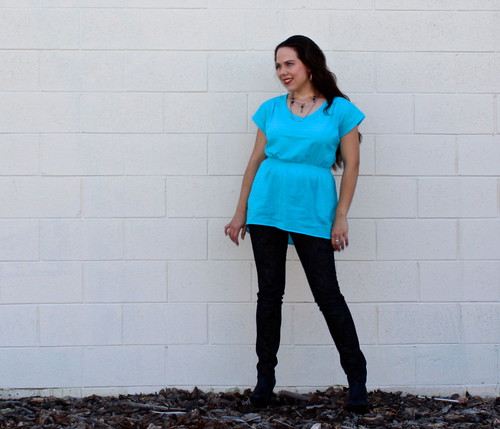
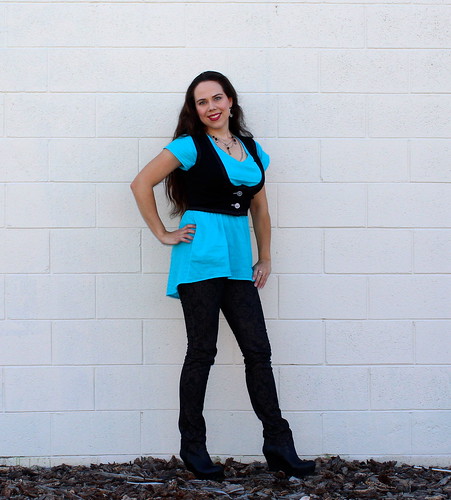
The pattern comes in three lengths - top, tunic and dress. I made the tunic length, as I intend to wear it with leggings and skinny pants. There are also two neckline options - jewel and scoop. This is the scoop neckline. I love that there are so many options for personalization.
There is a subtle hi-lo hemline, with the back just a couple of inches longer than the front. I like that it isn't OTT, which I think would have looked quickly dated, but still hits the trend.
The yoke construction is my favorite part. The back wraps around to the front and forms a yoke and as well as the front sleeve. There is an inset corner where the yoke becomes the sleeve. The instructions for sewing this made it very easy to get a nice sharp corner. The shoulder pleat is a nice, graceful way to add some bust ease. In fact, I didn't even have to make an FBA. Pretty sweet!
Another feature I REALLY love is the pockets!! One of the reasons my leggings don't get worn much is the lack of pockets, and this tunic totally solves that problem! The pockets are inserted right at waist height into the side seam. I was worried they'd add bulk, but they don't and they are so convenient. My leggings are getting a new lease on life!
The fabric I used is a printed poly charmeuse from
FabricMart. I wanted something with some drape, since the top is unfitted and I knew I'd be wearing it belted.
For the edge finishes on both neckline and hems, the pattern instructs you to use jersey strips as a facing which is topstitched down. This worked really nicely - much like a bias finish, but with less fuss. I used a poly lining jersey, also from FabricMart. It's quite shiny, so it looks good with the charmeuse.
All in all, I had a great time sewing up this pattern and I'm really enjoying wearing my new top. Hurry over to
her shop and get your own!