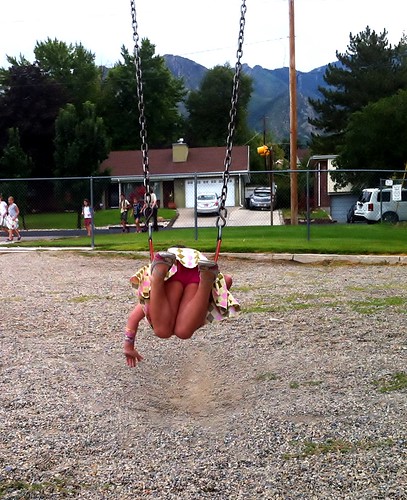
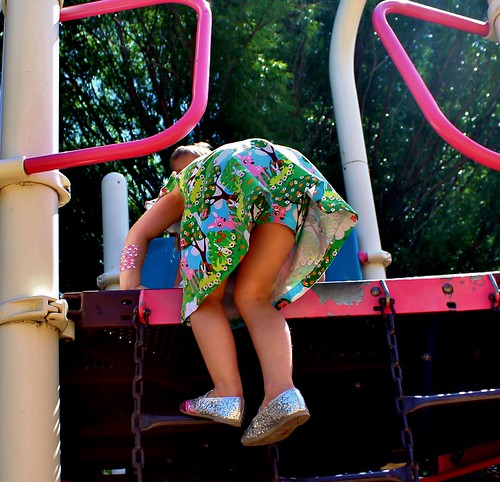
My Myra is a dress girl. She tolerates skirts, but in her heart, she knows she belongs in a dress. But she's also a bit of a tomboy on the playground, and she hasn't quite learned the trick of sitting like a lady...
And I don't know anyone who can climb monkey bars like a lady! So I made her a couple of pair of short shorts, to cover her unmentionables while she plays on the playground and sits criss-cross applesauce.
I have a ton of little knit remnants and these little shorts only take a teeny bit - about 3/8 of a yard if you are buying yardage. I had several pieces that matched dresses I had made for her, and picked out a couple of solids in colors that went with her wardrobe. This was a great stashbusting project for leftover knits!
As an aside, it was REALLY hard to get good shots of the shorts with her Skater Dresses. Those skirts are really well designed! No wardrobe malfunctions. I had to stage all the shots. Anyway, all of the fabrics I used are cotton, cotton-lycra, rayon-lycra or poly-lycra knits, and all the shorts have an elastic waistband and are hemmed with the coverstitch (although I could have saved myself some threading and used this method to hem them).
The pattern I used is for a basic legging with only one pattern piece. I cut them off to give them a finished inseam of about 2 inches, which is shorter than her shortest skirt, but still covers the topic. They are a quick sew, which is nice. I probably spend more time changing thread on all the machines than I did actually sewing these up. Darn my inability to serge with mismatched thread! It's like my Kryptonite.
These have now been worn (different pairs of course) for the last three days. They work well, are comfortable, and Myra likes them. She has fun mixing and matching them to her dresses. Works for me.
Today's tip
Since I coverstitched all the hems, I thought I'd show you the method that I use to keep the coverstitching from unravelling. I had a lot of trouble with this when I first started using my coverstitch machine, especially on children's clothing that gets a lot of wear and stretching. So, this method evolved for when I'm coverstitching in the round.
First of all, you want to be sure that your needle threads are to the back of your work. I didn't take a pic of this step (sorry!) but basically, when you start your hem, stitch nearly to the end, then stop and pull the beginning needle threads to the back with a pin, then coverstitch the rest of the way around, overlapping the beginning stitching by about an inch.
Pull your work off the machine using this method (from Debbie's blog) that pulls the threads all to the back. From the front, it should look like the above picture. Pretty, eh?
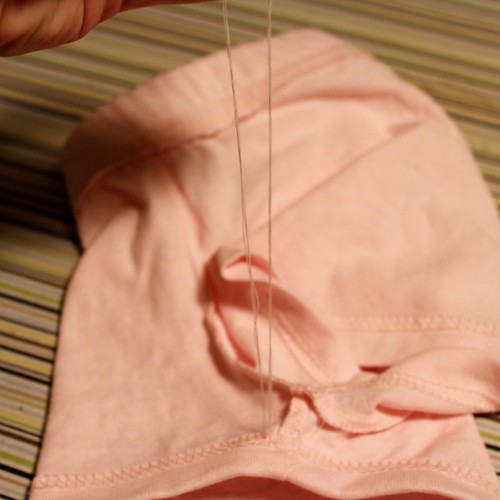
From the back though, you should have a bunch of thread tails. I have six - two needle threads and one looper from the beginning and end of the stitching. I separate them into two bunches and tie them in a secure square knot.
Here's the little knot. I trim the thread tails, leaving a bit so that if the knot slips a little it's no biggie. Next is the critical step.
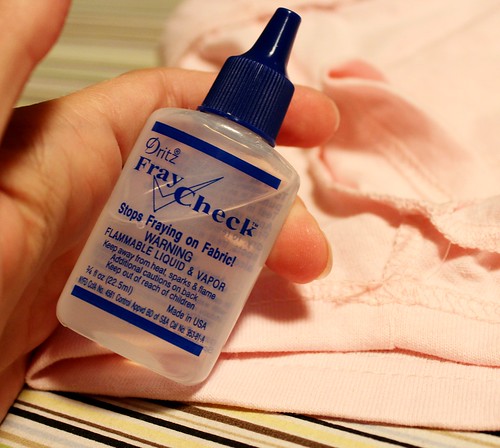
Get some fray preventer and drop a little bead right on the knot to really secure it. I like to smoosh it in with the tip of my iron to flatten the knot.
Since I've started using this method, I haven't had a single hem unravel. It may be overkill, but it doesn't take very long, and it is nice and secure. It may also work for a twin needle hem, though I've not tried it myself.
Showing posts with label coverstitch. Show all posts
Friday, August 23, 2013
Friday, May 27, 2011
A Binding Proposition
I'm sure you've noticed that I've been going to town with my coverstitch machine, which is a Brother 2340 CV. I initially purchased it because of my frustration with the twin needle for hemming knits.
I also picked up a binder attachment, but I wasn't sure I'd use it a ton. Holy moly, was I wrong!! I LOVE this thing, and I want a couple more in every size! After only using it for a week or so, I am in no way an expert, but I thought I'd show you all a few things I've discovered. Of course, the most important thing I've found is Debbie and Belinda's amazing tutorials! If you want to bind with your coverstitch machine, that is the place to start. (ETA: Belinda's blog is unfortunately closed, but Debbie's is still and excellent resource.)
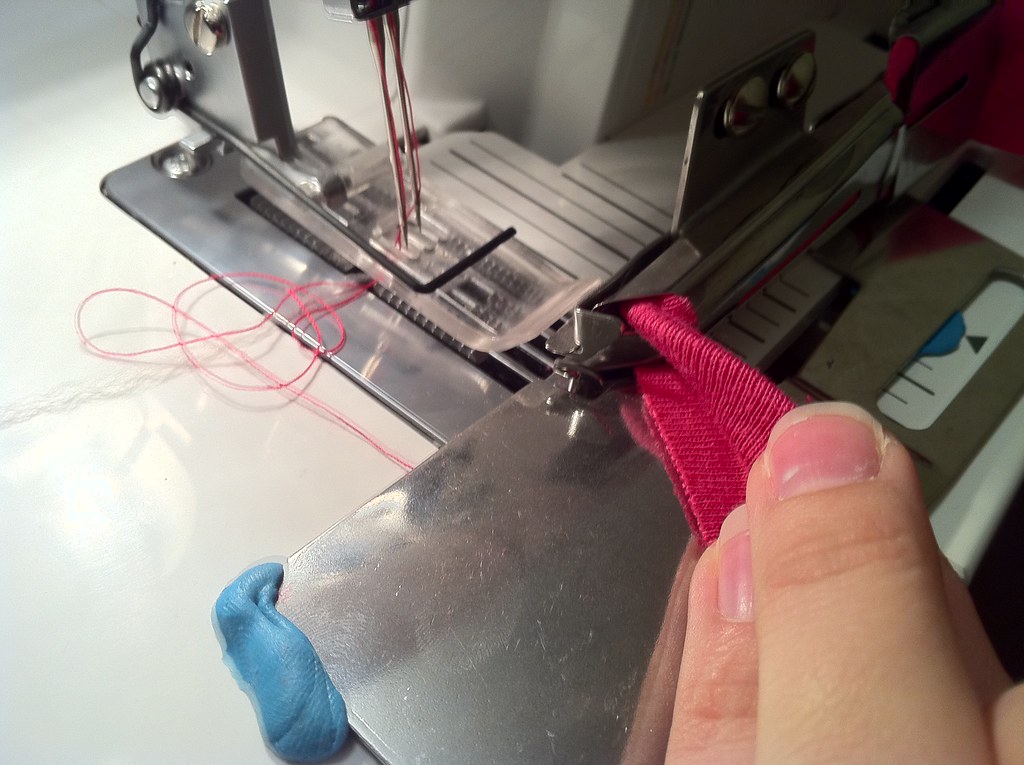
So, this is how it looks all set up. This is a generic binder and so it doesn't line up with the attachment point on the face of the machine at all. It is held in place with Sticky Tack, which works great. it doesn't have to interact with your machine, so as long as you have space in front of your presser foot, this binder should work for you.
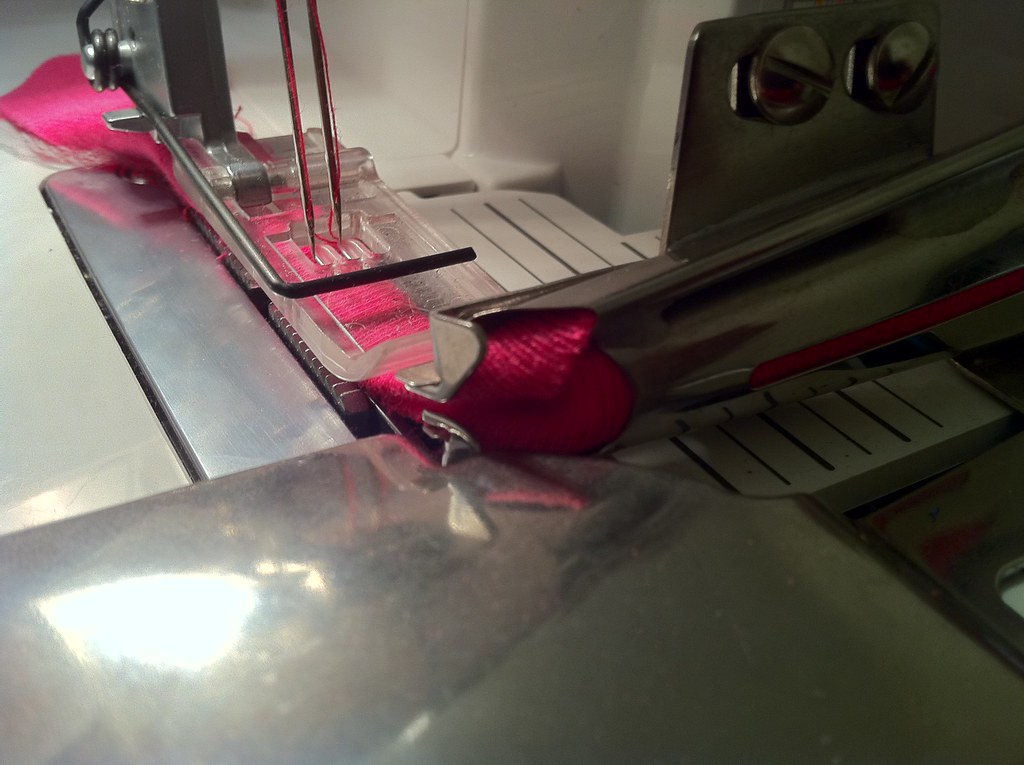
Here is a view from the top. I don't have the shorter presser foot on, so the binder is pretty far forward. It is easier to position if you do not have a long toe on your presser foot.
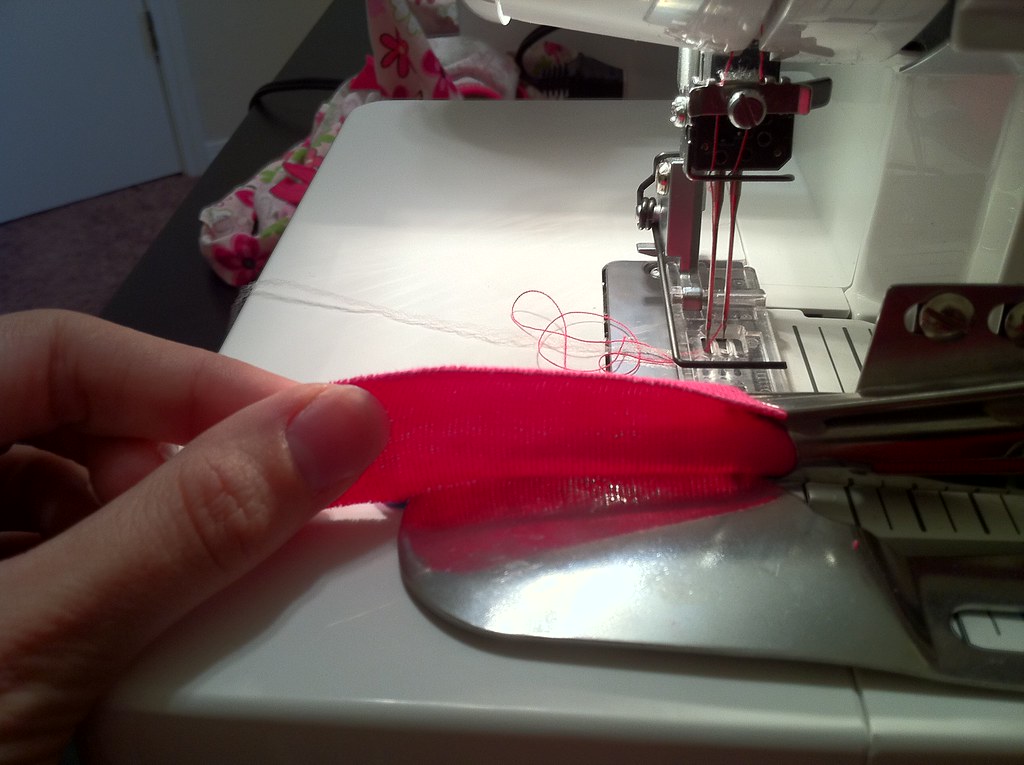
Getting the binding strip in place was tricky the first couple of times. Here is the process, once you have the strip fed through the binder. (Debbie's blog has some great tips for getting that fabric strip in there.)
Once the fabric is feed, the binder will fold it. Mine is an A type binder, so it folds under the right side and wraps the raw edge around the wrong side.
The next step is a wee bit tricky. You have to fold the binding strip into the two little toes at the front. You'll have to fold it in half and insert it,
so that it looks like this. Stitch a little along the empty binding to position it just the way you want it. Just move the binder to the left or right to position it in relation to the needles.
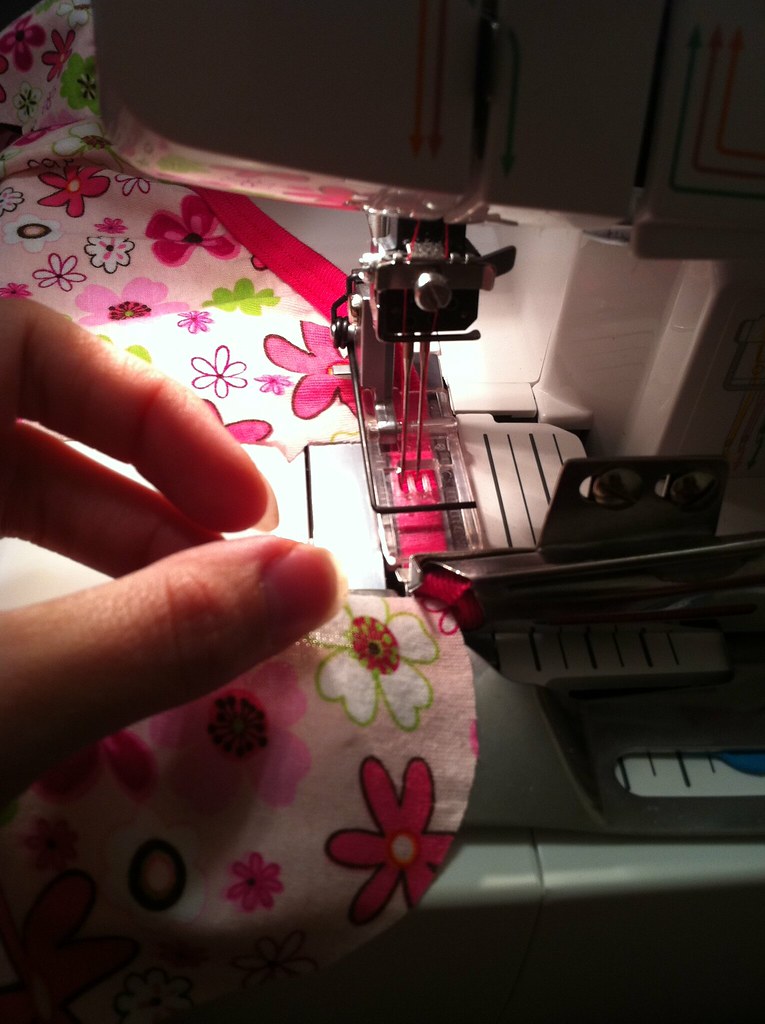
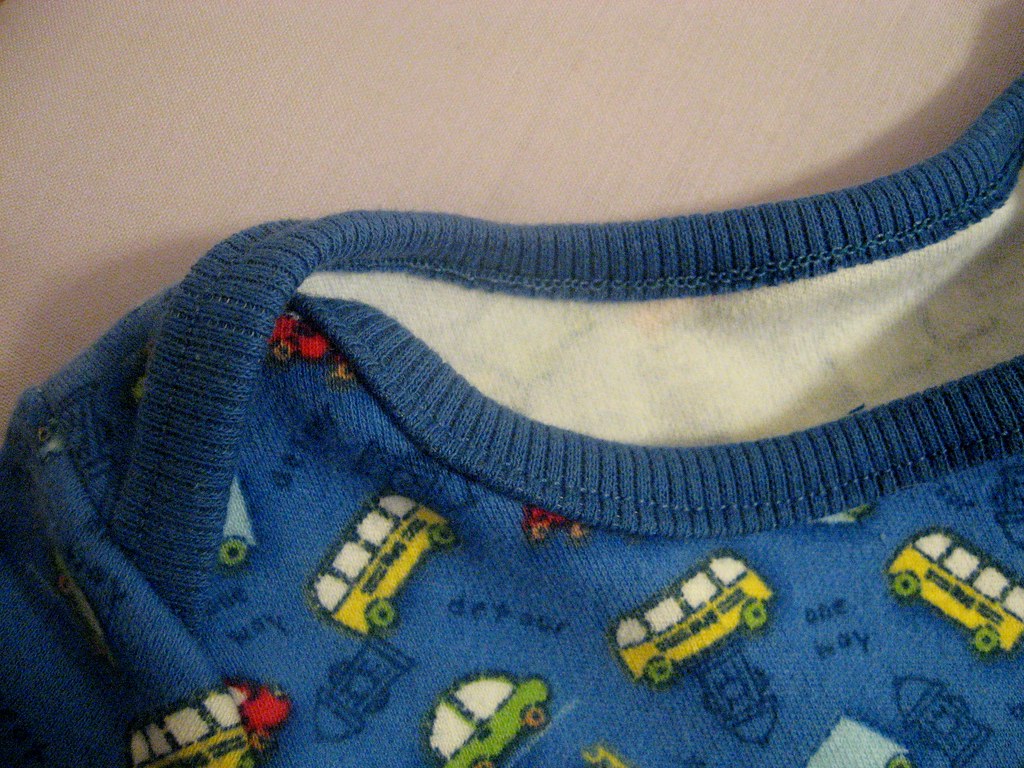
Next you'll feed in your fabric. just slide it in between the toes of the binder and let the movement of the binding strip pull it in. I found that if I didn't put any tension on the fabric to be bound, I ended up with some gathering, just like if you sewed over stretched elastic.
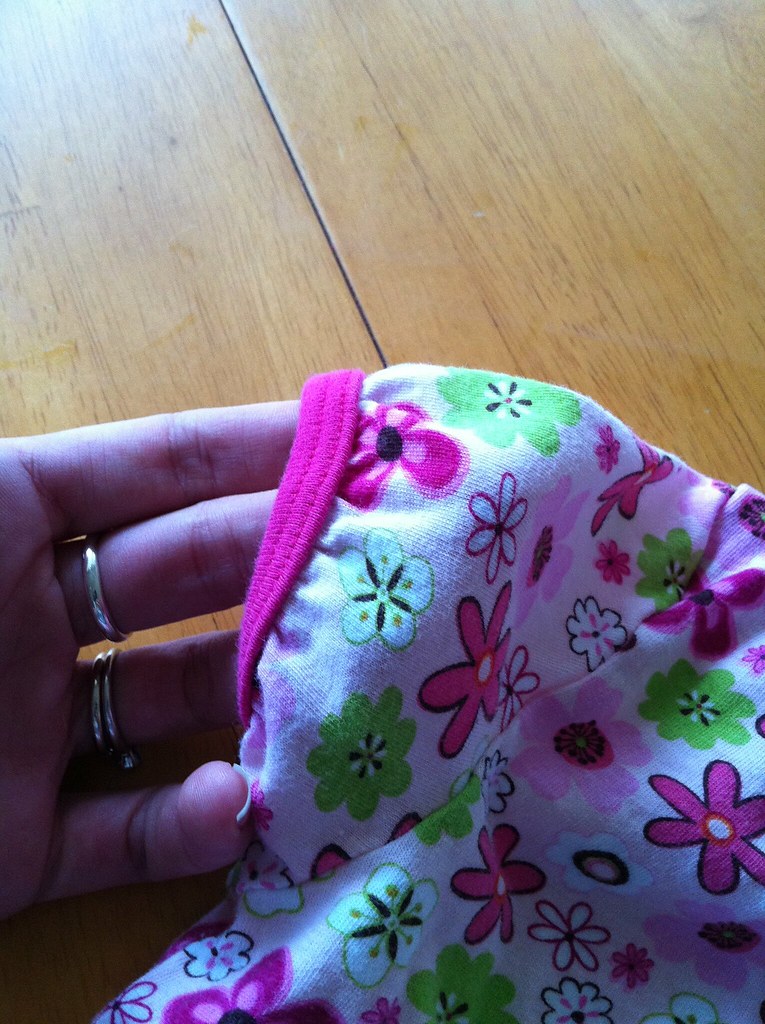
See how gathered that little sleeve is? Cute, but totally unintentional. I'm glad I made a girlie item first! With a little experimentation, I discovered how much I needed to pull on the fabric as I fed it to keep it from gathering, so my boy shirt lies nice and flat.
I'm honestly not sure if there was a better way to do this. I'm hoping you'll all share your coverstitch tips and tricks, too!
I also picked up a binder attachment, but I wasn't sure I'd use it a ton. Holy moly, was I wrong!! I LOVE this thing, and I want a couple more in every size! After only using it for a week or so, I am in no way an expert, but I thought I'd show you all a few things I've discovered. Of course, the most important thing I've found is Debbie and Belinda's amazing tutorials! If you want to bind with your coverstitch machine, that is the place to start. (ETA: Belinda's blog is unfortunately closed, but Debbie's is still and excellent resource.)
So, this is how it looks all set up. This is a generic binder and so it doesn't line up with the attachment point on the face of the machine at all. It is held in place with Sticky Tack, which works great. it doesn't have to interact with your machine, so as long as you have space in front of your presser foot, this binder should work for you.
Here is a view from the top. I don't have the shorter presser foot on, so the binder is pretty far forward. It is easier to position if you do not have a long toe on your presser foot.
Getting the binding strip in place was tricky the first couple of times. Here is the process, once you have the strip fed through the binder. (Debbie's blog has some great tips for getting that fabric strip in there.)
Once the fabric is feed, the binder will fold it. Mine is an A type binder, so it folds under the right side and wraps the raw edge around the wrong side.
The next step is a wee bit tricky. You have to fold the binding strip into the two little toes at the front. You'll have to fold it in half and insert it,
so that it looks like this. Stitch a little along the empty binding to position it just the way you want it. Just move the binder to the left or right to position it in relation to the needles.
Next you'll feed in your fabric. just slide it in between the toes of the binder and let the movement of the binding strip pull it in. I found that if I didn't put any tension on the fabric to be bound, I ended up with some gathering, just like if you sewed over stretched elastic.
See how gathered that little sleeve is? Cute, but totally unintentional. I'm glad I made a girlie item first! With a little experimentation, I discovered how much I needed to pull on the fabric as I fed it to keep it from gathering, so my boy shirt lies nice and flat.
I'm honestly not sure if there was a better way to do this. I'm hoping you'll all share your coverstitch tips and tricks, too!
Wednesday, May 11, 2011
New Look 6641 and My New Toy!!
It came!! Yay for Ken's Sew & Vac! They were totally great about replacing the coverstitch machine, and it is already here!!
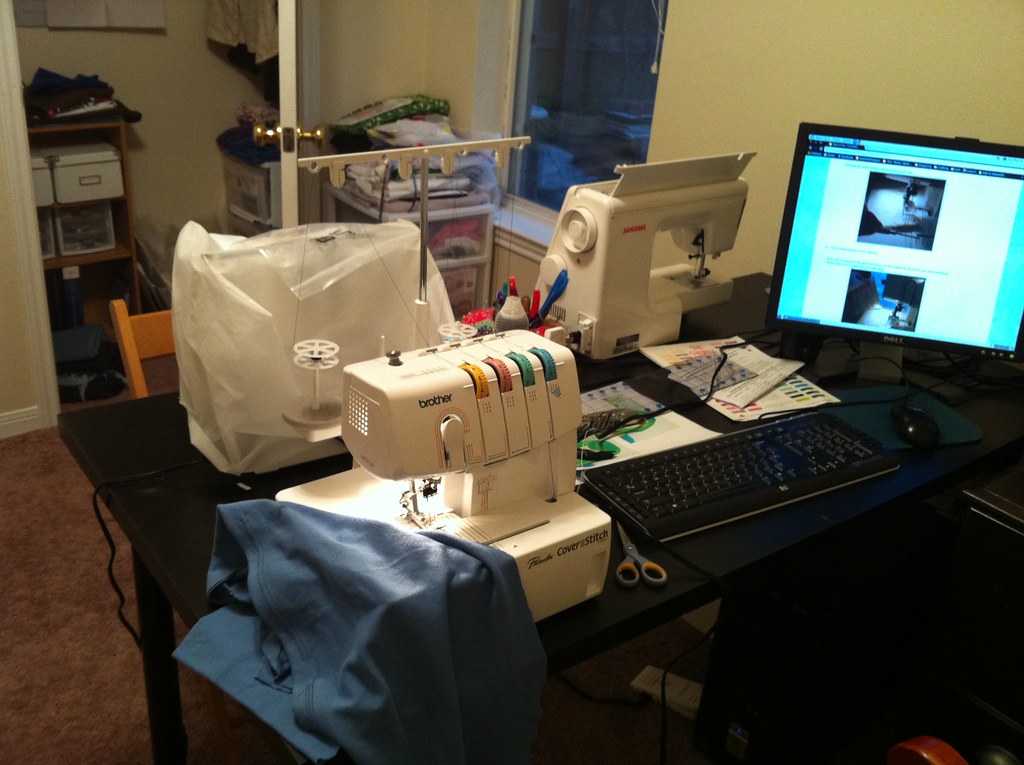
Here it is, along with the other members of the family, except my Singer Touch & Sew. She lives in her table. On the monitor is Belinda's amazing tutorial for pulling the top threads to the back.
Since I've been waiting for her a while, I already had a couple of projects ready to go. Logan wears pretty much nothing but knit shorts and tees shirts, so I stitched up a couple of pairs of easy knit shorts from New Look 6641.
Not too exciting, but needed. Since I am learning this as I go, I decided to try two different stitches, and in two different applications. For both pairs I used the coverstitch to finish the elastic waistband, and to hem.
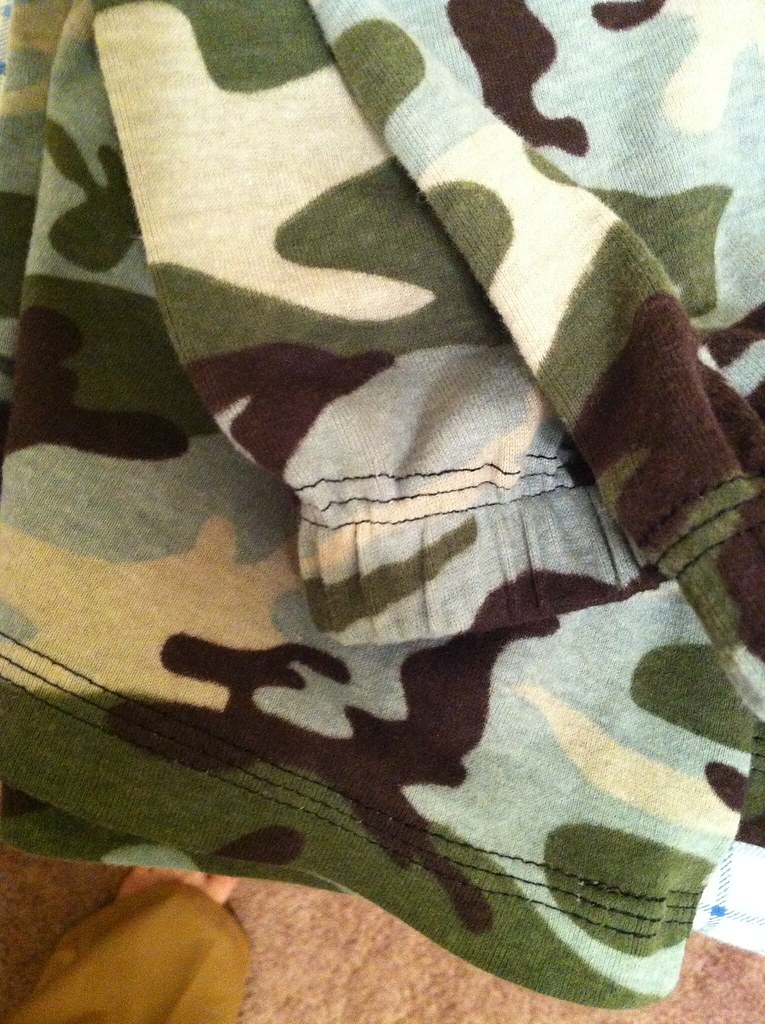
Here is the three needle/four thread coverstitch on both hem and waistband. The machine purred right through all of those layers of the waistband, including elastic with no difficulty at all.
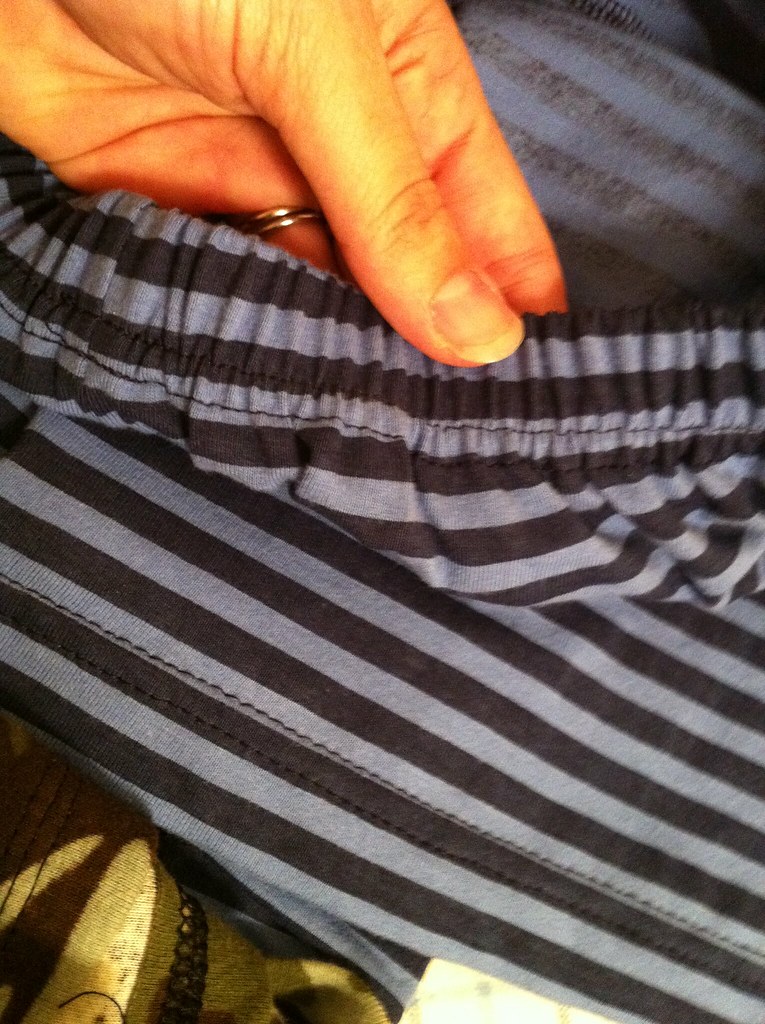
On the striped pair, I used the two needle/three thread coverstitch. Again, it breezed through without any difficulty. I still have to try out the narrow two needle and the chain stitch. And there is the binder attachment I got... Oh, I love my new toy!! I may be sewing a lot of knits for a bit.
Here it is, along with the other members of the family, except my Singer Touch & Sew. She lives in her table. On the monitor is Belinda's amazing tutorial for pulling the top threads to the back.
Since I've been waiting for her a while, I already had a couple of projects ready to go. Logan wears pretty much nothing but knit shorts and tees shirts, so I stitched up a couple of pairs of easy knit shorts from New Look 6641.
Not too exciting, but needed. Since I am learning this as I go, I decided to try two different stitches, and in two different applications. For both pairs I used the coverstitch to finish the elastic waistband, and to hem.
Here is the three needle/four thread coverstitch on both hem and waistband. The machine purred right through all of those layers of the waistband, including elastic with no difficulty at all.
On the striped pair, I used the two needle/three thread coverstitch. Again, it breezed through without any difficulty. I still have to try out the narrow two needle and the chain stitch. And there is the binder attachment I got... Oh, I love my new toy!! I may be sewing a lot of knits for a bit.
Labels:
boys,
coverstitch,
New Look 6641,
shorts
Subscribe to:
Posts (Atom)