Showing posts with label embroidery. Show all posts

Friday, October 21, 2016

Jalie Eleonore, with sparkles

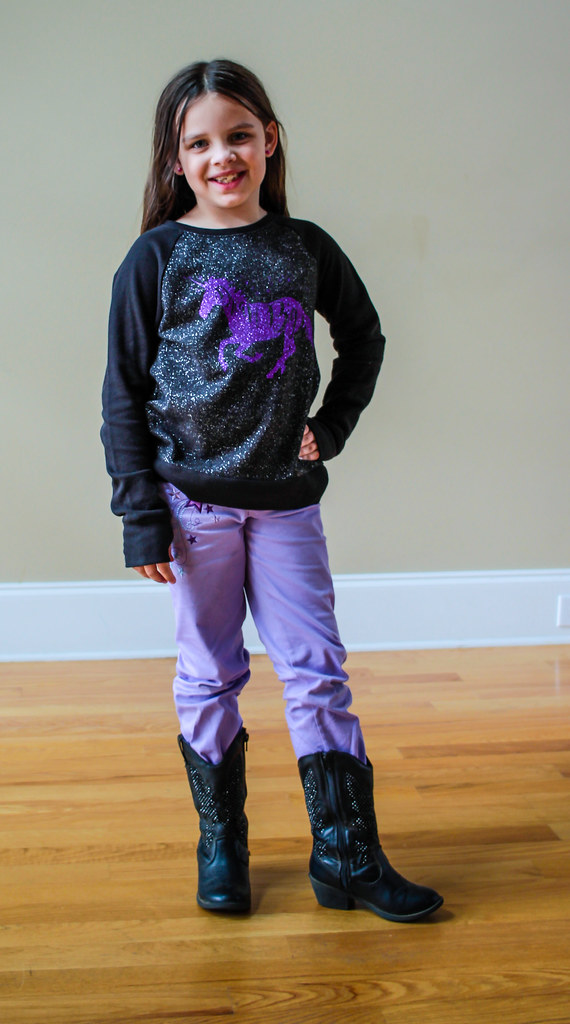
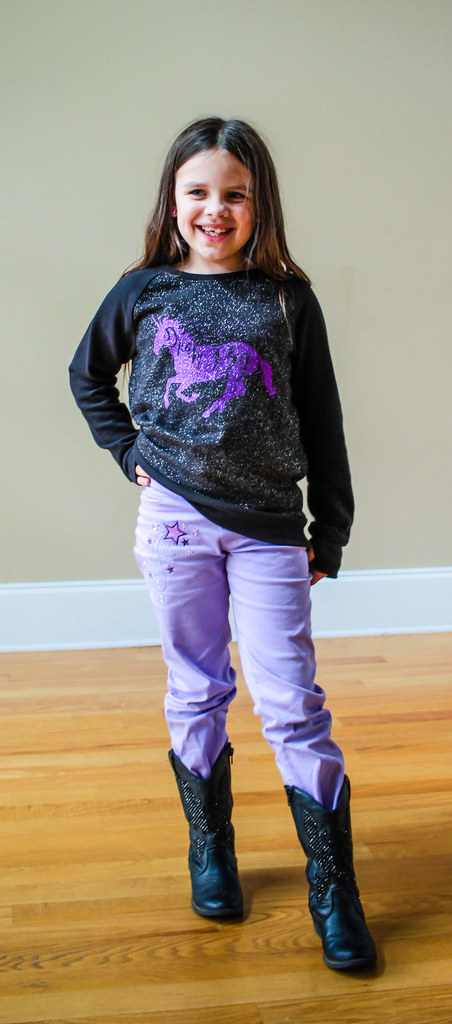
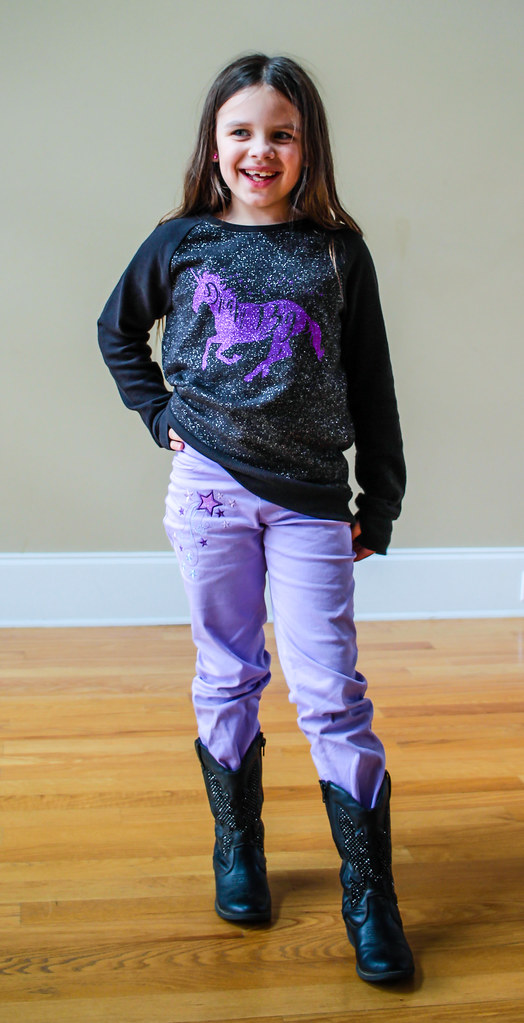
Well, the inevitable fall weather has finally hit us here in Eastern Tennessee, and fortunately I had an outfit all ready for Myra! She's been agitating for a pair of jeans "but fancy like yours, not from the store" for a while. And really, how can I refuse a request like that?!
Of course, the fancy part of her descriptor meant she wanted embroidery and sparkles. As you wish.
Myra prefers her jeans with a slim leg, so I went with the Jalie Eleonore pull on jeans. The pattern is great and given that the pants don't have zipper or buttons, they're a quick sew. Which is a good thing, as my sewing time has been pretty sporadic lately.
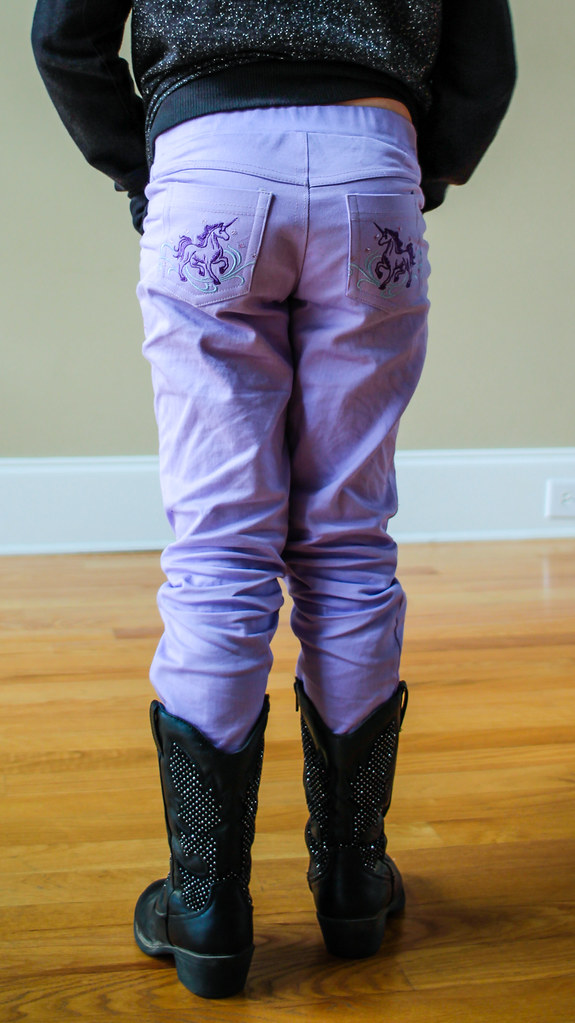
I made the same alteration for Myra that I did for myself. In the interest of booty coverage, I raised the back waist 3/4 of an inch (by increasing the height of the yoke at CB). I also shortened the elastic piece in the back waistband and stretched it as I basted it in. This pulls in the back waistband to cover Myra's backside.
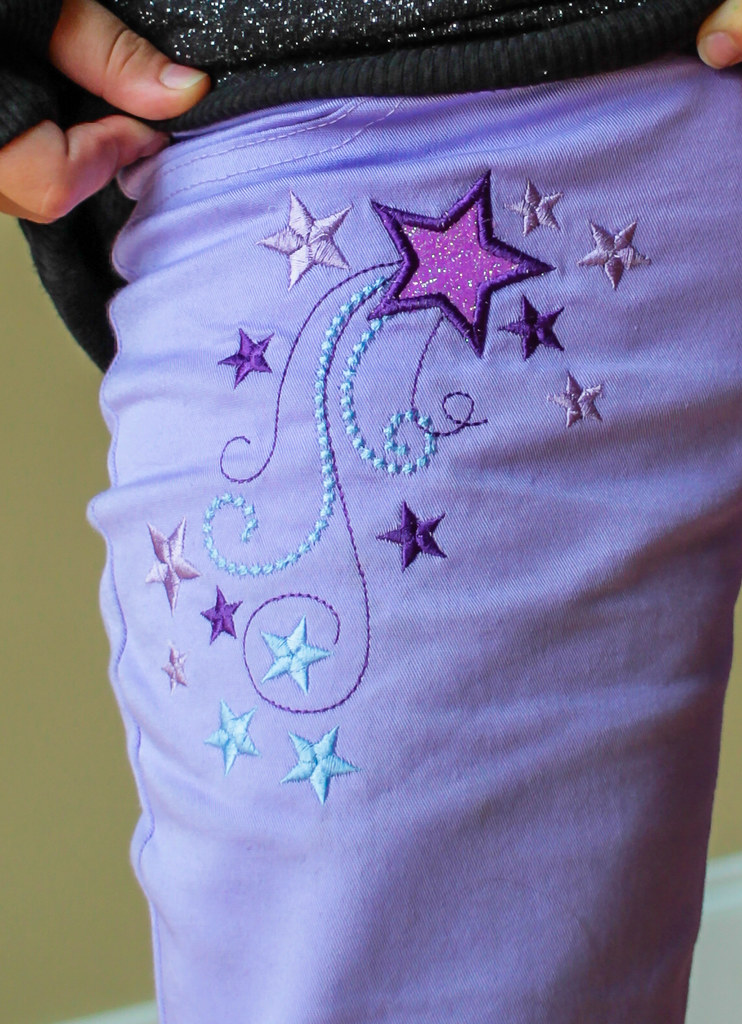
For the embroidery on the front, I did a flourish with stars. I used a new-to-me applique technique that uses Glitter Flake heat transfer vinyl in the place of fabric. The big benefit of this method is that the HTV doesn't have to be cut away during the applique process - it rips away! Super fast and easy! And glitter-tastic, so Myra is definitely a fan!
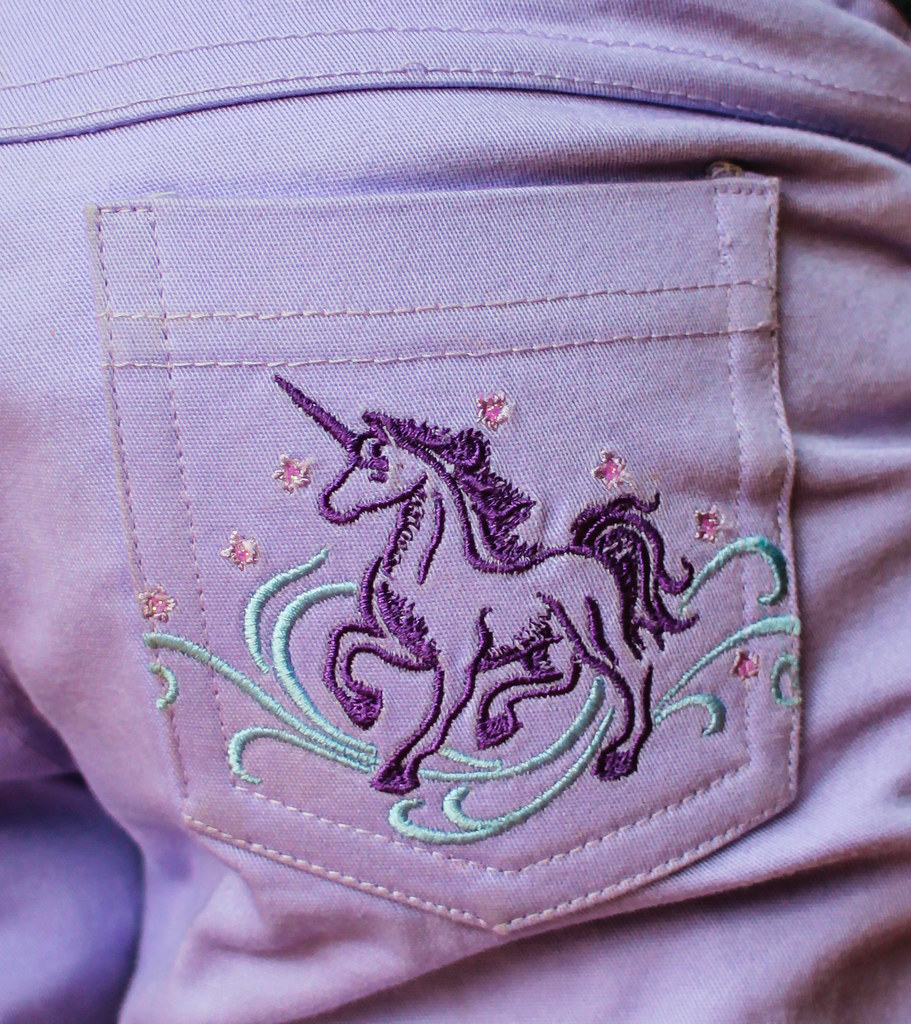
The back pockets are embellished with purple unicorns, tiny glitter stars and swooshes. I used the rip-away applique method again here and it was amazing. I'd never have been able to applique those tiny stars with fabric. The trimming would have been too tedious.
As a finishing touch, I embellished a RTW sweatshirt with a dark purple glitter flake unicorn, to coordinate with her back pocket design. She was pretty thrilled with her new outfit, and declared that I am the best mom ever. So that was a win all around.

Sunday, March 27, 2016

Ottobre 02/2005-12 Easter dress

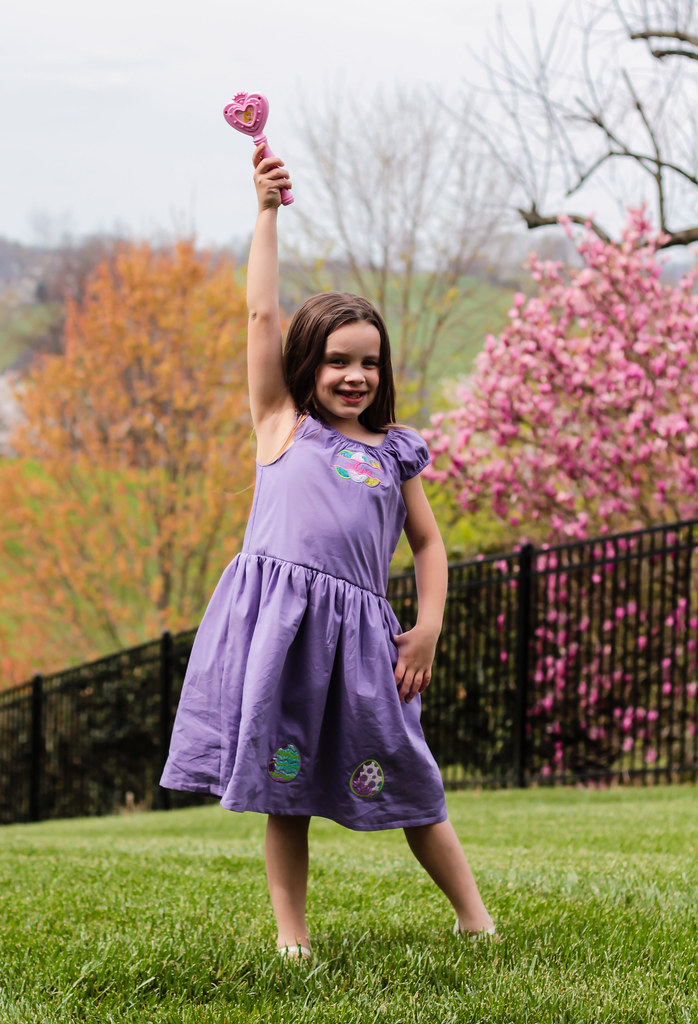
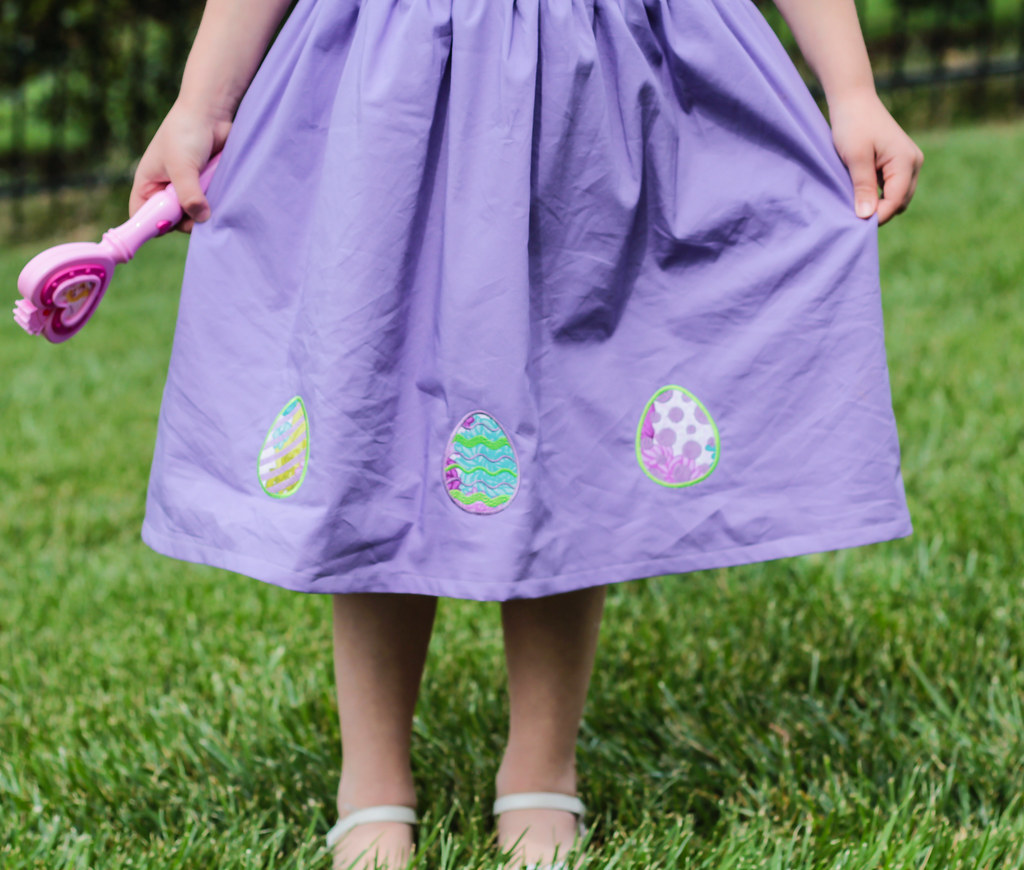
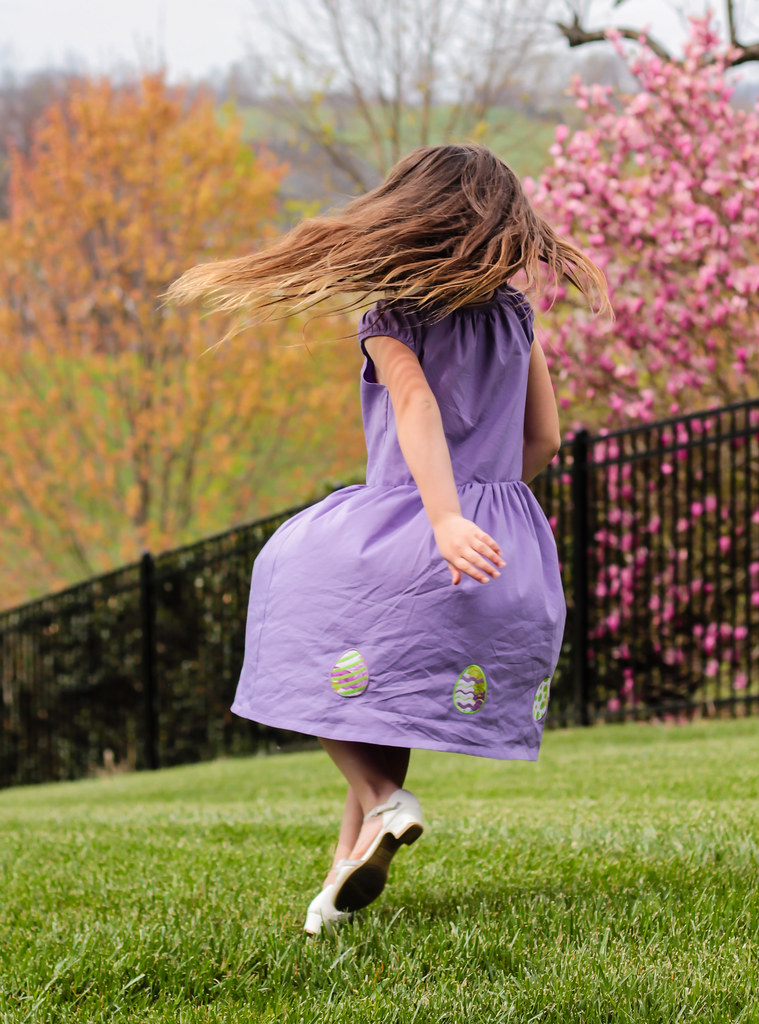
Easter is such a great excuse to make a cutesy dress! Naturally I had to embroider it too. It's just so fun!
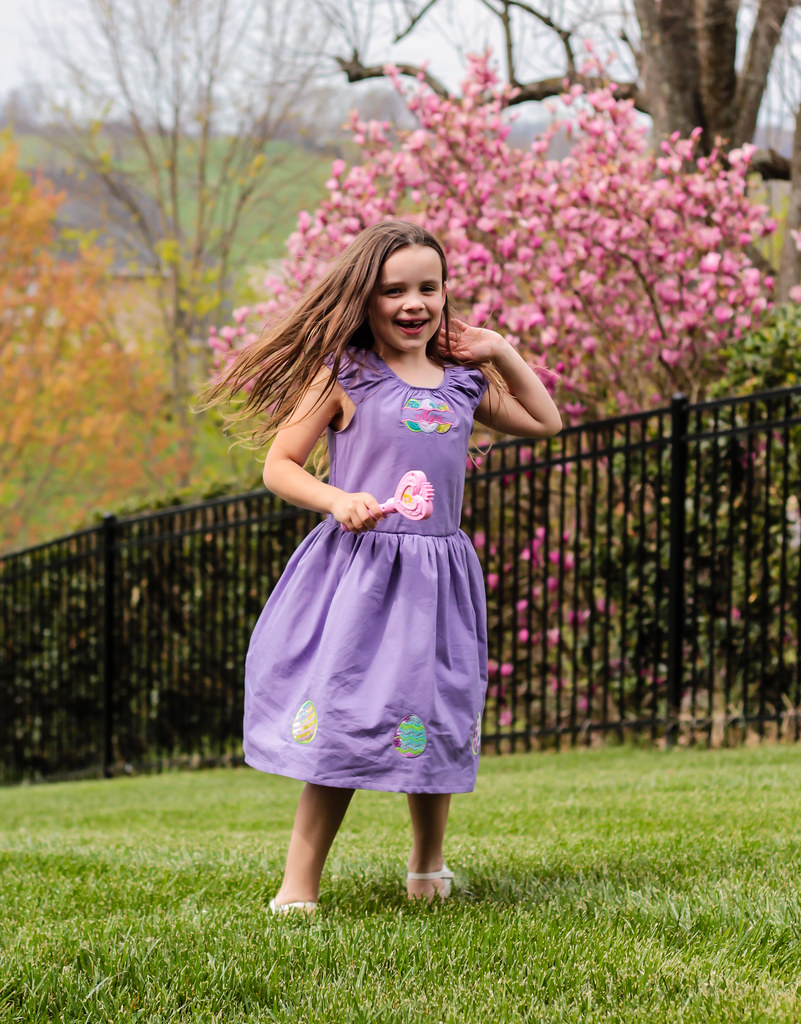
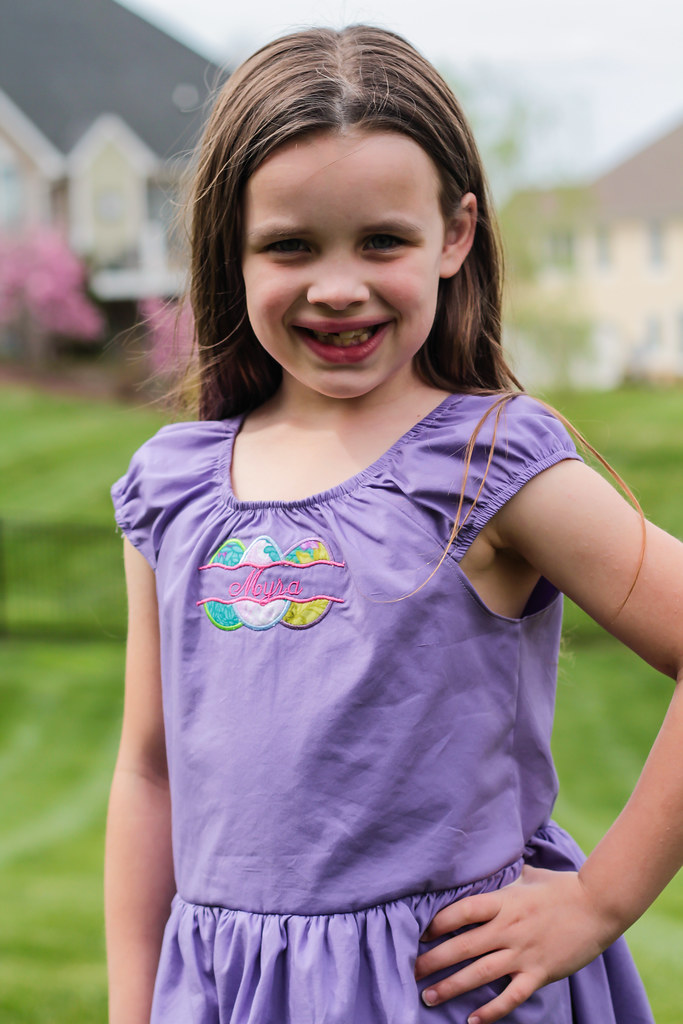
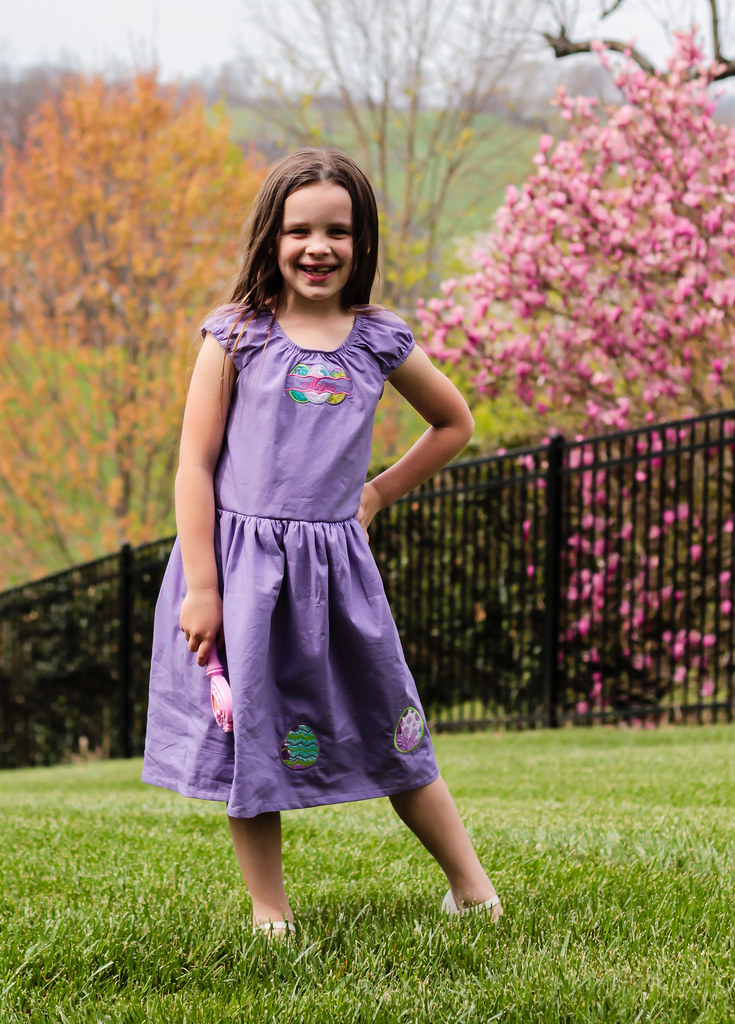
Myra is such a cooperative little model. She works the camera. Anyway, the dress, right? It is Ottobre 02/2005-12, which I made for Myra years ago. It's a nice simple dress with basic lines, which makes it perfect for embellishment!
The dress itself has a peasant style bodice, with elastic gathering at neckline and sleeve openings and a basic dirndl skirt. Normally it would be a quick sew, but I complicated it in every possible way...
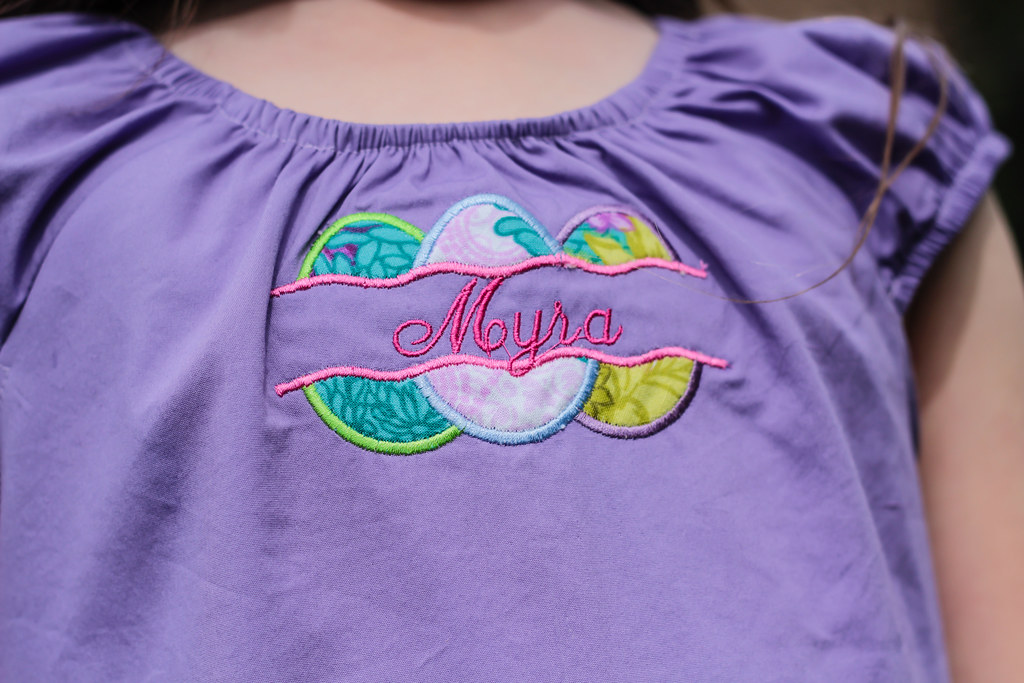
First, I added embroidery. For the bodice, a triple easter egg applique framing Myra's name. This fabric is a shirtweight stretch cotton woven. Really perfect for this dress, but the stretch made the embroidery challenging. I ended up stabilizing with mid-weight cutaway, and floating the fabric. For additional stability and body, I also underlined the entire dress with silk organza.
The trio of eggs on the skirt actually needed more stabilization, despite their similarity to the bodice motif. I doubled the cutaway and that did the trick, again floating the fabric to minimize stretching during embroidering.
As if the embroidery wasn't enough to add to the complexity, I also decided to fully line the dress. For the bodice, I actually ended up simply underlining the front and back pieces. My brain wasn't up to figuring out how to attach those cap sleeves and the elastic in a fully lined bodice. I did add the lining pieces after stitching out the embroidery motifs, so the back of the stitching is covered.
To give the skirt lots of pouf, I added a tulle ruffle stitched to the lining in between the skirt and lining, so it wasn't scratchy against her legs. The lining fabric is Hang Free, so it is very soft and comfortable.
Despite the challenges of embroidering this fabric, I'm really glad I went to the trouble of making it work. I feel like I'm learning so much about machine embroidery with each new project. It is so fun to have a new challenge!

Wednesday, March 23, 2016

More embroidery fun

The sewing room has been sadly unproductive lately. The kids had Spring Break last week, and we had a few sick days before that. I'm getting back into the swing of things now and cut out a tee shirt today. Fortunately, machine embroidery is less time intensive when I'm not also making the garment from scratch.
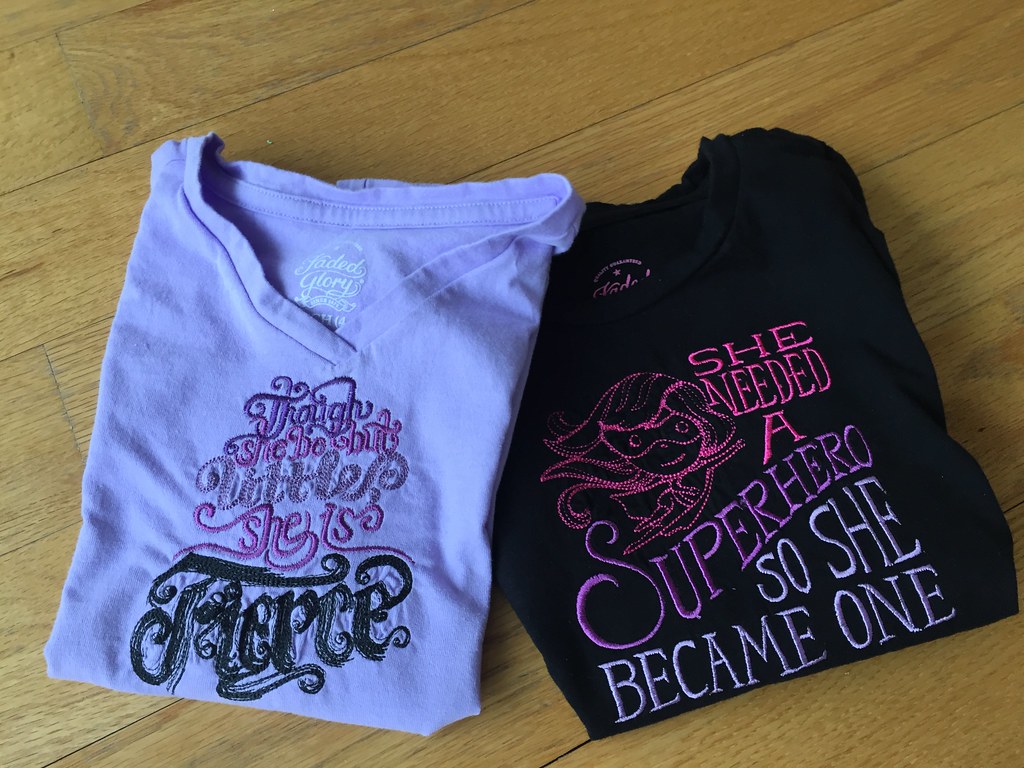
Myra really dislikes "boring" tee shirts, but a $4 tee from Walmart isn't so boring when I'm done with it!
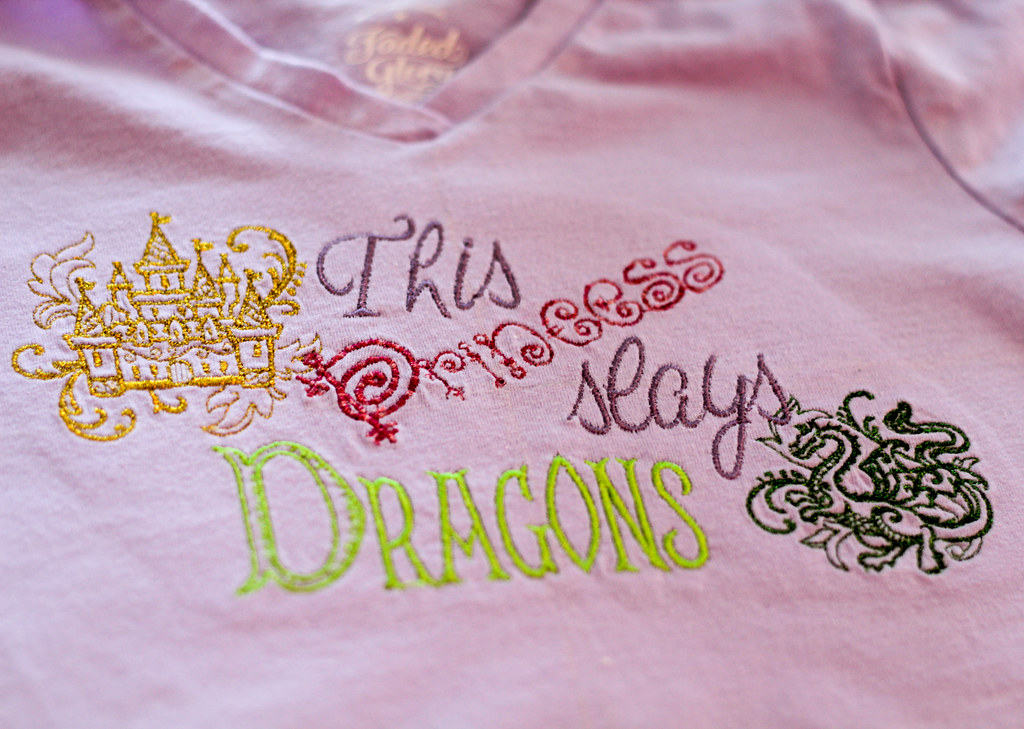
I'm particularly proud of this one, as I designed the pattern myself, combining the dragon, castle and several fonts in Sew-What Pro. I'm really having fun with that program! I love being able to tweak a design and make it my own. Or Myra's own!
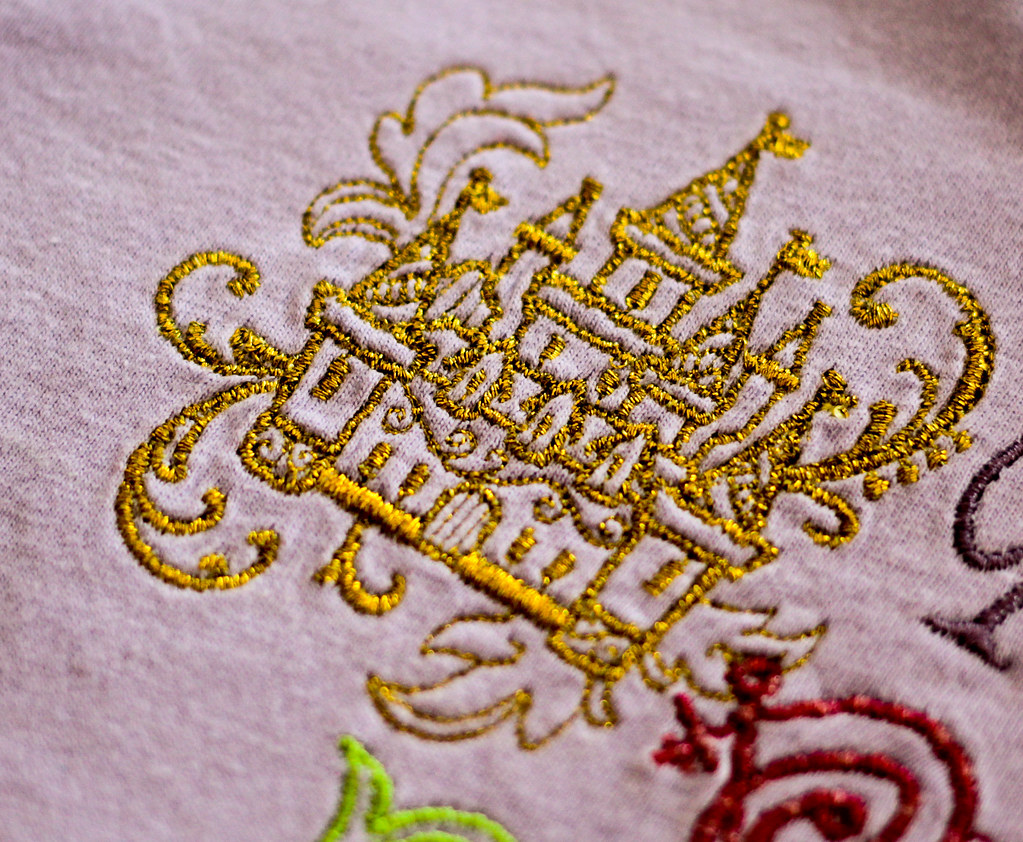
I stitched out the dragon and castle in metallic thread. I'm thrilled with how well it worked out, since I've had trouble with metallics in the past. For my machine, the secret seems to be to drop the tension to 2.0 and slow the speed WAAAY down.
One thing I've been learning about is stabilizing knits properly. It's tricky to find the balance between enough stabilizer for the design and not so much that it overwhelms the fabric itself. Even then, the design itself plays a big role - more dense designs need more stabilization. I ruined a couple of shirts attempting designs that were too dense for the fabric.
It seems like satin or running stitch lettering and open, sketchy designs play best with tee shirt knits. A single layer of medium weight stabilizer has been enough for this type of design.
Myra has been enjoying the process too. She helped me design this one herself!

Tuesday, March 1, 2016

Jalie 2908, with fairies!

Man, I only blogged one thing in February! Most of my sewing was pretty unexciting - PJs and pullovers, but I did get in a super fun pair of jeans.
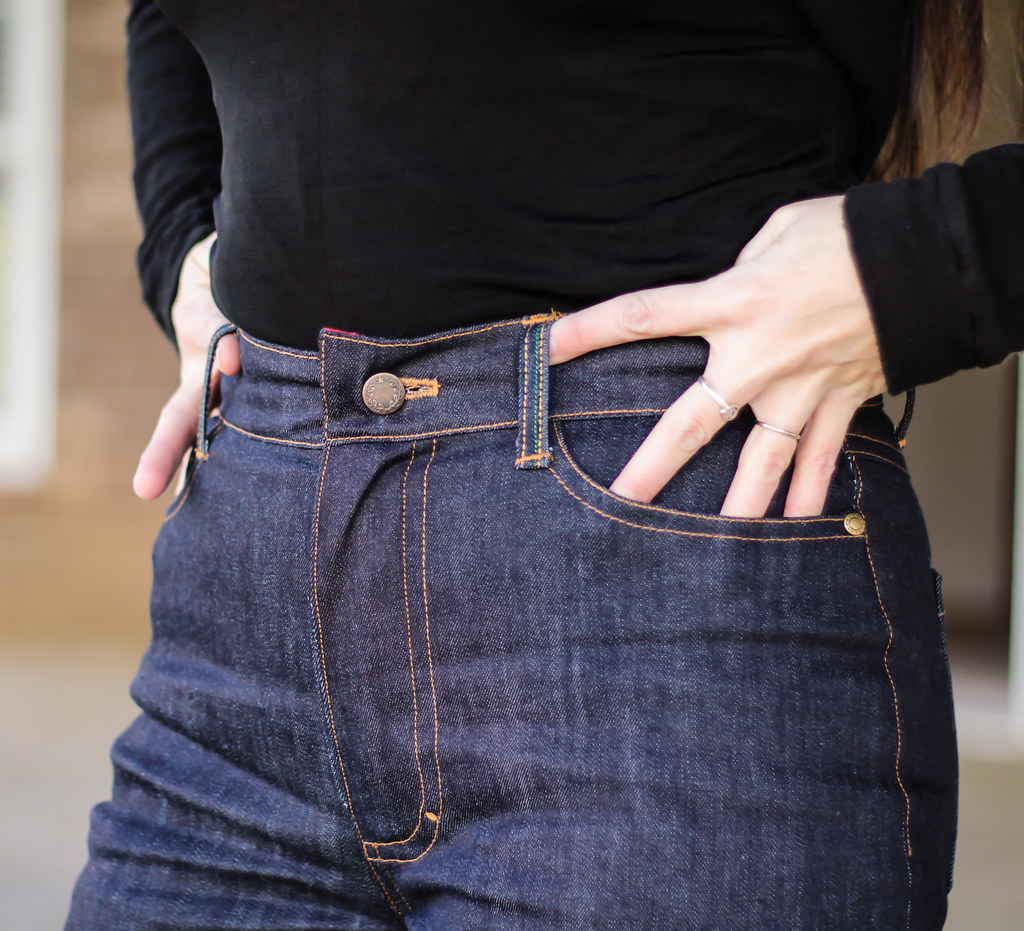
Not too exciting in front...
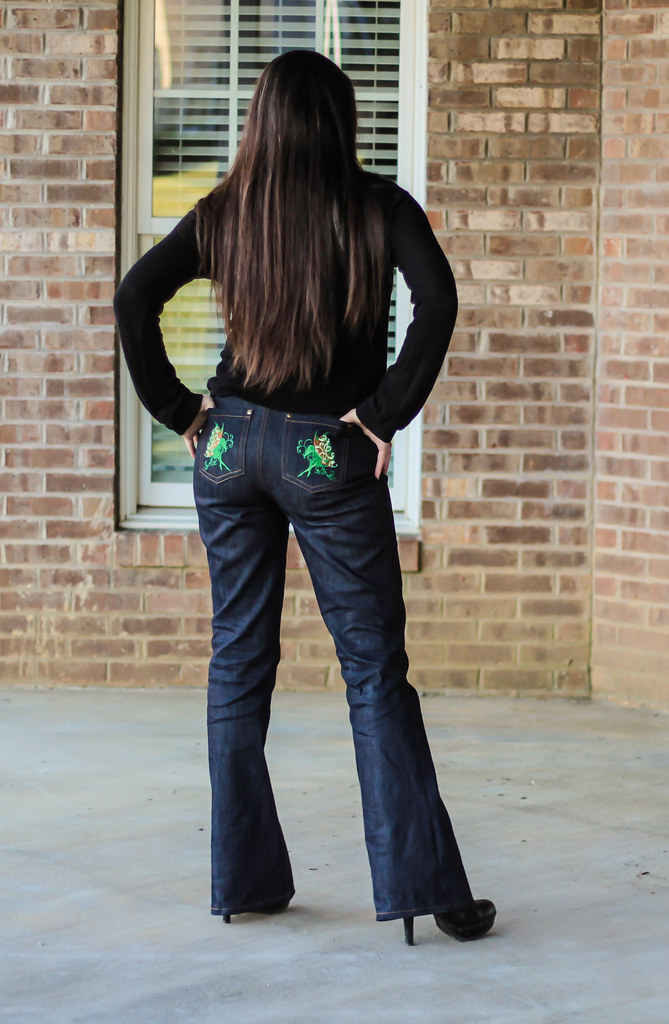
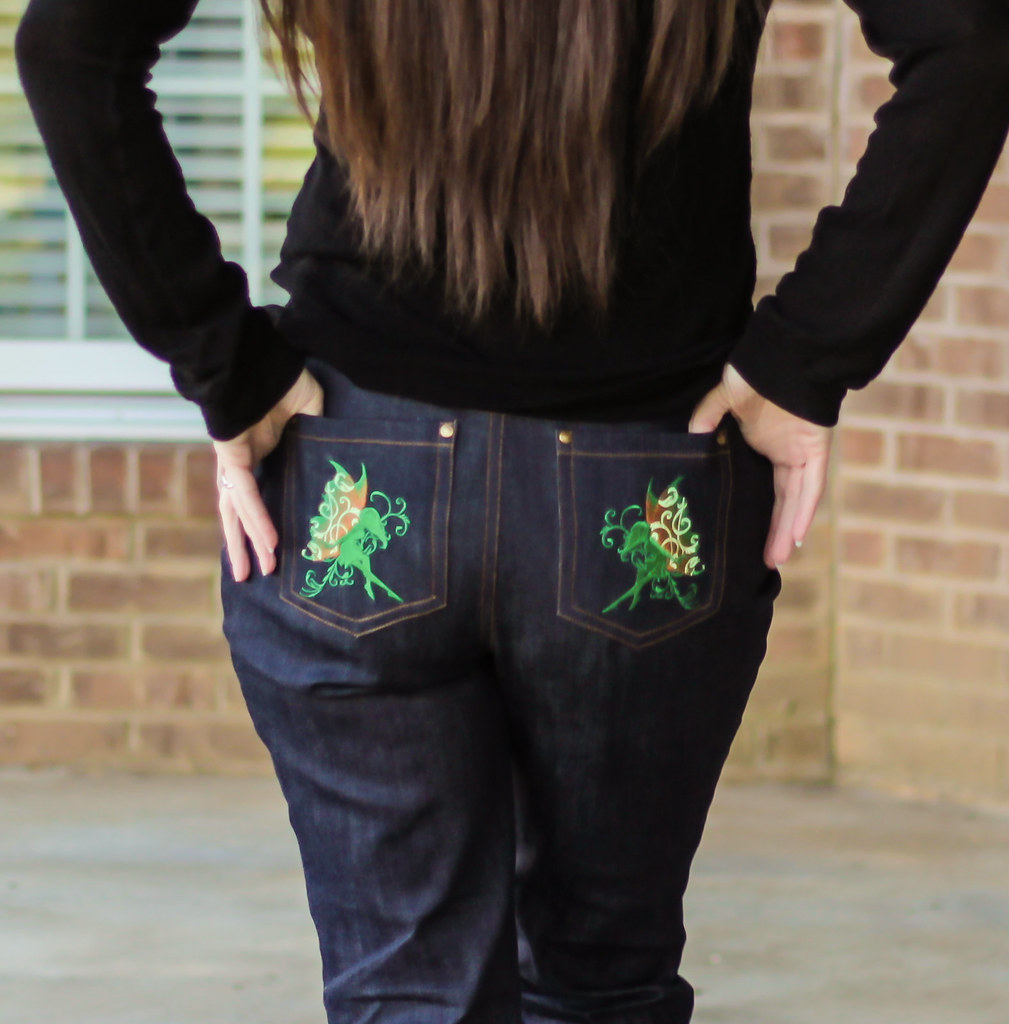
Party in the back!!! One of the things I was super excited about when I got my new machine was embroidering jeans. Back pockets are so fun now!!
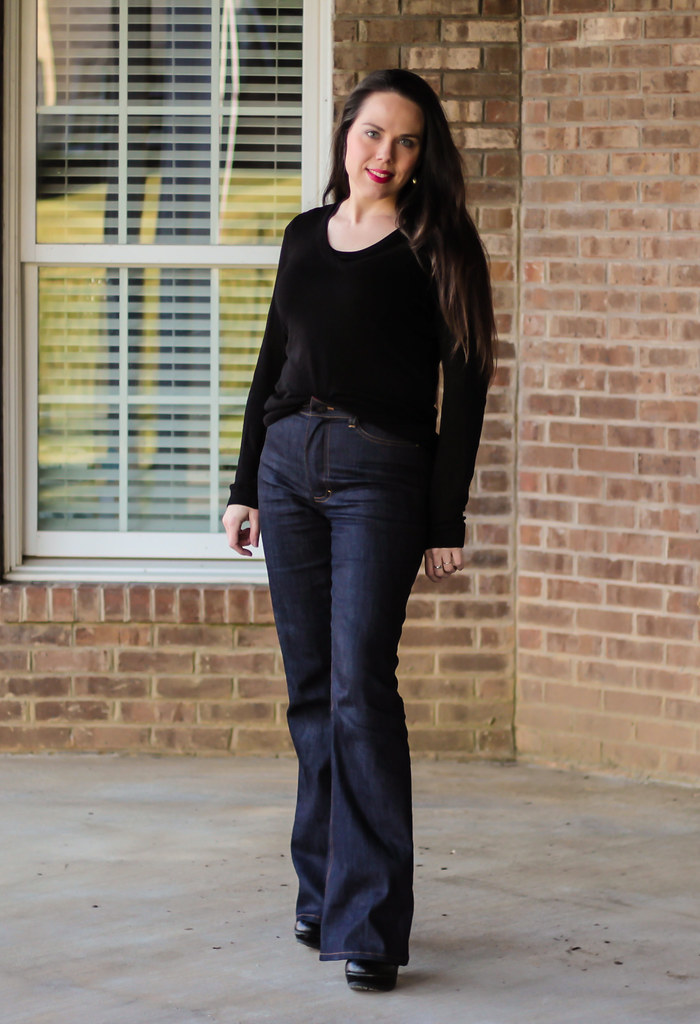
Otherwise, this is my usual Jalie 2908. I think this is my ninth pair, but I'm still tweaking it here and there. This time I added an additional inch and a half of length. I pretty much only wear heels, and all my other pairs are hemmed a bit short for that. These particular boots that you don't see have 5 inch heels. Pretty standard around here. I do expect some shrinkage too, as I only prewashed this denim once. Denim can be such a tricky beast!
The fabric is a nice weight of stretch denim from FabricMart. I bought a ton of it at the time, and I'm so glad I did! It's perfect for jeans.
Who else is glad high waist flares are coming back in?? I adore them. I think this waistline is actually 2 inches higher than the "high rise" on the Jalie pattern. I love me a high waist!
Up close, so I can brag some more on Vera. I did all the topstiching with her, and she was such a champ! Even my heavier duty machines have a bit of trouble with jeans topstiching. There are tons of layers and the fabric is heavy. And buttonholes? Fuhgettaboutit. Vera didn't even blink. She whipped out that keyhole buttonhole like it was no big deal. She also has a really nice bartack function that made attaching the beltloops and tacking down the fly shield really easy.
Here's a closer view of my fairies. For those who might be interested, the design is from Embroidery Library and you can get it here. It's done in pink in the original design, but they're my jeans, so I'll do what I want.
I have so many more plans for embroidered jeans!! Y'all are going to get tired of seeing them. Sorry, not sorry...

Monday, January 25, 2016

Learning about machine embroidery

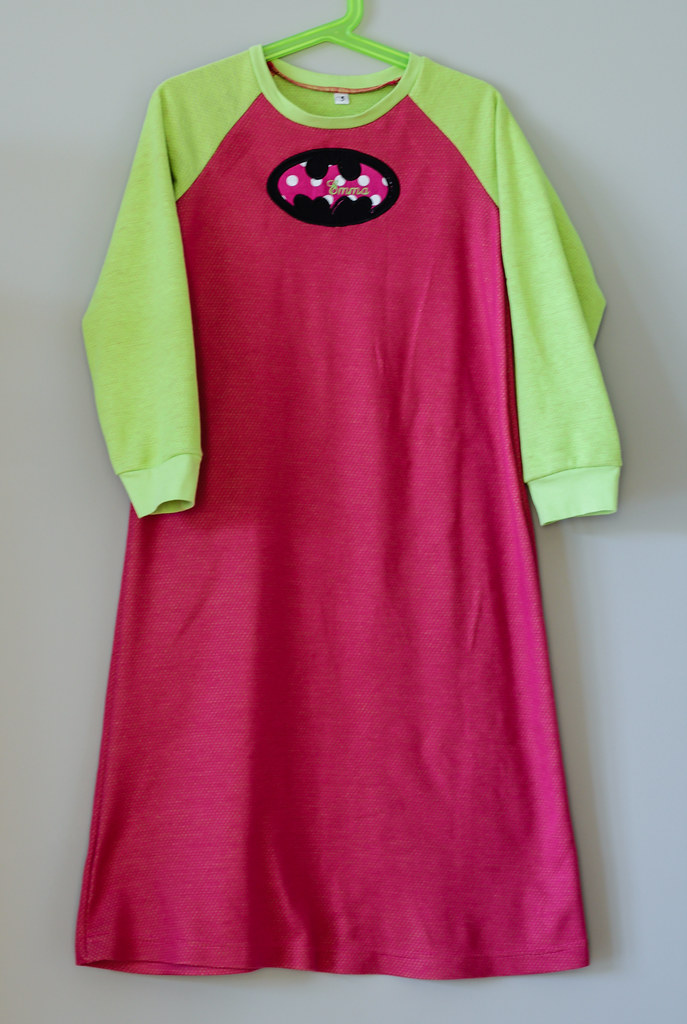
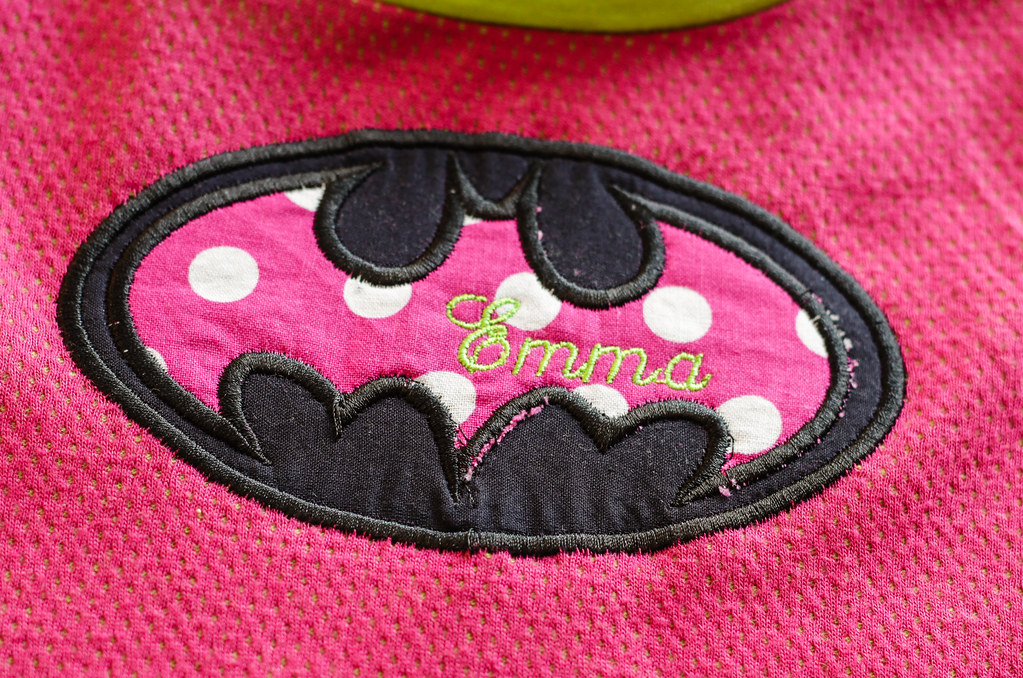
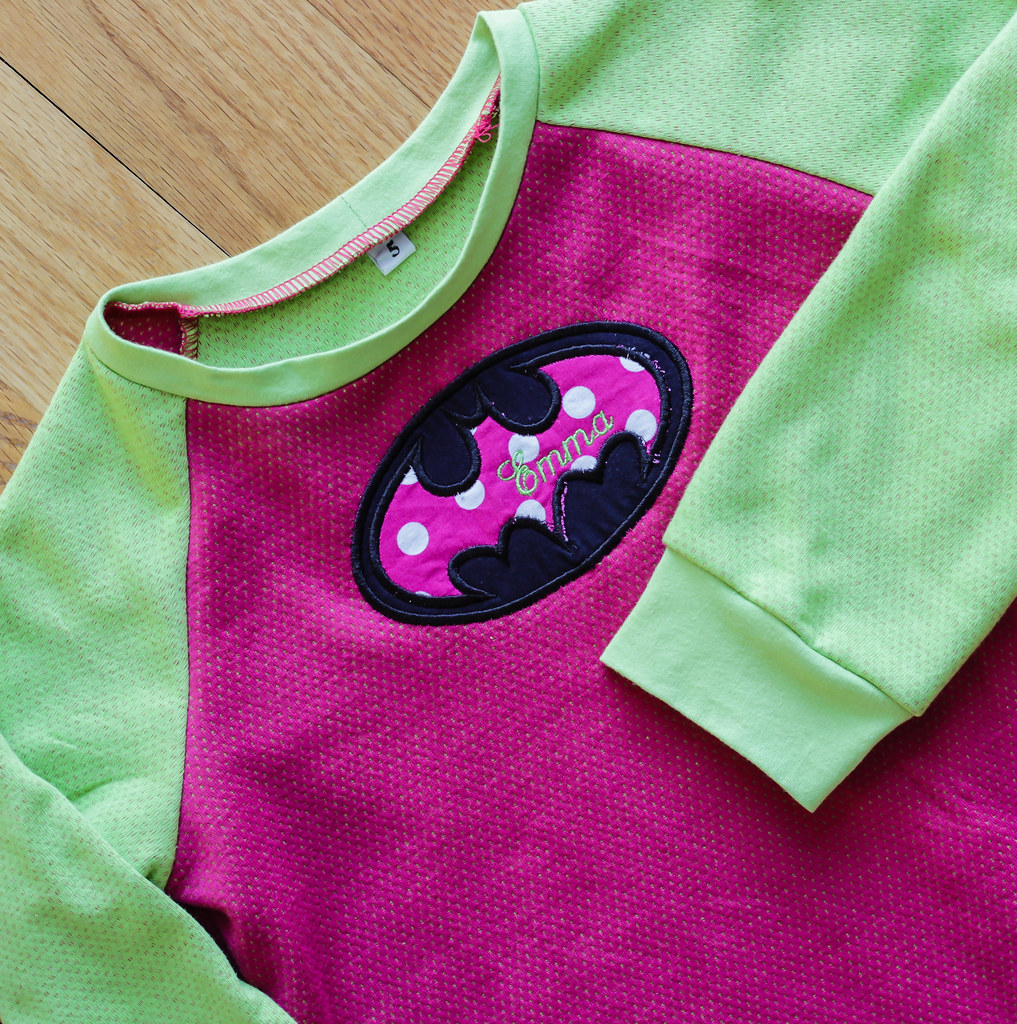
Nightgowns are an awesome project for practicing my machine embroidery. So, when my SIL mentioned that my niece Emma was growing out of her PJs, I quick made her up a nightgown. Emma has an obsession with Batman, but most Batman clothing is made for boys. There is definitely a lack of dresses and nightgowns with a Batman theme.
We'll just take care of that, shall we? Girlie batman nightgown? Check. I used an applique design from Etsy. You can find it here. I was pleased with the design itself. I scaled it up 130%, and it performed well and was easy to stitch out. I added Emma's name to the design, just for fun.
The nightgown itself is straightforward. It's from the 06/2009 issue of Ottobre and I've made it for both Myra and Emma before, so I know it's a winner. Mostly, this post is to talk about the machine embroidery/applique. I did some dumb things that I don't want to forget...
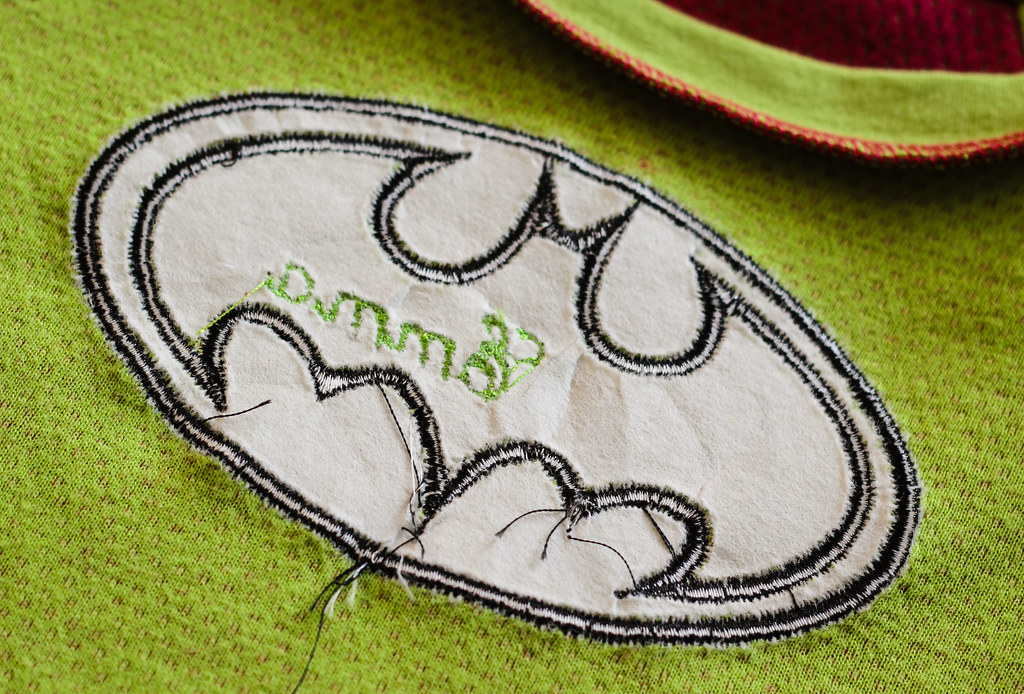
Here is a close up of the final stitch out. The design is very simple - just a two layer applique, surrounded with heavy satin stitching. The name stitches out last, so it's only one thread change. Easy peasy. I even did a test stitch for some practice and discovered that you want to get REALLY close to the basting stitches when you trim the applique. Here was my big oopsie though - see the lower point assymetry? It's not obvious unless I point it out, so I'm not stressing it, but here is how it happened. For this, I used a medium weight tear away stabilizer in the hoop, with the fabric glue basted to the stabilizer but not hooped. This worked great for the practice stitch out, and I love how easy it is to get the knit fabric smooth and flat without bubbling. The problem here was that all the stitching (two rounds of basting plus the satin stitching) caused the tearaway stabilizer to separate, which made the fabric shift since it wasn't hooped. Fortunately, I caught it quickly and was able to spray baste the fabric back onto the stabilizer, so no harm done. But I think for the future I'll either stick with cut-away, or make sure that sucker is really glued down.
Tearaway stabilizer does give a very neat look on the reverse though. And I like that the finished item retains the flexibility of the knit.
It's not perfect, but I do think it turned out ridiculously cute and I know Emma will love it. I learned a ton making it, so overall - win! So, all you veteran embroiderers out there - any advice? What do you wish someone had told you when you first started out?

Monday, January 11, 2016

Ottobre 06/2015-31 nightgown

The most exciting new feature (among many exciting features!!) of my new machine is that she embroiders. I've been wishing for an embroidery machine for years, and I am so excited to finally have one. It's going to be so fun to encorporate embroidery into my sewing. I decided to start small.
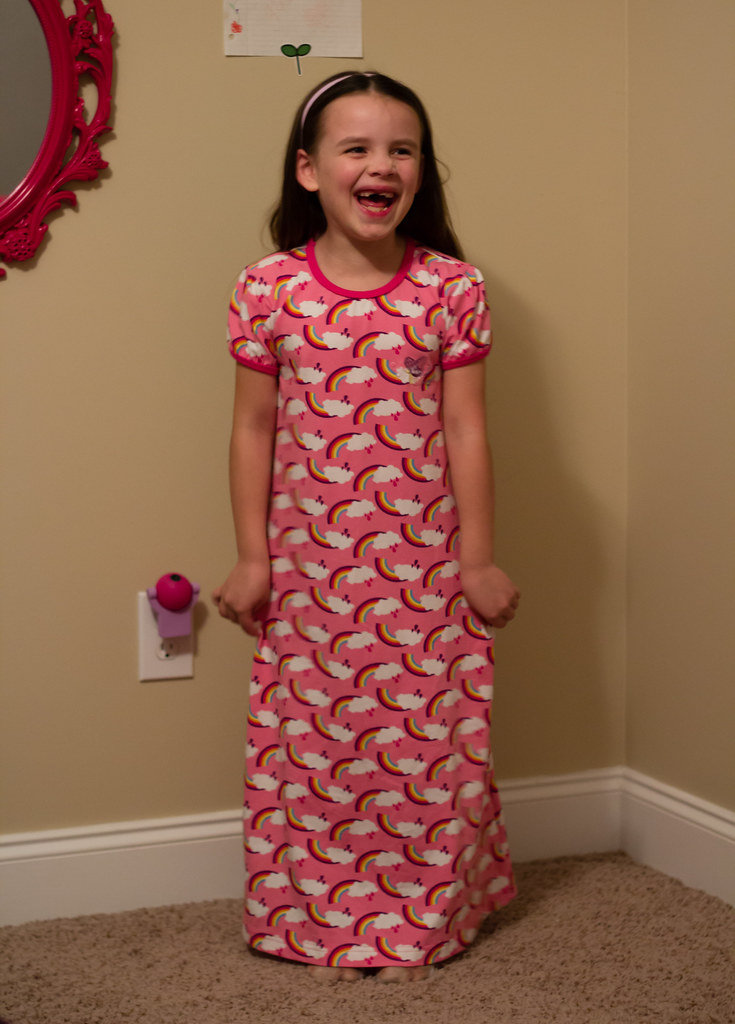
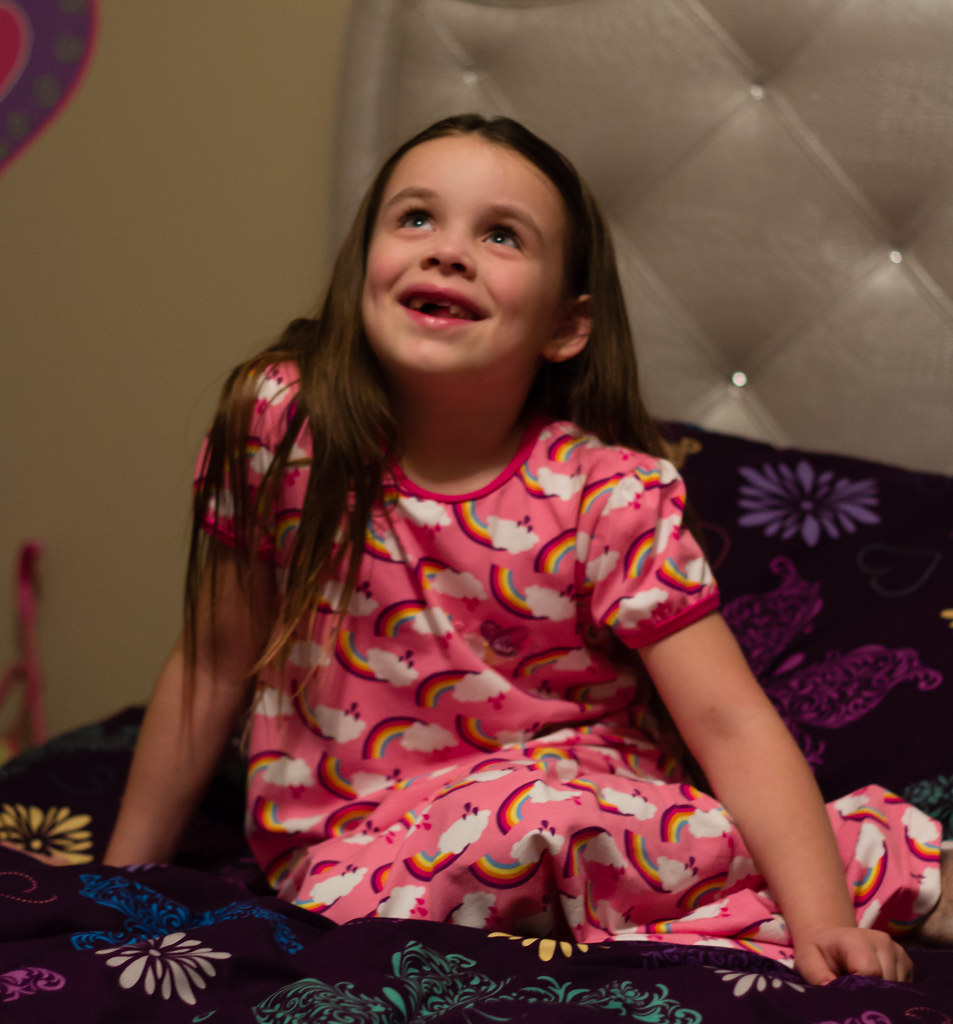
Well, child sized anyway. Myra needed a new nightgown anyway, so I decided to add a teeny bit of embellishment. Can you see the butterfly resting on a rainbow?
Here is a better view. I chose a more open, sketch-like design in hopes that it would play nice with the knit. I probably should have gone with a more stable fabric for my first project, but knits are what I sew. I want to be comfortable embroidering them. I'm still working on that...
The pattern is from the most recent issue of Ottobre, 06/2015, design #31. I sewed Myra a straight size 122 and it is a perfect fit. I am trying to wrap my brain around the fact that she is a size 122. When did that happen??? It's a very simple style - back and front are the same except for the neckline and the sleeves are short, gathered and puffed. I did all the binding with the coverstitch binder, so this was a super quick project.
The fabric is a very soft printed jersey by Hilco. I got it from the Kitschy Coo shop. The binding is an interlock I had in the stash, I suspect it is Chez Ami. It's a perfect match for the hot pink elements in the print.
To be honest, I was a little loath to use this fabric for a nightgown. It's a bit pricey (although worth it for the quality), so I lean toward using it in garments that will be seen, but it's so soft and snuggly it really is perfect for nightwear too.
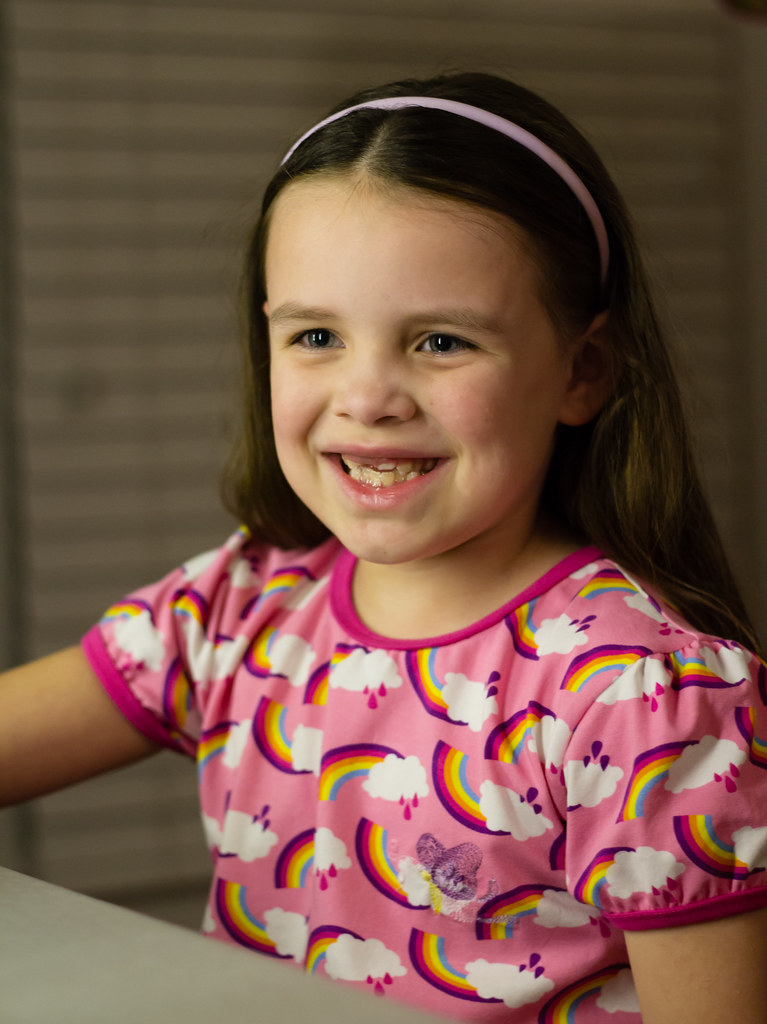
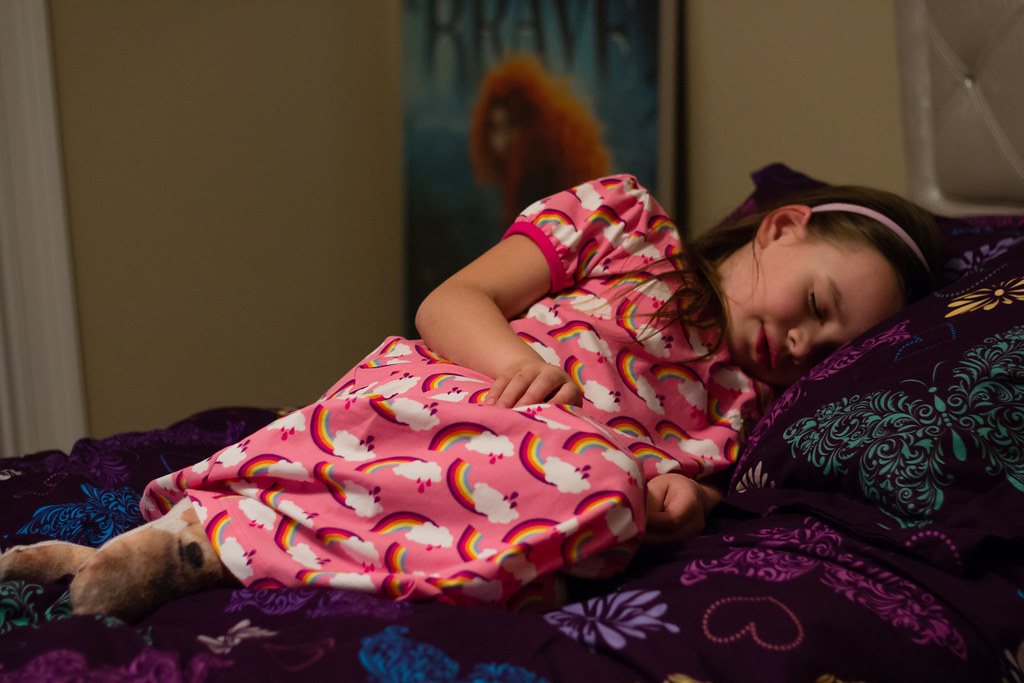
Sleepy girl is sleepy and comfy in her new nightgown.