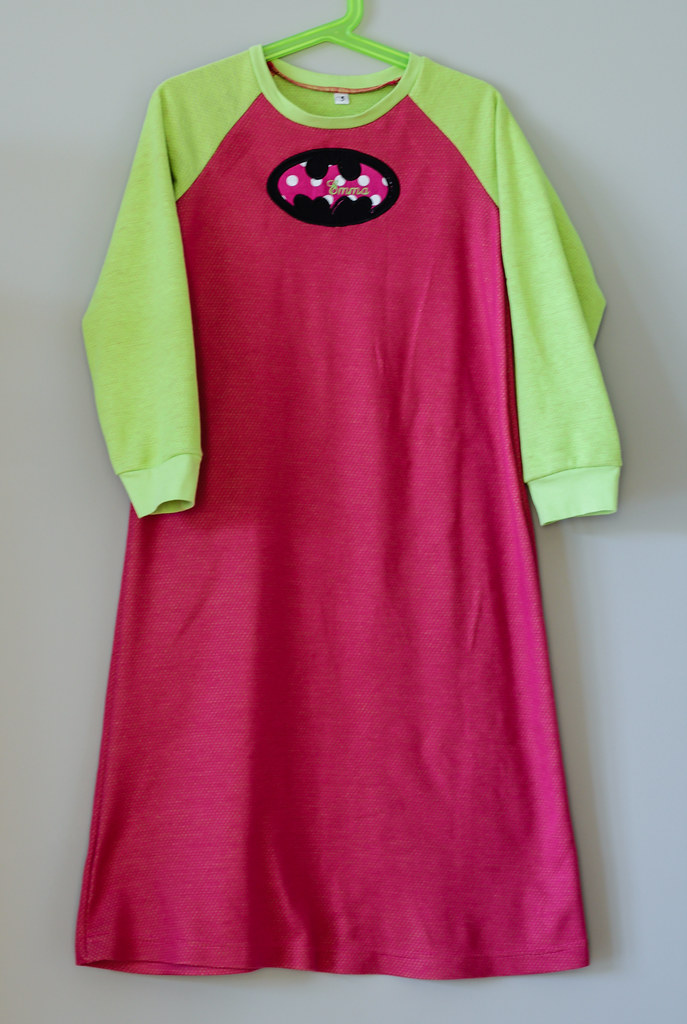
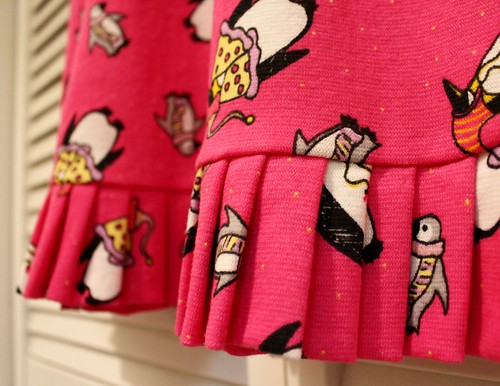
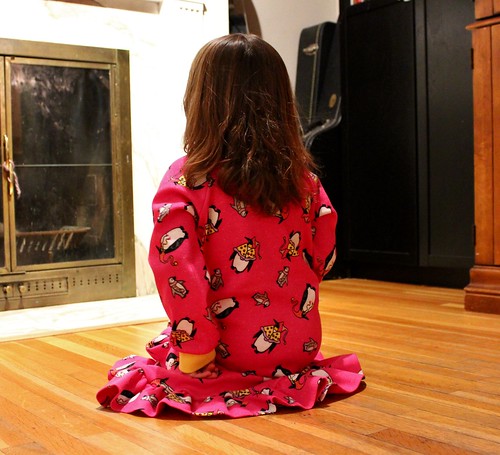
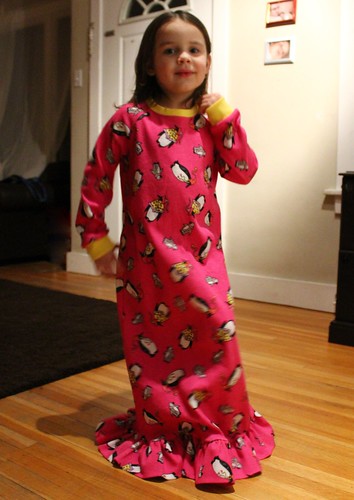
Nightgowns are an awesome project for practicing my machine embroidery. So, when my SIL mentioned that my niece Emma was growing out of her PJs, I quick made her up a nightgown. Emma has an obsession with Batman, but most Batman clothing is made for boys. There is definitely a lack of dresses and nightgowns with a Batman theme.
We'll just take care of that, shall we? Girlie batman nightgown? Check. I used an applique design from Etsy. You can find it
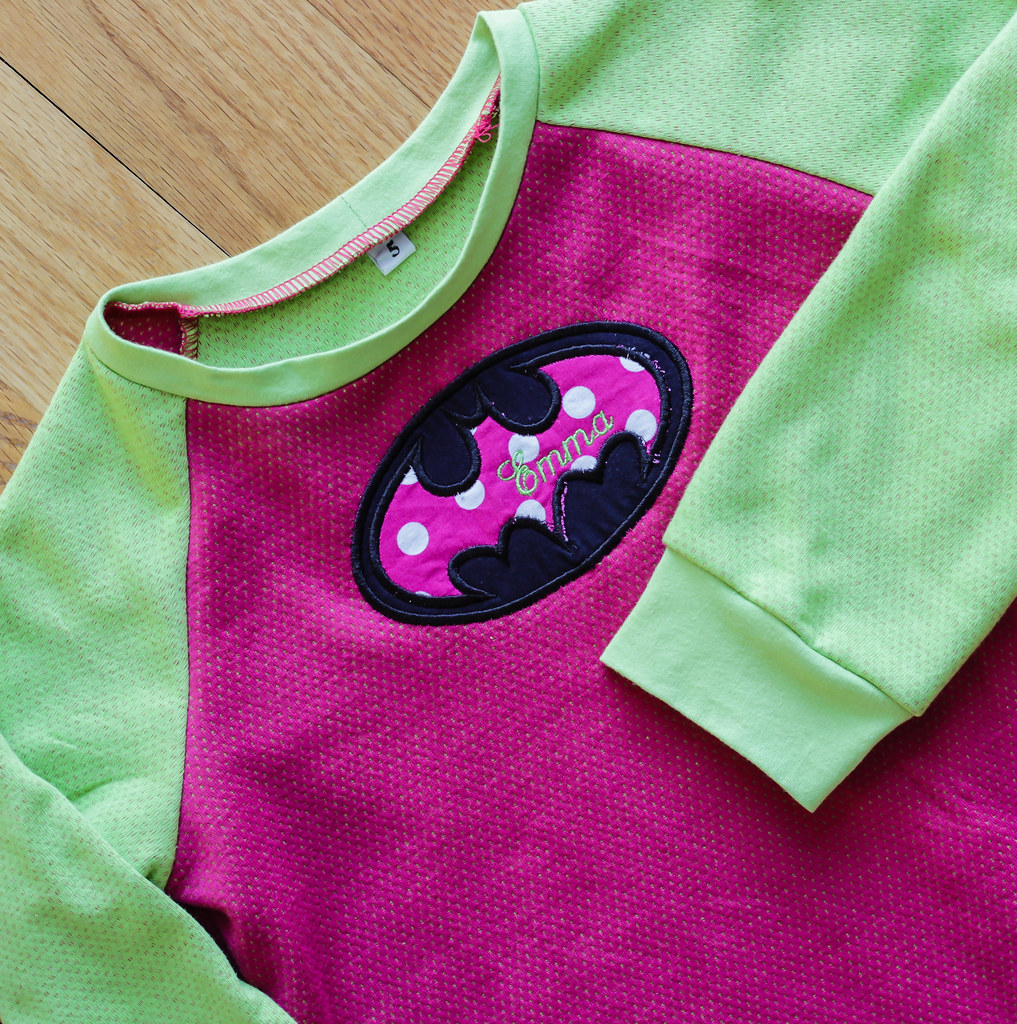
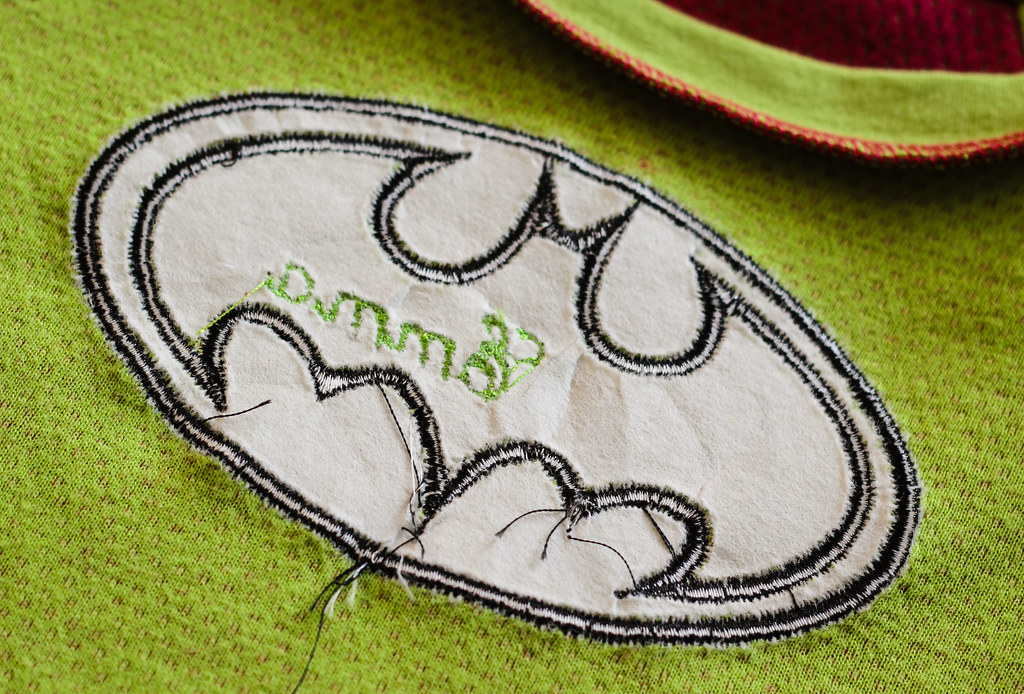
here. I was pleased with the design itself. I scaled it up 130%, and it performed well and was easy to stitch out. I added Emma's name to the design, just for fun.
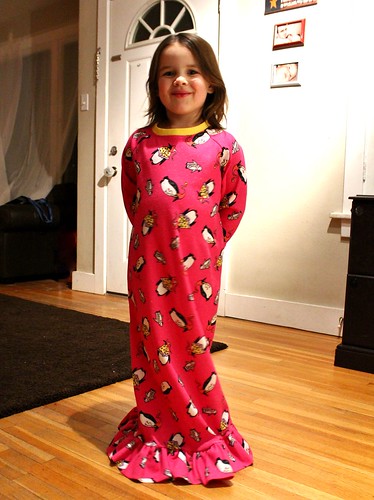
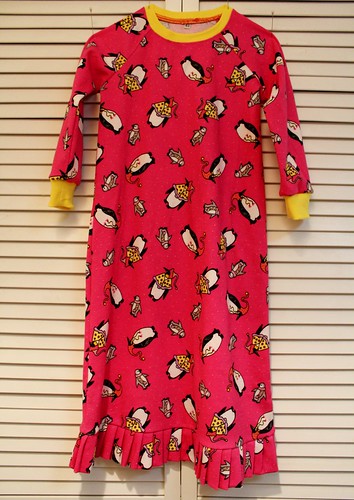
The nightgown itself is straightforward. It's from the 06/2009 issue of Ottobre and I've made it for both Myra and Emma before, so I know it's a winner. Mostly, this post is to talk about the machine embroidery/applique. I did some dumb things that I don't want to forget...
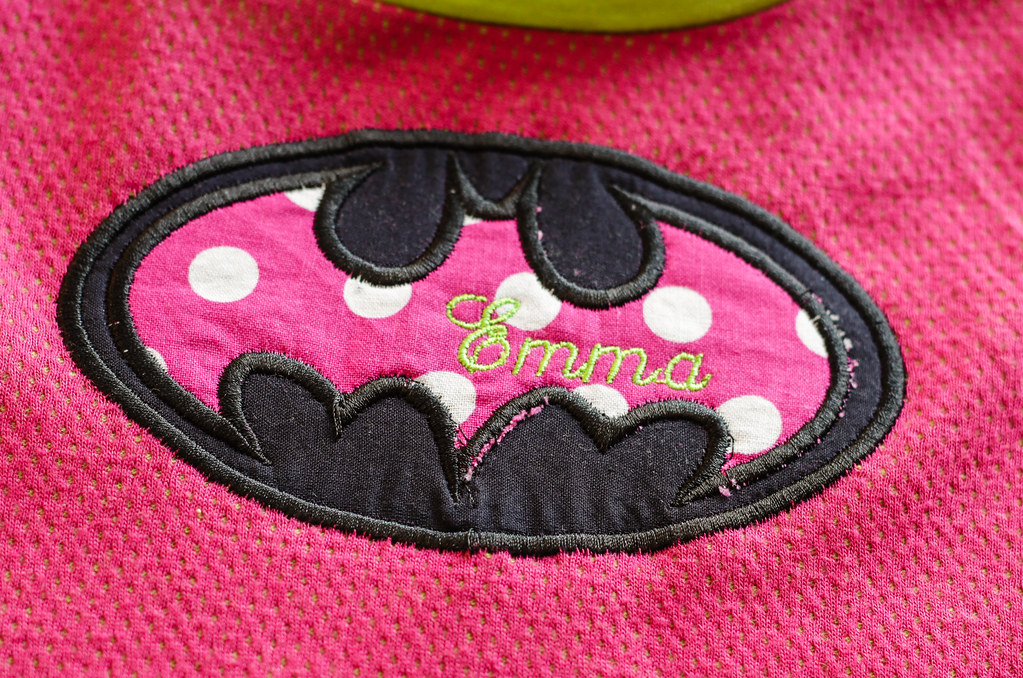
Here is a close up of the final stitch out. The design is very simple - just a two layer applique, surrounded with heavy satin stitching. The name stitches out last, so it's only one thread change. Easy peasy. I even did a test stitch for some practice and discovered that you want to get REALLY close to the basting stitches when you trim the applique. Here was my big oopsie though - see the lower point assymetry? It's not obvious unless I point it out, so I'm not stressing it, but here is how it happened. For this, I used a medium weight tear away stabilizer in the hoop, with the fabric glue basted to the stabilizer but not hooped. This worked great for the practice stitch out, and I love how easy it is to get the knit fabric smooth and flat without bubbling. The problem here was that all the stitching (two rounds of basting plus the satin stitching) caused the tearaway stabilizer to separate, which made the fabric shift since it wasn't hooped. Fortunately, I caught it quickly and was able to spray baste the fabric back onto the stabilizer, so no harm done. But I think for the future I'll either stick with cut-away, or make sure that sucker is really glued down.
Tearaway stabilizer does give a very neat look on the reverse though. And I like that the finished item retains the flexibility of the knit.
It's not perfect, but I do think it turned out ridiculously cute and I know Emma will love it. I learned a ton making it, so overall - win! So, all you veteran embroiderers out there - any advice? What do you wish someone had told you when you first started out?