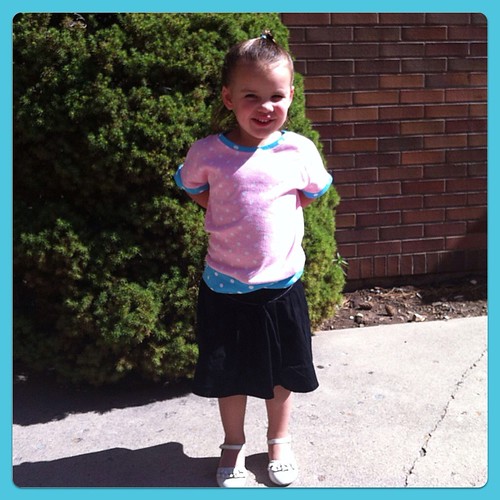
Dolmania has spread over to the girlie side of the family, and she is a happy kid!
For Myra's top, I decided to do the bands on all of the edges rather than hemming. I love that the pattern includes this as an option, since I think for many sewists, hemming knits is a scary thing.
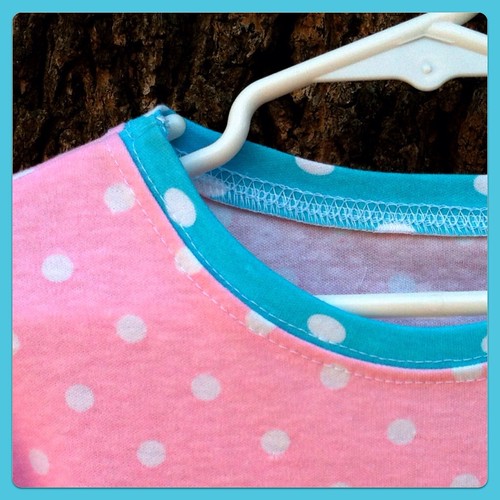
The fabric was a lucky thrift shop find. It is an interlock and while I didn't burn test it, it acts and feels like cotton. I stitched up the top with just my serger and since there wasn't any hemming, I only used the coverstitch for topstitching.
I topstitched the neckband, so that it would lie nice and flat, but I left the cuffs and waistband alone so that they would have a slight blouson effect.
Since this pattern makes use of banding to finish edges nicely, I thought I'd share a little tip for getting a nice smooth seam if you are seaming with your serger. You know how bulky a serged seam can be when you fold it over like in a band or hem? Well, this is how I take care of that problem.
Here is my waistband, after pressing it wrong sides together and seaming it per the pattern. I traced along the center fold in red so that you could see it better. My scissors are poised to snip the seam allowance right at the fold line. Snip just to the seam line, but don't cut all the way through. Yes, you are clipping some serger threads, but since this isn't a stress point, it won't effect the integrity of your seam.
Here is where the magic happens. Press the two allowances to opposite sides so that when you fold the band together, they no longer overlap, they are abutting nicely on either edge of the seam. This way, you don't have a big lump of seam on one side. This works for hemming as well - just snip through the seam allowance at the fold of the hem.
I hope that helps! How are your
Dolman Tops coming along?


7 comments:
I want to know who gave her permission to grow up??? When I find that person -- we're gonna talk.
I love this shirt!!! I especially love the coordinating bands - what a fun idea!!!
So very chic!
These dots are fantastic! I think this is my favorite children's items you made!
This is a great tip, thanks! When we're working with such small clothing, the bulk of a double serger seam gets SO bulky.
She is so dang cute and looks just like you! g
Love that library pic, so sweet :) As always, great job! And thanks for the tip, hadn't heard that before. Bulky seams are the pits within bands.
All your kids' Dolman Tops are just adorable; I'm sure they'll wear them with glee. Love the pictures in the library; it's always been a favorite place of ours to visit.
Great tip for serging! I'll have to keep that in mind. Love the top, especially your very professional coverstitch at the neckline.
Post a Comment