Thursday, November 29, 2012

Ottobre 01/2012-21 overalls

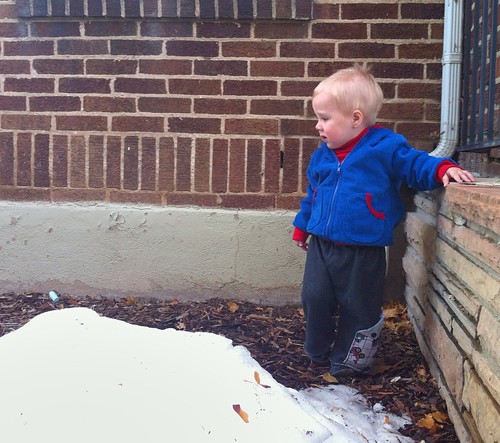
Duncan's next desperate wardrobe need was for pants. Since we lived in Texas when Logan was this age, we don't have many winter clothes to hand down, and while Duncan has tons of shorts, long pants are few and far between.
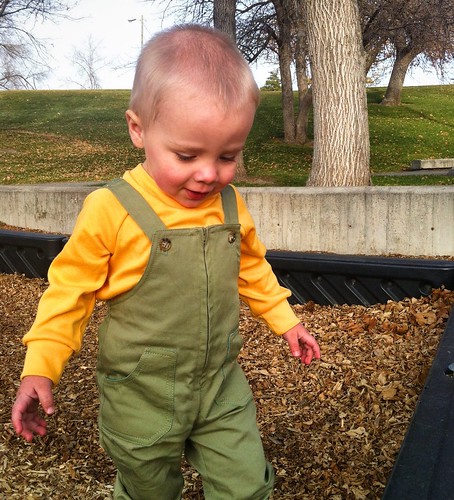
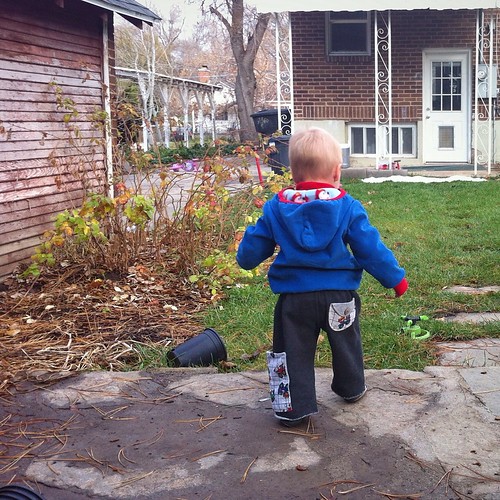
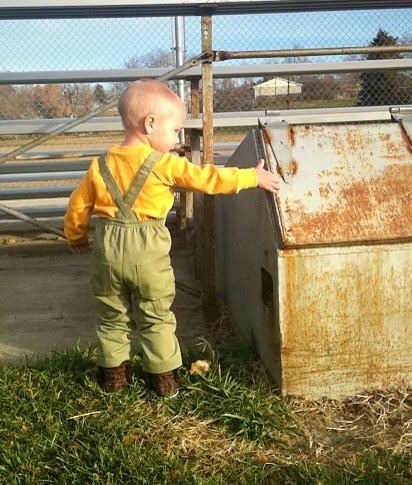
These overalls from the 01/2012 issue of Ottobre caught my eye when the issue came out. I love the 70s retro vibe they have and they look so cozy! Last year the smallest size was too big for Duncan, but this year they are just right!
The fabric I used is a stretch twill that was hanging out in my stash, provenance unknown. I only had a yard and a half or so, so it was perfect for small guy overalls. The color in the above pics is the most true. It is a military green, reminiscent (to me at least) of fatigues from the world war era. I used a cotton batik from Hancock for the facings and pocket linings.
These overalls have so many cute details!! I'm not usually a fan of a centered zipper, but that big zip front and center makes these. The topstitching is great as well. I used my Singer to topstitch, with Upholstery weight thread to make it pop.
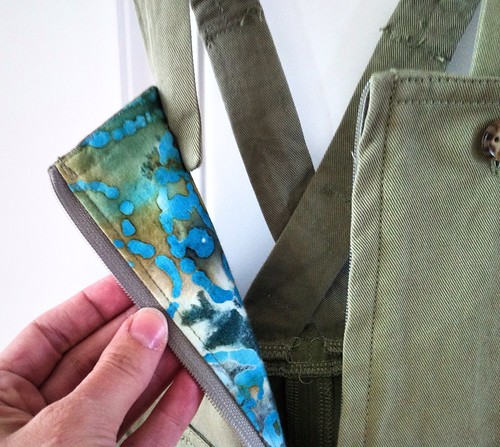
Ottobre's instructions for inserting the zipper were great. It was all done by machine - no slipstitching the facing to the tape! And it is so clean on the inside. When I first read the instructions, I had no clue what they wanted me to do. I went forward with faith, and it came together perfectly, but there were a few moments... If you are making these, I posted a little picture on Flickr of what the facing assembly looks like. You can see it here.
The front pockets are lined, which is a nice easy way to get a clean edge, I used the same fun batik that I made the facings out of, and you can just see the edge peeking around the sides of the pocket.
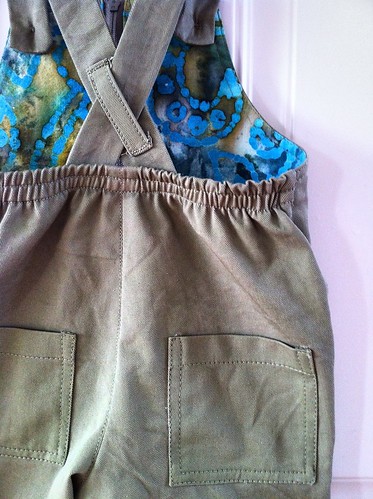
In back is another set of patch pockets. The waist is snugged in with elastic and the straps are held in position with a little beltloop. I love the way this looks, but it is also very functional. The straps stay where they need to be without sliding off Duncan's shoulders.
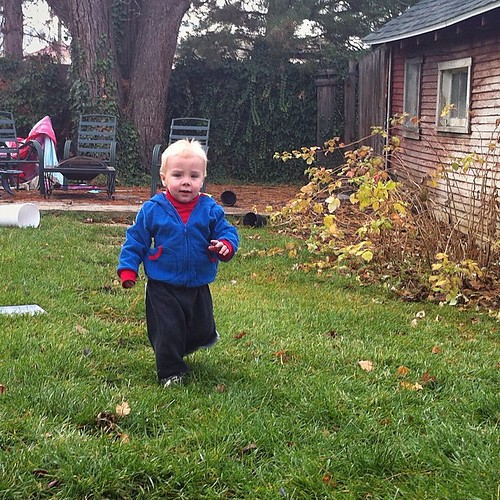
We tested them out tromping around at the park, and they are awesome! I was worried that the slim fit in the leg would be troublesome for climbing, but not at all. He was all over the place, typical Duncan style.
When I put on his overalls yesterday to check the hem, I realized that the shirt I was planning for him to wear these with (a cute striped henley) was now too small. So I made him a quick raglan tee (Ottobre 04/2011-1, the Papana tee) in some leftover yellow interlock. Looks like shirts for Duncan are next up on the agenda...
Linked up.

Monday, November 26, 2012

Tanit-Isis Vintage Shrug

So, after the teaser on Saturday, were you dying to know where you can get your hands on this adorable shrug pattern for yourself? I suspect many of you actually recognized it. 
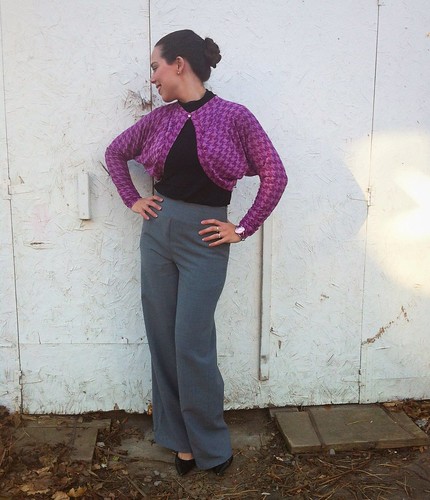
My failed attempt to look as cool as Tanit-Isis. At least you can see the drapey sleeve.
The pattern is from the lovely and talented Tanit-Isis, and is available for free on her blog. I know, how awesome is that?! Click here for the pattern.
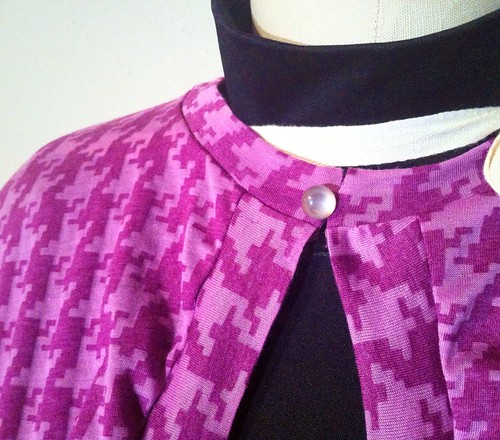
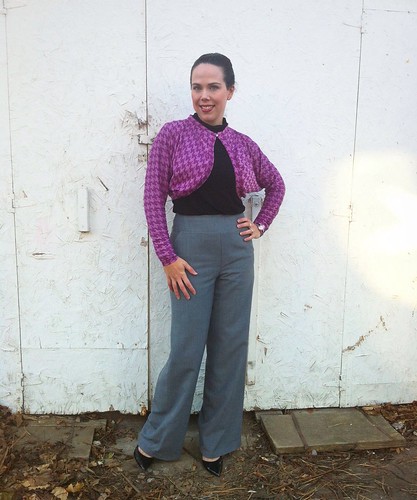
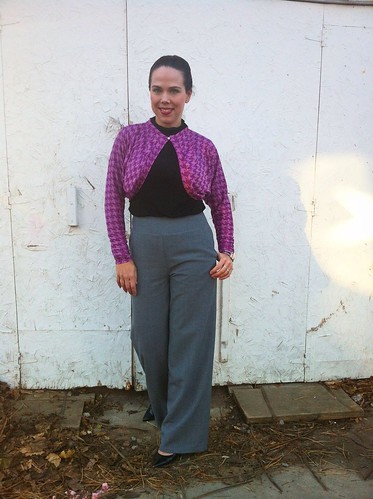
I made this out of a houndstooth burnout knit from FabricMart. Since the pattern only has one seam , matching the "stripe" of the houndstooth was effortless as long as your layout was on grain. the edges are all finished with self-fabric bands, which makes for a very easy and quick make. From printing to wearing this took me about 2 hours, but that includes some kvetching about what fabric I wanted to use.
The shrug fastens with a button on the neckband. The pattern calls for a buttonhole, but this knit was way too thin to support a buttonhole well, so I just used an elastic loop. Isn't the button pretty? It is vintage glass and seemed appropriate for this.
The only trouble I has was that this knit isn't particularly stretchy and I should have taken that into account and made my front band a bit longer to compensate. I have some rippling around there that isn't very attractive up close. I'm pretty sure it isn't going to stop me from wearing this though.
I did make one alteration to the pattern, which was to lengthen the sleeves. I generally like a 3/4 sleeve personally, but I wanted to wear this over long sleeves. I just extended the sleeve length to the full width of the fabric, tapering in to the wrist. I love how snug this sleeve is, although in my not very stretchy knit, it is a little tricky to get the band over my hand. Live and learn. The 3/4 length wouldn't have this problem, even in a particularly stable knit, and the style is unfitted enough that the stretch isn't needed for fit. So, this was a trail of the pattern, and I intend to use it for a lovely soft mohair knit my mother sent me. I'm not sure that I want to finish the edges with the bands in that fabric, so I may play with some different finishes. I'll keep you posted with what works for me.

Saturday, November 24, 2012

Vogue 1059 - third time's a charm

I'm not usually one to remake patterns multiple times. I love the idea of a perfectly fit TNT, but I crave variety and so despite my best intentions, I always reach for the new and shiny. But I think I can finally call these pants an honest to goodness TNT for me.
The pattern is Vogue 1059, and this is my third make. The first two are here and here. Both of those pairs are in such frequent rotation in my wardrobe that I knew I needed a third. This time, I pulled out all the stops.
The fabric is a lovely lightweight wool blend from Trim Fabric. I wanted these to have a sleek line, so I moved the zipper to the side - invisible, of course. After sewing up the side seams (which I saved for the last so that I could insert the zip through the yoke) I tried them on, and ugh. I couldn't zip them! Seriously!! This is my third make!! I think that I must have trimmed too aggressively when I was serging the side seams. That and the fact that this fabric is non-stretch (which the first two were) combined to almost kill these pants. I Persevered though, and ripped out my perfect zipper so that I could resew the side seams with a smaller seam allowance. Whew. They are perfect.
I also fully lined them with Bemberg rayon. Oh, how I love a lined pant! You just can't get more luxe than sliding into a fully lined pant. The lining also nicely conceals all of the pocketing and flappy bits from the back welt pockets.
I wore my new pants with my burdastyle turtleneck and a new shrug that I haven't told you about yet. It is totally fabulous, but it deserves it's own post, so stay tuned. In the meantime, I am so pleased to have that holy grail for we sewists, the TNT pant pattern. That said, I think after three pairs, I'm ready for something shiny.

Tuesday, November 20, 2012

Ottobre 06/2012-12 jacket

While I've been busily sewing totally unnecessary clothing for Myra, Duncan had a massive growth spurt. The most urgent need was a new coat, as his old one is now sporting 3/4 sleeves. Ooops. Not useful in the snow.
He's ridiculously cute. Focus on the coat. The pattern is from the latest issue of Ottobre, and I have to pause a moments and say what a great issue this is! I've only had it like 3 weeks and I've already made two things from it! And have plans for more. Myra particularly likes it and has requested the cover look and a duffle coat.
So, back to the coat - This is pattern #12 in the "baby" (62-92) sizes, but is repeated in the "school age" sizes (98-128) as #15. It is intended to be sewn from jersey, but I had this blue separating zip in the stash that was a perfect match to some blue corduroy I thrifted, so I decided to go with that.
Inside is fully lined with fleece and all of the bands and binding are cotton-lycra rib knit - all from stash. Ottobre's lining directions for the cuff are excellent, and you end up with a completely enclosed seam, but not having diagrams makes it a little tricky to decipher, so if you are making this, be sure to check out Amanda's reversible sleeve 'tute, as it is basically the same method, just with a cuff stuck in between.
With regard to sizing, Duncan is pretty much an 86 at the moment, but since this pattern was drafted for knits AND I was using a bulky fleece to line is AND I didn't want him to outgrow it before Spring, I sewed a 92. I think it is perfect. There is a little bit of growth room in the sleeve, but it isn't swamping him and he can play easily in it. I love how the binding (applied slightly stretched) snugs in the waistline to keep out cold breezes.
The hood is a particularly nice feature. It has a high neck and the binding cups it around the face, which keeps wee ears warm. Duncan refuses to wear all headgear, but it was easy to sew, and if he needs it, I know it will keep him super cozy.
I'm really pleased with it overall. It is cute, soft and snuggly. He seems to like it and is comfortable wearing it. As a bonus, it's perfect for eating playing in the snow.

Sunday, November 18, 2012

Go To Leggings!

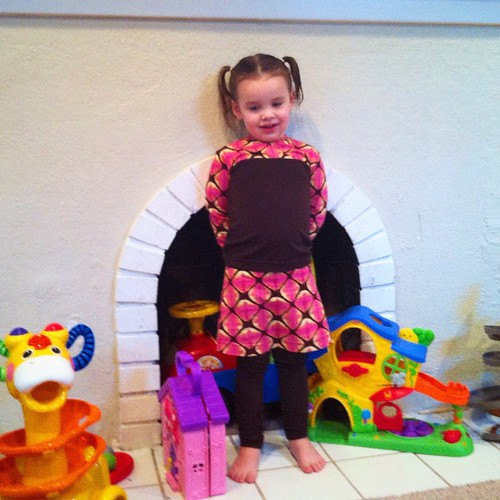
Myra REALLY didn't need new clothes, but when Andrea released the new Go To Leggings pattern, I had to try it out. So many cute details!! (And if you haven't been to her shop, be sure to click the link. She has an amazing collection of PDF patterns from all of your favorite designers.)
I also made another Ottobre cross-front tee, but since I just made one last week, I won't bore you with that.

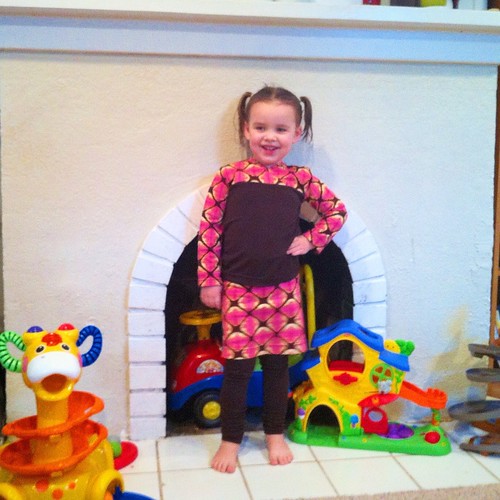
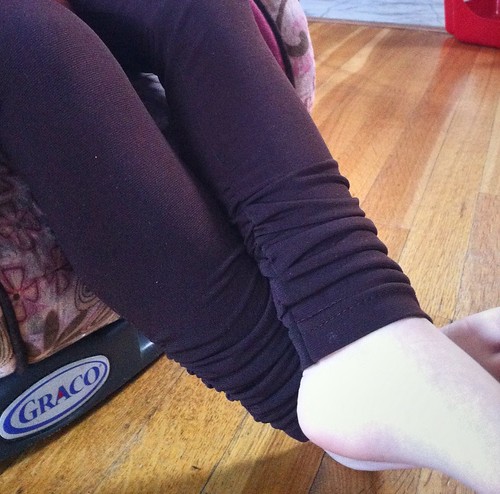
This pattern has so many options to fancy up your leggings that I had a hard time deciding which one to try first! Since we still have snow on the ground, I decided the ruched leggings looked nice and cozy. Of course, Myra insisted on the skirt, which is included in the pattern. You can make it with the leggings or alone.
Isn't the ruching great? Myra says her pants are ruffly. She told me that she wants me to make all of her pants like this now. It was really easy to do, and the pattern instructions are really great, but I thought I'd share my little method for keeping my elastic ruching straight and where I want it.
I like to use clear elastic tape for ruching, since it stretches really far and has really great recovery, but it can be a little slippery and hard to control. To make my job a little easier, I always draw a chalk "I" along the line where I want my ruching to be, with the long line where I'm stitching my elastic, and the top and bottom marked clearly, so I know when to start and stop stretching the elastic. It also helps to cut your elastic an inch or two longer than you need and mark the actual length you need on the elastic itself (I use a Sharpie on clear elastic). Then you have the "tails" of elastic at the beginning and end to hold on to as you stretch. Just match your marks up with the top and bottom of your "I" and away you go!
The fabrics I used were a cotton jersey print for the skirt and top contrast, and some ITY left over from this dress for the leggings and shirt body. The cotton was one of those thin, curly jerseys, but it paired well with the slinky ITY. For the ruched leggings, you definitely want a fabric that isn't too bulky or it won't ruche well. The ITY was perfect in that regard, and it is very comfortable.
Myra LOVES her new leggings, and I love this pattern. It goes all the way up to a size 12, so I know I will get a lot of use out of it. Myra will definitely be getting the keyhole capris next Spring. Off you go then. Go get your pattern!