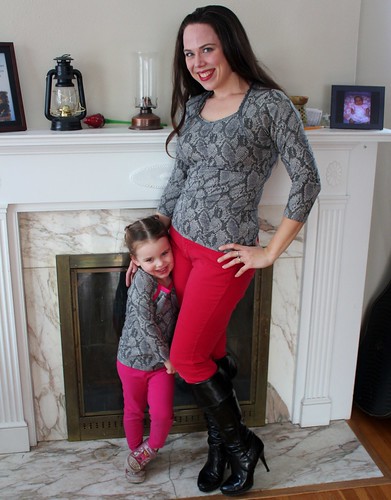
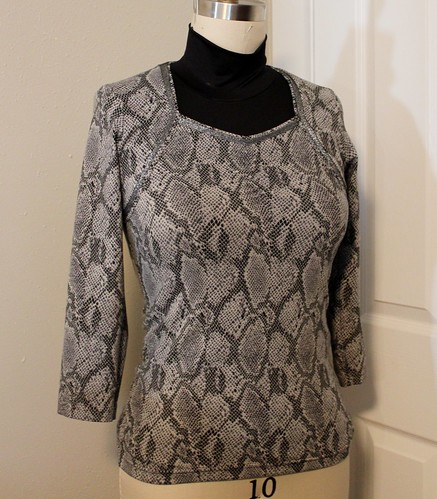
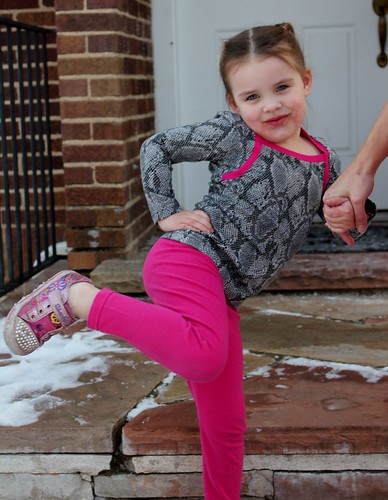
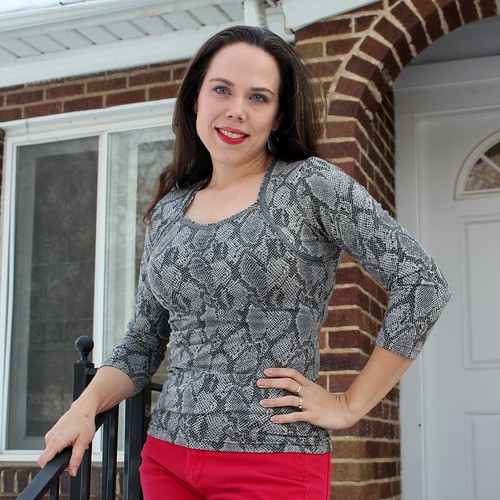
I promised I show y'all how I did my "cheater" FBA on the Jalie 2794 Sweetheart top, and also how I did the double band neckline finish. Well, let's make it happen!
Let's start with the FBA. For knit tops, I find the easiest way to do an FBA is to blend the sizes of the front pattern piece at the underarm, and then just ease the excess side seam length into the back. It's easy and it works well.
Here is how I usually do it. With the Sweetheart Top, the bodice front is in two pieces, right at the underarm, so I had to modify the FBA a little bit.
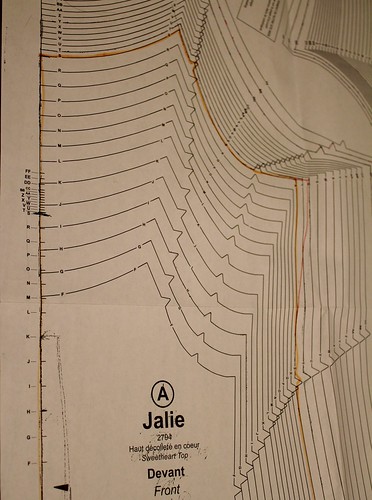
Starting with the main front pattern piece, the change looks about the same. For reference, my upper bust measurement corresponds to the size S, while my full bust is a U, so those are the two sizes I'm using. Use the sizes that are correct for you.
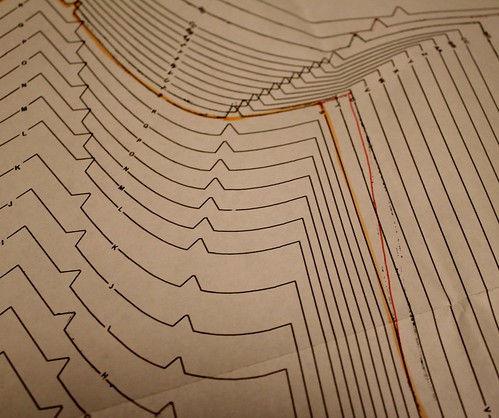
Here it is a little closer up. You can see that I used the size S line (in yellow) for the majority of the pattern piece, and only blended out to the U in the underarm/side seam area. Since the size S works for my waist measurement, I blended back to the size S at the area of the waist notch (Thank you Jalie for putting a notch there! So useful!!). The red line is the pattern changes I made.
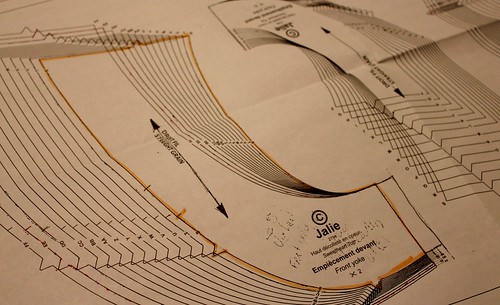
For the curved "fauxlero" piece I couldn't just grade out a size at the side seam because of the way the pattern piece is nested. Instead, I measured the amount of the change in the underarm area of the front pattern piece (the distance between the red and yellow lines in the above pic) and added that amount to the side seam. In the pic, the original pattern piece is yellow, and my addition is black. Making the change this way ensures that all of your notches will still match up, which is really critical in the construction of this top.
Of course, with all of these changes at the underarm, you've changed the shape of the armhole slightly, and need to alter the sleeve to compensate.
This part is super easy, and just involves grading out the front part of the sleeve to your full bust size. In the pic, the original pattern is yellow and the alteration is red. As you can see, you don't alter the sleeve cap shape, you just extend the length of the cap in the front only to the larger size. Remember, you didn't alter the back at all, so don't mess with the back part of the sleeve.
Now assemble your top per the instructions! When you get to the side seams, you may not even notice that the front is slightly longer than the back. Just stretch the back slightly as you go to match the front.
Now, how about that double band?
The first time I came across this technique was in the Singer Sewing Reference Library
Sewing for Children book. This whole series is wonderful, although most of the pictures are quite dated, and you have to really look past the bright 80s colors and styles to get to the meat. It's well worth the effort though.
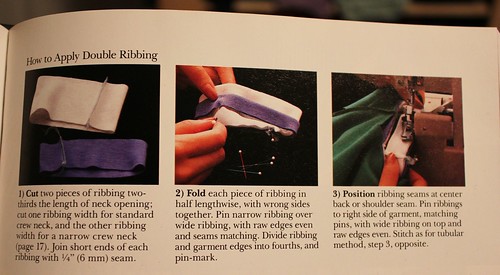
Here is all the book had to say about this technique. This method has the two bands applied in the round, which doesn't work for the Jalie top, so I'm going to show you how to do it flat, step-by-step.
What you'll need
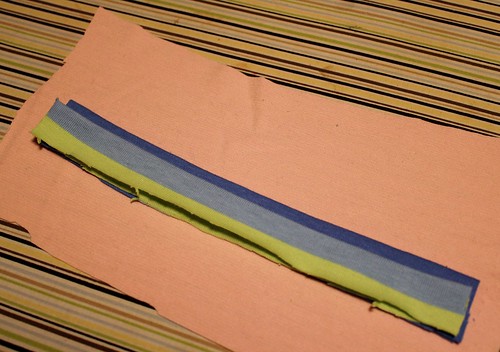
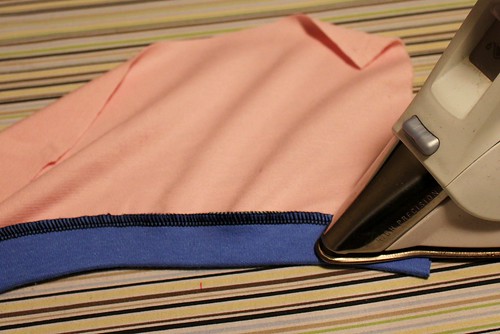
Your garment - In my mockup, we'll pretend the pink piece is my garment
Two bands, cut to the length specified by your pattern, with one band the width your pattern specifies, and the other 1/4 to 1/2 inch more narrow. The more width you take off, the narrower your inner band will be and the more of your outer band will show. In the sample, the stripe is about 1/4 inch more narrow than the solid blue.
First, prepare your bands. Fold them in half lengthwise and press them wrong sides together. You want the right sides to show when you are finished. Give them a nice firm press, so that they are curling or shifting.
Stack the bands on top of each other, matching all the cut edges. The wider band should peek out above the narrower one, just as it will on the finished garment.
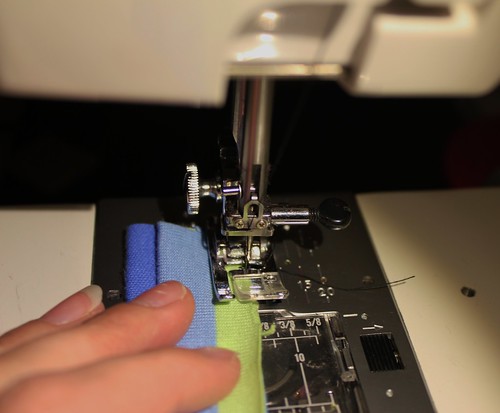
This step is optional, but I find that basting the two bands together helps prevent them from slipping and keeps them an even width. I like to use a narrow zigzag stitch to do this, as it holds down the curling cut edges, while still allowing you to stretch the band when you apply it to your garment.
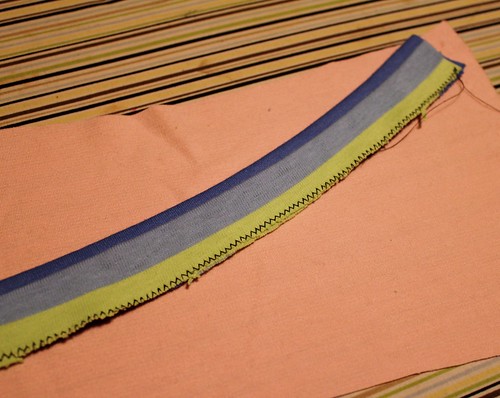
Here is how it looks once basted. See how well that tamed the curling of the stripe fabric? It's much easier to get a good result this way.
Now, pin your band into your garment, with the narrow band facing the right side of the garment. It is hidden between the wider band and the garment as you stitch.
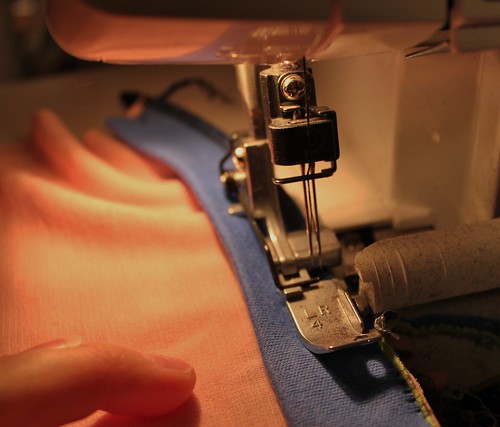
Sew the band on as your typically would. I like to serge it on, with the serger blade trimming off my basting. Be sure to stretch the band as you sew to fit your garment.
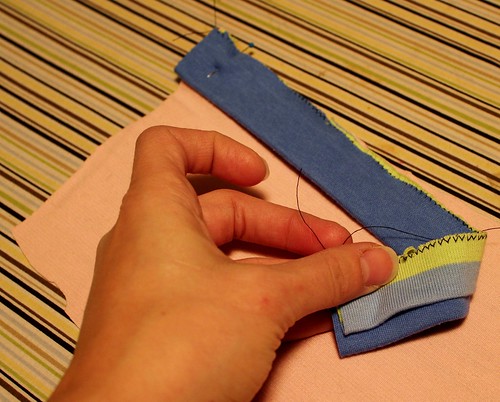
Here's how it looks stitched on. The narrower band is still tucked away between the other layers. You can see how the shorter band is curving my garment nicely into shape.
Give the band a press from the wrong side, with the seam allowance toward the garment.
Flip it over and voila, you have two bands! If you like, you can topstitch the bands down at this point to control the seam allowance. Edgestitching the narrow band also gives an interesting look.
The curved underarm section of the "fauxlero" is topstitched here, so you can see how it flattens the band and keeps it in place nicely.
I think this technique has a lot of potential, and not just in children's wear. I hope it has given you something to think about. Now, get those machines humming!