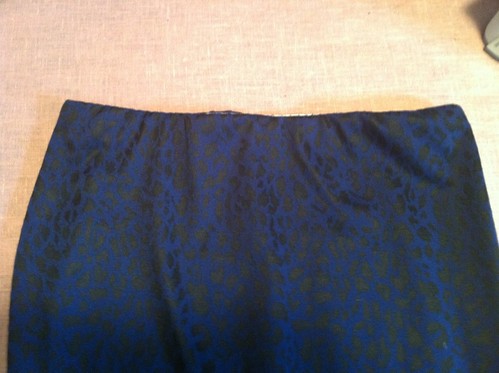
 |
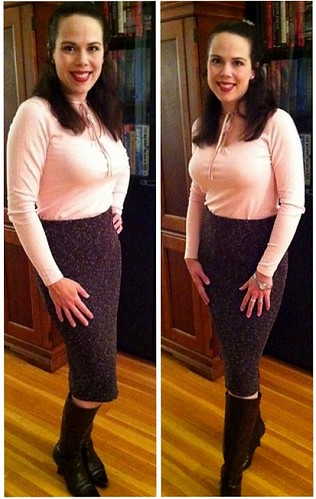
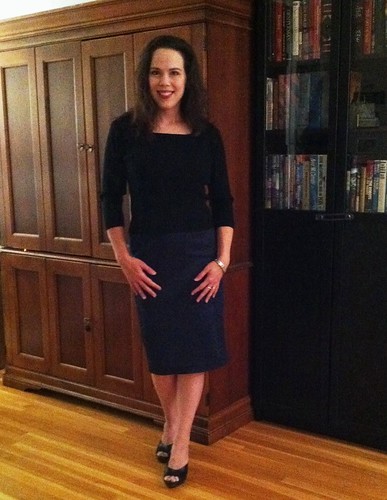
| It works tucked it, too! |
You'll need:
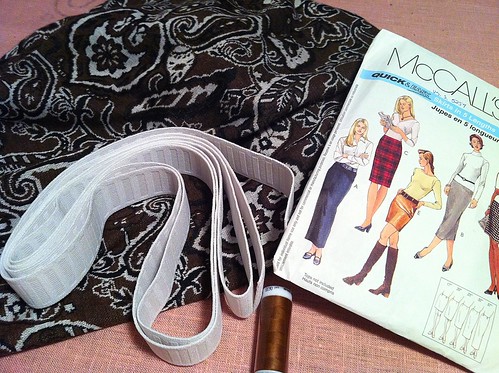
A basic, darted skirt pattern that fits you well. This really would work with any shape skirt, not necessarily just a straight skirt, but in order to get it over your hips, it must be a style with darts rather than one shaped with gores, panels or a yoke.
Enough elastic to go around your waist. For comfort, I suggest at least 1 inch wide. Mine is 1 1/4 inch.
Knit fabric with at least 30% crosswise stretch. For a below knee pencil skirt, just one yard of 60 inch wide fabric should be plenty. Be sure your knit isn't too thin. You want it to skim your curves, not cling. I suggest ponte knit, some sweater knits, interlock or a heavier jersey.
The first thing to do is to prepare your pattern to use with a knit. This is crazy easy, so I only have one picture for you.
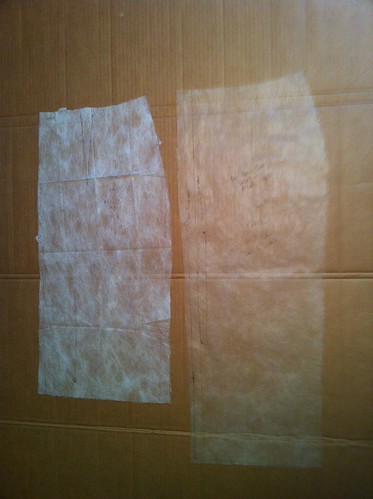
The original pattern is the whiter one to the left. If you are happy with the shape of the skirt you are using, you can just use the pattern pieces as they are to cut your fabric. Just ignore the dart at the waistline and any notches there - you won't use them. In order to peg my skirt, I took one inch off of each seam at the hem line and tapered back to the original seam line at the hip. That is a total of 8 inches, ladies. ETA: snowflakes asked how that added up to 8 inches. Good question! I also removed an inch from both center front and back, angling the fold line up to the original waist seamline. It sounds like a lot, but it really isn't. I also decided to cut my back panel on the fold, so I eliminated the center back seam allowance.
I left both lines there, so should I need a center back seam for some reason, I can put one in.
Once you have your pieces cut, you can assemble your skirt. If you eliminated the center back seam, that means just stitch up the side seams. If you are concerned that your knit doesn't have enough stretch, be sure to baste the seams closed and try it on first. If you can get it on without trouble, you're home free. Once your skirt is together, you're ready to apply the elastic waistband.

First, a note on applied elastic bands. Since you will be stitching through the elastic, you will lose a little recovery. This will vary depending on the type of elastic you are using. Softer elastic can be more comfortable, but has less recovery and is more prone to wardrobe malfunction. I chose a firmer, non-roll elastic. It is still quite comfortable, but I know I can count on it to keep my skirt up.
To measure your elastic, wrap it around your body wherever you want the top of your skirt to sit. You want it snug but not tight. Now subtract an inch (more if your elastic is quite soft) and cut your elastic to that length. For example, I like my skirts to sit slightly below my natural waist, where I measure 30 inches around. I cut my elastic to 29 inches.
Abut the ends of your elastic (don't overlap, you'll get an unsightly and difficult to sew over lump) and stitch them together with a zig zag stitch. I like a wide three step, as I think it is a little more secure.
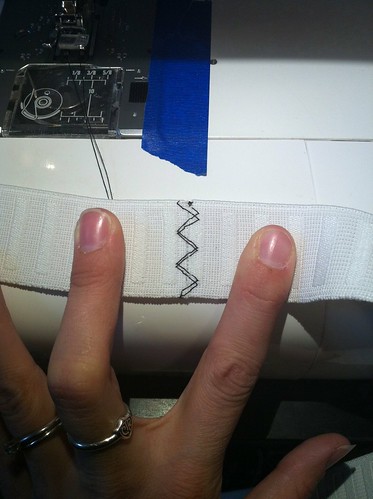
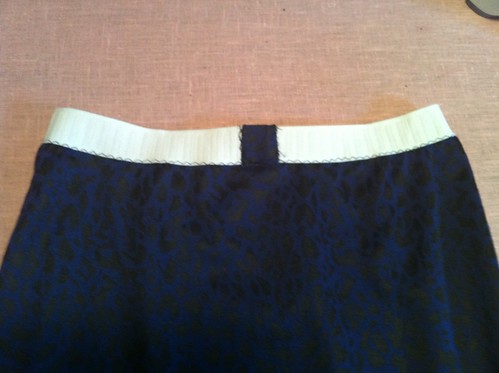
Here is what your elastic should look like. I'm stretching mine just a little so you can see the two cut edges, but ideally you don't want a gap between them. You can stop here and move on to attaching the elastic, but I like to cover the stitching with a little scrap of fabric. I think it adds a little strength and looks nice.
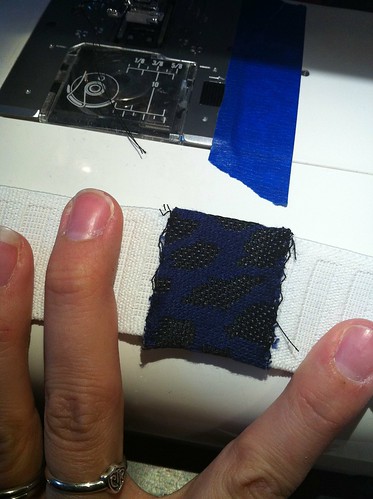
No tricks here, just wrap a little scrap around the elastic and zig zag stitch the two cut edges onto the elastic. I use a much narrower stitch here. On Janome, the width setting is 2.
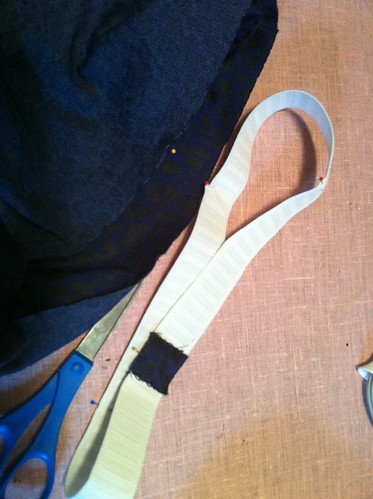
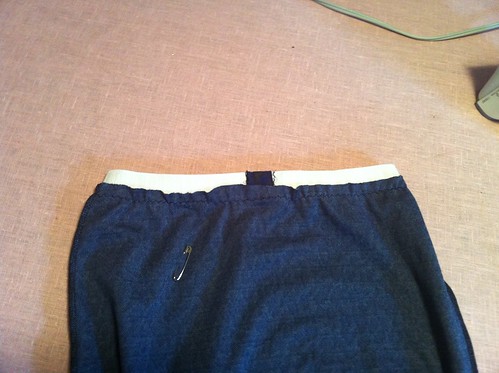
Now you need to quarter your elastic and the waistline of your skirt. First, mark center front and back, then match them up to determine your quarter points. They may or may not be your side seams! I like my elastic join to be at center back, where the fabric tab helps me to tell front from back, so I start quartering there.
I mark my quarter points with pins, then just match up the pins.
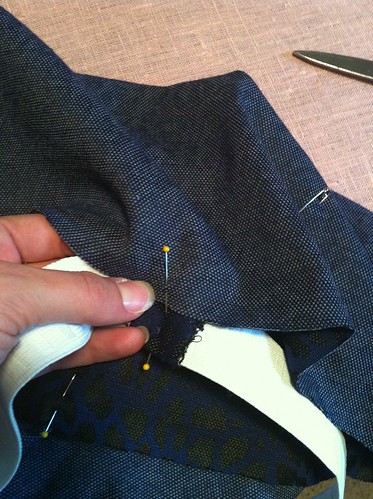
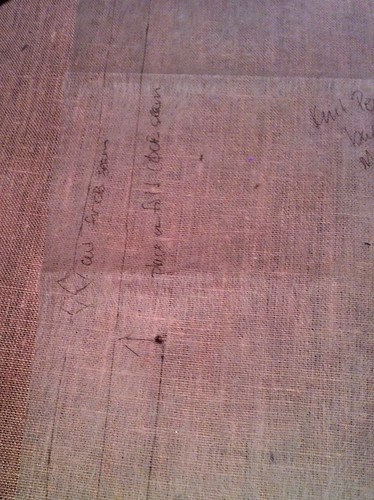
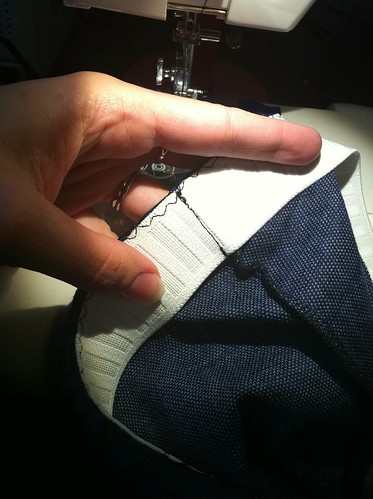
Here is where it gets a little different, so bear with me. You need to line up the WRONG side of your elastic with the RIGHT side of your skirt, overlapping the elastic onto the skirt by the width of the seam allowance. Basically, you are lining up the edge of the elastic with the seamline. It may help to mark or baste along the seamline so that you have something to line up the elastic.

Here is how it looks from the right side. The left edge of the elastic is aligned with the seamline, so under the elastic is the seam allowance. At this point you are ready to stitch, but since you'll be stitching along the edge of the elastic and unable to see the allowance underneath, feel free to pin it in place in a couple more spots. If you were smart and marked your seamline, you are in good shape.
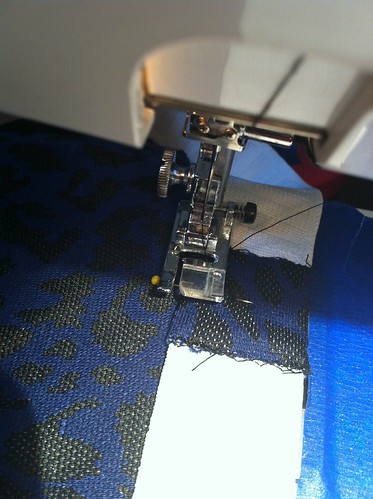
Ready to sew! While stretching the elastic to fit, stitch the elastic onto your skirt using a narrow zig zag stitch. On the first skirt, I used a lightning stitch and just tried to stay close to the elastic edge, but I found that I had some visible elastic at the top of the skirt when I did it that way, so I switched to a narrow zig zag, with the left swing of the stitch right at the edge of the elastic. This way, when you fold under the elastic, it is completely covered.
Here is what the wrong side should look like when you are finished. You can see how the elastic pulls in the fabric of the seam allowance and ruffles it a little.
Here is the right side. Sorry it's a little blurry, but hopefully you get the idea. The elastic is stitched to the right side of the skirt with that narrow zig zag.
Now, you flip the elastic inside the skirt and hit it with a warm iron and a few puffs of steam.
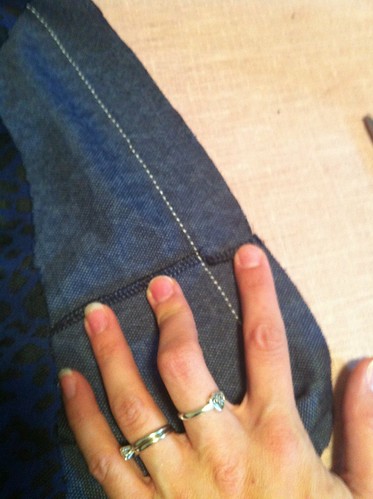
I also like to stitch in the ditch on the side seams to secure the elastic down, although it will stay down when you wear it even if you skip this step.
Here is my line of stitching along the side seam.
Now all you have left is the hem! I thought I'd throw in a little bonus tip for you here. Have I mentioned that I love fusible thread when hemming, particularly knits? Here is how that works.
First, mark your hem and trim the hem allowance to an even width, whatever you like. I like 1 1/4 inches. If you want to finish the raw edge, do that now. With fusible thread in the bobbin, stitch a line of basting stitched along the hemline (where you'll fold).

The fusible thread is thick and white. You can use whatever color thread you want in the needle, as once you fuse the hem, the top thread easily pulls away. A contrasting color is easy to see.
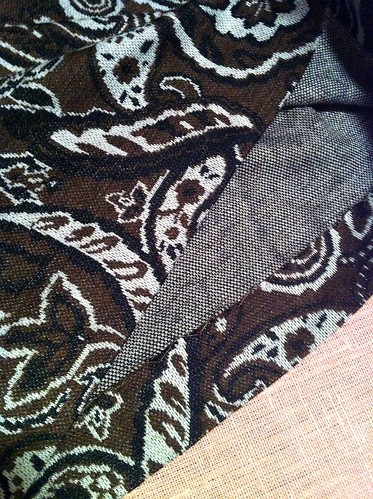
Here is another little trick, if you've finished your seams together and want to avoid that lump you can get with all of the seam allowances in one spot, just snip the allowance at the hemline and fold the two in different directions. It makes for a much smoother hem and no skipping stitches if you happen to be coverstitching.
Now, fold up your hem on the stitching line and press it with steam. Steam really helps the thread to fuse, even at lower temperatures. Once your hem is fused, use whatever hem treatment you like. For my three skirts, I did three different things.
For the first, more dressy skirt, I catchstitched the hem by hand, which is a great way to invisibly hem knits, since a catchstitch has plenty of stretch.

For my second skirt - a boucle sweater knit - I just used a narrow zig zag stitch, since the stitches disappeared into the texture of the fabric.
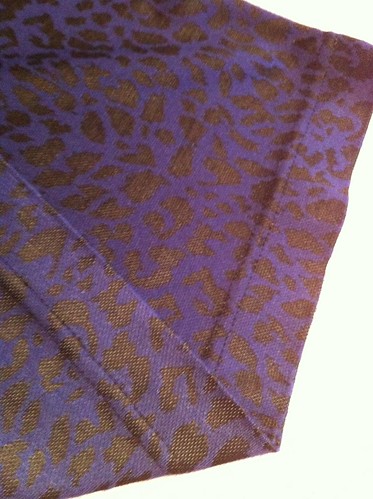
For my final skirt (the one in the pictures here), I used the coverstitch machine (a twin needle would work as well). You could also leave the hem edge raw for a more deconstructed look, or use a decorative stretch stitch.
Now pull on your skirt and marvel!! You look great!!
16 comments:
What a great tutorial! You explain everything so clearly. I will have to try this.
Great tutorial.
I've never used fusible thread, I'm intrigued.
I love the seam allowance tip to reduce bulk. THANKS!
Excellent tutorial. Full of tips and tricks to quickly sew up these attractive staples. Thanks! BTW- All of your skirts look outstanding. Great job.
Thanks so much for this great tutorial! I hope to pick up some warm knit on the PR Day shopping trip, and I want to give this a try. Thanks!
Great tutorial, thank you! I had a RTW knit pencil skirt once, and it was the moste comfortable thing I ever had. I need to make more!
Awesome - I've learned something! Never heard of fusible thread before - looks cool. Your skirts look fantastic.
Wonderful tutorial! Can't wait to try it - Awesome skirts - Love them all!
Love the bouclè sweater knit - do you remember the source? Great tutorial, your skirts look great on you.
Thank you so much! What a quick and easy way to make something so pretty. Maybe I'll even re-draft my skirt pattern to my new dimensions. :)
Excellent tutorial! Your skirts are great and I really appreciate all your little tips.
Wow, thank you for this, very useful tutorial:)
Hi there,
Thanks for the stunning tutorial just one question, please can you explain a bit more regarding changing the original pattern to the one you describe on the "left"? I tried as you explained and also cut on the fold but something does not add up lol
Thanks again!
Regards
cindibasson@mewb.co.za
Can you please explain the 8 inches a little more and how much you tapered back.
Thanks
Sharittacapps@gmail.com
thanks so much! i made a pencil skirt recently....and i wish i had seen this first! it definately wasnt perfect, but it is wearable...but it would have been awesome if id had seen this! thanks :)
Just a brief thank you for this. I used your technique and whipped up a knit skirt in under an hour. I made a wearable muslin before I dive into some "Missoni-esque" knit.
I'm so glad it was helpful!! Thanks for letting me know. I'd love to see the finished skirt. If you post it online, please send me a link!
Post a Comment