I'm sure you've noticed that I've been going to town with my coverstitch machine, which is a
Brother 2340 CV. I initially purchased it because of my frustration with the twin needle for hemming knits.
I also picked up a binder attachment, but I wasn't sure I'd use it a ton. Holy moly, was I wrong!! I LOVE this thing, and I want a couple more in every size! After only using it for a week or so, I am in no way an expert, but I thought I'd show you all a few things I've discovered. Of course, the most important thing I've found is
Debbie and
Belinda's amazing tutorials! If you want to bind with your coverstitch machine, that is the place to start. (ETA: Belinda's blog is unfortunately closed, but Debbie's is still and excellent resource.)
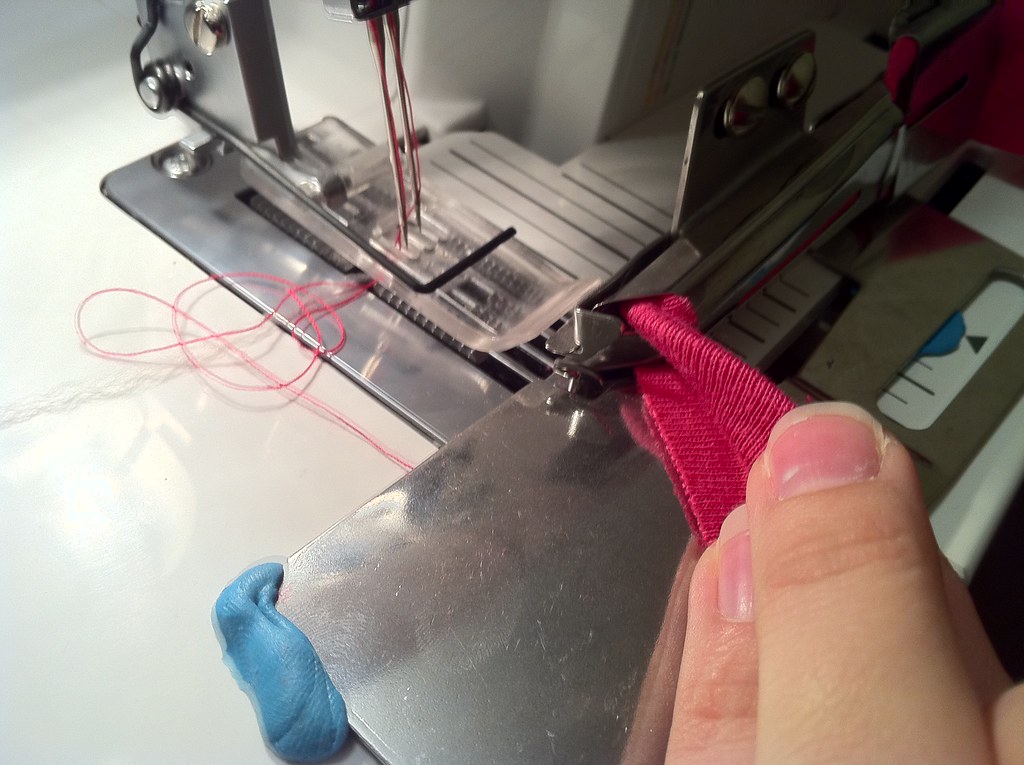
So, this is how it looks all set up. This is a generic binder and so it doesn't line up with the attachment point on the face of the machine at all. It is held in place with
Sticky Tack, which works great. it doesn't have to interact with your machine, so as long as you have space in front of your presser foot, this binder should work for you.
Here is a view from the top. I don't have the shorter presser foot on, so the binder is pretty far forward. It is easier to position if you do not have a long toe on your presser foot.
Getting the binding strip in place was tricky the first couple of times. Here is the process, once you have the strip fed through the binder. (
Debbie's blog has some great tips for getting that fabric strip in there.)
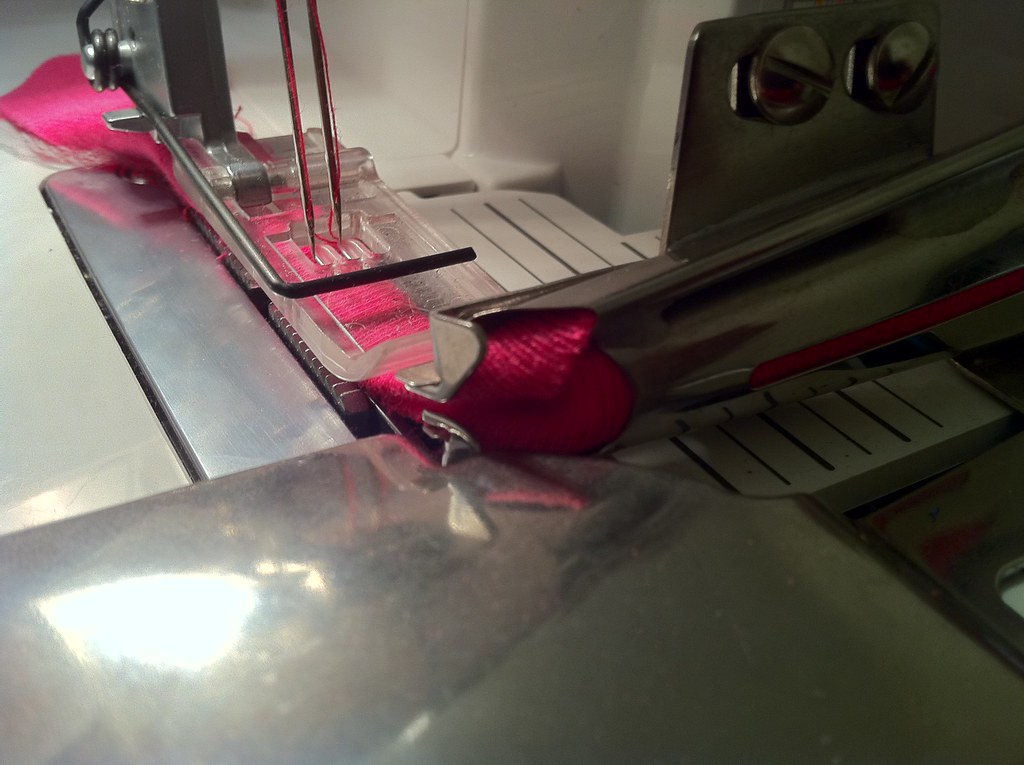
Once the fabric is feed, the binder will fold it. Mine is an A type binder, so it folds under the right side and wraps the raw edge around the wrong side.
The next step is a wee bit tricky. You have to fold the binding strip into the two little toes at the front. You'll have to fold it in half and insert it,
so that it looks like this. Stitch a little along the empty binding to position it just the way you want it. Just move the binder to the left or right to position it in relation to the needles.
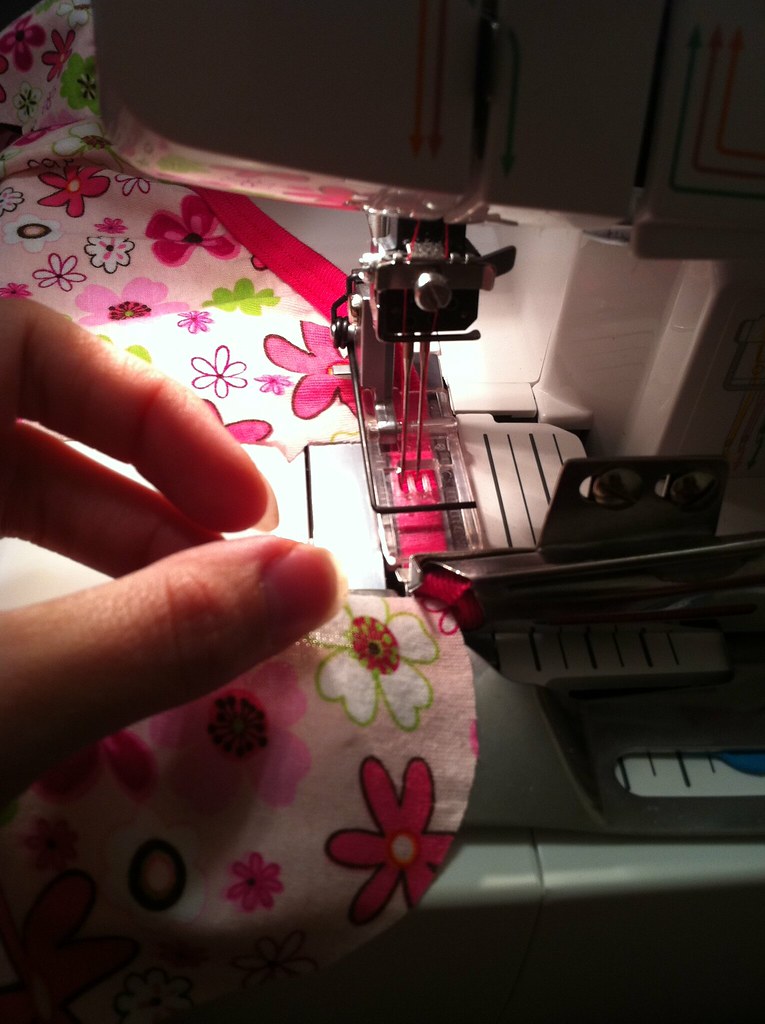
Next you'll feed in your fabric. just slide it in between the toes of the binder and let the movement of the binding strip pull it in. I found that if I didn't put any tension on the fabric to be bound, I ended up with some gathering, just like if you sewed over stretched elastic.
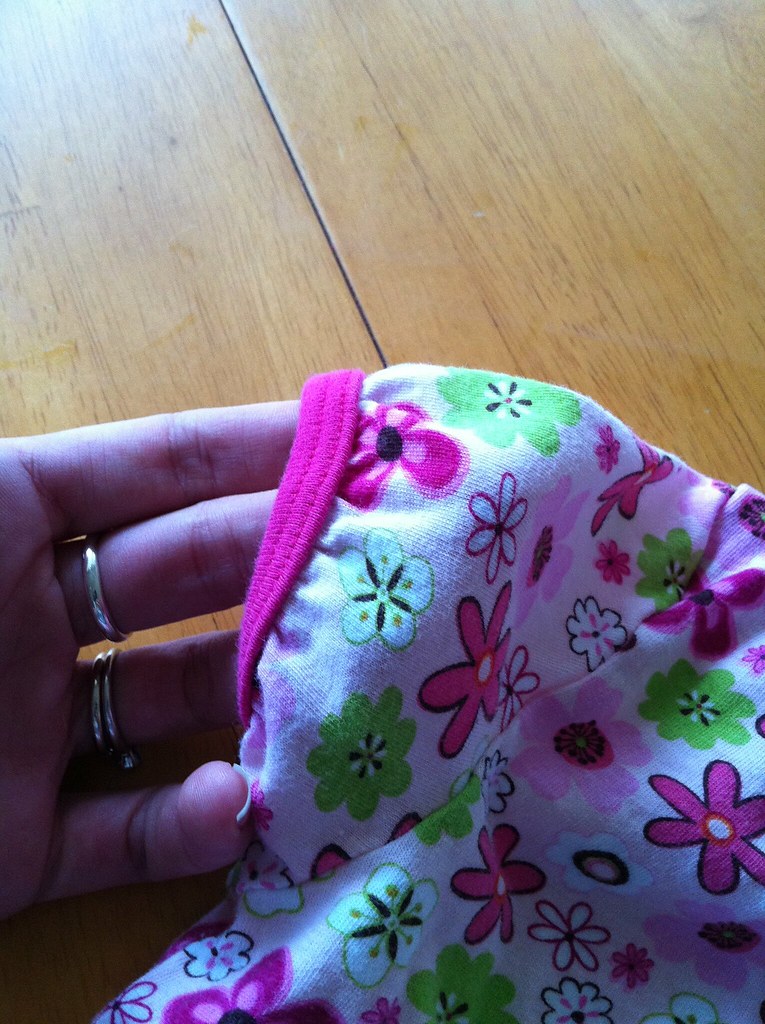
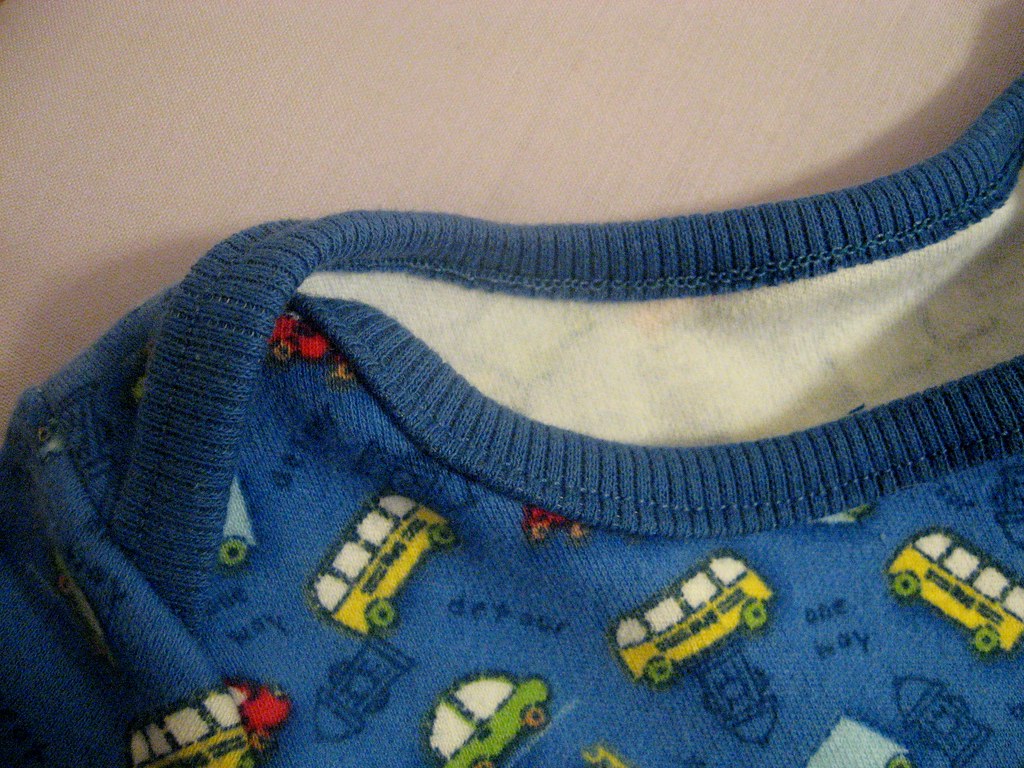
See how gathered that little sleeve is? Cute, but totally unintentional. I'm glad I made a girlie item first! With a little experimentation, I discovered how much I needed to pull on the fabric as I fed it to keep it from gathering, so my boy shirt lies nice and flat.
I'm honestly not sure if there was a better way to do this. I'm hoping you'll all share your coverstitch tips and tricks, too!


10 comments:
Wow. The finished result looks amazing.
I actually have a binder attachment for my coverstitch, but have never used it before. Silly really, I just have to go sit for it some time and figure out how to work it. But somehow it keeps collecting dust in a drawer right now. Thanks for reminding me, I am going to take it out one of these days!
The biggest regret I have about purchasing my particular coverstitch machine (which I researched a fair bit, I might add) is that it does NOT have any "space" at the front the presser foot to attach a generic binder. It wasn't something that occured to me to check, even though I knew I would want to use a generic binder since the brand-name attachments for this paricular model run about $145 each. (I mean, really?) I have several generics but I have as yet to rig up some sort of a block system so that I can line them up with the front of my machine. I'm totally inspired to do that, though, seeing how excited you are with yours.
Although, it IS a binder foot (or a relative of one) and I pretty sure I still firmly believe that binder feet are EVIL. So we'll see how that goes. I'll let you know. LOL
It's good to be back to blogging. Boy, these look amazing!!! I have seen those attachments but I've never tried one.
I have the same coverstitch machine, and am now REALLY cross that I bought the brand name, hideously expensive binder, because yours looks far better than my mostly plastic piece of rubbish.
I do not have the squiggly wire thing at the feeding end of the binder, and find that I can moderate the tension of the binding by pushing the binding fabric at the feeding end with an artery clamp, or pulling it slightly if I want a gathered edge. I tend to leave the garment fabric alone, being scared of a ripply neckline. I will have to try your trick next time.
Looks great Katie! I love the binders...Tom made me an adapter plate to attach my binder to so I didn't have to with sticky. Aren't Cover Stitch machines fun?
Wow! these look so professional!
I don't have a coverstitch machine and usually just bumble along trying to do the best with my conventional machine ;P this makes it look so easy!
To be honest.....this looks pretty scary to me.
But I'm glad you're getting the hold of it. The finished result looks very professional. I hope you have lots of fun with it.
This really gives your knits a pro-finish! Thumbs up!
Hey Katie! I'm wanting to buy a cover stitch machine, and this was the same one I got to play on this weekend. Do you still love it, or would you recommend looking at the Janome one (or any other one)? Sorry I couldn't find your email address on my iPad, otherwise I would've just emailed you.
Post a Comment