
The pattern pieces (click here). Be sure to assemble the band piece by overlapping the two pieces and taping as indicated on the pattern pieces.
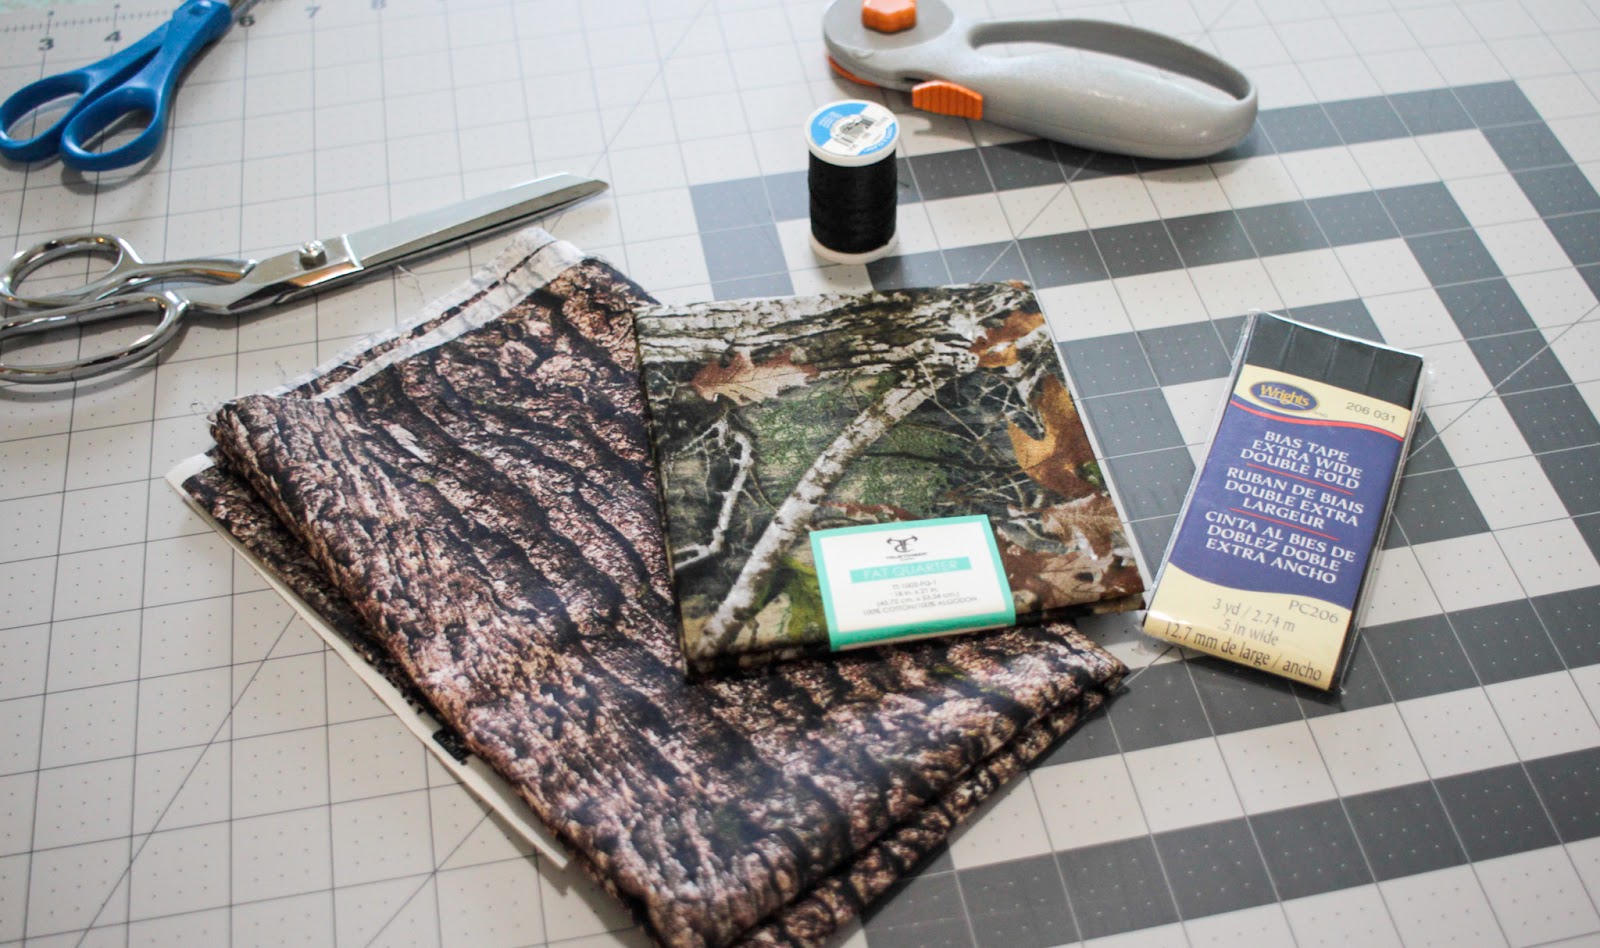
2 pieces of coordinating fabric, ½ yard each or a fat quarter will work
42 inches bias tape. I used extra wide for this tutorial, but if you prefer narrow, that also works
Thread
Something to use to cut - either shears or rotary cutter
A sewing machine
An iron
Press cloth
Pressing ham
1: Press your fabric! Particularly if you are using a fat quarter as they are often quite creased from being folded.

2. Cut out your pieces. You will need one top piece and one band (cut on the fold) out of each coordinating fabric. If you are using fat quarters, fold in half and cut the band first, then unfold to cut the top. As you are cutting, be sure to notch or mark the center front and back of the top and center front of the band at the upper (curved) edge. If you are using a cutting machine to cut your pieces, you will need a 12x24 inch mat, as this will cut out single layer.

3. Right sides together, match up the center front of the top with the center front of the band and pin.
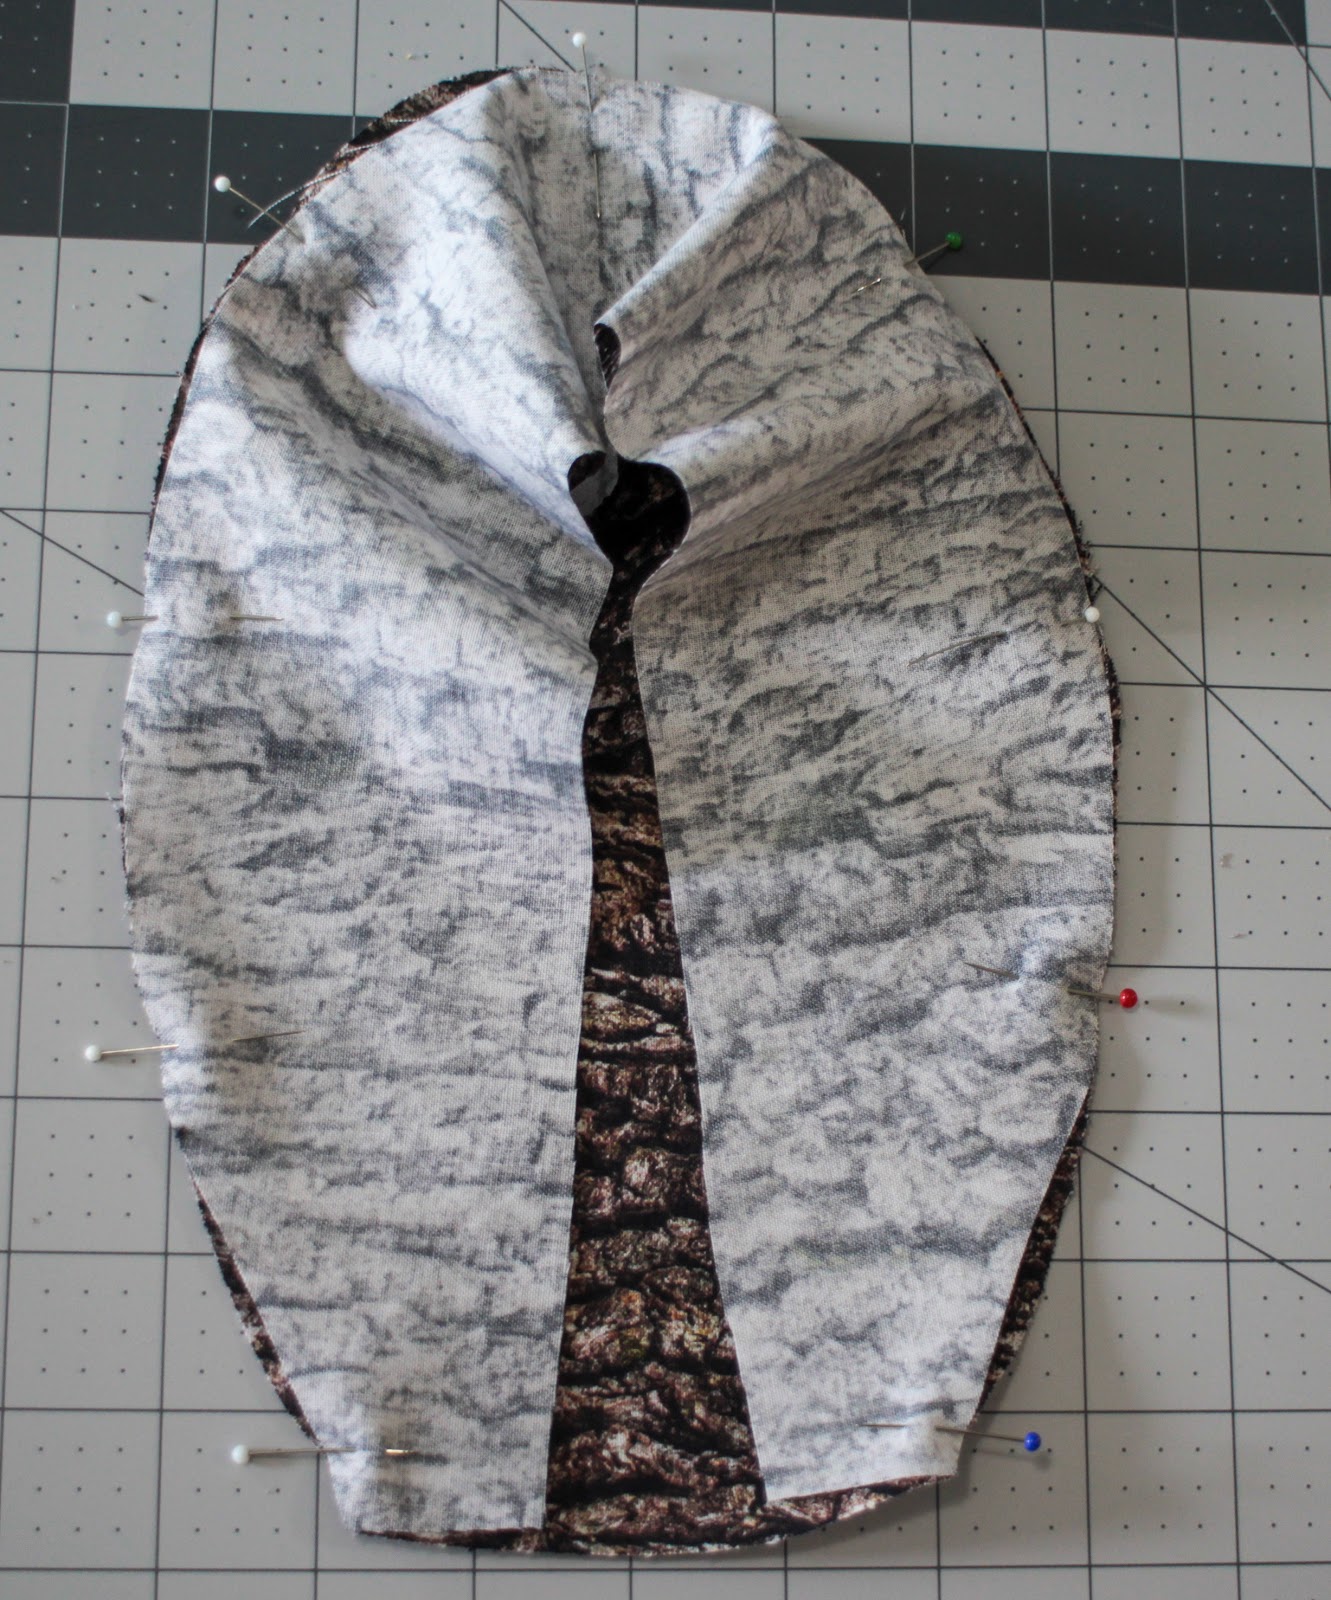
4. Going around the top, pin the band in place right sides together along the round edge. Sew with a 1/4 inch seam allowance all around the curved edge of the cap. Leave the bottom edge unsewn. Your band should match fairly closely, but as you are matching up curved edges, you may have to ease the top piece slightly into the band. Don’t worry about basting stitches or anything - it’s not that much. When you stitch this at your machine, be sure that the top is down against the feed dogs as your sew, and hold your work taught as it stitches. This will allow the feed dogs to ease in the top as needed.

5. Press your seam down toward the band. This is much easier if you have a pressing ham!
6. Now repeat steps 3-5 with your other coordinating fabric.

You should have 2 little caps!
7. Fold one wrong side out and the other right side out and nest them right sides together.
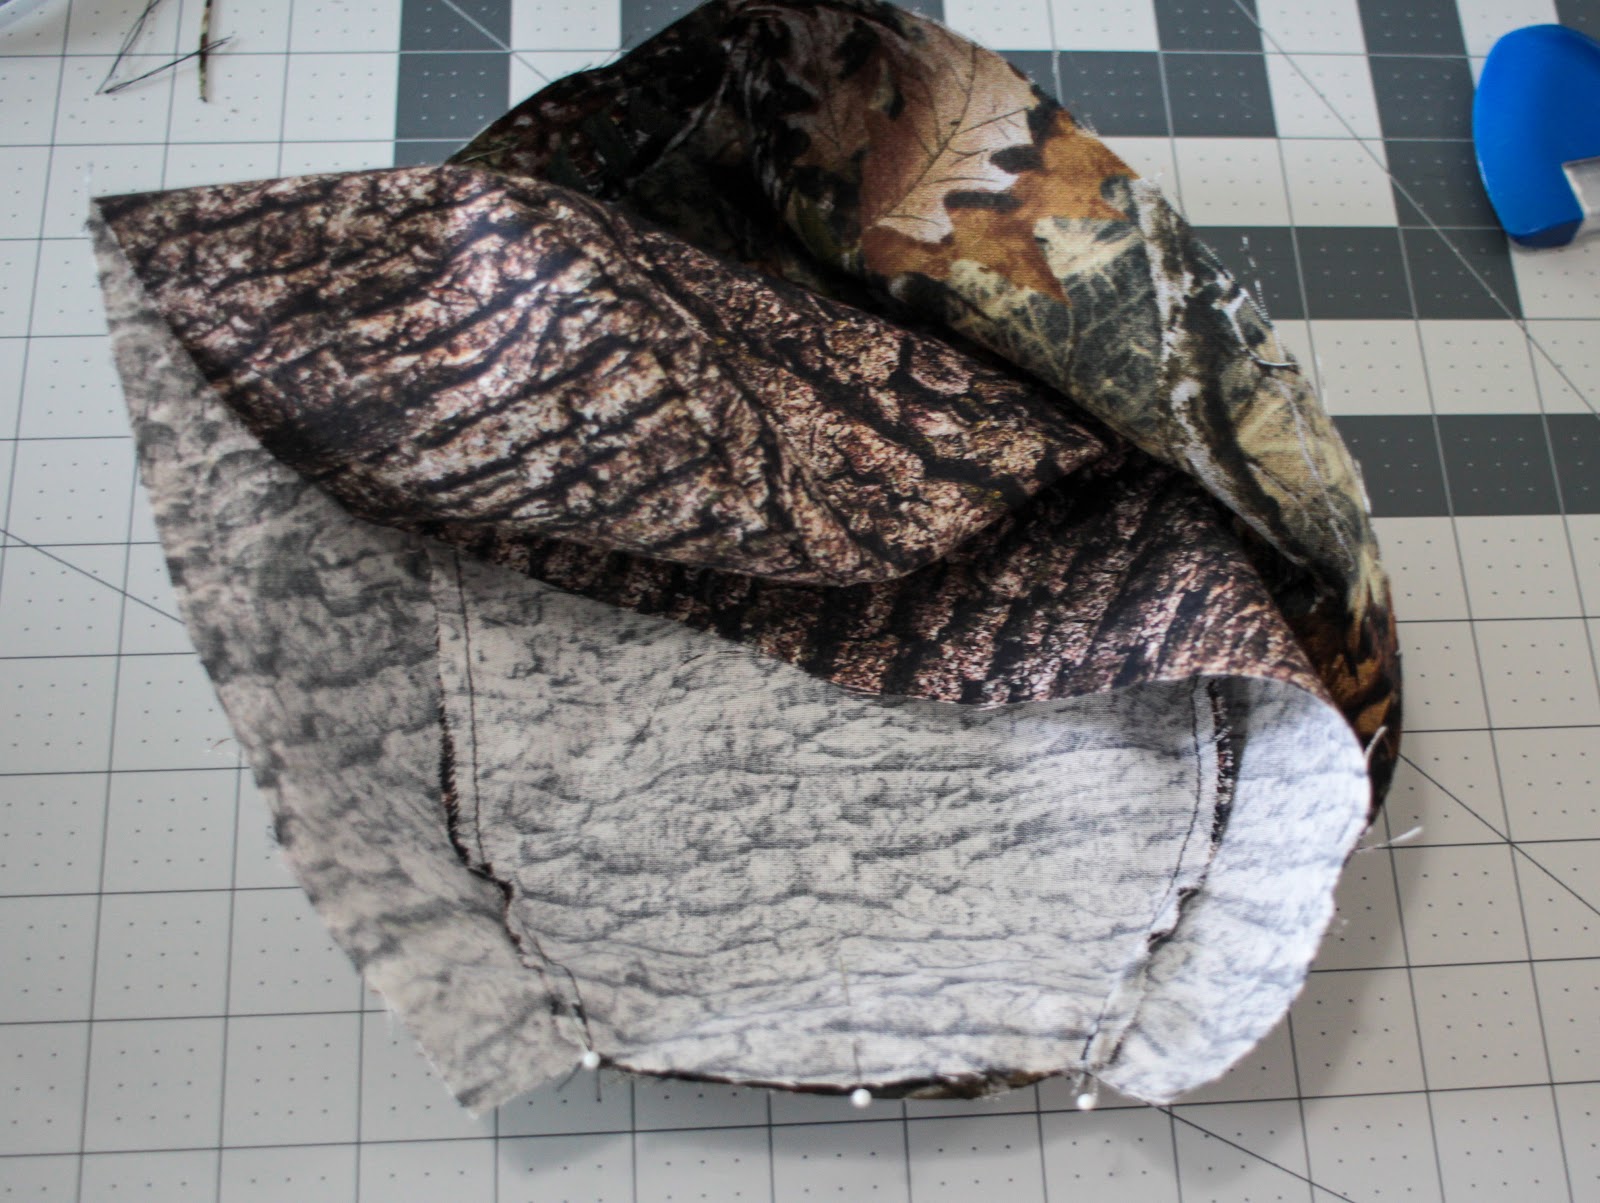
8. PIn and stitch the two layers together along the back edge of the cap, matching the center back and the seams.

9. Press the seam open, then nest the two layers WRONG sides together, folding at your newly pressed seam. Now Press the seam flat, making sure your fabric isn’t rolling to one side or the other.
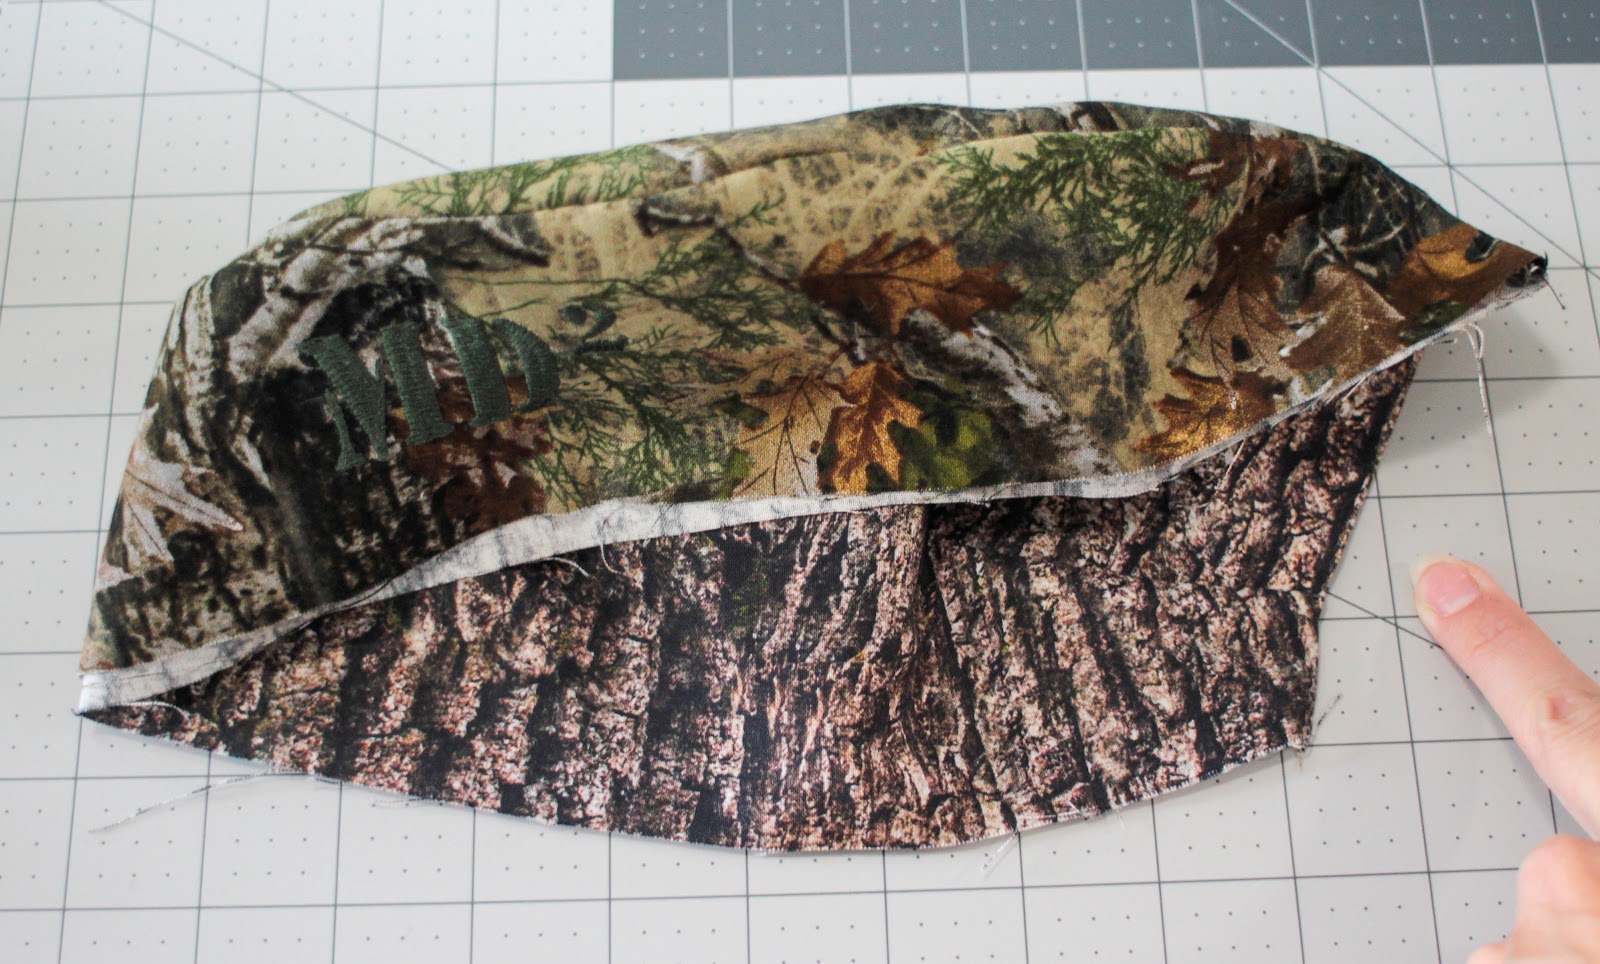
Now it’s starting to look like a cap! My finger is indicating your back seam. You still should have raw edges along the lower border of the cap. Let’s take care of that, as well as making ties all in one step.
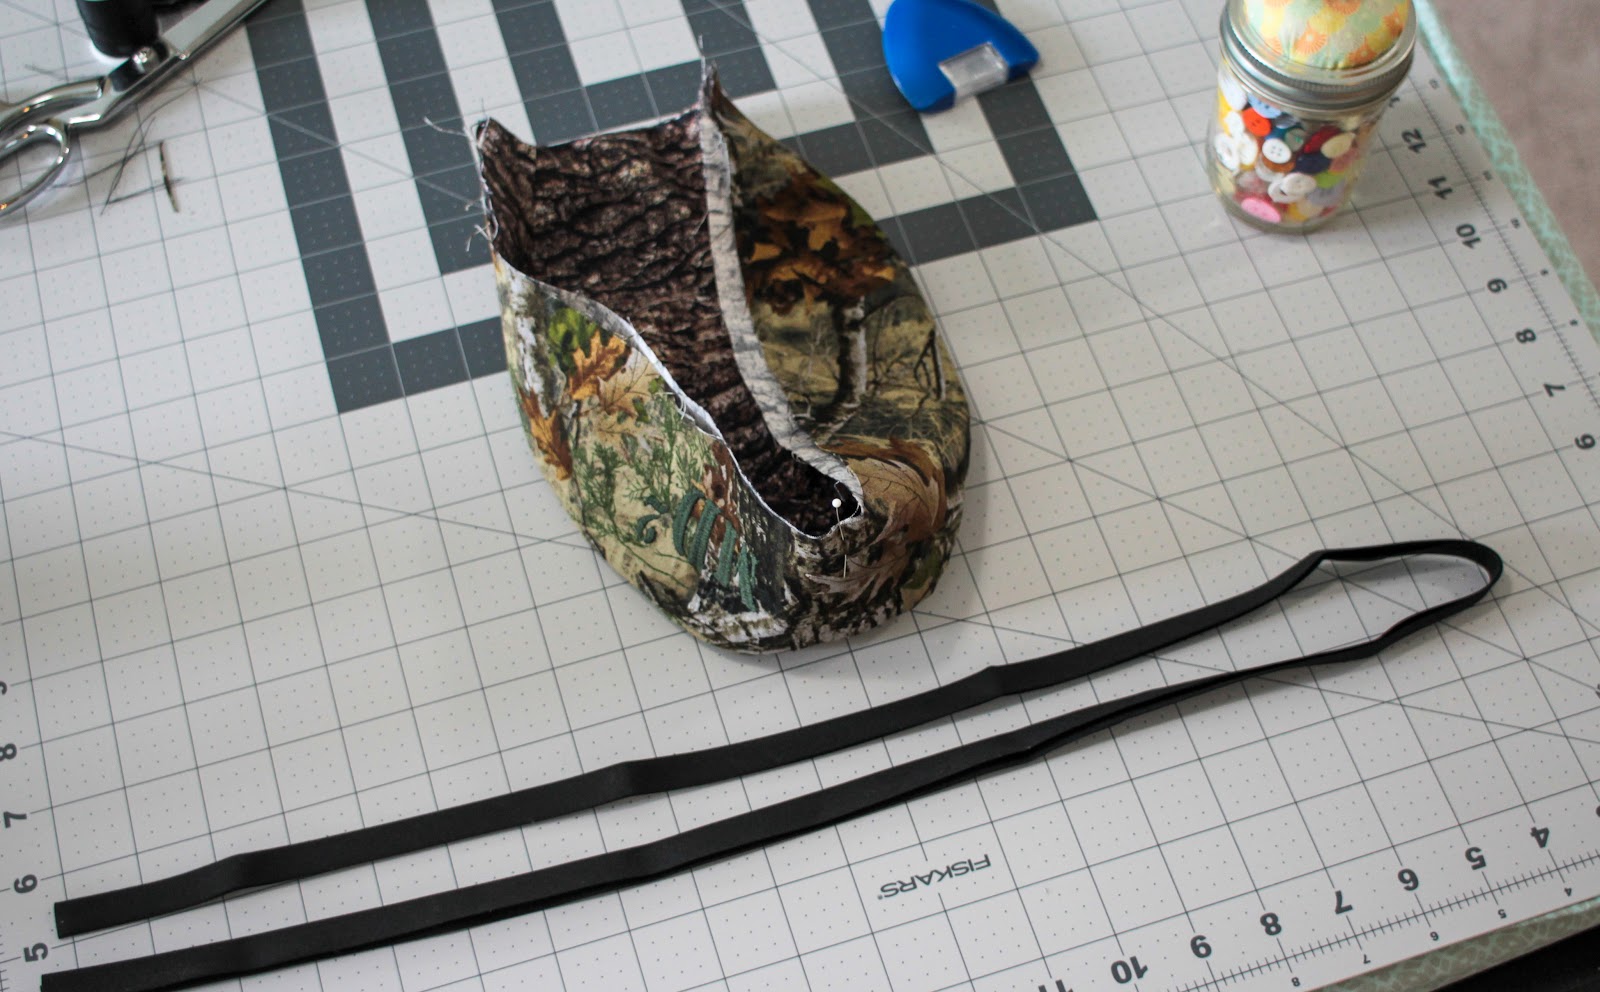
10. Make sure that the raw edges of your cap are aligned and place a pin at center front of the band. Get your bias tape and if you haven’t already, cut a 42 inch long piece and fold it in half to determine the center.

11. Matching the center of your tape with your center front pin, wrap the tape around the raw edges of your cap. You want to stick it in as far as you can, aligning the cut edge with the fold inside the tape. Pin the tape in place all around the cap. (Note: If you are a bias tape pro, you can do this without all the pinning. Your ties will be 10 inches long, so just stitch up the 10 inch ties first, and insert the cap at the point, and then stitch around, adding the second 10 inch tie at the end.)

12. Start stitching at one end of your bias tape. If you notice in the above picture, one side of the bias tape is less wide than the other. This is done intentionally at the factory to make it easier to apply. Be sure you are stitching with the “shorter” side up so that when you get to the cap section, you will be confident you are stitching through all the layers, since the bottom side hangs farther over. Stitch all the way down the edge of your first tie, around your cap and along the edge of the other tie, all the way to the end in one pass.
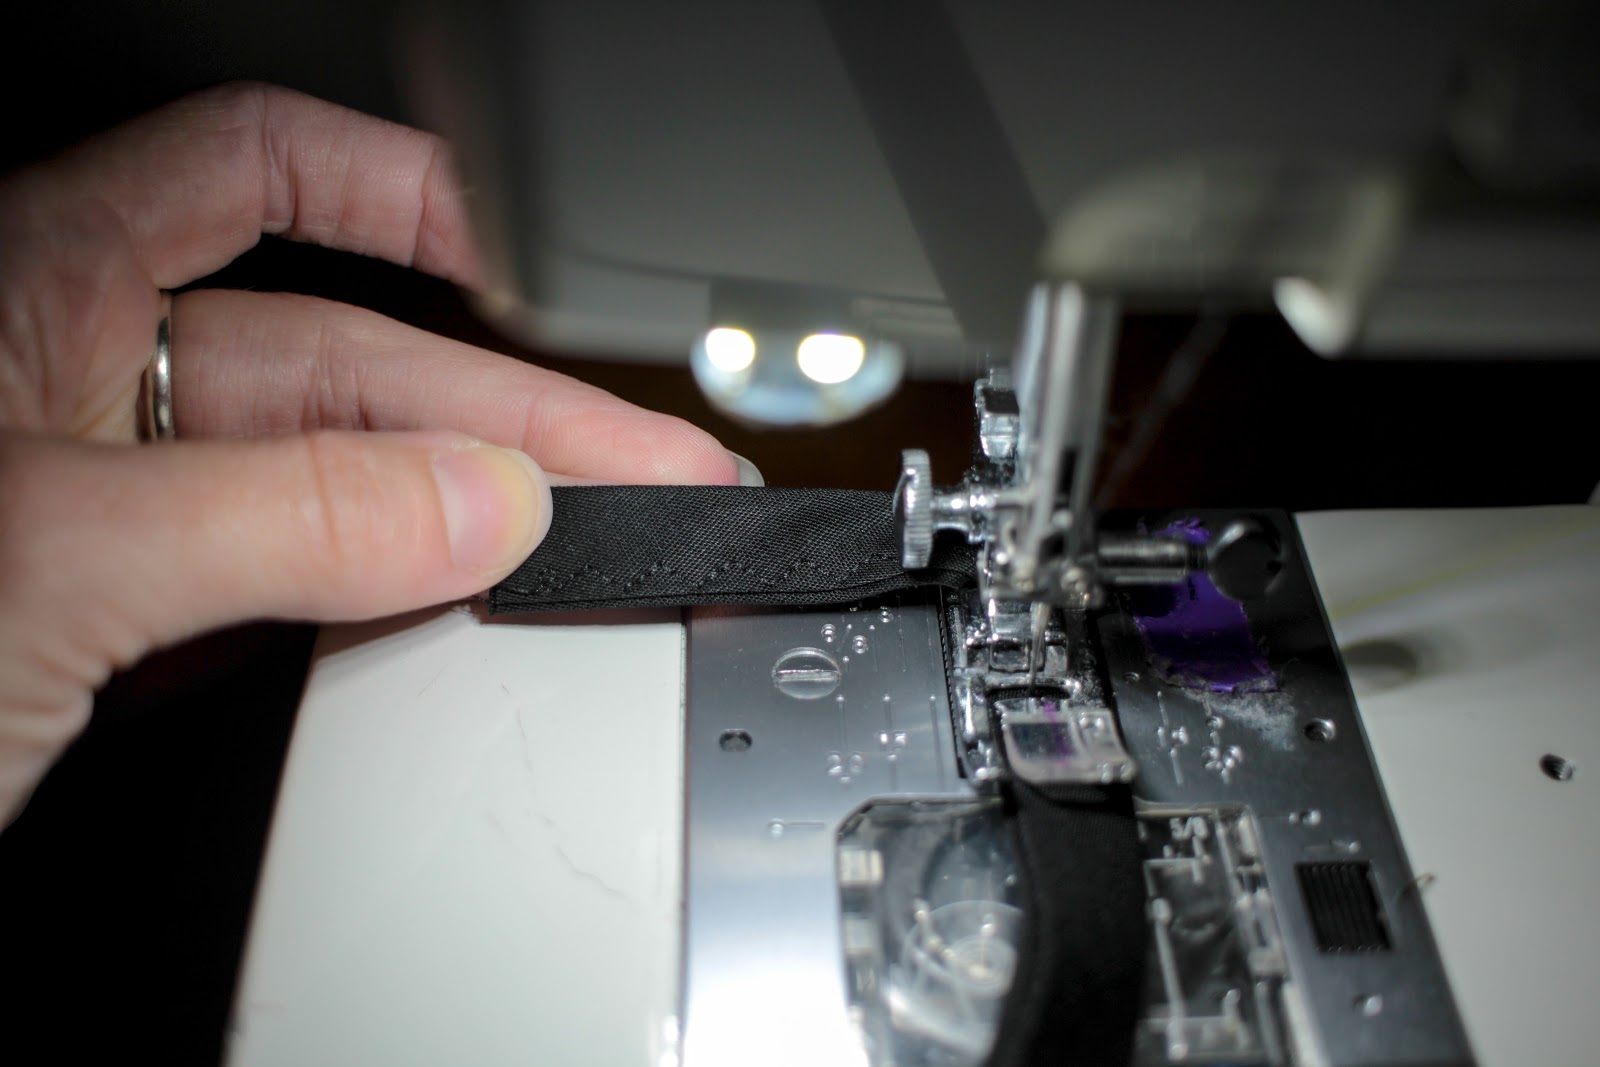
I like to use a 3 step zigzag stitch for this - I just like the way it looks - but you can choose any stitch you prefer. Some machines have interesting decorative stitches and this would be a great place to use them! Have fun!
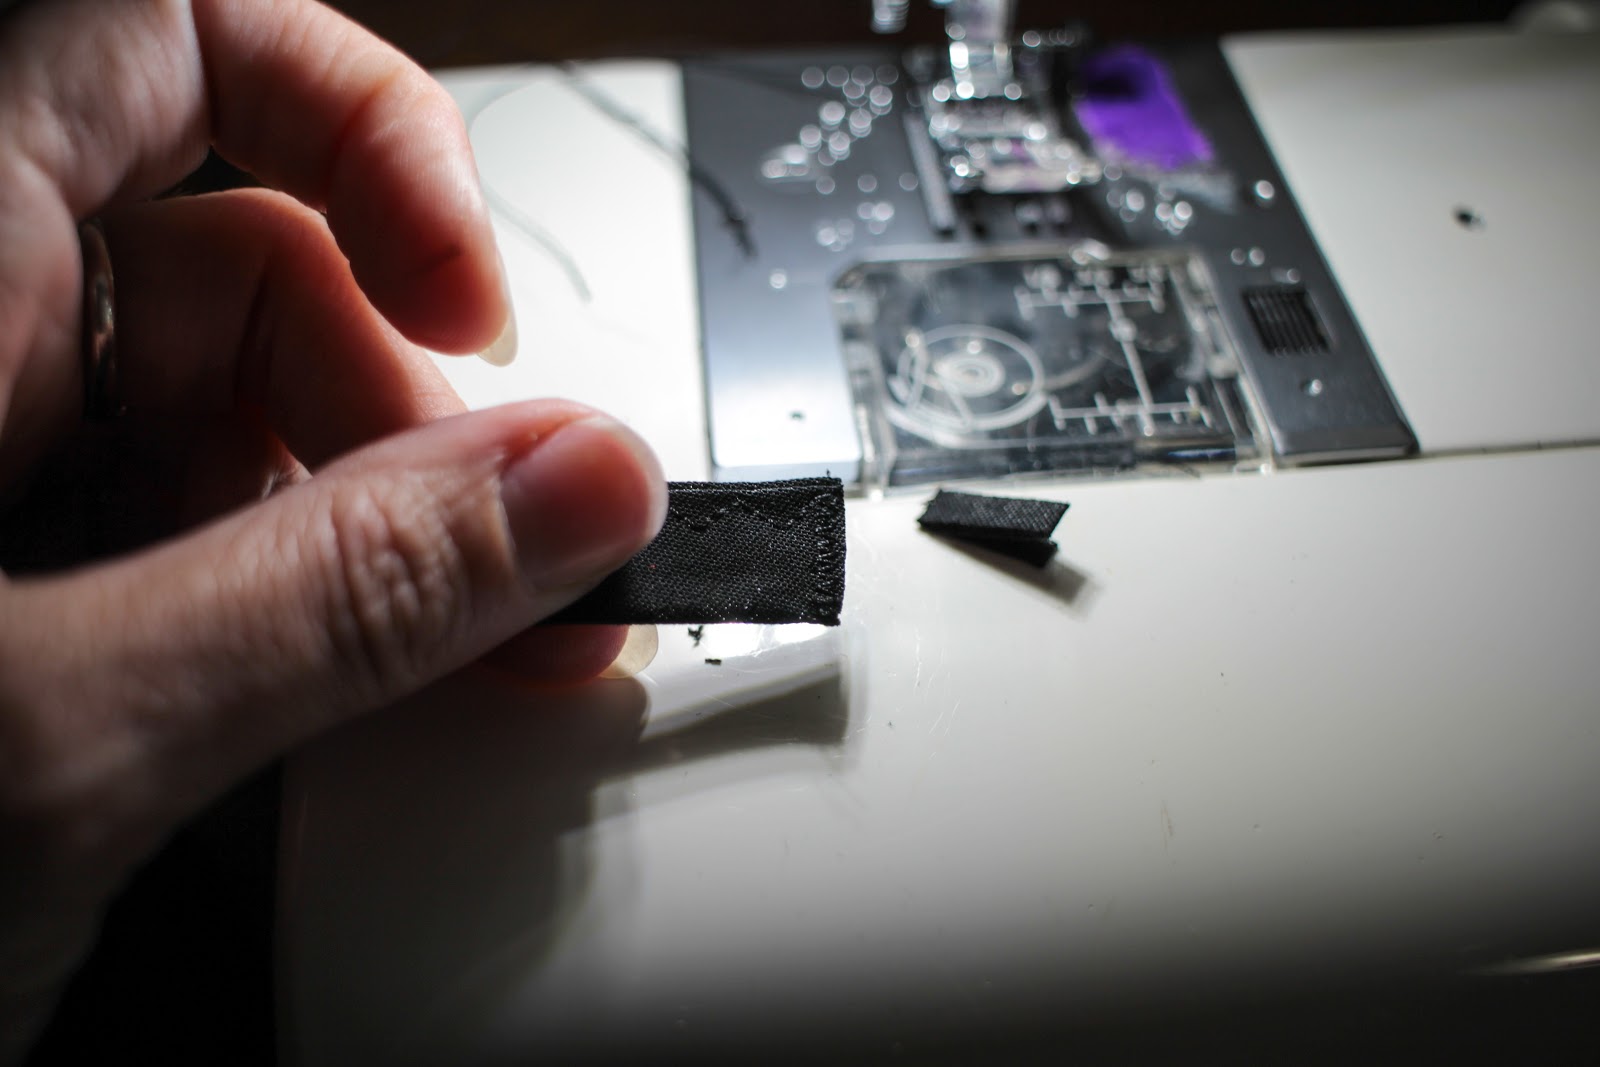
13. Finish the end of your bias tape ties by either narrowly hemming them, or zigzag stitching across the ends and trimming off any excess. I find hemming a bit bulky, so I go the zigzag route. You could also add a knot at the end, or even a decorative bead.
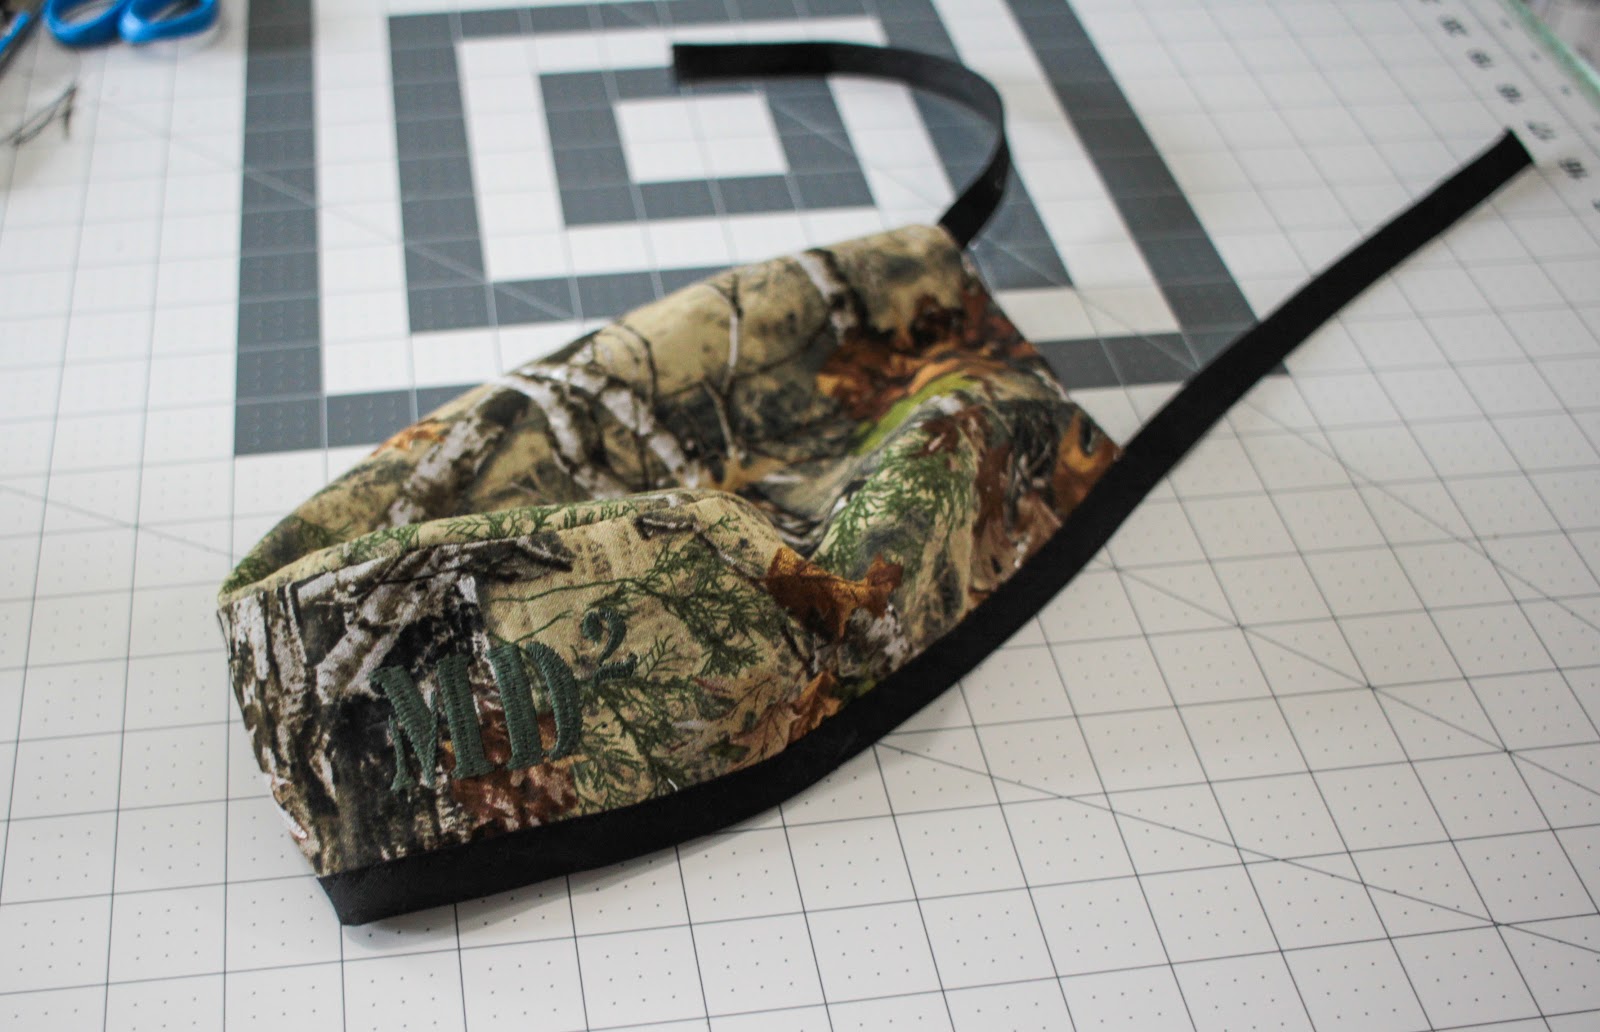
Look at that! You’re done! Now you’re the most stylish in the OR! I added some embroidery to mine, and if you are interested in embellishing your cap in some way, do so before you assemble the pieces. It’s much easier to embellish flat fabric!
ETA: Several of y'all have asked about making these caps in a single layer, which is a great way to conserve fabric and make them faster! My friend Kristine made a great video showing us all how to easily convert the pattern to a single layer. Even if you are doing a double layer cap, she has some great tips for sewing the pattern in general! Check out her video here!
To download the pattern pieces, and a pdf of the instructions, click below!
Pattern
Instructions
And just for kicks (and so I could play with my new Cricut Maker), I also created an SVG file for those of you who have cutting machines that can handle unbonded fabric. You can download the SVG here. If you need to resize, the band should measure 4.324in x 22.648in, and the top should measure 6.758in x 10.408in.
Note: the svg file will not open in your browser, so if you click on it, you will get a plain black screen and it looks like it doesn't work. You will need to right click on the link and download the file, then upload the svg file into your cutter software.