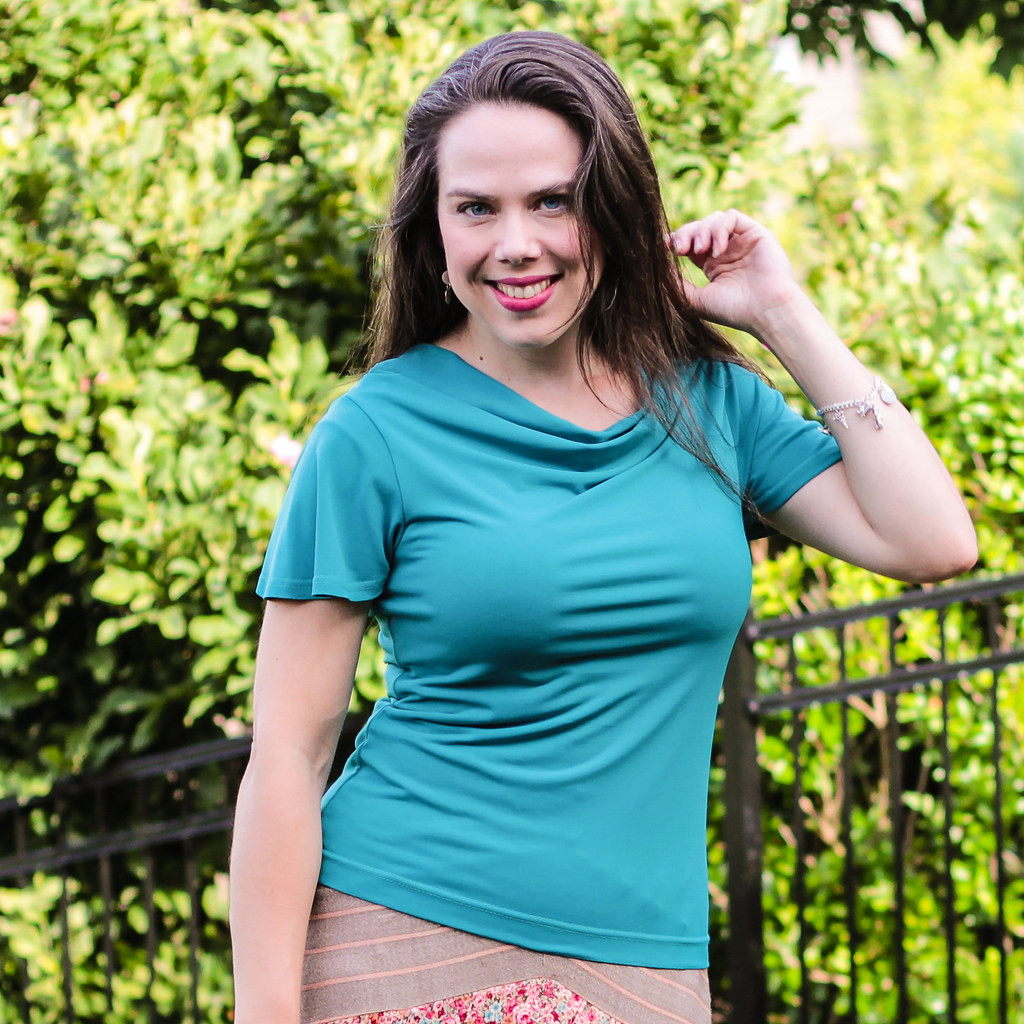
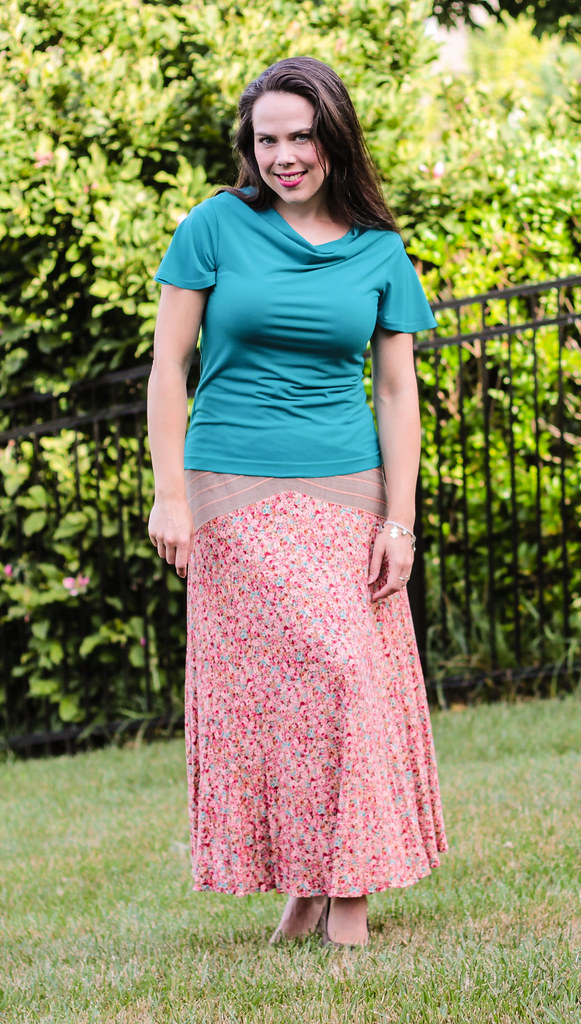
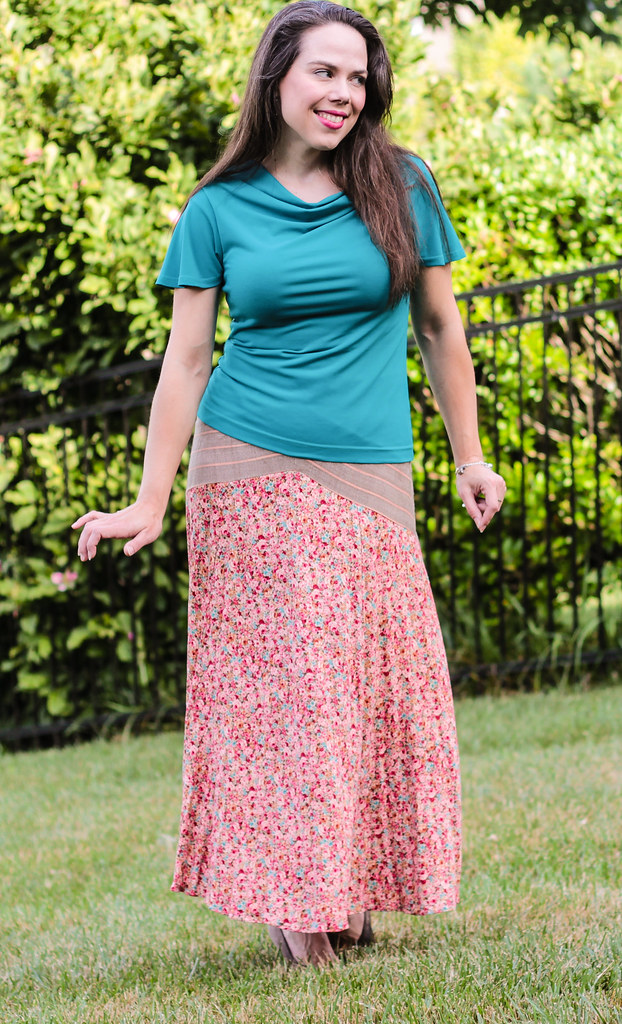
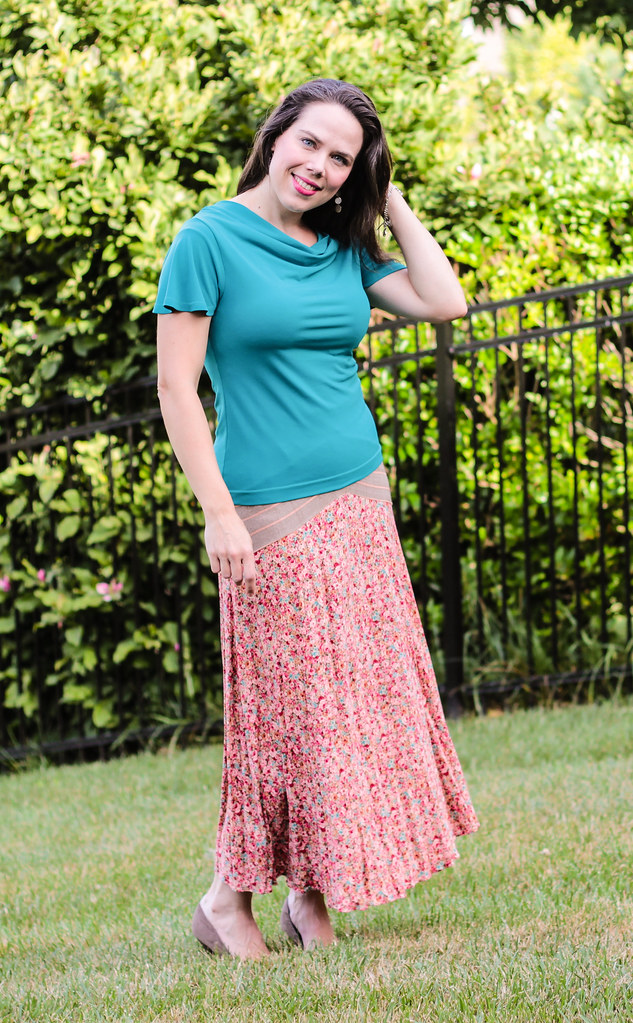
My Rambo skirt is one of my favorite makes. It's fun. It fits well. It's easy to wear. It should be a favorite in my closet, but unfortunately it isn't. The body suit I made to wear with it is lovely and comfortable, but suffers from requiring specialty underwear, due to the low back. The color scheme of the skirt is unusual in my wardrobe, and I just didn't have another top that looks good with the skirt.
Fortunately, I did have a remnant of the ITY I used to make the original bodysuit. It was a smallish piece - long but skinny. And I didn't have enough for mess ups.
I decided to use Ottobre 02/2009-5, which I have made before here. I knew this pattern was a winner, and even if it wasn't perfect with the skirt, I would still wear it a lot.
Fortunately, it turned out to work well with the skirt, so it's a win all around!
I'm particularly pleased with the sleeve this time! The rayon jersey I used to make this top last time was quite limp, so while the sleeves are attractive, they don't really flutter. In this ITY, the sleeves are much more full and graceful. It's a winner!
Friday, June 26, 2015
Saturday, June 20, 2015
Comino Cap with a Sewcialist twist
Well, May was awesome productivity-wise and my mojo returned to me, but then school let out for the summer. Finding time to sew has been challenging, but I managed to distract Myra with my Barbies long enough to crank out this Comino Cap top.
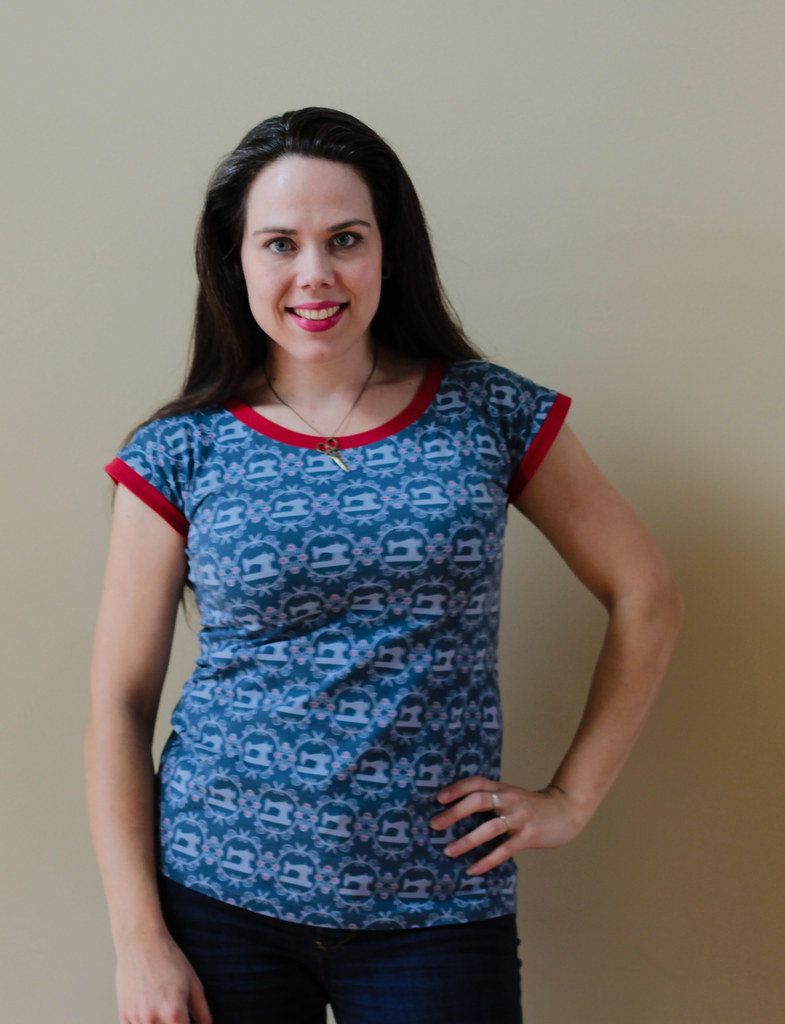
I love this pattern. It's a super quick sew, fit's well and looks great on. Perfect for a precious fabric that I only had a yard of.
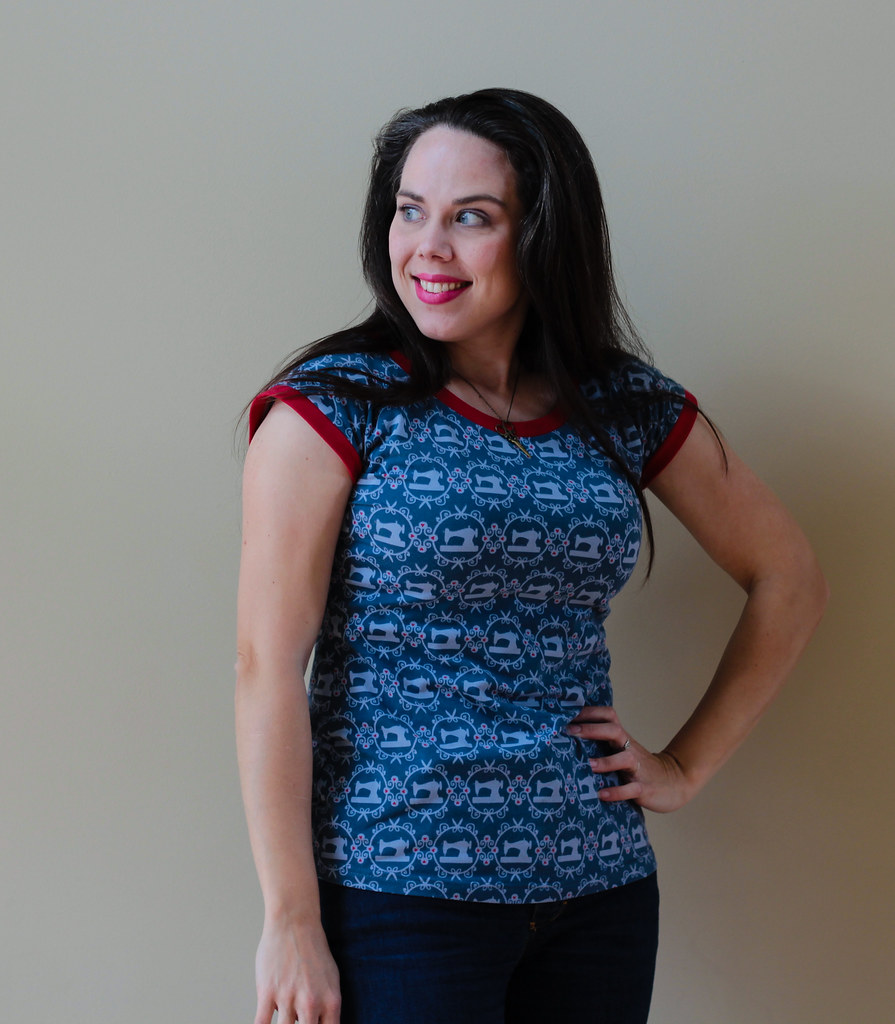
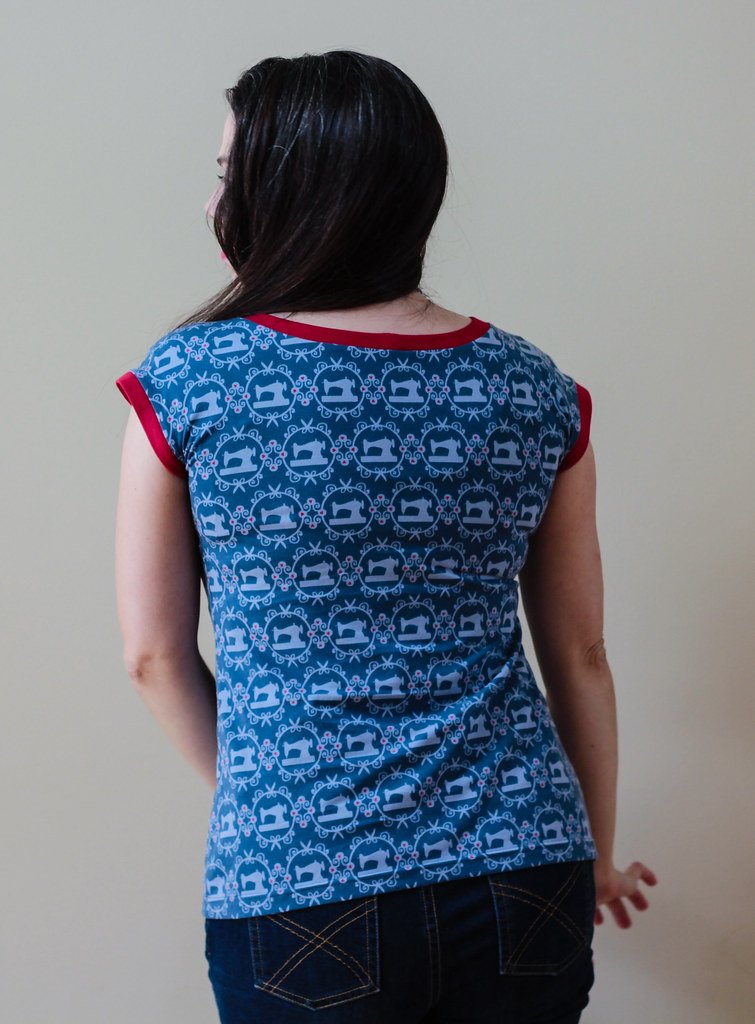
Here's a back view, for a better look at the print, which is Sew in Love by Lillestoff. It is vintage sewing machines!!! Surrounding the machine motifs are tiny curliques, topped with scissors and surrounded by red hearts. I love this fabric. As of this moment, there is still some in stock here at Kitschy Coo's fabric shop.
Since the print features little red hearts throughout, I decided to match them with red neck and sleeve bands. To make the red pop a bit more, I made my bands 1/8 wider than the pattern calls for, simply by sewing the neckline and sleeves at 1/4 inch SA rather than 3/8. Wider bands say more casual to me, and I wanted this to be a wear every day sort of top. Because SEWING MACHINES! I will wear it every day...
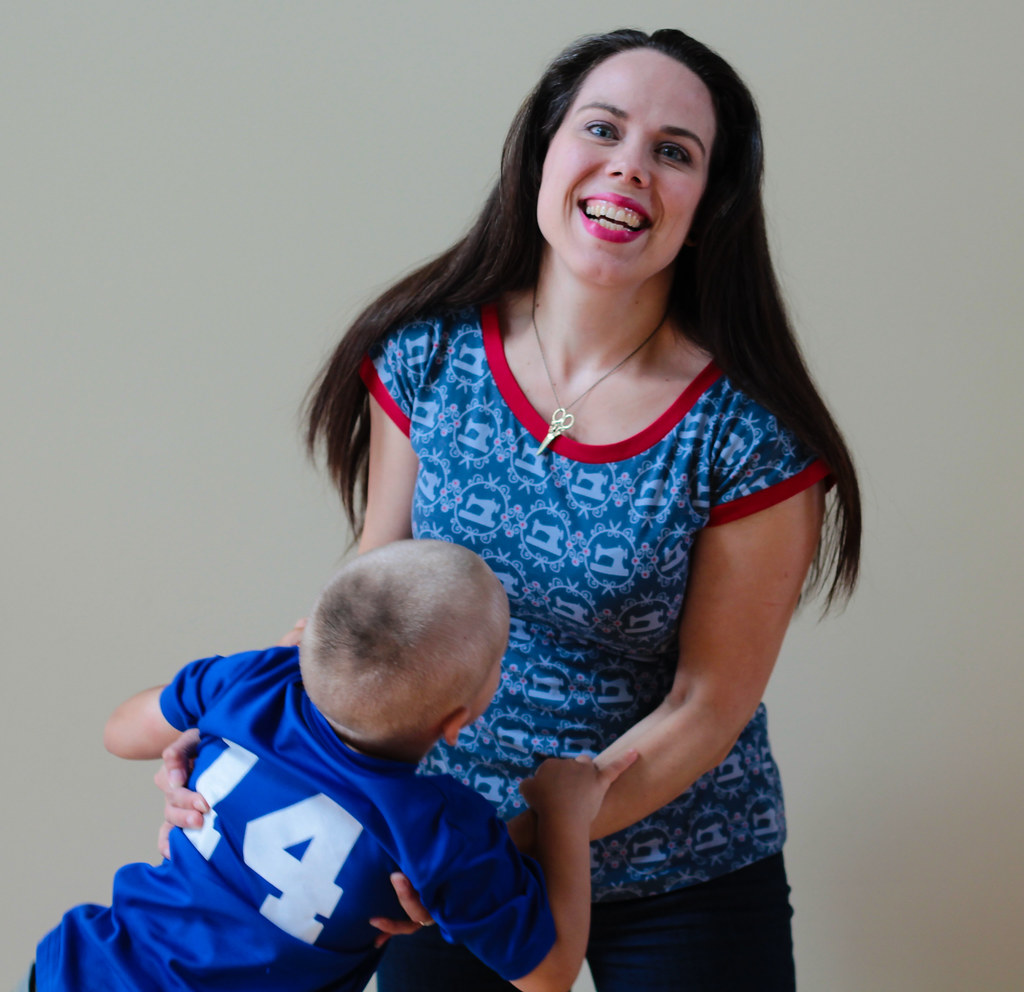
Taking pics in the summer is tricky too. I have helpers.... Good thing they are cute!
I love this pattern. It's a super quick sew, fit's well and looks great on. Perfect for a precious fabric that I only had a yard of.
Here's a back view, for a better look at the print, which is Sew in Love by Lillestoff. It is vintage sewing machines!!! Surrounding the machine motifs are tiny curliques, topped with scissors and surrounded by red hearts. I love this fabric. As of this moment, there is still some in stock here at Kitschy Coo's fabric shop.
Since the print features little red hearts throughout, I decided to match them with red neck and sleeve bands. To make the red pop a bit more, I made my bands 1/8 wider than the pattern calls for, simply by sewing the neckline and sleeves at 1/4 inch SA rather than 3/8. Wider bands say more casual to me, and I wanted this to be a wear every day sort of top. Because SEWING MACHINES! I will wear it every day...
Taking pics in the summer is tricky too. I have helpers.... Good thing they are cute!
Labels:
Comino Cap,
Kitschy Coo,
misses,
top
Monday, June 1, 2015
Me Made May 2015
I mentioned at the beginning of May that I had decided to participate in Me Made May this year. Since wearing handmade clothing isn't much of a challenge for me, I decided to go a step further. I pledged to wear only me made clothing (other than bras) and to not repeat an outfit for the entire month. I am happy to say that I managed the feat with a few favorites to spare!

I posted an outfit photo on Instagram every day (I'm sure my followers are tired of that!), and collected them all in this flipagram. If you'd rather not watch the video, I also made a collage.
My biggest reason for participating in Me Made May this year was in hopes of boosting my sadly flagging mojo, and I'm happy to say it worked! If you've been hanging around here much lately you've probably noticed that I have blogged more than twice as much this month as I have been doing all year. I've been really enjoying sewing new things and am feeling much more inspired, so yay for Me Made May!!

I posted an outfit photo on Instagram every day (I'm sure my followers are tired of that!), and collected them all in this flipagram. If you'd rather not watch the video, I also made a collage.
My biggest reason for participating in Me Made May this year was in hopes of boosting my sadly flagging mojo, and I'm happy to say it worked! If you've been hanging around here much lately you've probably noticed that I have blogged more than twice as much this month as I have been doing all year. I've been really enjoying sewing new things and am feeling much more inspired, so yay for Me Made May!!
Labels:
Me Made May
Friday, May 29, 2015
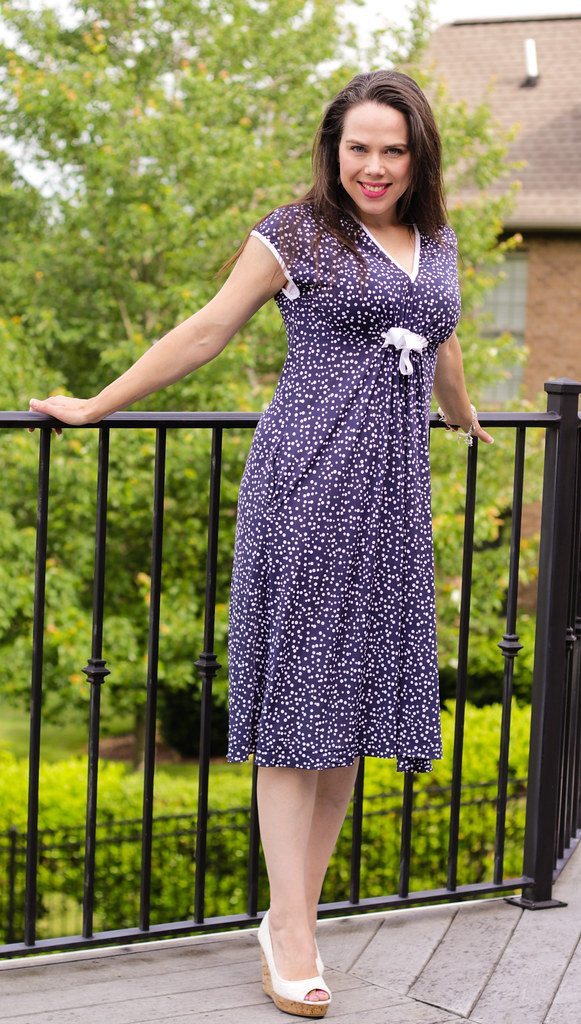
Burda June 2015 dress
In January I decided I had missed my Burda magazine long enough, and decided to renew my subscription after a 3 year lapse. After 6 months I finally found something that I HAD to sew.
In fact, I was flipping through the magazine when it arrived, and Mitch looked over my shoulder and said, "That dress is so you!" so I had to make it.
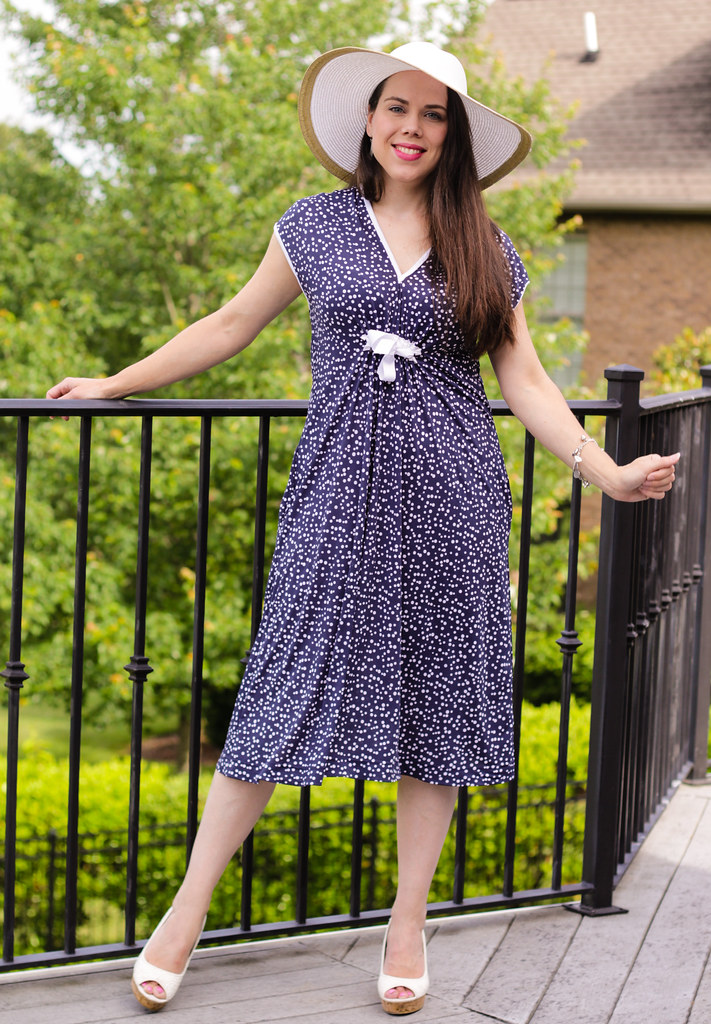
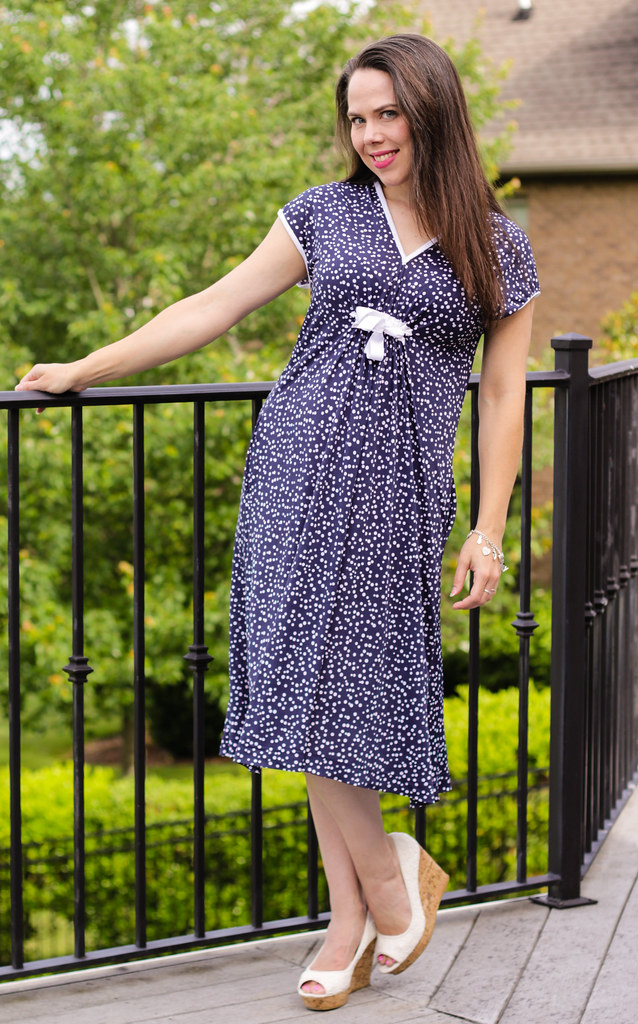
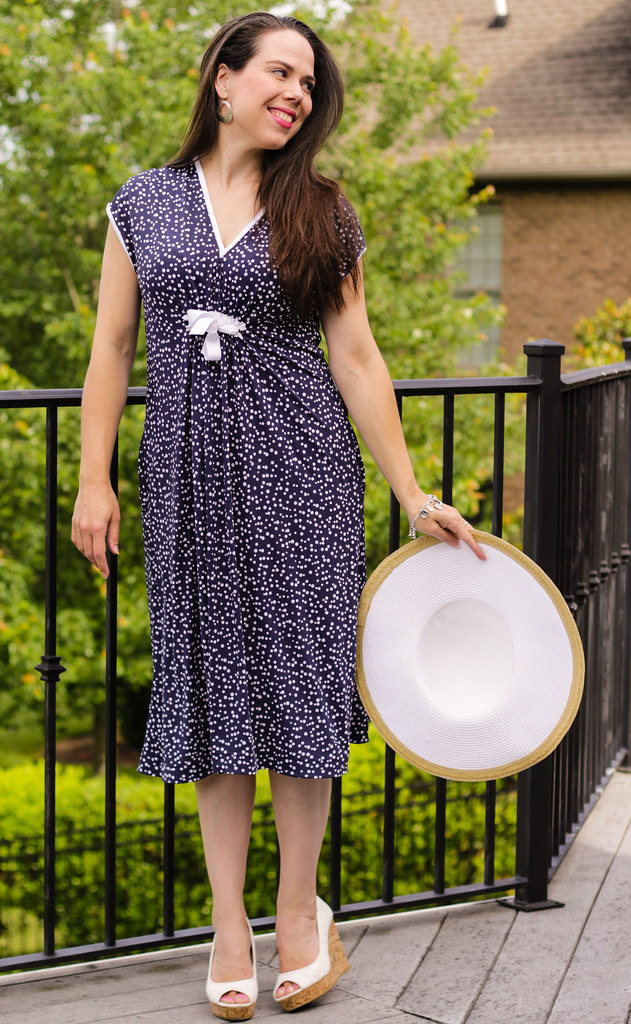
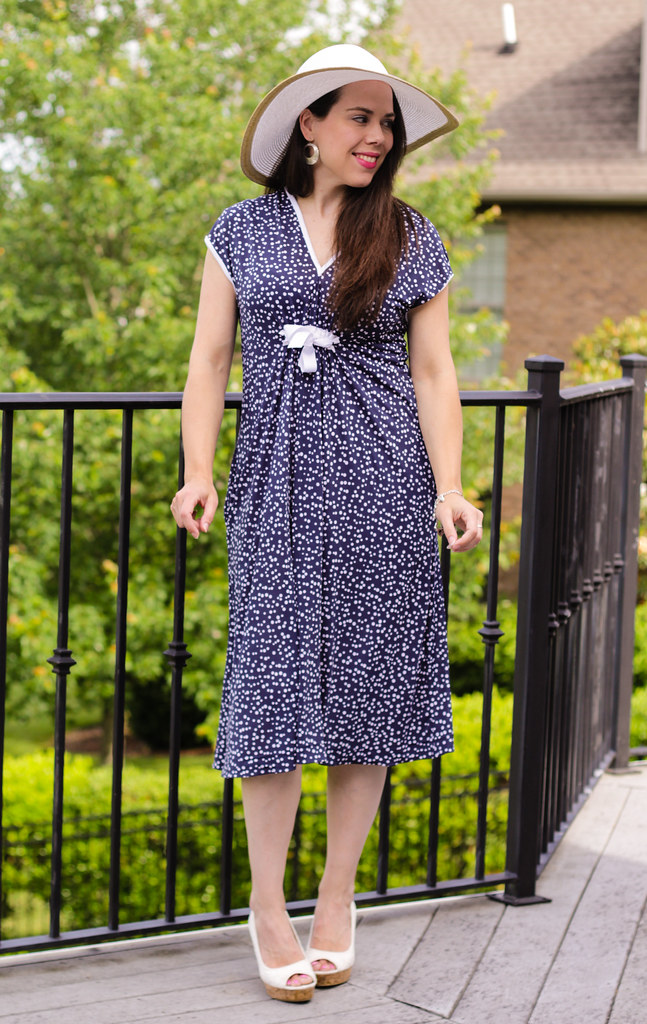
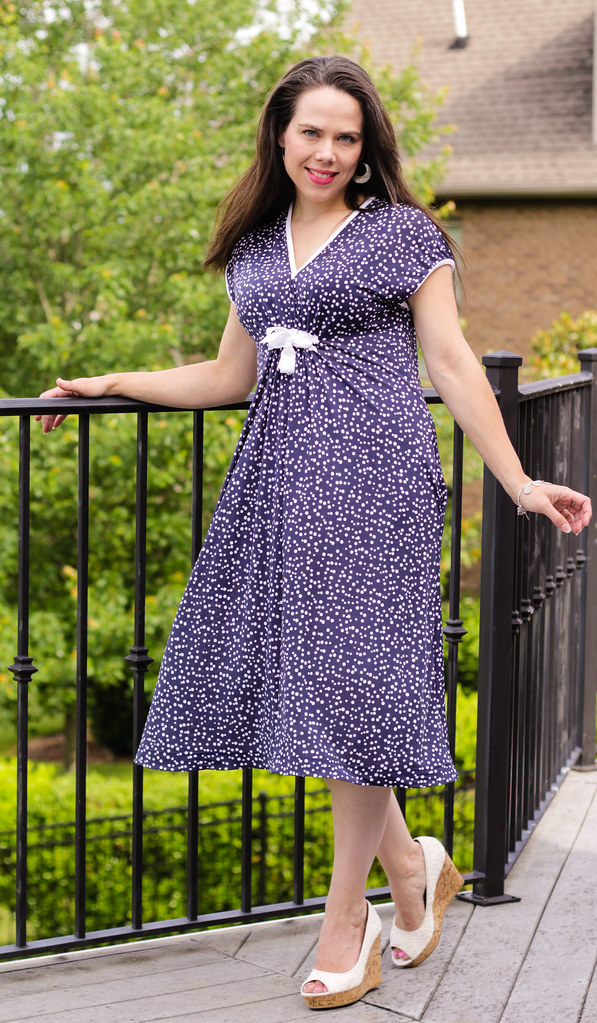
He's right, of course. It is very me! Comfy knit, with cute details and a swingy skirt is definitely my style all summer long.
The pattern is from the current (June 2015) issue of Burda Magazine. It is number 120, which includes both a top and dress version of the style and is made up in both knit and woven fabrics. Very versatile!
The pattern itself is really interesting, It only has one main pattern piece for the dress! Which made it manageable to trace on the crazy pattern sheets. There are no shoulder seams, only side seams and a center back seam.
There is minimal shaping at the side seams, so most of the shape of the dress comes from the front tie. There is a casing which is stitched onto the front of the dress just under the bust. A self fabric tie is called for by the pattern, but I used wide grosgrain ribbon instead.
In back, the neckline forms a pretty V that echos the front. I raised it about an inch, but as drafted it is actually pretty modest. I did take in the center back seam as there was no shaping back there and it looked very sack-like without some curves.
I also elected to bind the neckline and armholes with my coverstitch, rather than do a bias tape finish as the pattern called for. I like the bright white contrast there, and with my binder on the coverstitch machine it was super easy. Since there isn't a seam at center front, I darted the binding there to form the V. One thing I would change for the future would be to raise the armhole. It gapes open a bit too low, as you can see from this pic.
I also added pockets, of course, I regretted it at first, since they gaped a bit and made my hips look huge, but once I took in the center back, that tamed the pockets and they lie nicely now. I cannot wear a dress without pockets so I'm glad they worked out!
While there are a few minor things I would change should I make this again, I am really quite pleased with my first Burda make in several years. Maybe I'll tackle that pattern sheet again! Once I've recovered from this time...
In fact, I was flipping through the magazine when it arrived, and Mitch looked over my shoulder and said, "That dress is so you!" so I had to make it.
He's right, of course. It is very me! Comfy knit, with cute details and a swingy skirt is definitely my style all summer long.
The pattern is from the current (June 2015) issue of Burda Magazine. It is number 120, which includes both a top and dress version of the style and is made up in both knit and woven fabrics. Very versatile!
The pattern itself is really interesting, It only has one main pattern piece for the dress! Which made it manageable to trace on the crazy pattern sheets. There are no shoulder seams, only side seams and a center back seam.
There is minimal shaping at the side seams, so most of the shape of the dress comes from the front tie. There is a casing which is stitched onto the front of the dress just under the bust. A self fabric tie is called for by the pattern, but I used wide grosgrain ribbon instead.
In back, the neckline forms a pretty V that echos the front. I raised it about an inch, but as drafted it is actually pretty modest. I did take in the center back seam as there was no shaping back there and it looked very sack-like without some curves.
I also elected to bind the neckline and armholes with my coverstitch, rather than do a bias tape finish as the pattern called for. I like the bright white contrast there, and with my binder on the coverstitch machine it was super easy. Since there isn't a seam at center front, I darted the binding there to form the V. One thing I would change for the future would be to raise the armhole. It gapes open a bit too low, as you can see from this pic.
I also added pockets, of course, I regretted it at first, since they gaped a bit and made my hips look huge, but once I took in the center back, that tamed the pockets and they lie nicely now. I cannot wear a dress without pockets so I'm glad they worked out!
Labels:
#120,
06/2015,
burda style,
dress,
misses
Monday, May 18, 2015
Vogue 8575
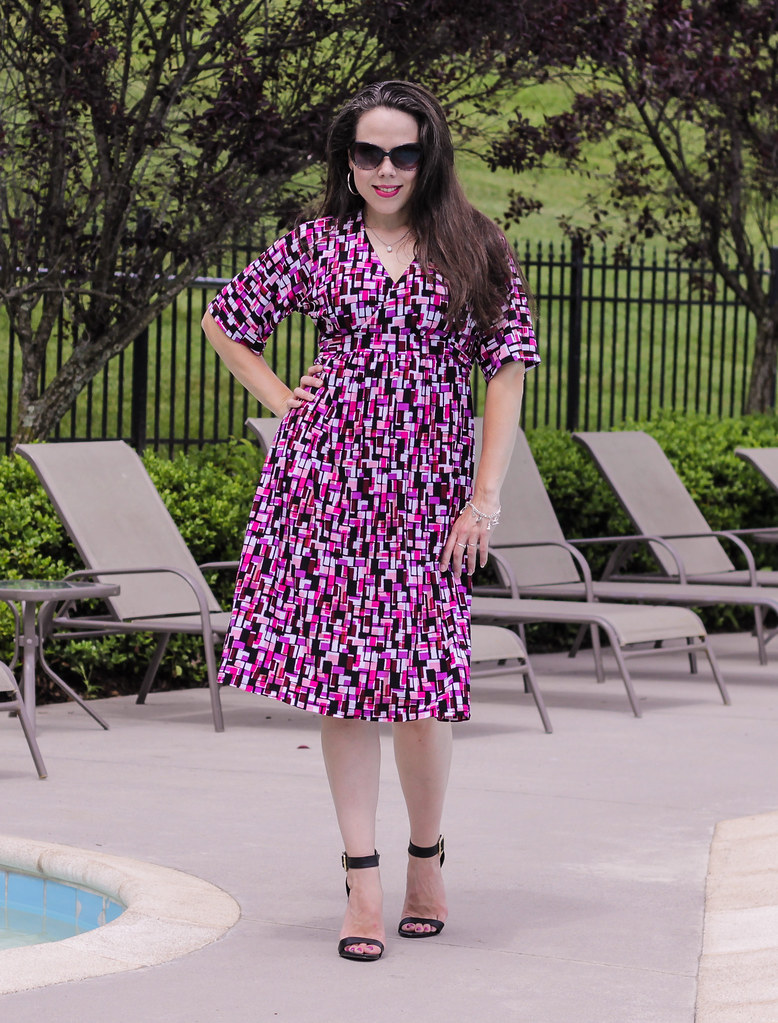
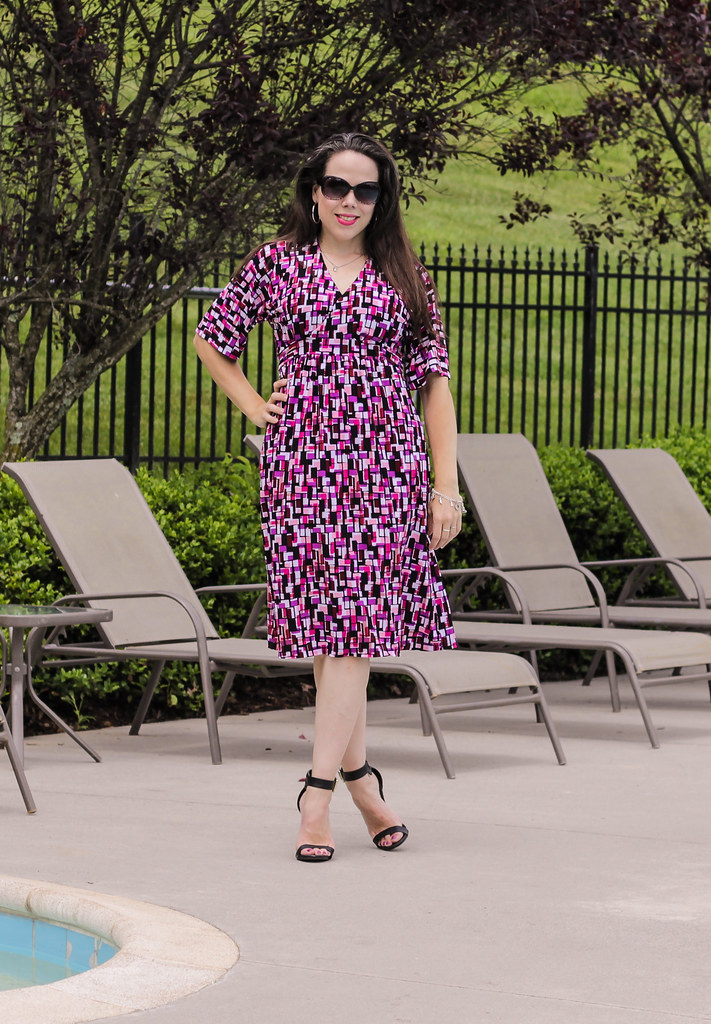
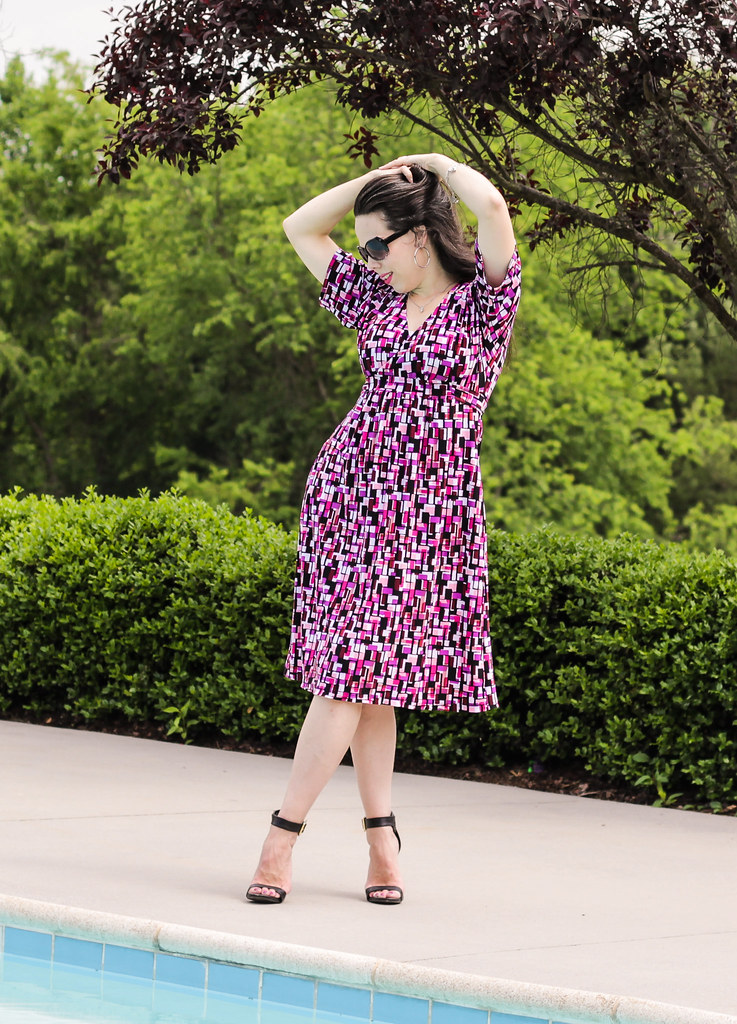
It's getting warmer, which means all the dresses! This fun pink printed ITY from FabricMart was begging to become a summer dress! I decided to try out a new pattern this time, although it isn't dramatically different in style from my usual favorites, it does have a few fun features.
This is Vogue 8575, now OOP. It is dated 2009. The pattern has a wrap bodice with shoulder princess seams. The bodice is gathered into a front band just under the bust which has ties attached. The skirt is in two lengths and is also gathered at center front and back. There is both a set in and kimono sleeve option.
It's hard to see the details in my busy print, so here is the line drawing. I really like the details, especially the bodice princess seams, which make for easy fitting.
I made view C, mostly. I did end up chopping 4 inches off the length after I was finished. The skirt hit me an a supremely unflattering spot, and just looked dumpy at the longer length. A few more inches and it would have been a graceful maxi, but no. The only other alteration I made was to do an on-the-fly princess seam FBA to add width to the bust. Since I usually have to shorten the bodice on Vogue patterns, I didn't add length for my FBA, and I think the seam falls well under the bust.
I also added some elastic to the neckline to pull it in snugly to the chest. The neckline finish is quite nice. The pattern uses the center front and back panels as self facings, so the front and back bodice are double layered. The finish is nice and clean, inside and out. You can also see that the kimono sleeve is a fairly slim and sleek one. Not too much fabric billowing or bunching under the arm.
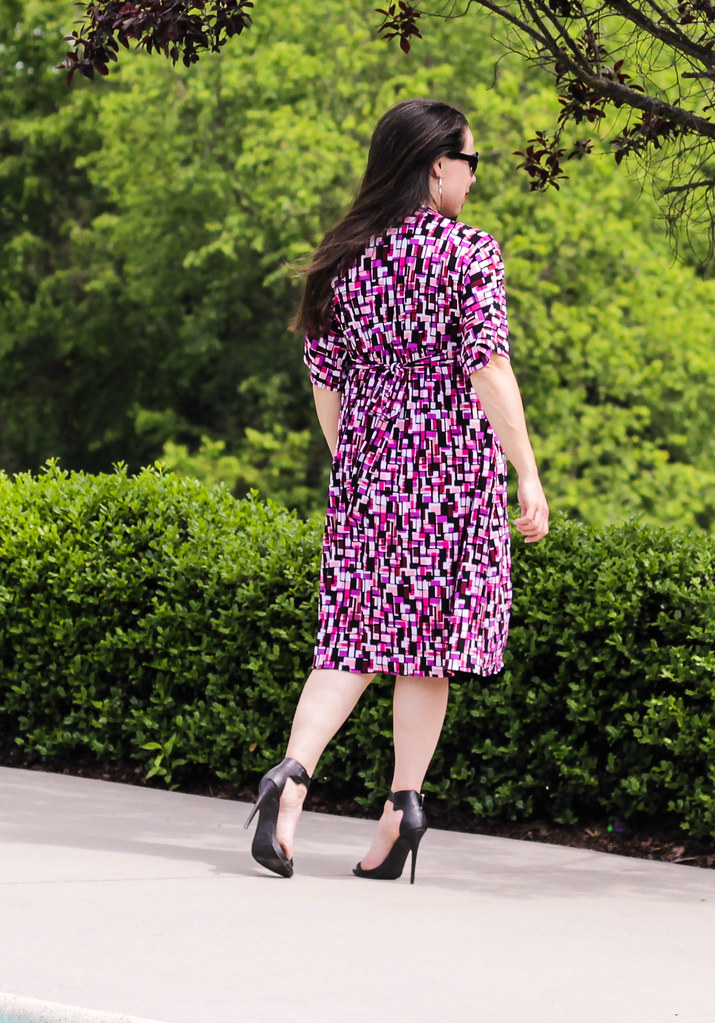
In back, there is a tie that attaches to the sides of the front midriff band. There is no band in back - the bodice attaches directly to the skirt. Both bodice and skirt are supposed to be gathered to a specific length and then just stitched together, which seems like not a great plan, so I gathered the back waistline with clear elastic in the seam.
Overall, it's a fun, cheerful dress to wear, and I feel great in it. I'm so glad Me Made May has helped me jump start my mojo. New dresses are so fun!
This is Vogue 8575, now OOP. It is dated 2009. The pattern has a wrap bodice with shoulder princess seams. The bodice is gathered into a front band just under the bust which has ties attached. The skirt is in two lengths and is also gathered at center front and back. There is both a set in and kimono sleeve option.
It's hard to see the details in my busy print, so here is the line drawing. I really like the details, especially the bodice princess seams, which make for easy fitting.
I also added some elastic to the neckline to pull it in snugly to the chest. The neckline finish is quite nice. The pattern uses the center front and back panels as self facings, so the front and back bodice are double layered. The finish is nice and clean, inside and out. You can also see that the kimono sleeve is a fairly slim and sleek one. Not too much fabric billowing or bunching under the arm.
In back, there is a tie that attaches to the sides of the front midriff band. There is no band in back - the bodice attaches directly to the skirt. Both bodice and skirt are supposed to be gathered to a specific length and then just stitched together, which seems like not a great plan, so I gathered the back waistline with clear elastic in the seam.
Overall, it's a fun, cheerful dress to wear, and I feel great in it. I'm so glad Me Made May has helped me jump start my mojo. New dresses are so fun!
Labels:
dress,
misses,
Vogue 8575
Subscribe to:
Posts (Atom)