Saturday, May 14, 2011

Jalie 2921

Whew, I am so glad Blogger is back up! I was going crazy! Since I got to sew all day yesterday, I have a ton of things to show you. First up is a tee I actually stitched up a couple of weeks ago, but was waiting on the coverstitch to hem.
The pattern is Jalie 2921. (If you don't want to deal with shipping from Canada, you can also get it here and here.) This is such a fun pattern to sew! As many have said in PR reviews, the construction is really interesting and the instructions are sort of strange until you actually do it. You basically sew up the shoulder seams, sew on the collar/scarf, then roll the whole shirt up inside the scarf and stitch it closed, leaving a gap for turning. It doesn't look like it's going to work, but it does, and encloses all the seams beautifully.
Here it is with the scarf untied. The fabric I used is a thin cotton lycra jersey. It wasn't the easiest to sew, as it curled like crazy, which is tricky with Jalie's 1/4 inch seam allowances. Fit-wise, I used the size that corresponds to my high bust (an S), and then graded out to my full bust size (a U)  from the underarm, tapering back to the S at the waist. I altered the front pattern piece only.
Here is what that looked like. I'm pointing at the original pattern line so you can see where I graded it out. Since that altered the front armscye, I also had to alter the sleeve to fit.
Jalie's sleeve is symmetrical front to back and can be cut on the fold, but since I only altered the front armscye, I only needed to alter the front sleeve. I traced the back sleeve in the size S, then for the front, traced the sleeve cap at the size S, but extended it out to the line for size U. I notched the front so that I would remember which was which when constructing the top. When I sewed it together, I eased the front into the back, concentrating the easing around my bust point so that I would have the added fullness where I needed it.
You can't tell at all that there is a length mismatch on the side seam. I'm so pleased with the way this fits, I think this will be my new FBA method for knit tops, particularly Jalie tops.
Of course, this gave me a chance to try out the narrow coverstitch. It's so pretty! The capability of doing the 1/8 inch coverstitch was what decided me in terms of which machine to buy. The Brother does it and the comparably priced Janome doesn't. Since I think this is the stitch I will use most, that made the decision a total no brainer, and so far, I am really happy with my machine.

Thursday, May 12, 2011

Thank you!

I have been a seriously blessed girl this week! My coverstitch machine is here and happily installed, and I won 2 giveaways from a couple of seriously awesome fellow bloggers.
From Heather of Heatherty Featherty I received this wonderful knitting book. I've seriously wanted this one for a while. Now I can take it out of my amazon cart. The projects are so beautiful. I've already picked out a few I want to cast on NOW NOW NOW!
The from Jane M of Lucky Sew and Sew I received these two gorgeous vintage Designer Vogue patterns. How fabulous are they?! The Pierre Cardin jacket will be so wonderful once fall hits in Salt Lake. I'm seeing it in a deep purple ponte knit. Yummy!
Thank you both so much!
Now, I'm off to sew! Mitch is keeping the monkies under control today, so I get to sew all day long!! I'll have some fun things to show you soon. If you are following me on Flickr, you might get a preview...

Wednesday, May 11, 2011

New Look 6641 and My New Toy!!

It came!!  Yay for Ken's Sew & Vac! They were totally great about replacing the coverstitch machine, and it is already here!!
Here it is, along with the other members of the family, except my Singer Touch & Sew. She lives in her table. On the monitor is Belinda's amazing tutorial for pulling the top threads to the back.

Since I've been waiting for her a while, I already had a couple of projects ready to go. Logan wears pretty much nothing but knit shorts and tees shirts, so I stitched up a couple of pairs of easy knit shorts from New Look 6641.
Not too exciting, but needed. Since I am learning this as I go, I decided to try two different stitches, and in two different applications. For both pairs I used the coverstitch to finish the elastic waistband, and to hem.
Here is the three needle/four thread coverstitch on both hem and waistband. The machine purred right through all of those layers of the waistband, including elastic with no difficulty at all.
On the striped pair, I used the two needle/three thread coverstitch. Again, it breezed through without any difficulty. I still have to try out the narrow two needle and the chain stitch. And there is the binder attachment I got... Oh, I love my new toy!! I may be sewing a lot of knits for a bit.

Monday, May 9, 2011

Simplicity 3503 top

My maxi dress dreams are slowly being realized, beginning with this first draft of the pattern. I had to make a lot of adjustments to the tissue to allow for a full bust as well as raise both front and back neckline. I decided to make up a "wearable muslin" out of some poly knit from the stash.
It turned out pretty cute, and I'm mostly pleased with the tweaks I made. It's also really comfortable and I can nurse easily in it. In fact, I like it enough to enter it in Made by Rae's Spring Top Sewalong. Today is the last day for entries, so get your top into the Flickr group by 8PM!
Here's the back. I raised the neckline about 2 inches. It was LOW! Although this is fine, I think for the final dress I will add another inch or so. I like the little tie at the beck neck, although I raised the back neckline enough that it really isn't necessary to keep the top on my shoulders.
I'm happy with the neckline in front, but I think for the dress I'll give myself a little more space over the bust, as the midriff band creeps up onto my bust just a tiny bit. I probably only need another 1/2 inch or so. I'll also tighten up the neckline just a tiny bit. With wear, it gapes open just a little. I also want to move the shoulder gathers more toward the front where most of my fullness is.
I think the underbust gathers are well positioned, but you can see here how the midriff band is creeping up onto my bustline. I'm also not a fan of the gathers concentrated around the middle of the skirt, but I can't decide if I want to eliminate them altogether or just distribute them more toward the sides.
So, did I miss anything that you would change? I'm a little scared of cutting into my irreplaceable 40+ year old Qiana. Even if Mom does think it's tacky.
Parting Shot:
Myra wanted in on the photo shoot, too. She's learned to pose, just like Mommy!

Sunday, May 8, 2011

Simplicity 2451

I just can't seem to resist a Sewalong, so I joined in with the Facebook Simplicity Zippered Skirt SAL. I don't really need a new skirt, but they are so fun and relatively effortless to sew. I've had this pattern, which was one of PRs Best of 2010, in my stash for a while. There have been some seriously cute versions of the pleated view on PR and in the blogosphere that while I generally avoid pleats over my abdomen, I decided to try it out.
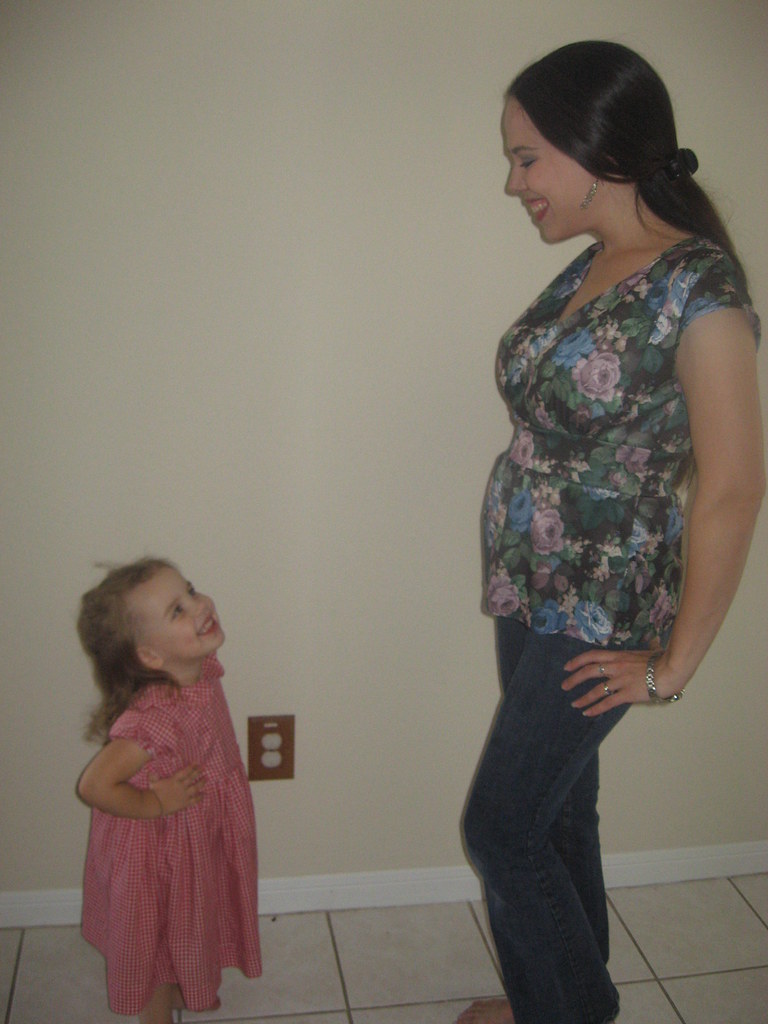
I wasn't expecting much, but I actually really like it. The yoke is a nice flattering shape and the pleats are a bit lower, so they don't open up and make my belly look big. It is a nice flattering shape with a slight peg.
The pattern is Simplicity 2451. It's a pretty nice pattern with several really cute views. I especially like view B, which I also plan to make soon. It was well drafted and the instructions seemed logical, although they did jump around between views quite a bit, which might be confusing. I didn't really use them after initially scanning them to make sure there wasn't anything weird. There wasn't.
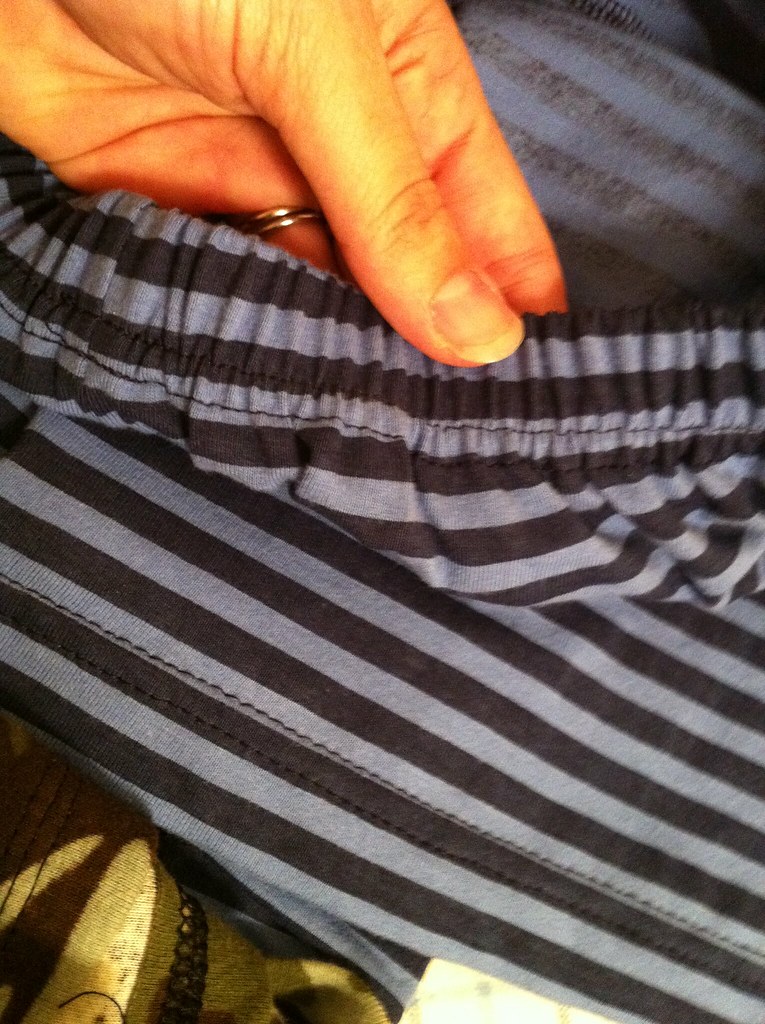
The fabric is a poly lycra suiting from Joanns. I bought it to make a pair of capris, which ended up overfitted (OK, too small!) and have found their way to the Goodwill. I just had a yard or so left, which was more than enough for this little skirt. It's got a slightly brushed surface, so it's very soft and comfortable. You can't tell from the pictures, but it actually has a very fine blue pinstripe every 1/4 inch or so. If you're wondering, the blouse is Vogue 8322.
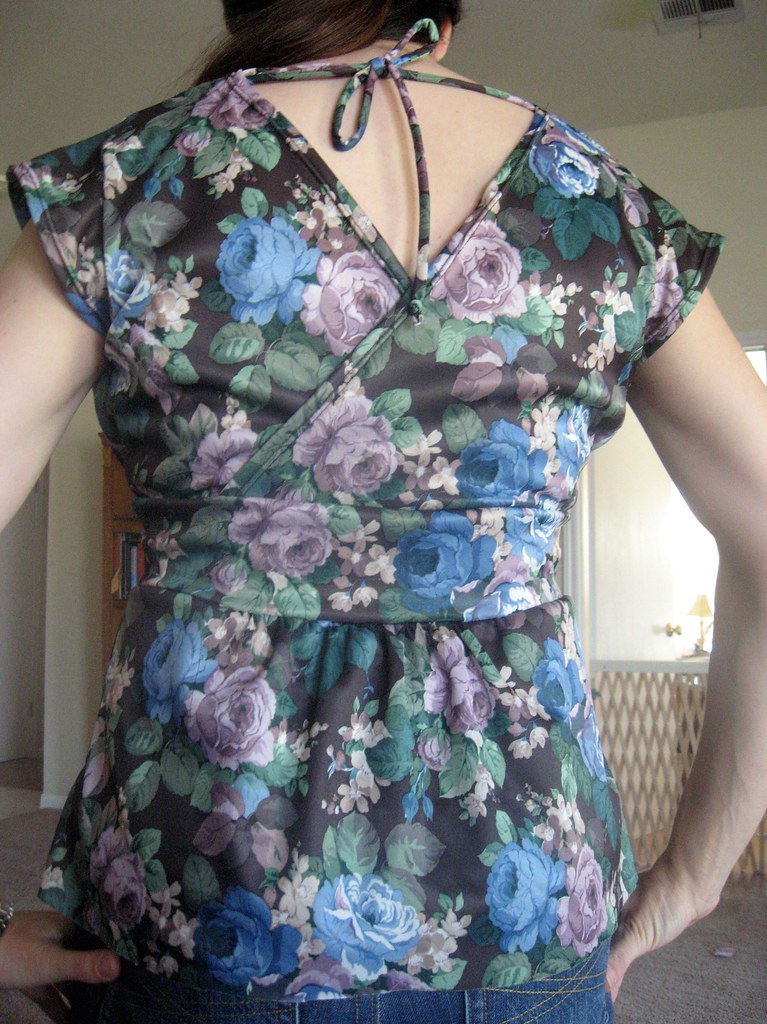
In back, I used an invisible zip, of course. This one really didn't want to go in properly and it took me several tries to get the yoke seam aligned. I'm not sure why that is, but perhaps the fabric was stretching more than I realized. I did end up with a tiny dimple at the bottom of the zipper, but after all that fussing, I wasn't willing to rip it out (again!) so I'm just going to live with it. You'd have to get pretty close to my butt for it to be noticeable.
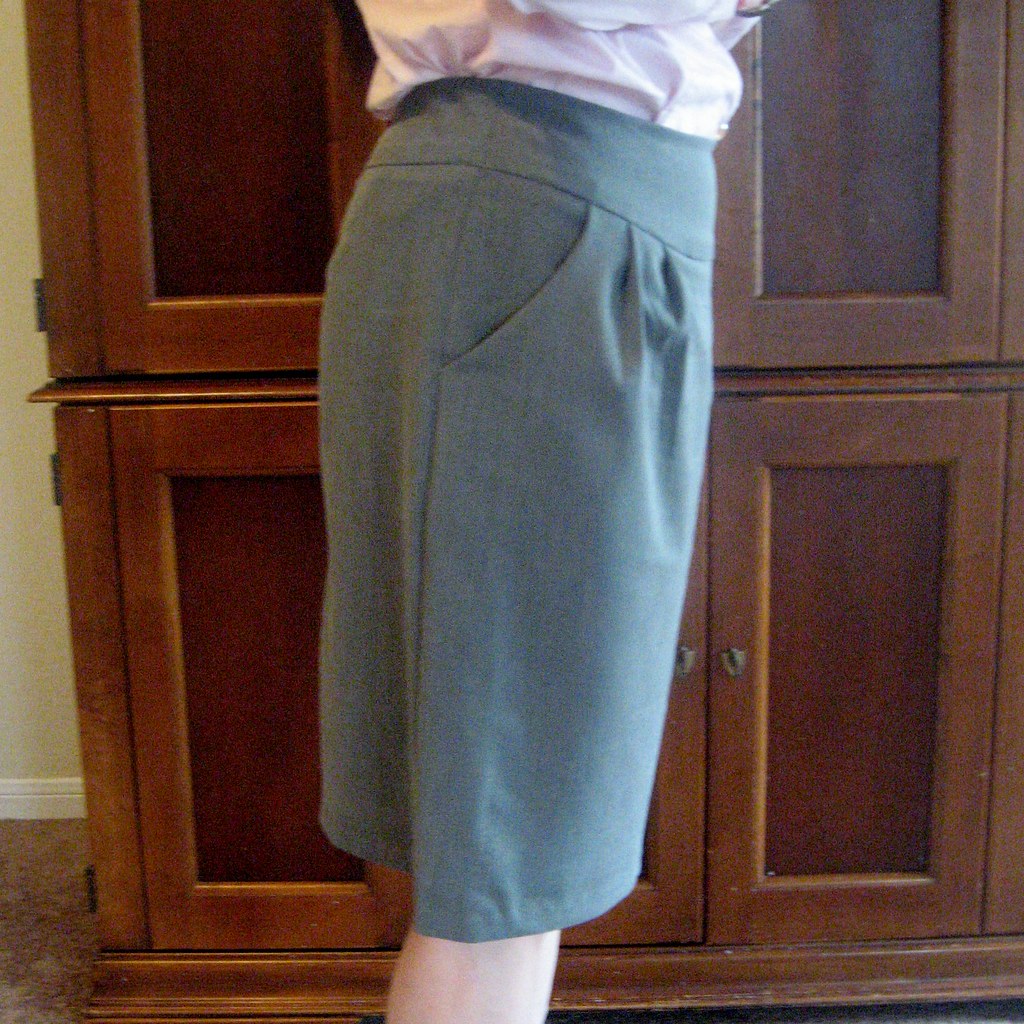
And here you can see that I did not make any alterations for fit... But should have! The side seam swings backward at the hem and the waist is tilting forward. Ah, gravity's effect on my butt at work.
But look, pockets! I never used to appreciate pockets, but lately Myra seems to think that I am her personal pack mule, and pockets really come in handy for toting plastic princesses around. Overall, I'm really happy with this skirt and I can definitely see why it was a Best Pattern last year. It went together quickly and easily (except the zipper, but that was operator error!) and it is really cute and comfortable. I have so many skirt patterns, I probably won't make this one again, but I really like it and would definitely recommend it to you!