Monday, June 18, 2012

Dolmania, phase 2: the girl

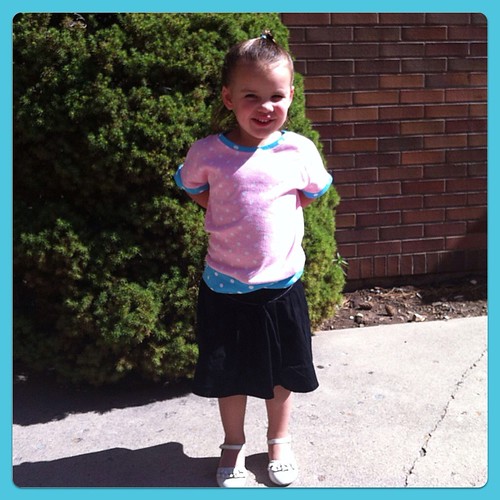
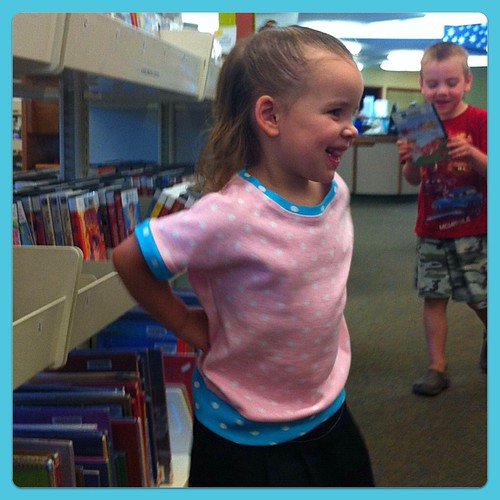
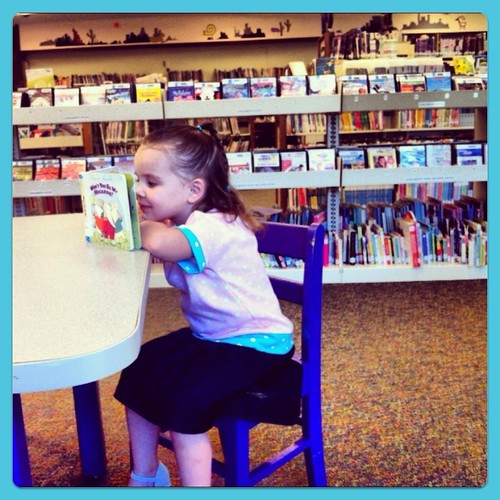
Dolmania has spread over to the girlie side of the family, and she is a happy kid!
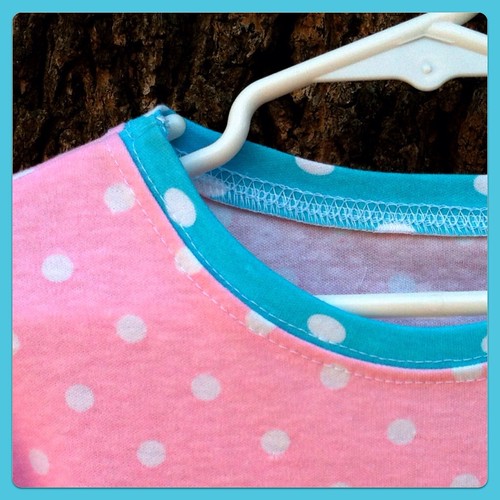
For Myra's top, I decided to do the bands on all of the edges rather than hemming. I love that the pattern includes this as an option, since I think for many sewists, hemming knits is a scary thing.
The fabric was a lucky thrift shop find. It is an interlock and while I didn't burn test it, it acts and feels like cotton. I stitched up the top with just my serger and since there wasn't any hemming, I only used the coverstitch for topstitching.
I topstitched the neckband, so that it would lie nice and flat, but I left the cuffs and waistband alone so that they would have a slight blouson effect.

Since this pattern makes use of banding to finish edges nicely, I thought I'd share a little tip for getting a nice smooth seam if you are seaming with your serger. You know how bulky a serged seam can be when you fold it over like in a band or hem? Well, this is how I take care of that problem.
Here is my waistband, after pressing it wrong sides together and seaming it per the pattern. I traced along the center fold in red so that you could see it better. My scissors are poised to snip the seam allowance right at the fold line. Snip just to the seam line, but don't cut all the way through. Yes, you are clipping some serger threads, but since this isn't a stress point, it won't effect the integrity of your seam.
Here is where the magic happens. Press the two allowances to opposite sides so that when you fold the band together, they no longer overlap, they are abutting nicely on either edge of the seam. This way, you don't have a big lump of seam on one side. This works for hemming as well - just snip through the seam allowance at the fold of the hem.
I hope that helps! How are your Dolman Tops coming along?

Saturday, June 16, 2012

Wedding Dress Progress

If you happen to be the groom, please enjoy this lovely photograph of our favorite hike up Millcreek Canyon. Stop reading now and return to your prior task.

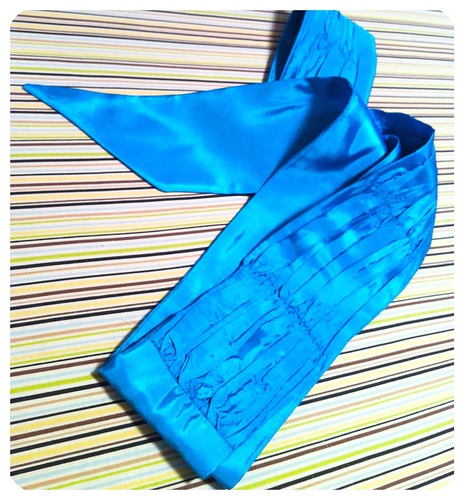
As for the wedding dress, progress is being made! I actually finished the sash, which pleases me.
Pretty, eh? The color isn't quite right on my monitor. It is more teal and less blue, but very saturated and with a nice sheen. I didn't use a pattern, just ruched a panel the length of the dress around the waist from the back princess seams around and 1/2 yard wide. I stitched gathering stitches every four inches then gathered them as far as they would go, fused some lightweight tricot to the back to stabilize the gathers and removed the gathering threads. I added tie ends and trimmed the ruched panel to make a sash 3 inches wide, then lined the sash with self fabric.
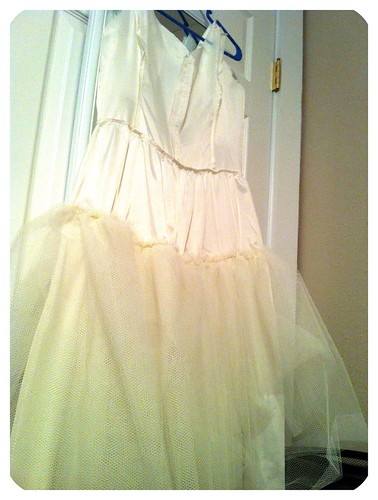
 The lining is completely assembled and the net underskirt is attached. The net ruffle is a full 7 yards gathered up and double layered. It provides a nice bit of fluff. I attached it just below the hips so that it would flare the skirt without adding unwanted bulk.
I assembled the bodice, but didn't want to go forward until we had another fitting since the lace overlay won't be alterable. Based on the lining, it looked like we might need a bit more room in the bust, which I thought was odd, since we'd fit 3 muslins, but I added a bit at the princess seam and stitched it up. I'm not sure what was up with the lining, but I ended up taking out the addition I made, so I'm really glad we did another fitting. This picture was before I fixed the bodice - you can see the excess making unsightly wrinkles on the right. Those are all fixed now! The skirt is just basted on, but I wanted to fit with the weight of the skirt in place, since that can effect the fit of the bodice. I also wanted to be sure that we are in the right place with the length before I cut the lace for the skirt.
Now that we are happy with the fit in the bodice, I'm catchstitching all of the seam allowances to the underlining. I feel like we are making really good progress, but there is still a bit more to do...

Still to come:
1) Cut and sew the lace and tulle for the skirt.
2) Baste lace/tulle overskirt to shantung/organza skirt and attach to bodice.
3) Assemble lace overbodice, lapped seaming mostly by hand.
4) Attach lace overlay at CB and baste at neckline.
5) Baste elastic button loops at CB & insert hand-picked zip.
6) Attach lining at neckline and hand sew to zipper.
7) Assemble and attach sleeves. Hand fell lining at armscye.
8) Apply lace to neckline and hem.
9) Stitch horsehair braid to FF hem, hand sew hem.
10) Hem lining. Attach buttons and snaps. Consider waist stay and apply if needed.

So, there is still a lot to do, but it feels nice to have the list out there. I also have been thinking it will be helpful to have a dress form to do the lace work on, but Breanna is quite petite and my dressform is too long in the torso, so we are going to make a duct tape form for her. Fun times!

Friday, June 15, 2012

Dolmania, phase 1: the boys

I've mentioned that I'm participating in Kitschy Coo's Dolmaniac's Sew-Along, and here is my first effort. Amanda was kind enough to draft the pattern to fit all of my kids, so naturally they all got new shirts! First, the boys...
I love that this tee works just as well for boys as it does for girls. Both my boys are happy and comfortable - not to mention cute! - in their Dolman Tops.
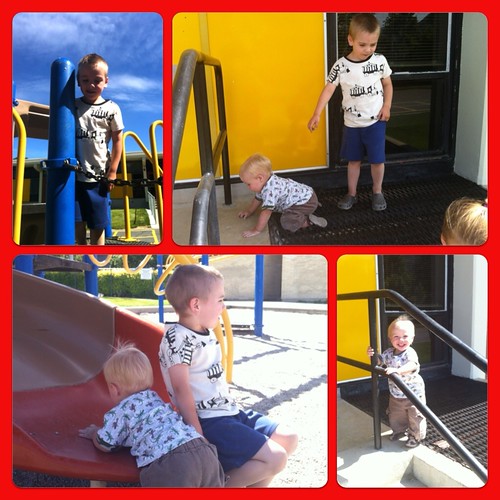
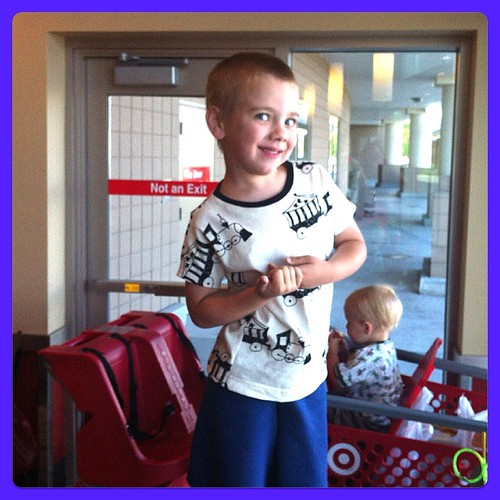
Logan was the most in need of a new shirt, so I made his first. And he is all smiles! The size 5/6 is a perfect fit.
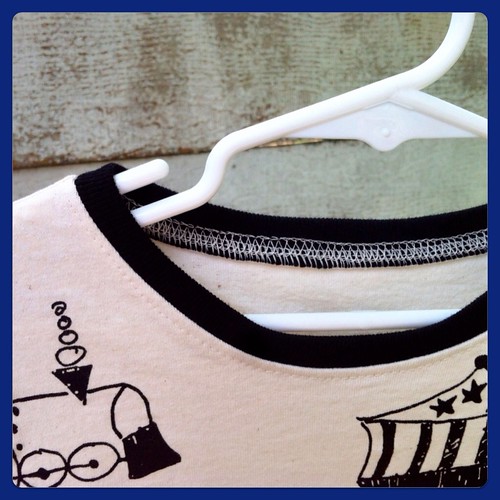
The pattern is the Dolman Top by Kitschy Coo. I used a fun circus train screen printed jersey (from the Fabric Fairy) for Logan's top, with black ribbing for the neckband. Since Logan has some sensory integration issues, I didn't use the armbands or waistband. He doesn't like his clothing to be at all constricting. This pattern is really perfect for him, as he can be sensitive to clothing with a lot of seams, and this top only has 4.
The neckband application method used in the pattern is really superb. See how smooth and flat it lies? Beautiful drafting, there. I used my coverstitch machine to topstitch the band, with cream thread in one needle and black in the other. The two lines of stitching straddle the seam, so the cream stitching blends with the cream top and the black stitching with the black neckband.
This photograph expresses best how we all feel about this pattern and shirt. Can you hear the chorus of angels?
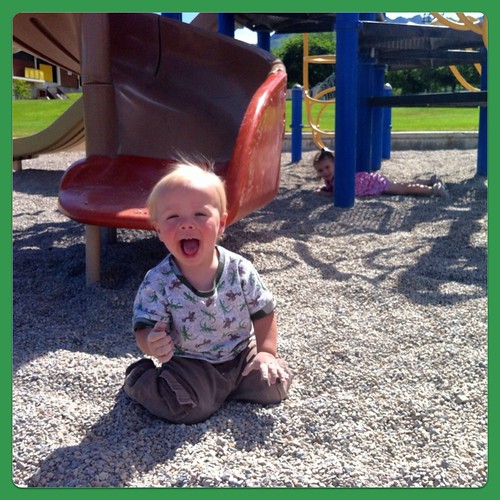
Duncan likes his, too. For him, I used the smallest size - 18M/2T. It has a looser fit than Logan's, but Duncan is barely 18 months old and a bit small for his age anyway. The neckline is nice and generous, so it was easy to get over his giant head.
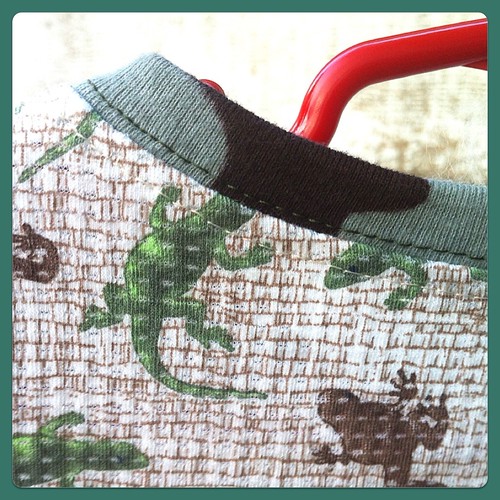
The fabric for Duncan's top is a cotton-lycra waffle knit that my mother brought home from Expo a couple of years ago. It is super soft and comfy and you can't get much more 'boy' than frogs and lizards. Just to be clear on the subject, I used a camo rib knit for the neck and arm bands.
The topstitching is a little easier to see on this one - green on the band and cream again for the top. Several RTW garments that the kids have are topstitched this way, and I think it gives it a more professional look.
We are all smiles about our Dolman Tops! Next up will be a girlie version, then I'm going to mix up the pattern a little to try some other fun options. Stay tuned! And be sure to check out all of the Dolman Tops in the Flickr group and add your own!

Thursday, June 14, 2012

Simplicity 8333

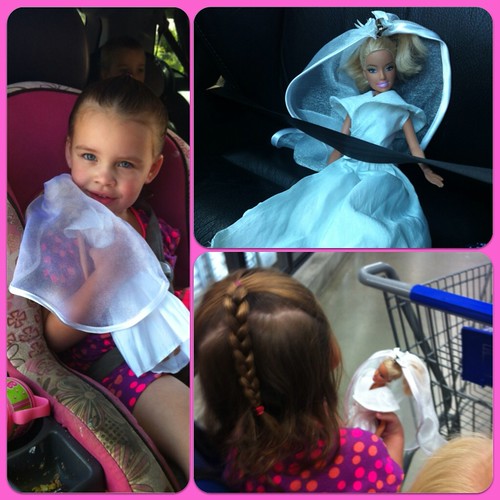
There has been a lot of wedding talk* around here lately, and Myra was already a bit obsessed with brides, so she's been bugging me very interested lately in when I am going to sew her Barbie the promised wedding dress. Well, I don't really want to commit to the time I suspect it will take to make the Princess Katherine recreation right now (I do have a REAL wedding dress I'm working on!), so I decided to try out a different, but still fancy dress for Barbie's first wedding dress.
The pattern I used was part of my recent thrifting haul. It is Simplicity 8333, published in 1987. Although this isn't the "wedding" dress included with the pattern, I like it's lines much better than the fluffy, ruffly 80s wedding dress that is included. This dress is a simple wrap dress with a large collar. The skirt is full and gathered and it closes with a single snap at the waist. I used some scraps of taffeta left over from a previous wedding project and added a lace overlay to the collar, made of a swatch of Giselle stretch lace from fabric.com.
The bodice is actually pretty interesting. For Barbie clothes, it is extremely unfitted. In fact, the only seams are at the shoulders, so there is no shaping in the body at all. The wrap gives it some waist definition. The armholes are actually cut out of the bodice, clipped and turned under. All of the edge finishing is a simple 1/4 inch hem.
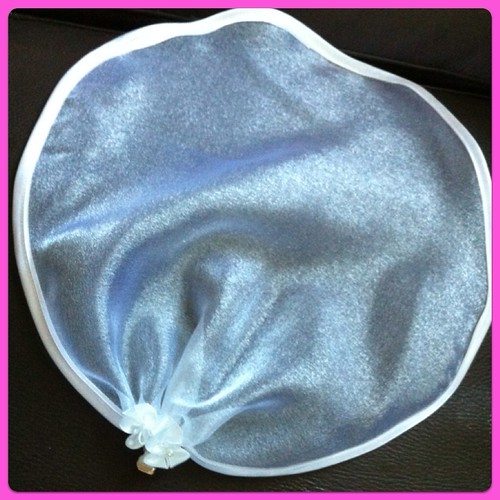
The veil is a large circle of organza, bound with satin binding and gathered at one edge. I topped it with some ribbon bows I had lying around and sewed on an alligator clip to affix it to Barbie's head. The clip is actually much too large and a bit unsightly, but it is easy for Myra to manage on her own, and I didn't want to spend all day fixing Barbie's veil.
Myra is thrilled with her new Barbie bride. She's always an appreciative child, but she was literally speechless when I showed her this. Myra's generally not one to cart toys around with her, but Barbie went everywhere with us.

* For those that may be curious, work on the wedding dress is proceeding well. We checked the fit on the lining this weekend, and only a minor tweak is needed, so I'm putting the bodice together now and we'll recheck the fit before I cut and assemble the lace overlay, There'll be a lot of precise work on the lace to do, and no chance to make fit changes at that stage, so I want it to be perfect before we proceed.

Tuesday, June 12, 2012

Burda Magazine 10/2011-146

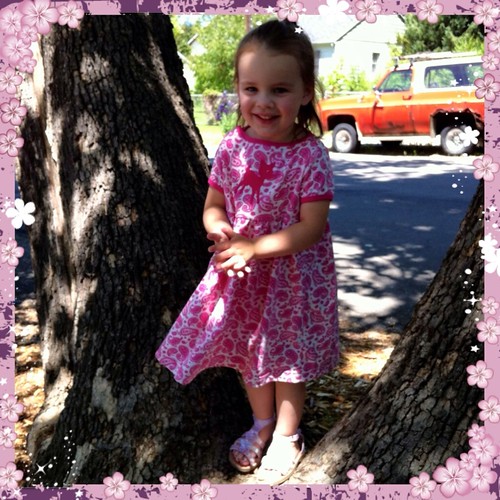
Myra was having a really tough day a few days ago, so I let her in to my sewing room (a big treat!) to choose some fabric for a dress. Naturally, she chose this craptastic old jersey sheet that was on its way to the thrift store...
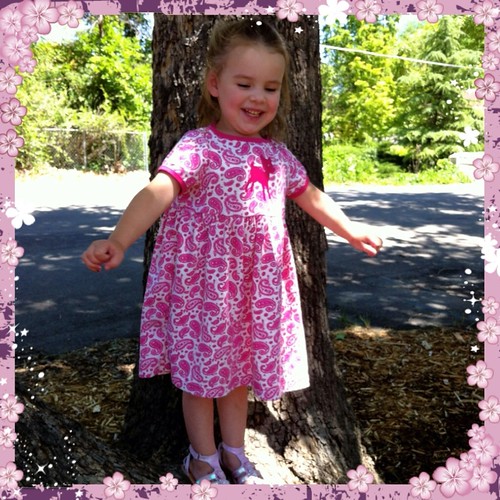
Fortunately, it turned out really cute. The kid has a great eye.
She actually inadvertently chose the pattern as well. We were sitting on the couch, flipping through Burda back issues together, when she spotted #146 from the 10/2011 issue and asked me to make that dress for her. The smallest size was a 104 and she is still a 98, so I thought I'd peruse my Ottobre collection to see if there was something similar in her size, but there wasn't anything I liked as well, so I decided to just make the 104 and call it room to grow. I know, I could have graded down the one size. I'm lazy.
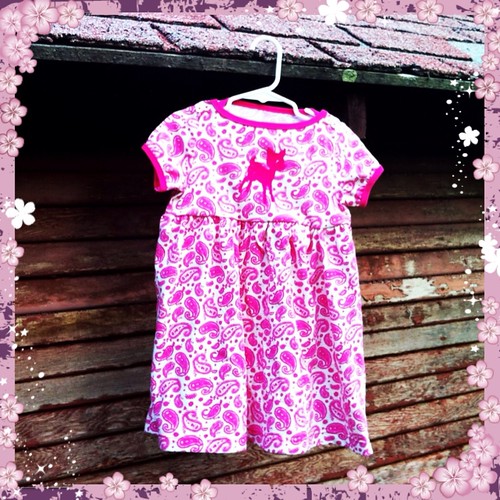
The dress is simple, but with some really cute details. It has a high waisted bodice with a set in sleeve, which is long in the magazine, but I shortened for summer wear. The neckline was to be finished with a simple turned and stitched hem, but I decided to bind it instead. The skirt is a simple dirndl skirt at about a 3:1 ratio, so there is plenty of volume for twirling. The neckline is high and wide - almost a boatneck.
The shoulder is buttoned rather than seamed and the buttons are functional, which makes it easy to get over Myra's melon head. Burda's instructions for creating the button placket were totally incomprehensible - something to do with twill tape. I just made it up as I went along, backing the buttonholes with extra wide bias tape and binding the underlap seam allowance with the same and turning it under. It works and it looks fine, but I'm pretty sure Burda had something else in mind. There was also no marking for the shoulder point, so I have no idea where it was supposed to overlap. I managed to get the sleeves in, so I must have been in the ball park with my guess, but who knows?
Size-wise, the 104 is definitely roomy, but the neckline is fine, so it is very wearable. The length is really good, hitting Myra just below the knee. Since there is plenty of room in the bodice, I suspect that once she outgrows it as a dress, I can get an extra season out of it as a tunic.
Myra's favorite part (and I admit, mine as well) is the little velour decal of a deer I added to the bodice front.  It blends a little with the crazy print, but Myra loves it. It's soft and fuzzy. She's calling the dress her "deer dress" in honor of the decal.
Overall, I am pleased with my first attempt at a Burda kids pattern. Aside from the typically useless Burda instructions, the pattern is great and Myra really likes her new dress.