Wednesday, April 27, 2011

BWOF 04/2009-118 pants!

Thanks to all the fit help that I got from all of you, my best fitting pair of pants ever is finished!
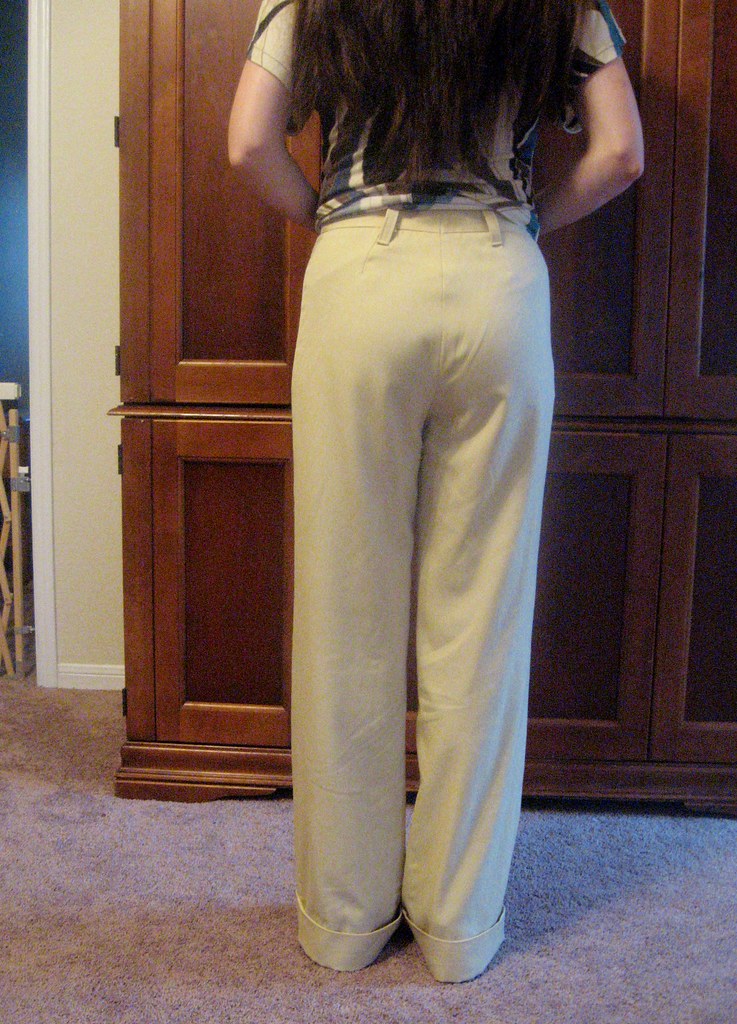
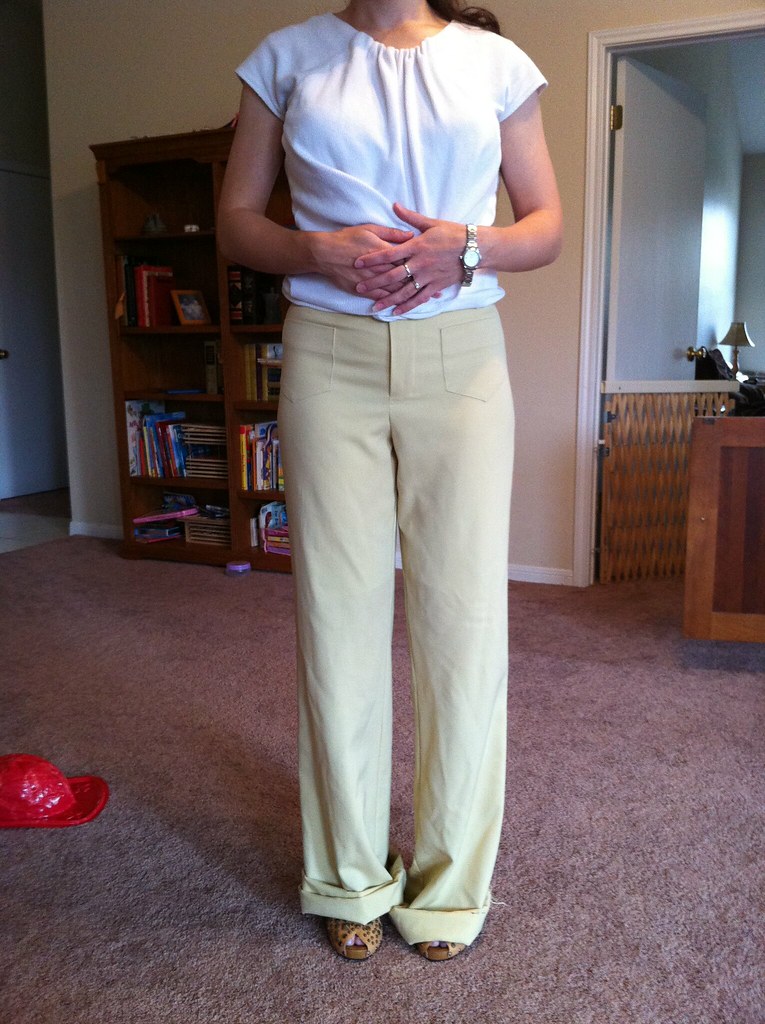
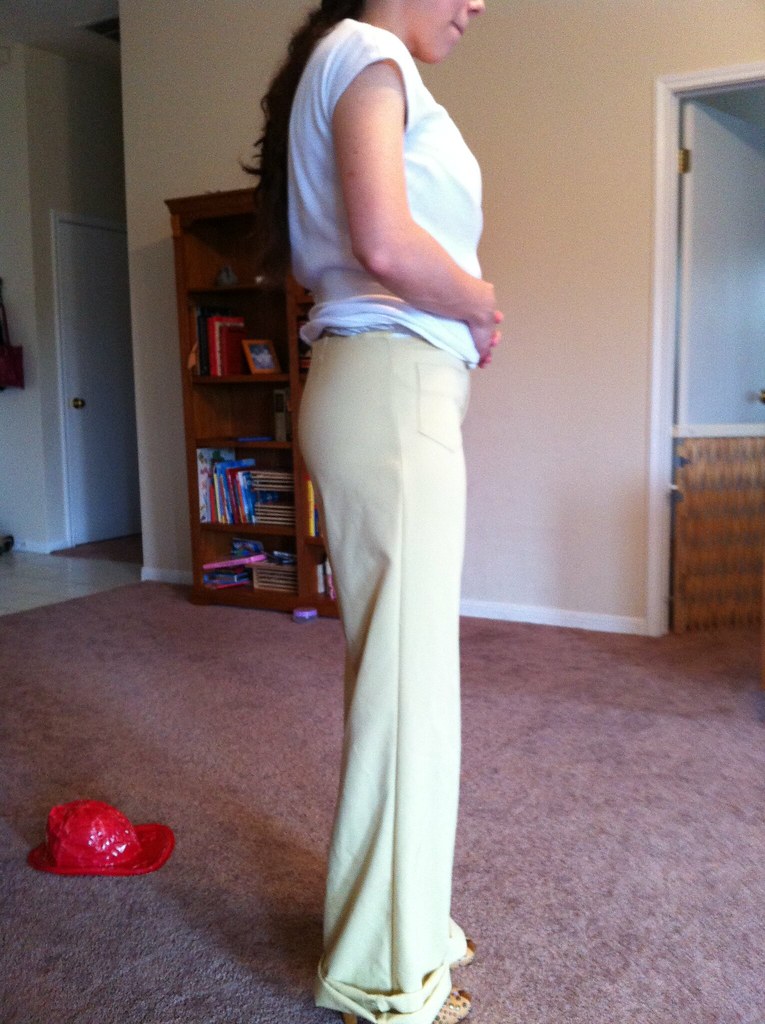
I'm wearing them here with New Look 6816. I thought the Pucci-inspired print was a nice nod to the 70s and went with the bell bottom shape. I hemmed them extra long so that my toes just peep out in heels.
The pattern is BWOF 04/2009-118. It's been reviewed favorably on PR and I can see why. It is a very flattering shape and the waist comes high enough to cover my post-baby fluff, but not so high that they feel like "mom jeans". Alterations I made were to deepen the crotch curve. Back alterations are detailed here. In front I copied the curve from the Jalie 2908 pattern, as I get a good fit in front with them. I also had to take 2 inches off of the length, and I hemmed them for a 4 1/2 inch heel. Now, I am 5' 6" with most of my height in my legs. Flat footed, I have a 32 inch inseam. These suckers are LONG! I also lined them, which this version does not call for. As for the pattern instructions, I didn't use them at all as they are in French in my copy of the magazine. I'm pretty proud of myself for making lined pants without instructions, although I did refer to the Jalie pattern for the fly.
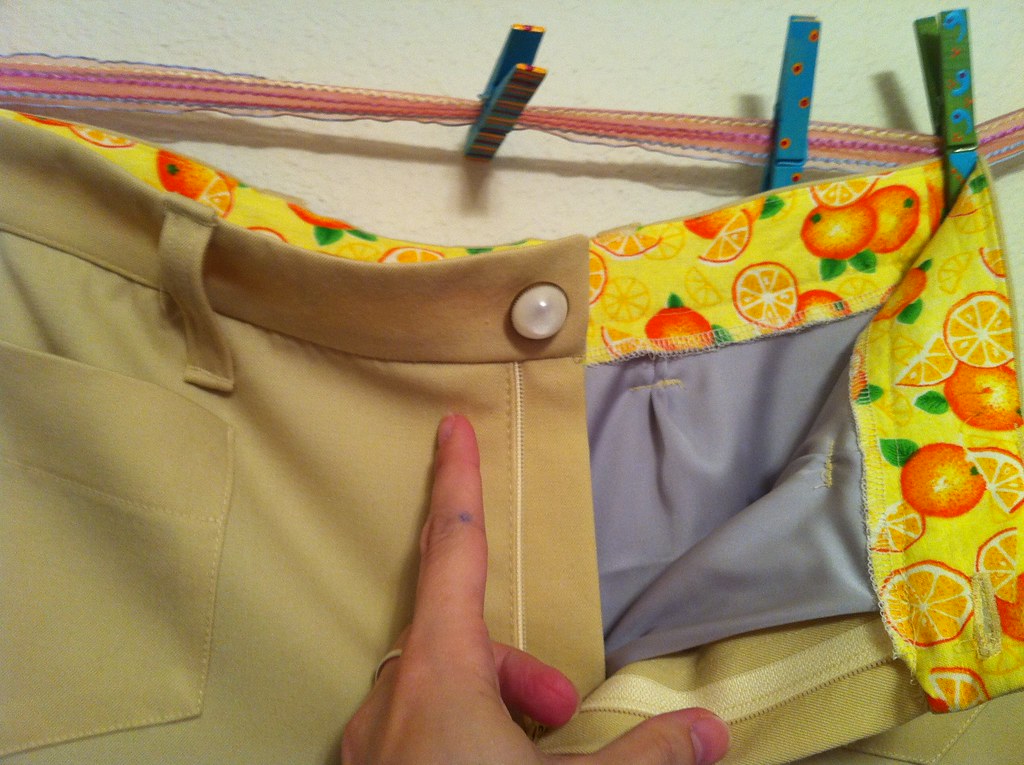
My facings are quilting cotton and I used a vintage button from the stash. It seemed appropriate, but I'm not sure it is going to be belt friendly. We'll see. The fabric for the shell is from a mystery bundle from FabricMart. I didn't burn test it, but it behaves like wool with a bit of poly. It didn't shrink or felt in the wash, but it sewed and pressed like wool. It also feels and smells like wool and is a bit water repellent. It shaped really well with steam. It was a pleasure to sew.
Here is the lining. It is a grey mystery fabric from the stash. It is actually nice and silky. I have about 4 yards left, so I think I may make a top to go with the pants. I saw a grey and yellow ensemble at the Banana Republic Fall 2011 show that I really liked, so I think a grey top would be fun with these pants. In the pictures they are reading as khaki, but they are closer to yellow.
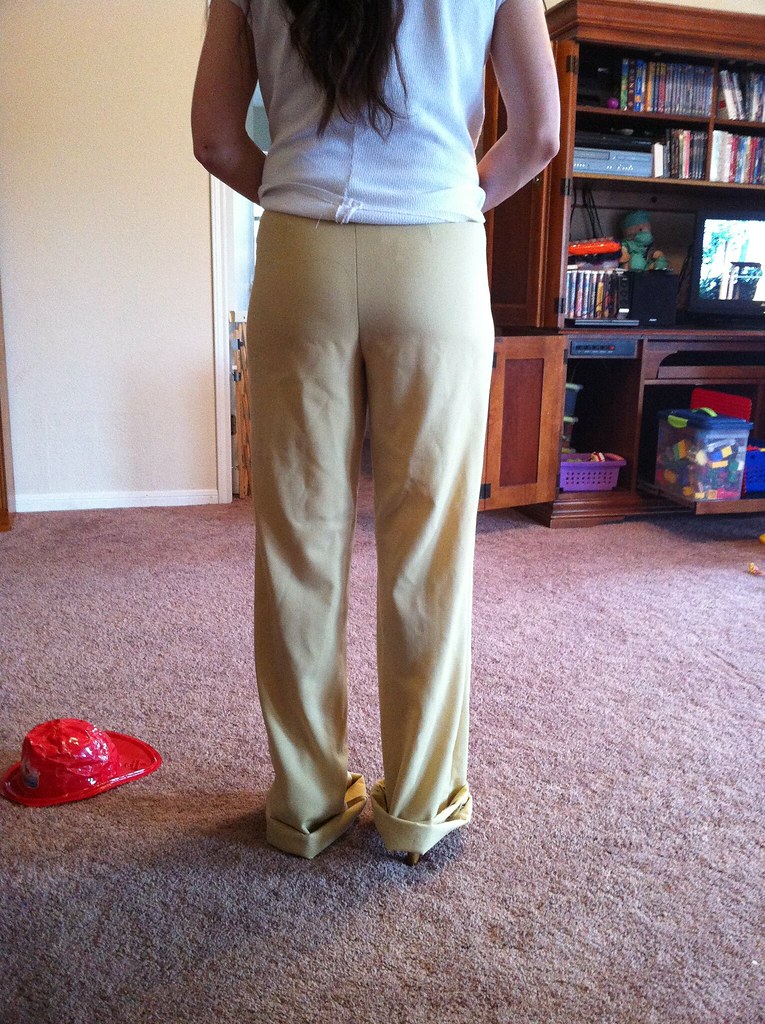
And the fit? Worlds better than unaltered but not perfect. Still, I'm happy. I actually think the asymmetry that you see here is a sewing error. I had a bit of a mismatch in the side seam that I didn't correct and I wonder if that is what is making those ripples on the right. The left side is perfect!
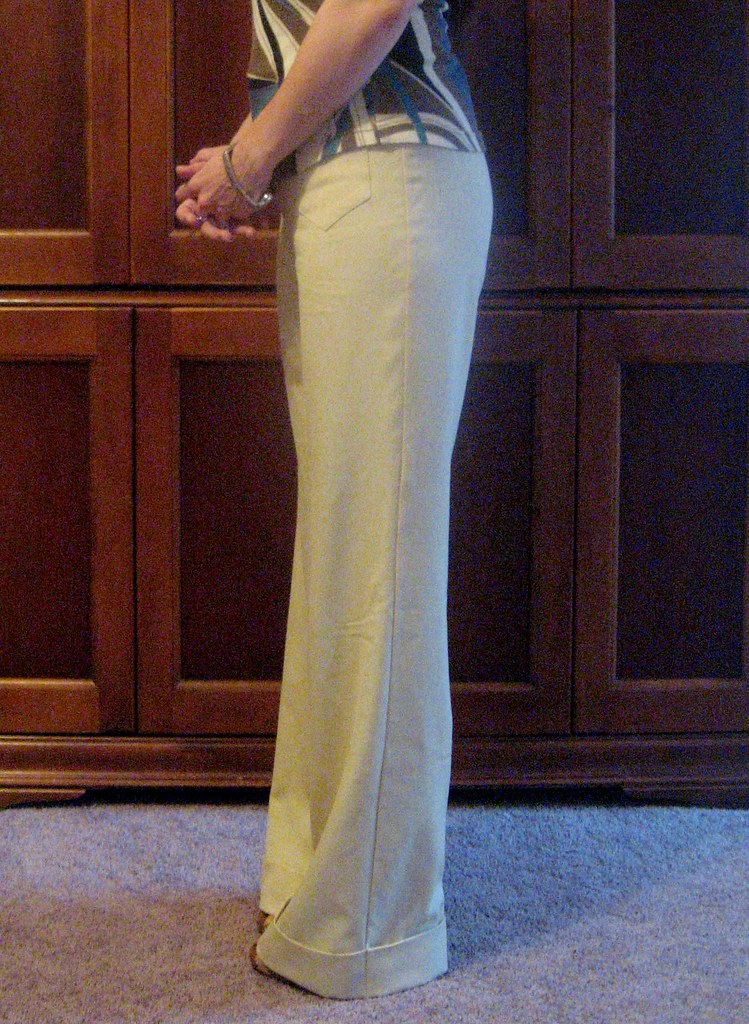
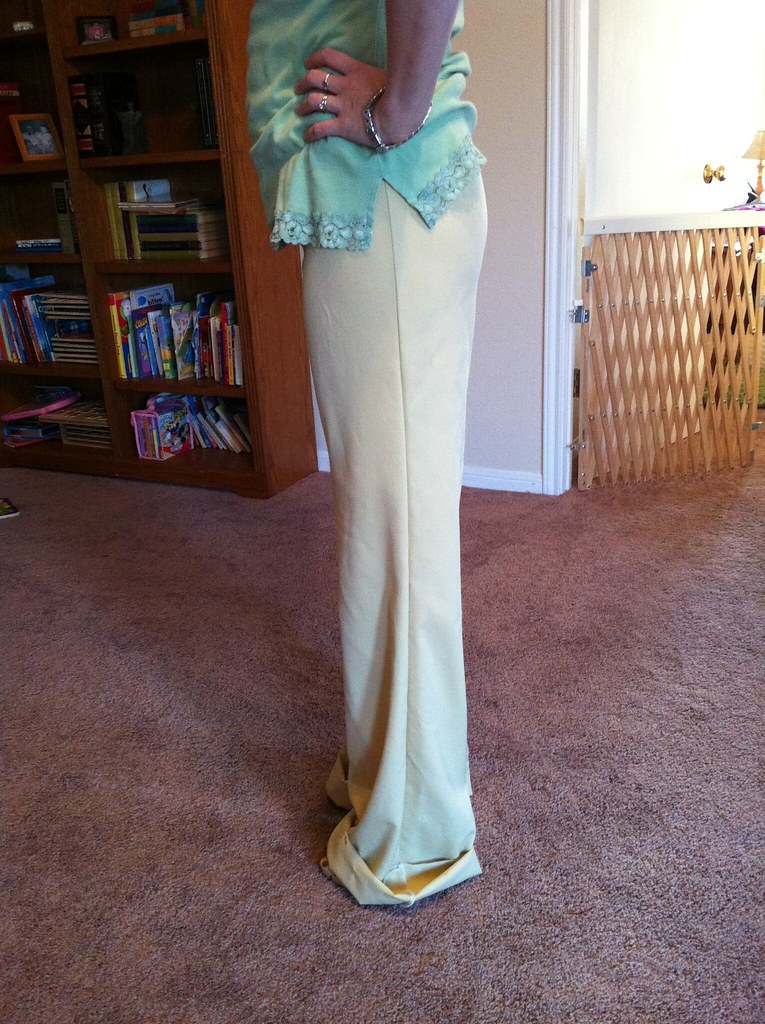
Here is the left side seam. Nice and straight! You can see the shape of the pant better here as well. The flare is pretty pronounced. I really like it.
So, I think I may have a new TNT! As of my writing this, I've been wearing these for several hours and they are very comfortable. The lining makes them feel very luxurious. I'm glad I listened to Mitch on that one! I have another pair of pants from a 70s pattern cut out, and I've copied this crotch curve to them, so we'll see how that goes. They are much higher waisted, so it'll be interesting to see how that changes the equation. So, have you started your Bellbottoms yet?

Monday, April 25, 2011

Easter dress and pants fit update

I wore my dress today! You remember, the one I wasn't sure I liked.
And I love it!! The brown accents are fun and I love the length. It feels kicky and fun. The fit isn't bad, but I think I'm just getting more picky about fit. I'd have been thrilled to find anything that fit this well off the rack, so I'm pleased. That said, I think I'm going to need to start looking closer at the fit in my shoulders. I think I may need to start making a broad back adjustment as a standard change for me. I didn't in this dress and it pulls a bit when I cross my arms in front of my chest.

What about those pants I'm working on? I want to thank everyone for the comments, emails and links you all sent me. I love the support from the sewing community! You are all awesome!! Myrna, who has a similar figure to mine, reminded me of a similar journey that she made while fitting pants. Her posts here, here and here, were so helpful! I'm linking them for your benefit, but also so that I can find them again. The old memory just ain't what it used to be...
So, my next step will be to get a flexible curve to measure my own crotch curve more closely, but I did do some tweaking of the current pants to see what I could do just by deepening the crotch curve.
What do y'all think? I'm pretty happy with how well they fall now. It isn't perfect, but I'm calling it good enough.
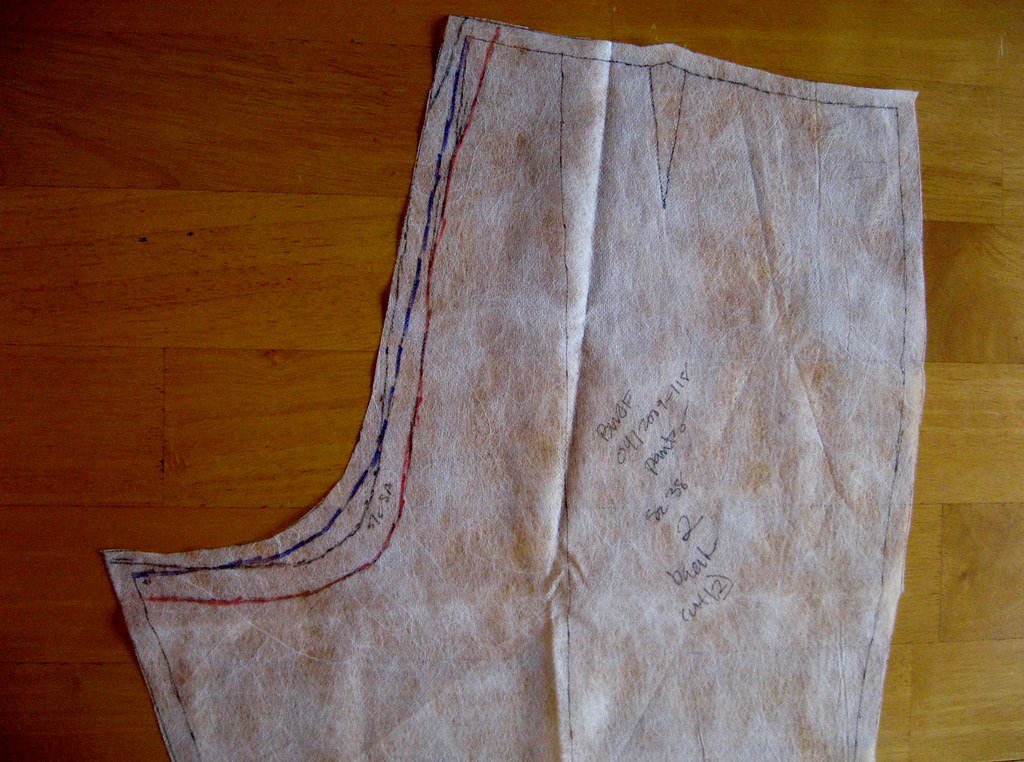
Here is the altered pattern piece. The original seamline is in blue with my altered seamline in red. I dropped the crotch curve down nearly an inch and pinched out about 5/8 of an inch from the back waist. You can see how different the shape is from the original curve.
Joy had asked how the alteration affected the side seam, and I am happy to say, it is still nice and straight.

Pants fitting is very interesting. Everything is so interrelated, but not at all intuitive for me. I'm excited to have this pair coming along so nicely. Hopefully, I'll have a completed pair to show you in a couple of days. Every time I tried them on, Mitch asked if I was going to line them, so I finally took the hint and am adding a full lining.

Thanks again to everyone who helped me fine tune these. I so much appreciate all the help! It's so great to have so many educated eyes to scrutinize my work. You all rock!

Thursday, April 21, 2011

Pants fitting...

Somehow, I find myself in great need of new pants. Since I got my first burda magazine in April of 2009, I've wanted to sew model 118, these cute pants,
but my issue is in french, so that slowed me down a bit. I'm confident enough now in my pant construction skills to give it a go without instructions. What is slowing me down now is fit.
Here they are from the front. The inseams are sewn, but crotch and side seams are just basted so that I can adjust as needed. I think the fit is pretty good actually from this angle.
The side seams are nice and straight, but from here you can see that the back is not falling quite smoothly.
From the rear, I like the fit through the hips and backside, but I have wrinkles in the legs that radiate from hip to knee,
which disappear when I tug the center back up a bit. This does make the crotch just a wee snug, but it fixes the back wrinkles. So, dear friends, here is where you come in. What do you think is going on here? I'm thinking for this pair that I can make them work by shaving off a bit at the back waist, tapering to nothing at the side seams, then deepening the back crotch curve to compensate. What would you do?

Wednesday, April 20, 2011

Ottobre 06/2008-16, the "Tammy" skirt

Thanks to everyone who has weighed in so far about my crazy dress idea. If you haven't scoped out the wild vintage fabric, scroll down to the last post and let me know what you think. So far it looks like I've got some sewing to do...

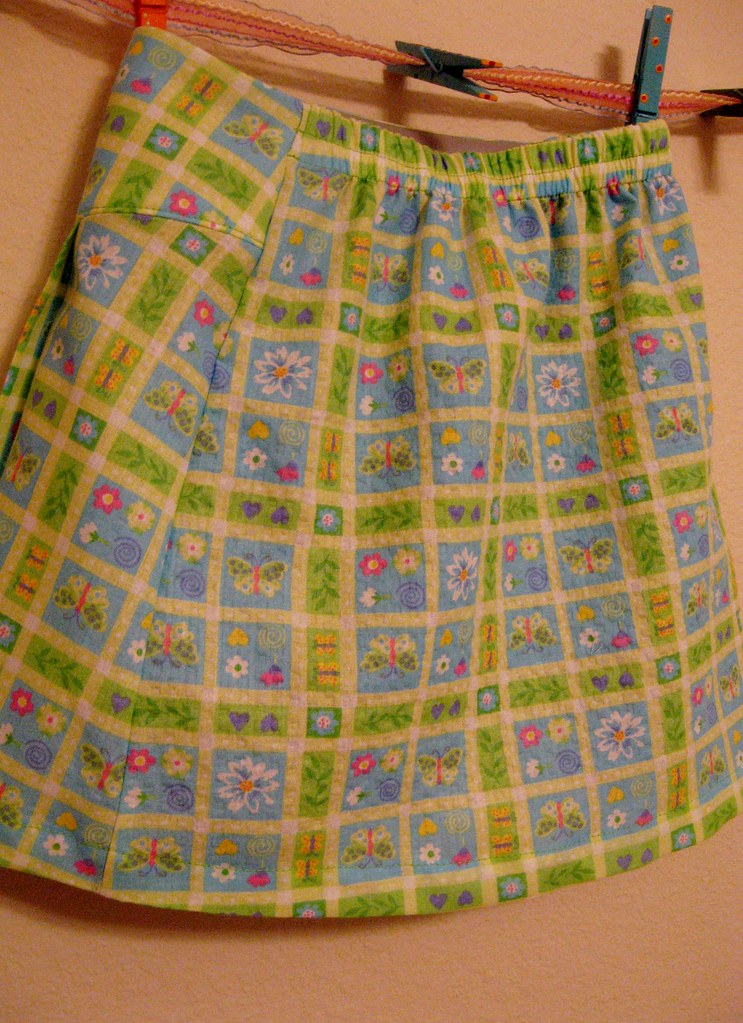
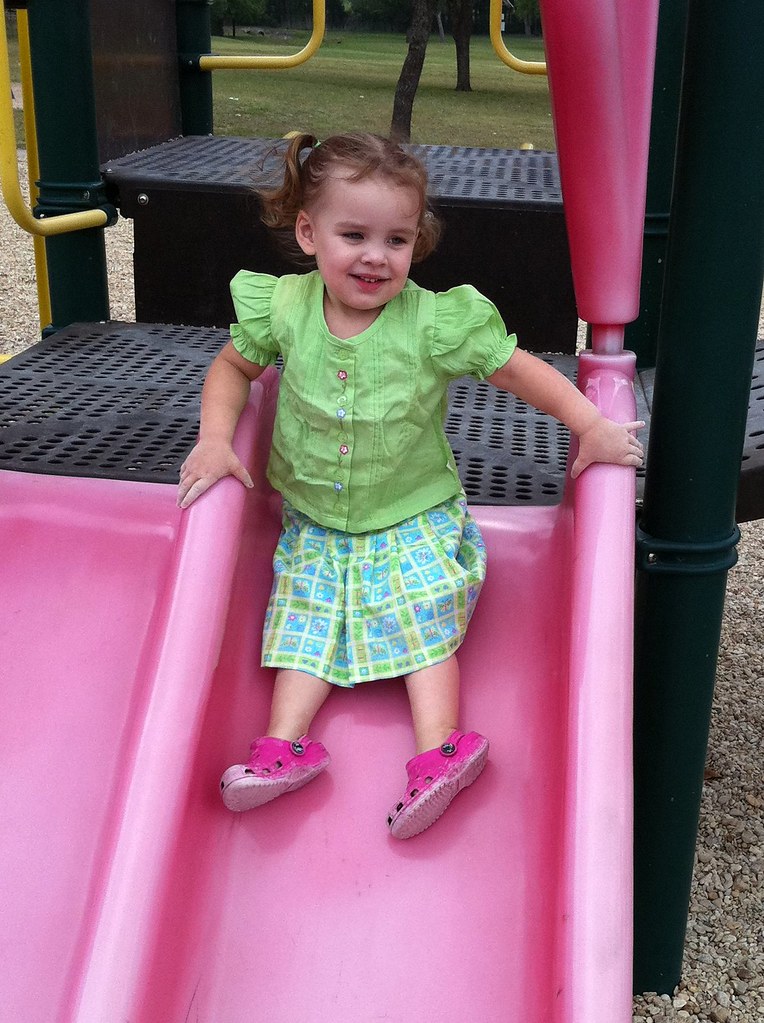
And what have I been doing otherwise? Well, at my last sewing group, one of the ladies brought some tubs of fabric, patterns and notions that her daughter in law had asked her to get rid of. In among the half sewn dresses, random zippers and shoulder pads was a little green Myra-sized top and quite a lot of coordinating plisse. I adopted the poor forlorn yardage and gave it purpose.
I hemmed it long in the hopes that we'll get 2 summers out of it.
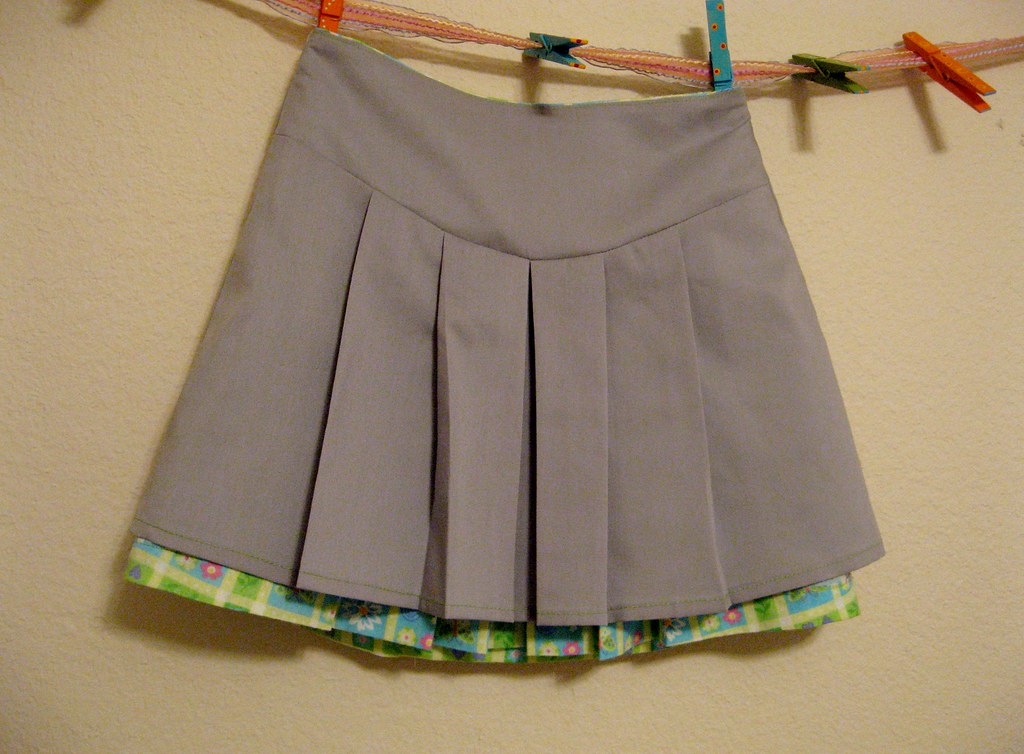
The pattern is from the 06/2008 issue of Ottobre. They call it the Tammy skirt. I call it adorable!! It features a curved front yoke with a center front box pleat and symmetrical knife pleats radiating out. I actually ordered this issue after seeing this adorable version in the Ottobre flickr group. Let me tell you, if I ever need a mojo boost, I just surf the flickr group and immediately want to sew something.
In back the waist is elasticated for a nice easy fit. I photographed it from the side to show you that I actually did take the trouble of matching the print.
It is fully lined - gotta love Ottobre. I used some grey cotton/poly broadcloth of unknown origins. I think it was given to me, which makes this outfit essentially free. Gotta love that!
The pattern construction was kind of cool. You pleated the front, attached the yoke and then facing, then stitched on the pleated front lining. Then the back was attached to the back lining and the elastic basted on. Only then were the side seams sewn, with the skirt and lining sewn as one into a long tube. Then the lining was folded into the skirt and the elastic sewn down. You did have to carefully line up the waistline front with the top of the elastic at the back. Of course, the pattern was perfectly drafted, so it all fit together effortlessly. I love Ottobre, and Myra loves her new skirt.

Tuesday, April 19, 2011

Crazy?

I pulled this crazy length of tricot out of the stash because it was long enough to use as a wrap for wearing Duncan, but as I was playing with it, I thought it would make a cool maxi dress. I'm pretty sure it is authentically from the 70s...
Be honest, completely insane or crazy cool?
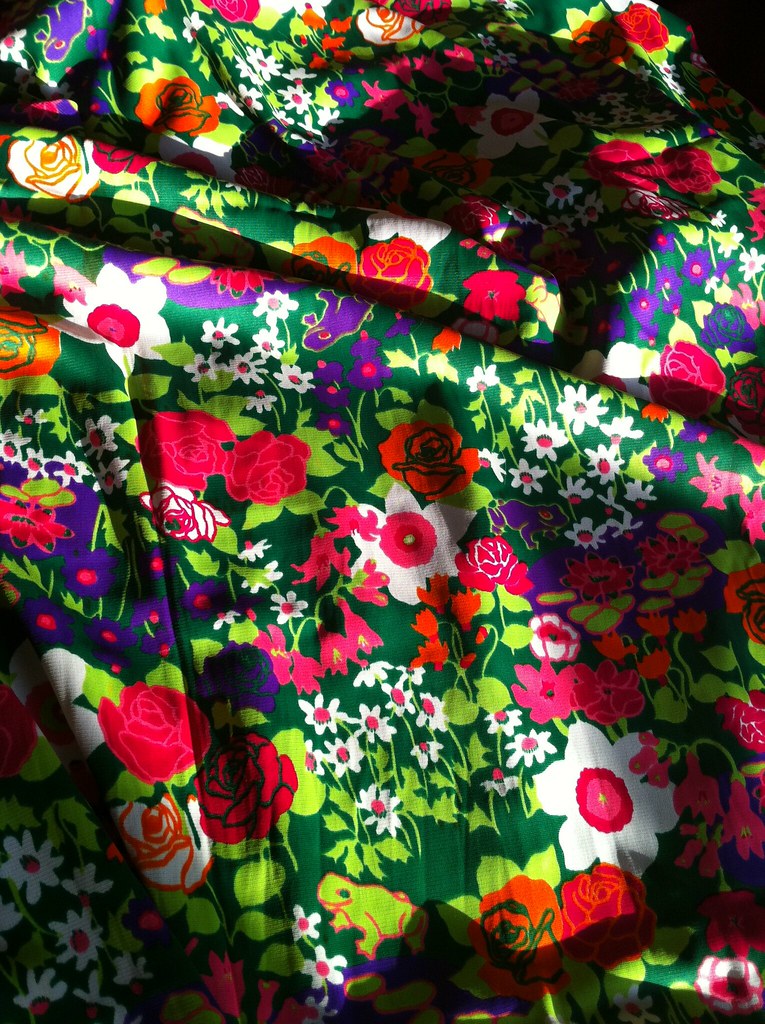
In case the colors in this photo haven't blinded you, here is the print up close.
Yes, it really is that bright. But I love it. Especially the purple frogs. I'm thinking of making it into Simplicity 3503, the view in gold.
If you saw me in the street in that would you pretend not to know me?

ETA: From my mother, who gave me this fabric : "A note on the authenticity. The fabric is, in fact, Qiana. A DuPont -held trademarked name of Nylon that was wildly popular 1968 - 1975. Qiana, like rayon 80 years previously, was intended to replace silk in the American closet. Hardly!! Your father, and grandfather, briefly (pun intended) wore Qiana undies for a couple of years."