Monday, May 16, 2016

Ottobre 03/2016-25, the Paper plane dress

One day last month, Myra had a rough day at school. My Ottobre magazine happened to arrive that day, so a mix of chocolate and retail therapy was clearly in order. I let Myra pick a few favorites from the Kitschy Coo web shop and make some plans for summer sewing. She chose this fun print with just this dress in mind.
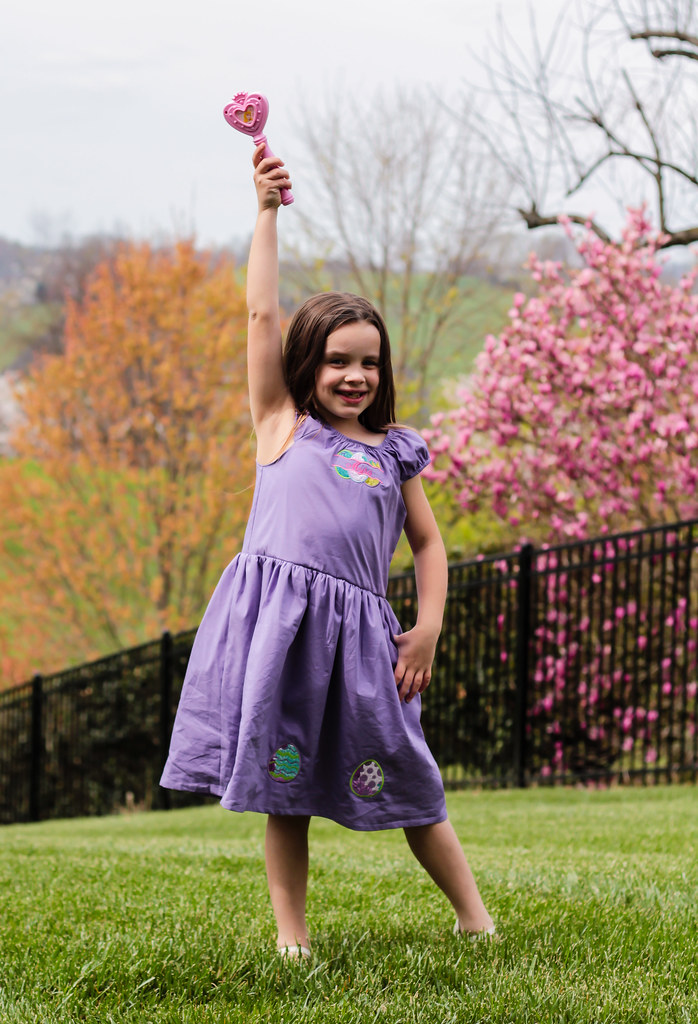
This is pattern # 25 from the 03/2016 issue of Ottobre. It's a drop waist dress with a short, semicircular skirt and gathered flutter sleeves. The sleeves are finished with a rolled edge and the neckline is bound and then darted into a v shape.
The fabric is a cotton-lycra jersey from Kitschy Coo and the binding is interlock from Chez Ami. The pink in the print was a perfect match for the binding fabric! I love it when the stash comes through!
One interesting feature of the pattern is that the front and back are the same pattern pieces, so it can be worn in either direction. Myra prefers the bird side, but if she were in a more floral mood, she could wear it that way too! The v neckline is repeated on both sides, which is a pretty detail in back.
My only real beef with the pattern is how very short the skirt is! The picture in the magazine shows a just above the knee length and Myra isn't quite as tall as the size I made her, so it should have been plenty long. The pattern piece looked short to me, so I added an inch to the length, which turned out to be a good thing or this would have been indecent!
Despite the length, Myra loves her new dress and has already requested another, although she'd like it to be a bit longer next time. Yes, ma'am.

Wednesday, May 11, 2016

Jalie 2918 and heat transfer vinyl

In March I made Mitch a tee, and the pattern dissapointed me in several ways, so I decided to try the Jalie Men's tee pattern, with my trial run being in a somewhat smaller size...
And it also gave me a chance to try out Heat Transfer Vinyl in my Cricut! How fun is that?!
First let's chat about the pattern. Overall, it's good. I've generally found Jalie to have consistently good quality patterns and this was no exception. It went together well. The fit is slim and modern with a nice sleeve length and a comfortable neckline.
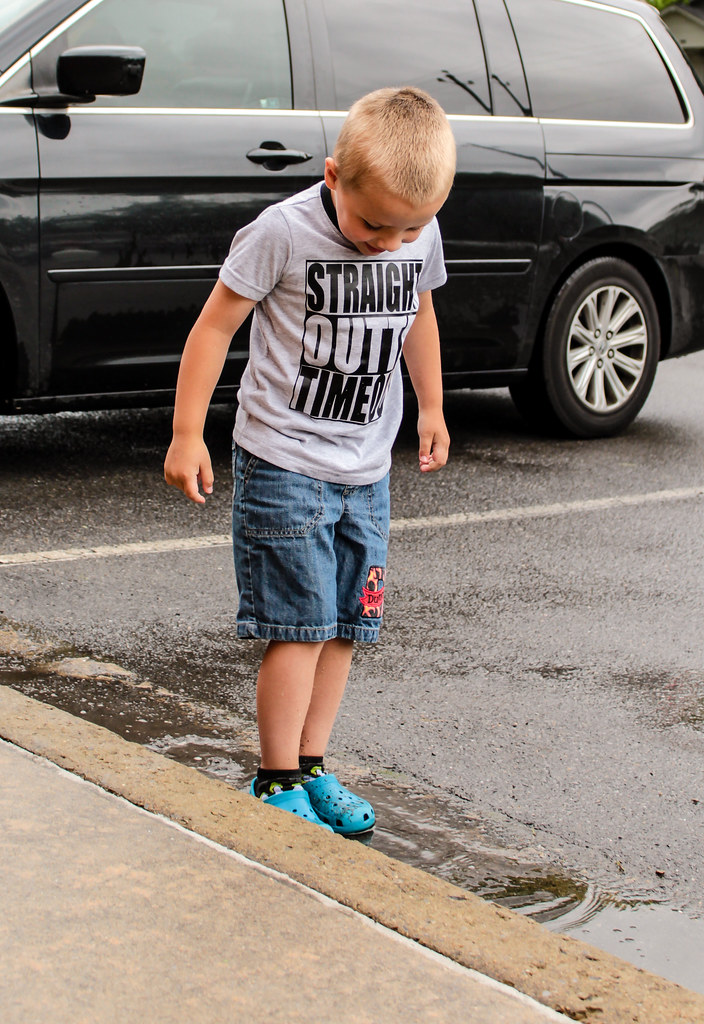
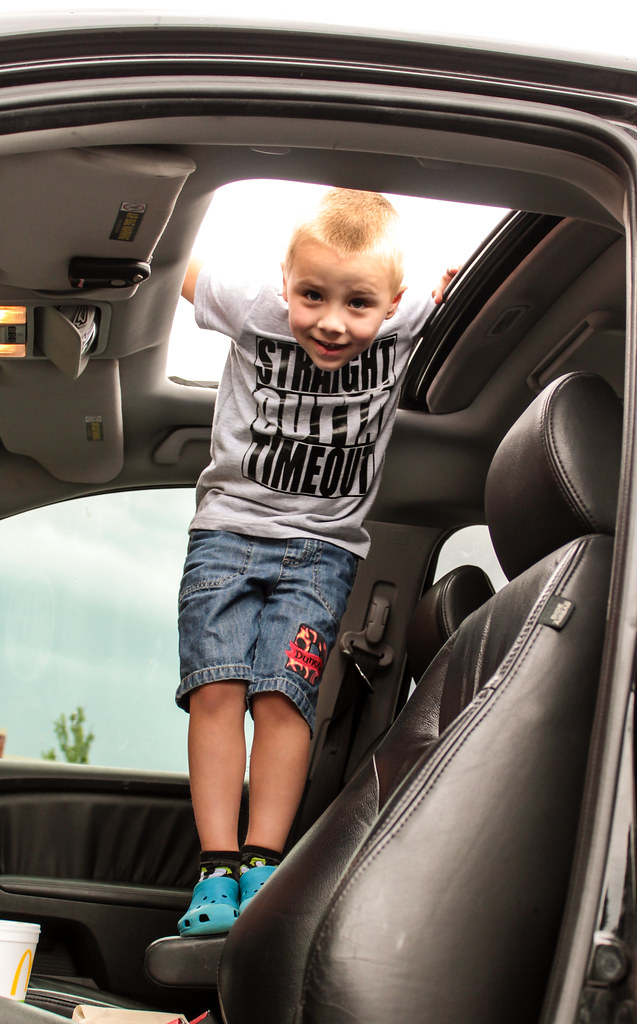
On Duncan (who had already gotten himself covered in mud before he even made it to school), you can see the nice fit. The neckband is slim without any bulkiness and fit into the neckline well. When I initially put the shirt on him, I thought it might  be a bit too long, but in wearing, I think it's just right. RTW shirts tend to be shorter, but I like this length better, It keeps his belly covered, which RTW doesn't always.
In this pic you can kind of see my one complaint about the drafting. The sleeve and armscye are symmetrical front to back. It's not an absolute dealbreaker in an unfitted tee, but the sleeve would hang more smoothly if it was shaped properly. I haven't yet found a men's tee pattern with a properly drafted sleeve, so maybe our guys are just used to their clothes not fitting...
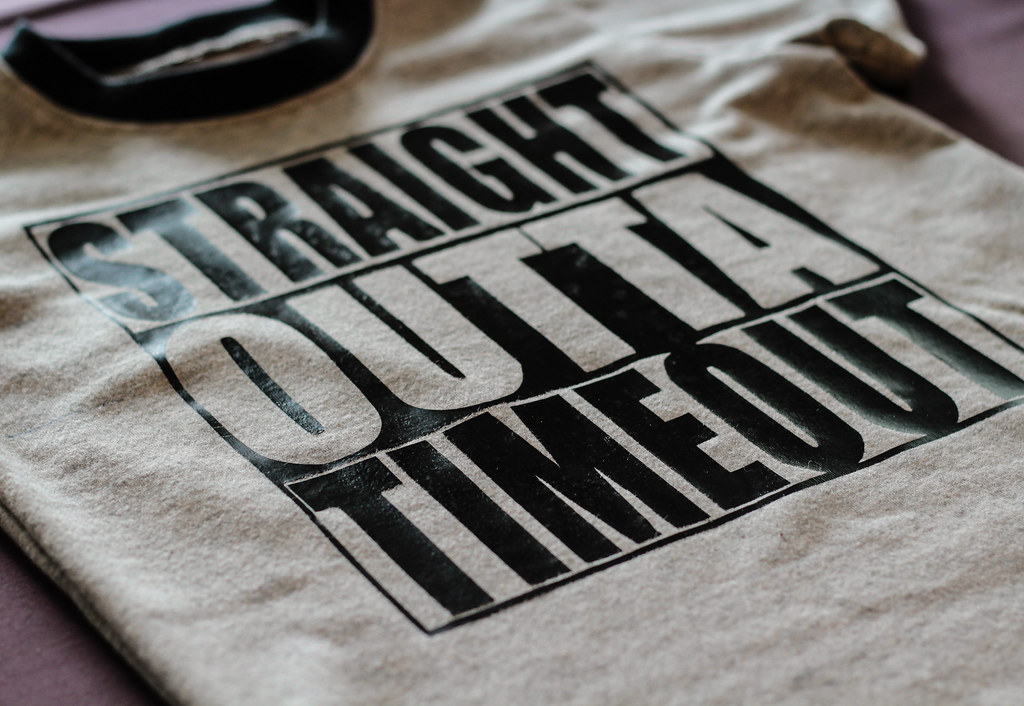
The other fun part of this project was the decal! If you follow me on IG, then you know what a maniac Duncan can be, so when I saw this design on a Facebook page I follow, I knew Duncan had to have it. I used my Cricut to cut the decal from heat transfer vinyl(HTV) and ironed it onto the shirt front before assembling the shirt. It was super easy and I LOVE the way it turned out! Since I don't have a heat press, I used my regular iron. You do have to use a lot of pressure, so instead of pressing it on my ironing board, I used a cookie sheet, which in addition to being a hard surface, also reflects the heat back onto the shirt, strengthening the bond onto the fabric.
Despite the sleeve issue, I think this pattern overall is a win. And I will definitely be working more with HTV! So fun, so easy and such a professional looking result!

Wednesday, April 13, 2016

Simplicity 3503

I've made this dress a few times, and I wear it so often, I wore my favorite one completely out! So it needed replacing.
The fabric is an ITY print from fabric,com. It's a nice substantial fabric, and it was nice to sew. The weight is pretty much perfect for a dress, so I'm glad I bought enough for a maxi.
Pocketses, precious.
The only change I made from previous versions was to omit the shoulder tie. I raised the back neckline significantly when I made it the first time, so the tie doesn't actually serve a function, and it was always coming untied.
And with that - let the summer dress season begin!!

Sunday, March 27, 2016

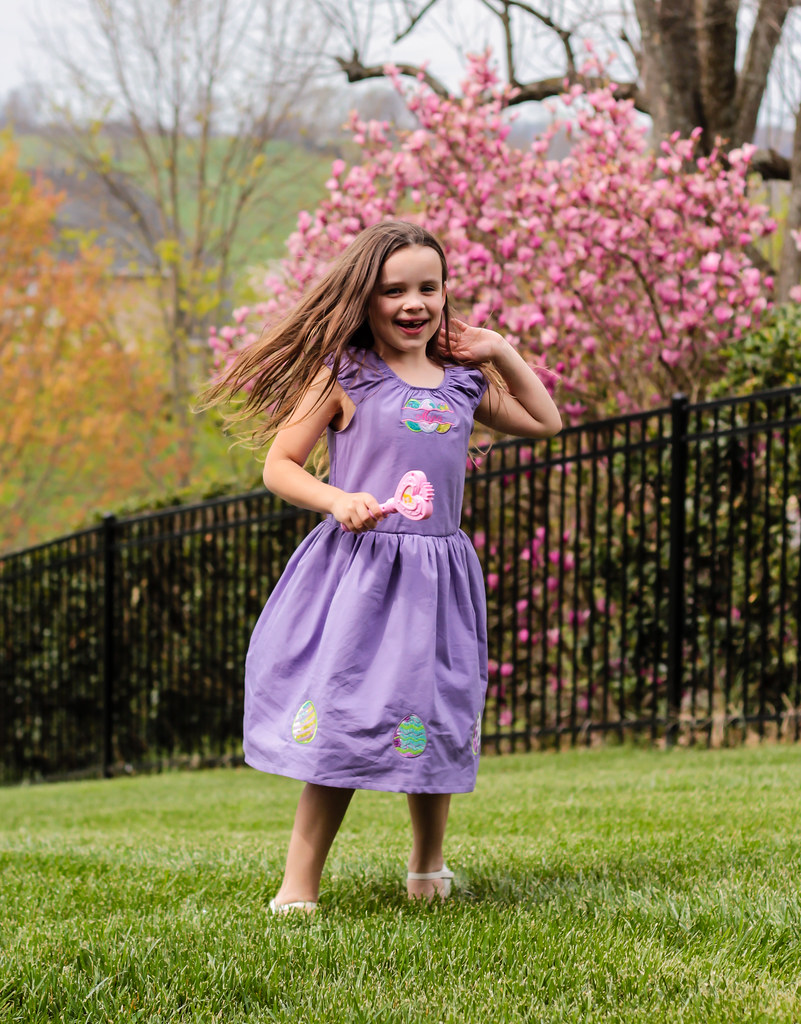
Ottobre 02/2005-12 Easter dress

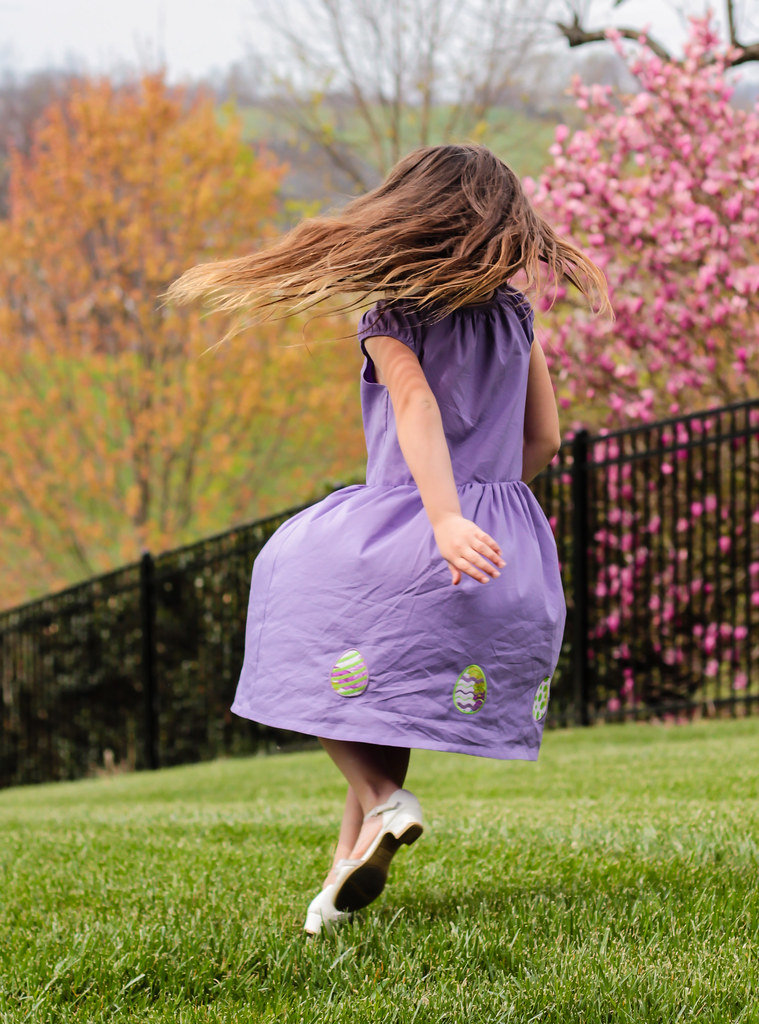
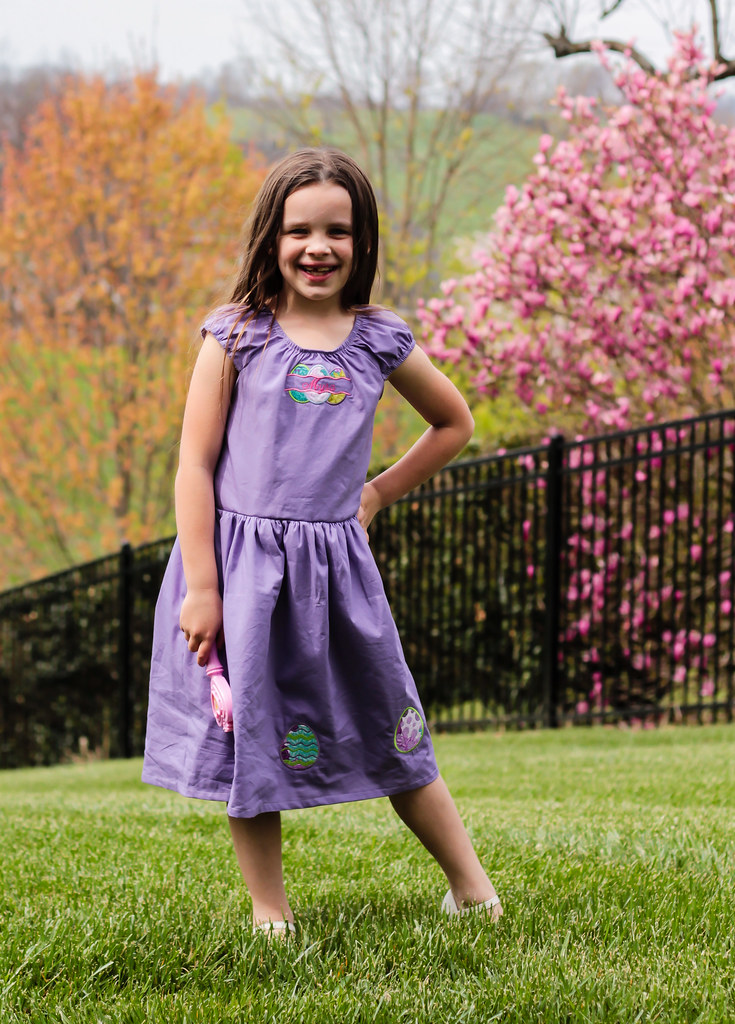
Easter is such a great excuse to make a cutesy dress! Naturally I had to embroider it too. It's just so fun!
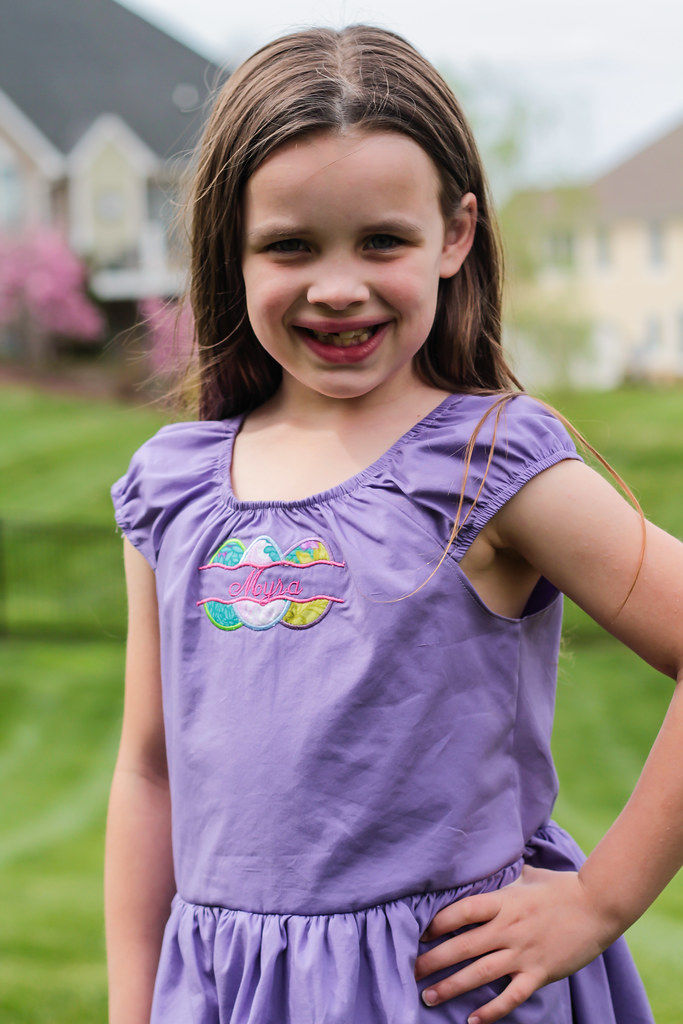
Myra is such a cooperative little model. She works the camera. Anyway, the dress, right? It is Ottobre 02/2005-12, which I made for Myra years ago. It's a nice simple dress with basic lines, which makes it perfect for embellishment!
The dress itself has a peasant style bodice, with elastic gathering at neckline and sleeve openings and a basic dirndl skirt. Normally it would be a quick sew, but I complicated it in every possible way...
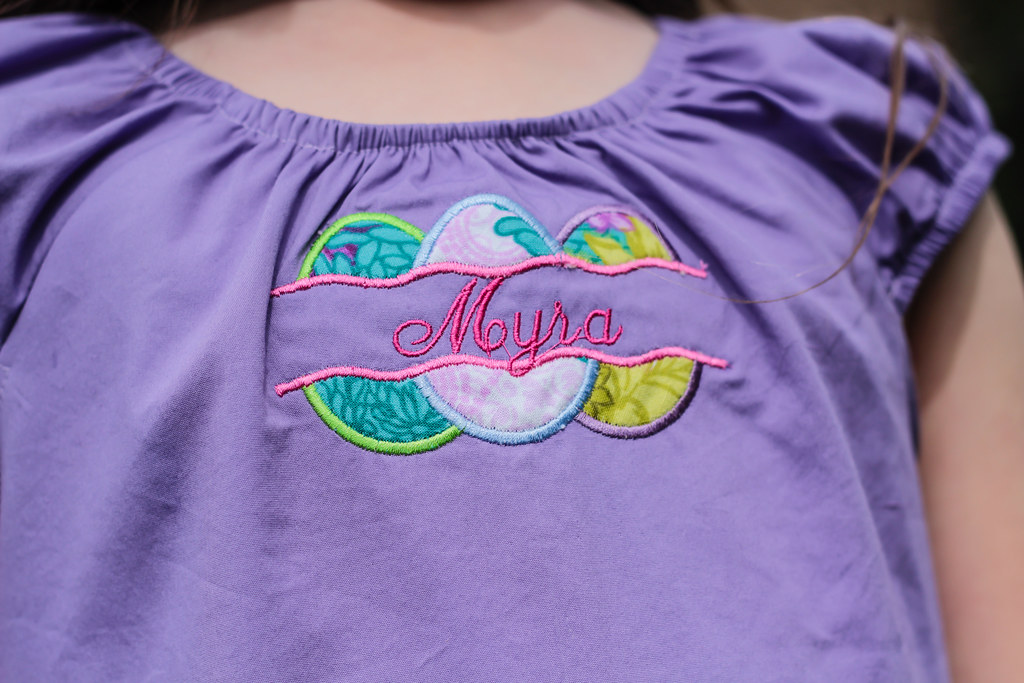
First, I added embroidery. For the bodice, a triple easter egg applique framing Myra's name. This fabric is a shirtweight stretch cotton woven. Really perfect for this dress, but the stretch made the embroidery challenging. I ended up stabilizing with mid-weight cutaway, and floating the fabric. For additional stability and body, I also underlined the entire dress with silk organza.
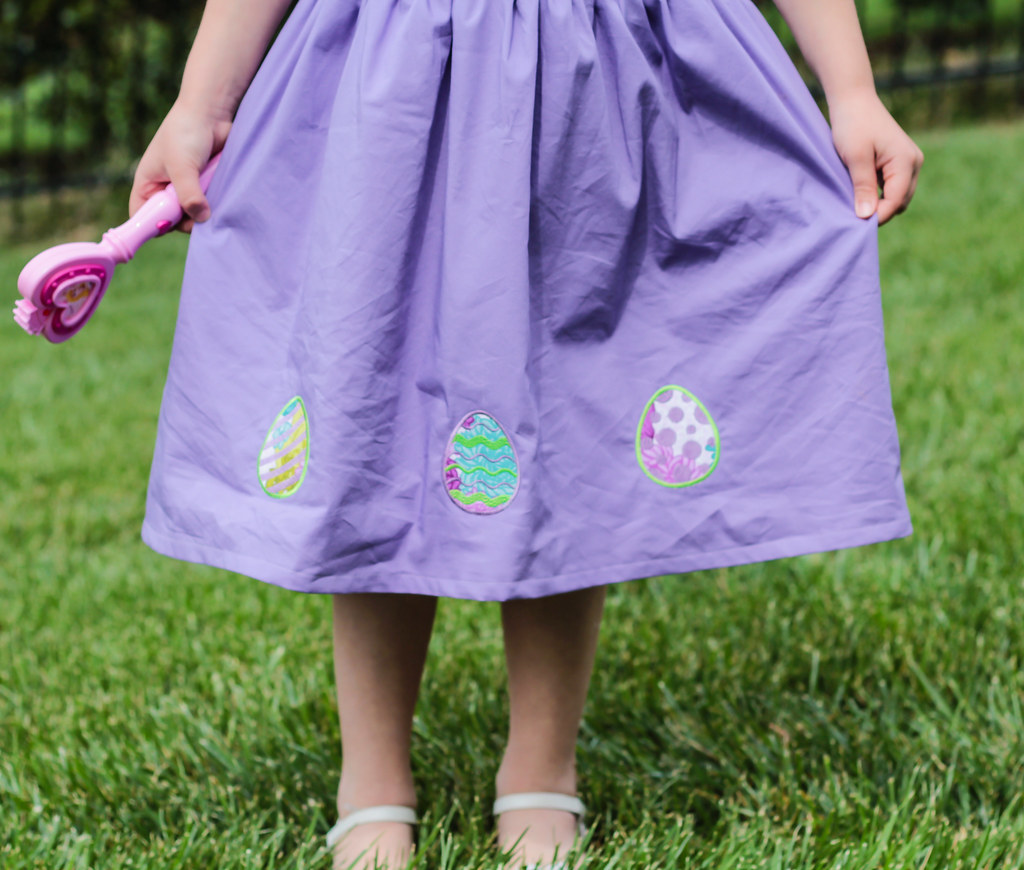
The trio of eggs on the skirt actually needed more stabilization, despite their similarity to the bodice motif. I doubled the cutaway and that did the trick, again floating the fabric to minimize stretching during embroidering.
As if the embroidery wasn't enough to add to the complexity, I also decided to fully line the dress. For the bodice, I actually ended up simply underlining the front and back pieces. My brain wasn't up to figuring out how to attach those cap sleeves and the elastic in a fully lined bodice. I did add the lining pieces after stitching out the embroidery motifs, so the back of the stitching is covered.
To give the skirt lots of pouf, I added a tulle ruffle stitched to the lining in between the skirt and lining, so it wasn't scratchy against her legs. The lining fabric is Hang Free, so it is very soft and comfortable.
Despite the challenges of embroidering this fabric, I'm really glad I went to the trouble of making it work. I feel like I'm learning so much about machine embroidery with each new project. It is so fun to have a new challenge!

Wednesday, March 23, 2016

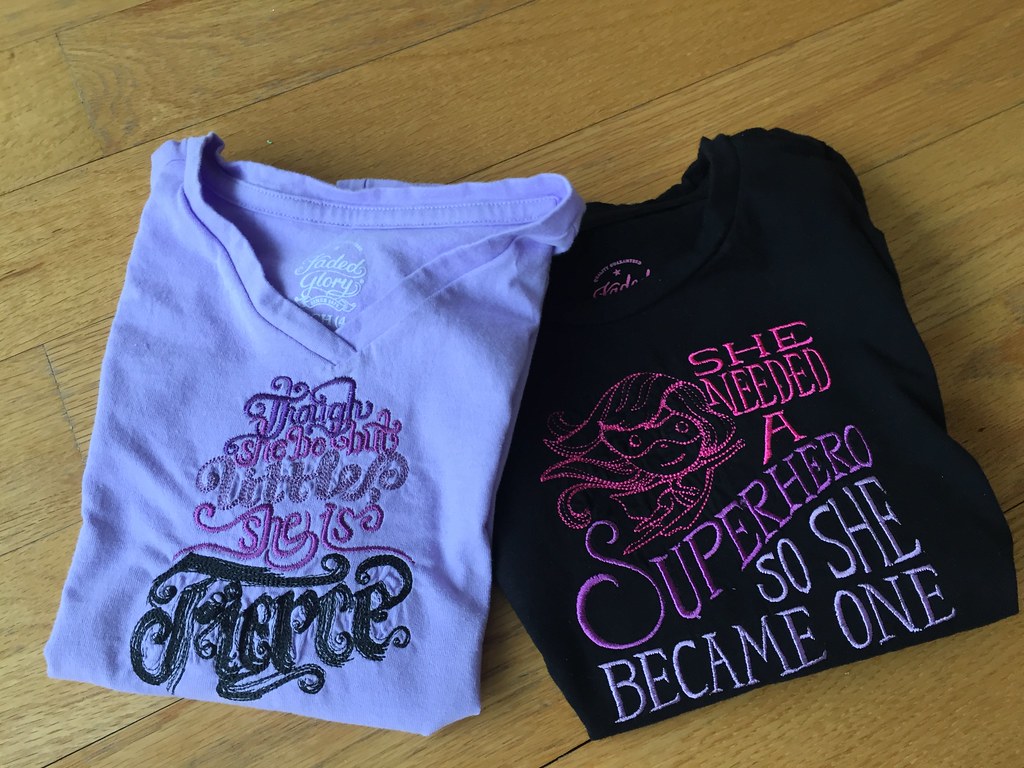
More embroidery fun

The sewing room has been sadly unproductive lately. The kids had Spring Break last week, and we had a few sick days before that. I'm getting back into the swing of things now and cut out a tee shirt today. Fortunately, machine embroidery is less time intensive when I'm not also making the garment from scratch.
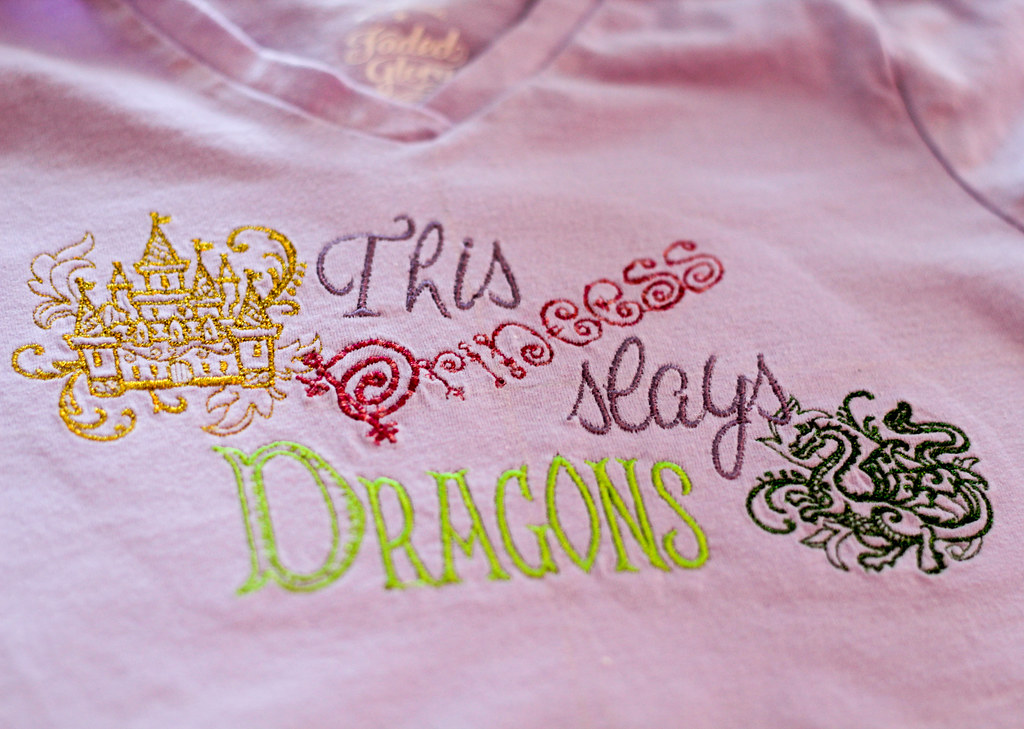
Myra really dislikes "boring" tee shirts, but a $4 tee from Walmart isn't so boring when I'm done with it!
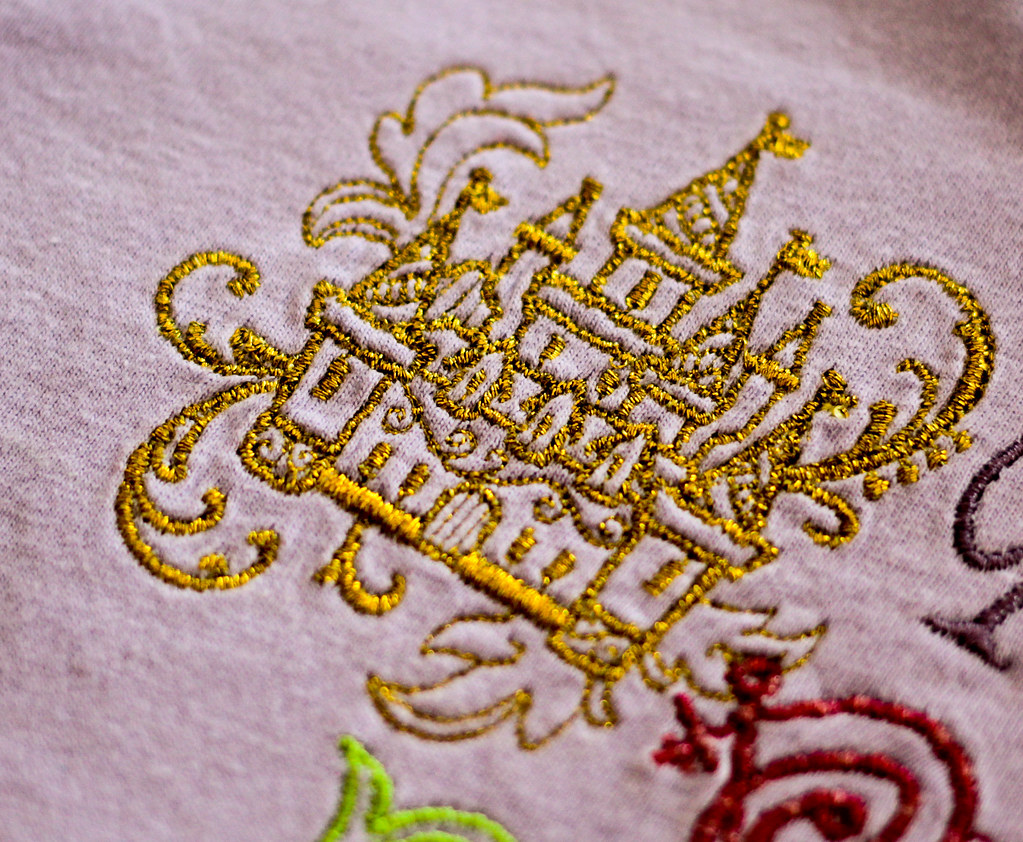
I'm particularly proud of this one, as I designed the pattern myself, combining the dragon, castle and several fonts in Sew-What Pro. I'm really having fun with that program! I love being able to tweak a design and make it my own. Or Myra's own!
I stitched out the dragon and castle in metallic thread. I'm thrilled with how well it worked out, since I've had trouble with metallics in the past. For my machine, the secret seems to be to drop the tension to 2.0 and slow the speed WAAAY down.
One thing I've been learning about is stabilizing knits properly. It's tricky to find the balance between enough stabilizer for the design and not so much that it overwhelms the fabric itself. Even then, the design itself plays a big role - more dense designs need more stabilization. I ruined a couple of shirts attempting designs that were too dense for the fabric.
It seems like satin or running stitch lettering and open, sketchy designs play best with tee shirt knits. A single layer of medium weight stabilizer has been enough for this type of design.
Myra has been enjoying the process too. She helped me design this one herself!