Wednesday, June 19, 2013

SwimAlong 2013: Tips for a professional finish

Today I get a chance to introduce you to an amazing lady, whose swimwear sewing has been an inspiration to me for many years. I can't imagine that you haven't already come across her work in the blogosphere, so I hope you'll make Sarah of Musings of a Seamstress welcome. She's going to share with us some of her professional grade tips for sewing your swimwear. Read on, and fear elastic no more!

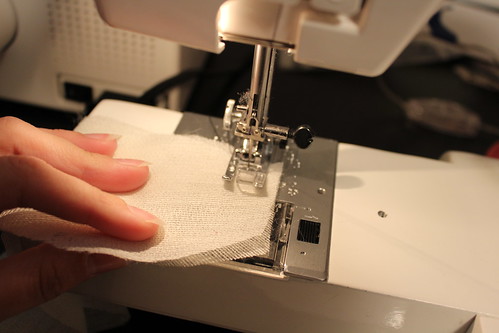
I want to thank Katie and Leila for hosting this SwimAlong and asking me to write a guest post. I wanted to share a couple of different ways to add elastic to your suit and a few other tips I have picked up along the way. I know this has been mentioned on the Twitter #FabricChats and on a few other blogs, but I think this is the most important thing when sewing swimwear (or any knit for that matter) and is worth repeating again. Are you ready?!? Okay, here it goes... Use bulky nylon thread, also called woolly nylon, on your bobbin! Go ahead, write that down, I'll wait. Why is it so important? Bulky nylon provides enough give when sewing stretchy fabrics that you should not be able to snap your threads when stretching it. They do sell it at Jo-Ann's in a variety of different colors, although it can be a bit pricey. I have not really shopped around for it online, so if you find it less expensive let me know! As a side note, when I serge any other knits I use a spool of bulky nylon for each of my two loopers. So, go get some right away along with some stretch needles before you start.
When I first started sewing swimwear for a previous job I was quite surprised to find out that everything was done with a zigzag stitch. No serging required!! Which makes sense, since the swimwear fabric is not going to fray or unravel. Before I start sewing a new suit, I test out my zigzag stitch in a few different widths and lengths to decide what will work best with the stretch of my fabric. Generally you want a smaller zigzag stitch for seams, so that when you stretch the seam you do not have any gaps. On my machine I find that a length of 2 and a width of 3 works best. Once you have settled on your stitch size you can begin construction. There are a few different ways you can use elastic to finish your edges. I choose to do a very basic suit so that I could show you a couple of those finishes.
Bound Elastic
First up is bound elastic, which is probably my favorite. I like to use this one because it adds a nice contrast to the body of your suit. I used it around the just the neckline of mine, but you can use it for all edge of yours. For this finish you will want to use 1/4" braided elastic around the neck. If you are binding the leg holes or armholes you will want to use 3/8" instead. You will also need a 1 1/2" long strip the entire width of your fabric. I prefer to cut this with a quilters ruler and rotary cutter to ensure that I get straight edges.
Start by placing your binding strip and shell fabric right sides together, folding the start of your binding strip about 1/4". This will give it a finished edge for when you turn it. Place your elastic on top of your binding matching the edges and zigzag through all layers. You do not want to stretch the elastic here, it is more for stability.
Next you will fold your binding strip over top of the elastic and end with the wrong side of your binding to the right side of your lining. Stitch on the right side of your fabric along the inner edge of the binding. You will want to hold the elastic taut from the front and back as you zigzag it down to make sure you are getting a clean edge.
Once you have finished that you can trim off the excess binding. I prefer to use embroidery scissors for this because I can get a close cut and not worry too much about cutting something I am not supposed to.
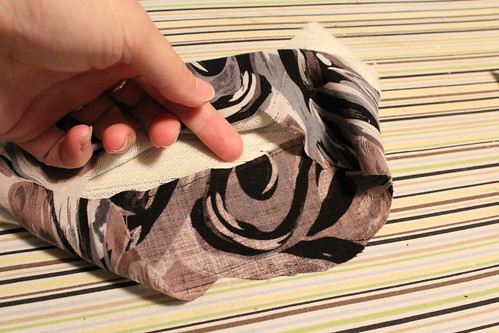
Here is what your finished result should look like from the inside.
This is what the finished binding should look like from the outside.
Gathered, Turned and Stitched Elastic
I think my name for this one pretty much says it all! But I have a few techniques to make this easier than you would think. I used this method for my armholes and leg holes. You will want to use 3/8" braided elastic for these. The wider elastic adds more support to your suit.
First you will want to measure around your opening and subtract 6". This is the length you will want to cut your elastic. Find the center of your elastic and mark it with a pin.
Next you will want to find the center of your opening and mark it with a pin too. For my leg holes, I used my crotch seam as my starting point and folded my opening from there. On mine the halfway mark was not at my side seam, it was about 2" away from the side seam on the back panel.
Then pin the center of the elastic to the center of your opening on top of the lining . For my starting point I overlap my elastic approximately 1/2" and pin. Your fabric will hang larger than your elastic.
For this, when I zigzag, I set my length to a 3 and my width to a 4. I want it to be just a bit wider than the zigzag stitch I use to construct the suit. Working with only half of your opening, you will want to stretch the elastic to fit the opening. Find your midway point and hold the elastic and fabric in place there.
When you start stitching you will want to stretch all layers from the back and the front of the needle.
Once it comes off the back and you release the stretch it will gather the fabric. This is important so that it will allow stretching without snapping threads or ripping your fabric. You will want to make sure your gathers look evenly distributed throughout.
Once you are satisfied with your gathers you will turn the elastic towards the lining and zigzag it down along the edge. Again, you will want to stretch from both the front and the back to make sure you are keeping the stretch. It is important to make sure this second row of zigzaging is on the inside edge of the shell. This will prevent your elastic from rolling to the outside.
This is what your finished opening should look like. To see my finished suit and a review of the pattern I used please visit my blog.

Wow!! Great tips, and I can't wait to try out that bound finish! It looks amazing!! Thank you so much, Sarah. Y'all, she got up off of her sick bed to write this great post for us, and I am so grateful. I hope you learned a ton. I know I did!

Monday, June 17, 2013

Closet Case Files: Bombshell swimsuit - And is it ever!

ETA: You can get the Bombshell swimsuit right now as part of Perfect Pattern Parcel #3! Pick your own price for a fabulous bundle of patterns, and do some good for charity!
Hey SwimAlong crew! After making suit after suit for the girl child, I finally got brave and made one for me.
And what was I waiting for?? This suit is so much better than anything I could have bought in the stores. And it was just as easy as the ones I made for Myra.
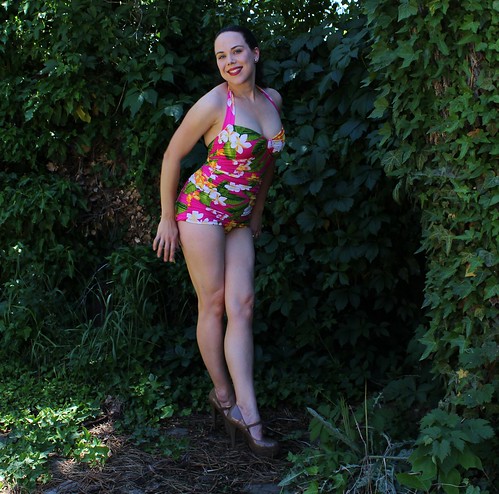
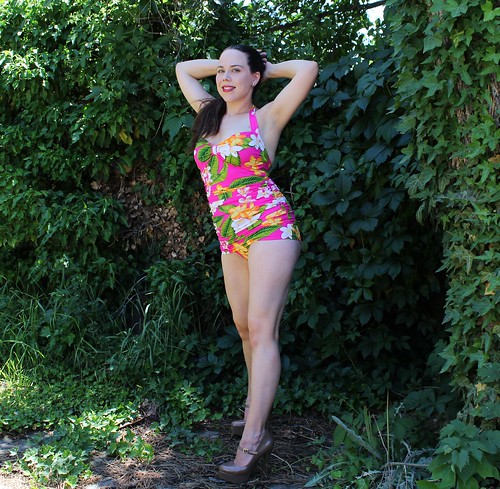
I used the new Bombshell Swimsuit pattern from Closet Case Files, and boy is that name right on the money! I totally feel like a pinup in this thing! Which is pretty amazing for a 30-something mother of three, let me tell you. I warn you now - the photos got a little campy...
If you've seen the pattern, you can see I sewed view A. The suit has nice low cut leg openings, with a ruched overlay in front, making it a swim dress, sort of. The leg openings in front under the panel are more of a mid-cut opening, so they allow for a good range of movement, but the overlay gives the look of a lower cut front leg. There is a full lining, and the option to insert bra cups.
ETA:
Country Girl Couture asked about support in the suit, and I meant to tell you about it, so here it is! I added bra cups and a band of 3/8 inch elastic to support the girls. This won't be enough for say, swimming in a Triathlon, but it held the girls up while running in the sprinkler and jumping in the kiddie pool. In order to place the cups and elastic, I sewed the darts in the lining as the first step, then basted the lining pieces together and tried on the suit. Pin it to your bra, since it doesn't have any straps. I pinned the cups in place over the girls, then used a washable marker to draw a line under the bust. I zigzagged on the cups, then attached the elastic, making sure it just abutted the bottom edge of the cup. Once they are on, trim away the lining under the curve of the cup.
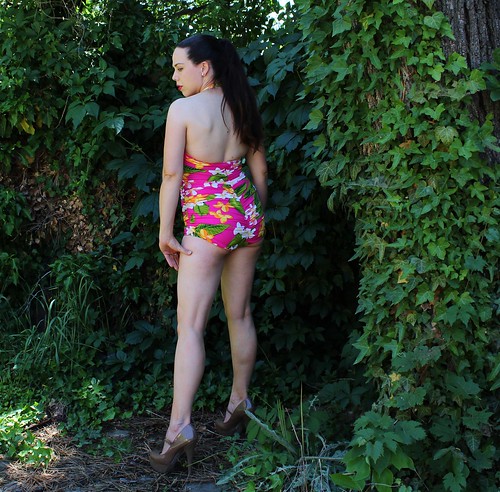
In the back, ooh, la la! Y'all, my tooshie has never had it so good! Full coverage leg openings are comfortable and cover the assets, while the ruching gives the appearance of lift and smooths over any -ahem- rough patches.
The instructions were really great. I loved that Heather included instructions for both regular sewing machine and serger. The only thing I did differently was to use my coverstitch to topstitch the elastic, rather than a zigzag stitch. If you have that option, I'd go for it. The suit looks seriously professional, but I think a zigzag would have been fine, too.
Although the ruching takes some time and precision to do, I think the completeness of the instructions more than makes up for the relative complexity and this would be a great suit for a beginner to swimwear sewing.
And lest you think I spend all day swanning about my backyard teasing cabana boys - here's what the suit really did today. And it was awesome. I haven't had a suit that fit me in a couple of years, so the kids were beyond thrilled that mom could play in the water and run through the sprinkler with them. If the truth be told, I was darn thrilled, too.

Saturday, June 15, 2013

Anne Adams 4799: 1940s dress

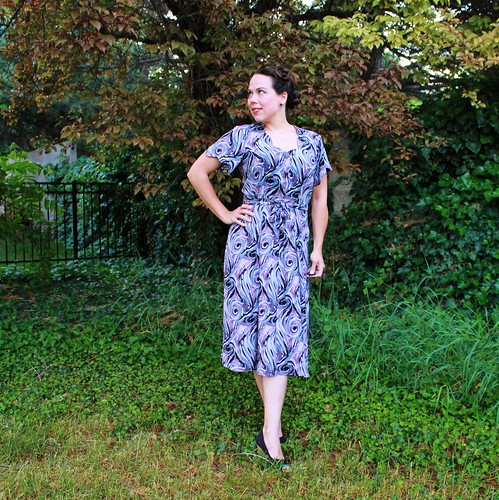
Once upon a time, there was a girl who spent far too much time looking at vintage patterns on Etsy. You see, there was this one, unobtainable pattern and she wanted it! It was perfect. A slim, 40s shirtwaister with a beautiful scalloped neckline and sleeves. From time to time, it would appear, always in the wrong size. Then one day, she heard about a pattern sale at Vintage Martini, and there it was. And only a size too large. Our intrepid heroine pounced.
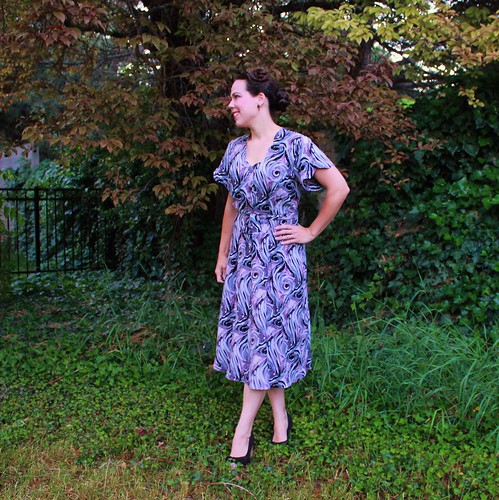
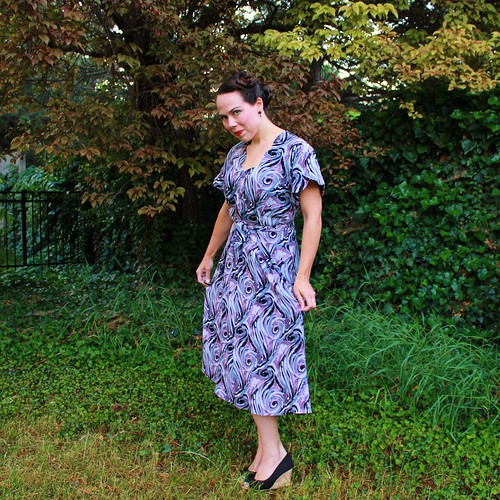
And so it was fate, that brought Anne Adams 4799 back to life. The fabric is a rayon challis (from FabricMart) that felt to me like it had a 40s vibe.
I wish I could tell you precisely her age, but alas her envelope has been lost through the ravages of time and couldn't find another just like her. A tiny pencilled notation "post-45" provides a little clue. Also the clearly 1940s style and the slim, economical skirt.
The pattern is unprinted - the first I've ever made. I'll not be afraid of them again though. It took a little puzzling to decipher the meaning of all the little holes, but it was no more challenging than reading a modern pattern, once you knew what they meant. The pattern provided a very clear key in the printed instructions.
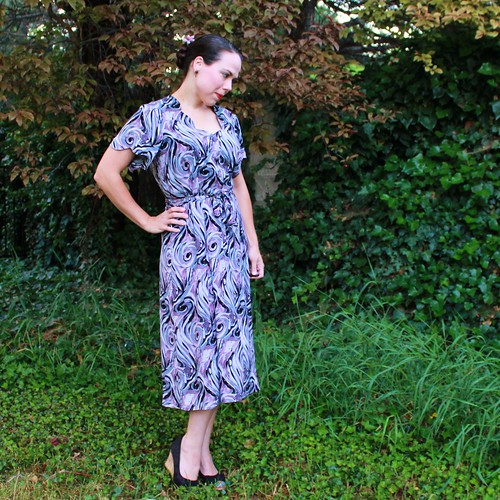
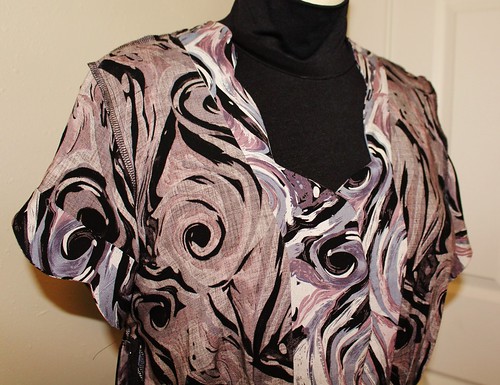
What really drew me to this pattern was the gently scalloped neckline. It's so graceful and pretty. I think we can all use more pretty in our lives. The scalloped sleeves are lovely as well, although the drape of my fabric obscures them a little. You can also (barely) see the buttons I chose in this picture. I had the hardest time choosing buttons for this dress! Thanks so much to the collective wisdom of Instagram, Facebook and Twitter. I finally decided to go with fabric covered buttons like the pattern envelope, but I used bits of the fabric that were heavy on the mauve-y pink component of the print, so as to bring that out a little.
I mentioned the slim, economical skirt, and you can see, it is. If the pencilled note on the pattern envelope is to be believed, this is a post-war pattern, but it was still extremely sparing of fabric. The skirt is beautiful - gored in back and box pleated in front, but it is not at all full. I was frankly amazed at how little fabric this dress took, considering the fullness of the bodice and the length. The pattern pieces fit together quite exactly and there was very little waste.
The pattern is unlined, with facing finishing the neckline and sleeve hem. The dress closes with buttons in front as well as a "slide fastener" or snap placket at the side seam. I elected to insert an invisible zip. I finished the inside seams by serging them, but used the clean-finish facing technique to finish the facing edges.
I really love the length, although I think the pattern is intended to be a tiny bit shorter. When I tried it on to pin my hem, I loved how it looked unhemmed, so I just turned and stitched a narrow hem, but the pattern calls for a fairly generous hem allowance. Or maybe I'm taller than the average woman in the 40s? My only regret is that I got so caught up in stitching this up, that I forgot to add pockets! Hopefully that won't doom this dress to the back of the closet, because other than that, I really love it.

Today's Tip

I mentioned the clean finish facing technique and I wanted to show those of you who may not be familiar with it (or haven't tried it yet) how easy and beautiful it is. I've seen this techniques on several other blogs (The Slapdash Sewist and Sunny Gal Studios come immediately to mind.), so I'm not inventing anything new here, but I did want to show you how I do it. I'm going to be applying the interfacing to the sleeve hem facing, which is in the round, just for reference.
First, stitch any seams on your facing itself and press the seams open. Don't finish the seam allowances at all. You want to minimize bulk. In this case, this is the underarm seam, but for a neckline facing, assemble the facing by stitching the shoulder seams.
Now sew the same seams in your interfacing. You'll sew with the non-adhesive (right) sides together. Just seam it like you would fabric. It seems odd, but it works just fine.

Trim the seam on the interfacing only to about 1/8 inch and finger press it open. Don't use the iron! You'll prematurely melt the adhesive and have a big mess.
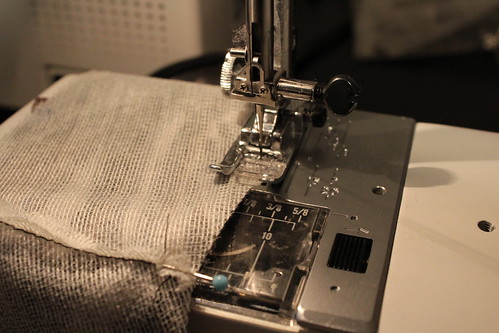
Now pin your interfacing to the facing, right sides together (that is, the right side of the fabric to the non-adhesive side of the interfacing) and sew with a very small seam allowance (1/8-1/4) along the outer edge of the facing. This is the edge that you will NOT be attaching to the garment edge, that is, the edge that is hidden inside your garment.
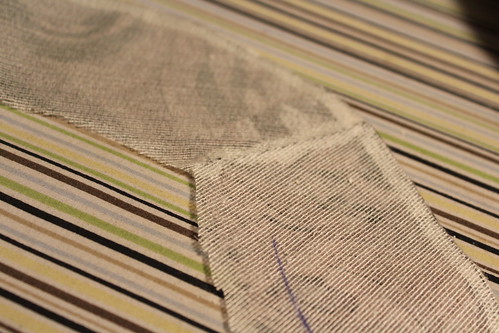
Here is my sleeve facing, immediately after sewing that seam. You can see the right side of the fabric and non-adhesive side of the interfacing are seamed together at the edge of the facing. Now we have to press it and make it pretty. This is the fussy part, since you have to be careful with the iron. Don't want to fuse interfacing to the wrong spot!
The first thing that I do is press just the seamline flat onto the interfacing. With the fabric/interfacing unit right side down on the pressing surface, gently glide just the tip of your iron along the seamline, lightly adhering the interfacing to the seam allowance. This is sort of a fusible understitching and helps your interfacing side roll to the inside and stay invisible.
Now fold your interfacing down onto the wrong side of the fabric right along the seamline. Favor the fabric side slightly so that the seam rolls to the interfacing side and is hidden in the final garment. I always like to press along the seam first all the way around, then fuse the body of the interfacing to the fashion fabric in sections. You may find that your interfacing hangs off the edge a little. Just trim it away when you are finished fusing.
See how nicely the seams are enclosed? That's my favorite thing about this method! Since you seam the fabric and interfacing separately, the seams are sandwiched and fused between them in the final garment.
And here is how it looks in the finished garment! Smooth and clean, with  no unsightly lumps from a turned under hem or a serged edge.

Wednesday, June 12, 2013

Kitschy Coo Lady Skater Dress - Peplum style

I know you've all been chomping at the bit to get the new Lady Skater Dress pattern, and you are in luck. It's here!!! And as promised, my first version of the Skater Dress ...
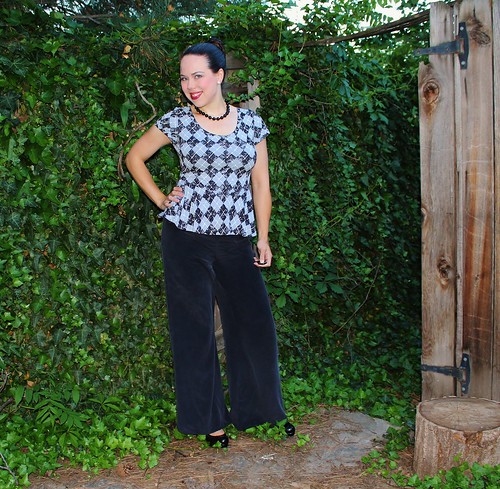
Wait a minute... Yes, that is a peplum top. Using the Skater Dress pattern and Amanda's peplum top tutorial so that I could make my very own Skater Peplum.
 And no, this had absolutely nothing to do with the fact that I cut out the bodice first, sewed it up, and THEN realized that I didn't have enough of this argyle print jersey left to cut a skirt. When life gives you short cuts of fabric, make peplum tops.
Isn't the fabric fun!? It came from FabricMart, and when I got it, I thought I'd make kid's stuff with it (In fact I did make Myra some leggings - which I why I ran short for the Skater skirt.) Then Carolyn made it into a fabulous cardigan, and I realized that it was actually all mine, and the kids were SOL. I win!!
I think the fact that I was watching the Tim Burton version of Alice in Wonderland may have also spoken to my fabric choice. And I love it!!
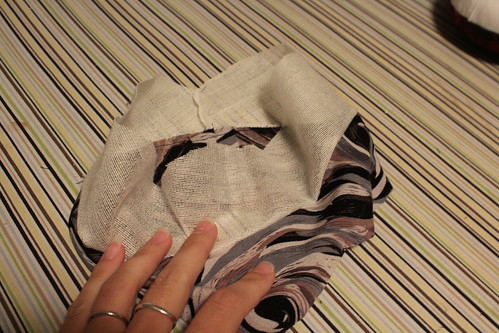
So, what are you waiting for?? The pattern is out!! Go, get it!!! And should you like a Skater Peplum of your own, I did use Amanda's tute, slashing and spreading the skirt to a circle skirt as she describes. I even used the same length (8 inch pattern piece, with a 5/8 hem so the finished length is 7 inches). No go! Sew up some Skaters!!
Monday, June 10, 2013

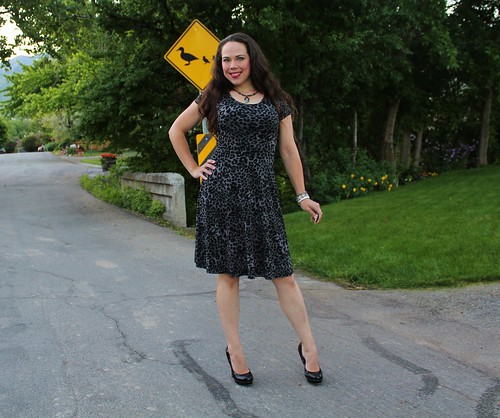
Kitschy Coo Skater Dress - All grown up!

If you've been online in the last couple of months, you've seen the teasers for the new Adult version of Kitschy Coo's Skater Dress. I've been chomping at the bit to get my hands on this pattern, so when Amanda asked if I was willing to test it, I might have jumped out of my chair and squealed.
I know, right?? I think it's the perfect dress.
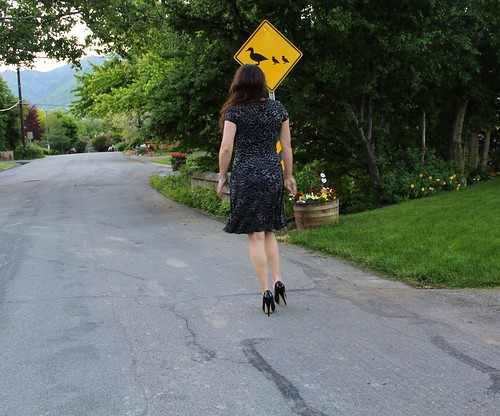
And I may have taken a ridiculous number of pictures of it, so be warned.
Kitschy Coo Spy Girl.
This is actually my second version. I'll show you the first one I made when the pattern is released. It's fun. I did make some minor alterations, but the pattern has since been modified. Since the changes I made won't be relevant to the new version, I'm not even going to tell you about them. They were extremely minor.
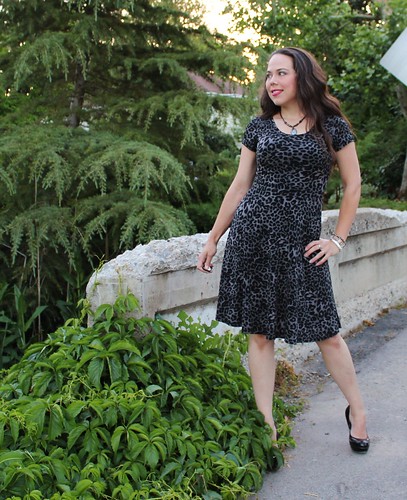
I love the way Amanda has the sizing done on this dress. The sizes are 0-8 and based on your high bust and high waist measurement. For reference, I have a 33 inch high bust, so I made the size 3. Busty girls, hold on to your hats - I didn't do an FBA!!! There is definitely some negative ease in the bust area, but the dress is flattering and comfortable, so I'm not changing a thing.
The fit overall is fabulous. Flattering and body skimming. I made this version in a thin ITY, and as you can see, it slides right over my lumps and bumps without clinging. The waistline is at the natural waist, and the skirt flares from the waist to just skim the abdomen and hips.
I've already worn it twice since making it last week, and I absolutely love it. It looks amazing (if I do say so myself) and is completely comfortable. I feel like I'm swanning about in my nightgown. And nevermind that it was super easy to sew! I made this dress in about an hour, cut to hem. Seriously, awesome. I can't wait for the release, so you can sew it too!!

ETA: It's here!!! Buy it now!!