

Howdy y’all! I’m so happy I can share with you this
nifty little cover-up and that Katie was kind enough to ask me to do this, even
though I’m probably late. I do things last minute ALL THE TIME. So, the pattern is a free download from
fabric.com, you can get it here.
It’s basically a kaftan with contrasting trim and straight forward directions.
I do want to share with you a few things I felt needed to be clarified and
small tweaks to the pattern. **Important**
Almost all seam allowances are 3/8 of an inch.
First off you want to go with your hip
measurement. This is essentially a
rectangle with some elastic and ties for shaping, which works very well for a
semi-sheer cotton or linen. The kimono styling of the sleeves means you really
don’t need to make adjustments. Since this is a PDF pattern from an indy
company, I DO recommend looking at the layout sheet, it looks like this:
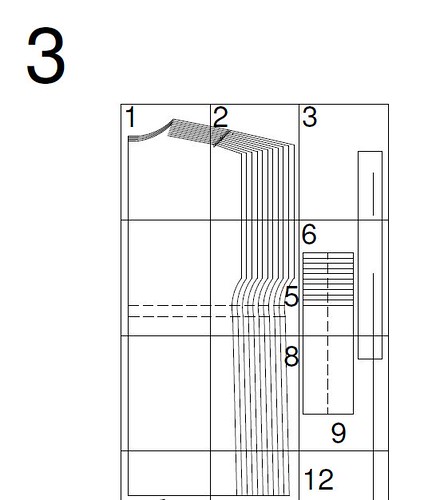
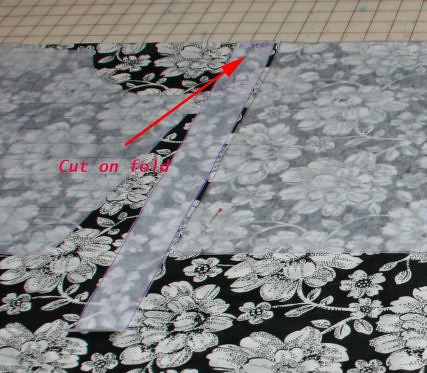
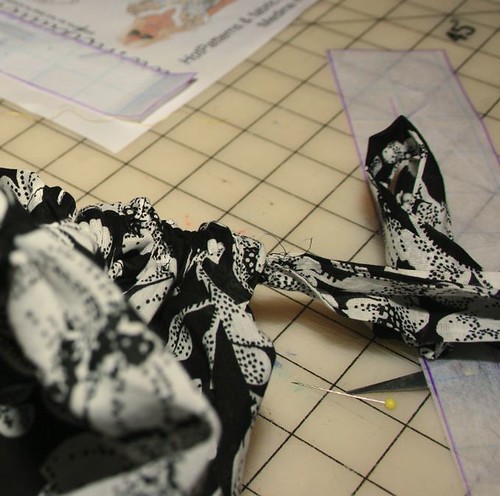
The other thing I recommend is not going strictly
by the layout you are shown in the pattern, for one, the piece that is used as
the elastic channel is cut on a fold, or it needs to be doubled in length if
you are not going to cut on a fold.
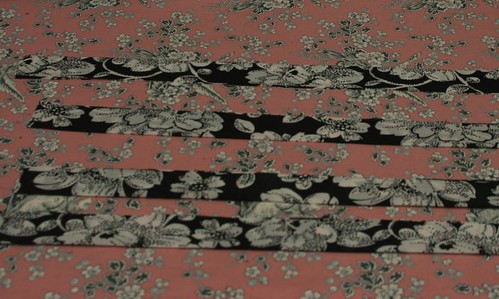
Don’t forget that your neckband, arm band, and hem
band are all going to be from a contrasting fabric. My main fabric seen above
is a cotton lawn, I used a plain black cotton lawn as my contrast.
The directions call for interfacing the arm bands
and hem bands but since they are doubled over, I did not feel the need for
this. I only interfaced the neck band, which is actually two pieces that are
sewn together, the front V and the back arch.

I highly recommend the interfacing from FashionSewing Supply, by the way, it’s better than anything else I’ve used.
Fuse the separate neck pieces first, then sew them
together as the directions show. The
next bits you want to sew are the tie ends, arm and hem bands.
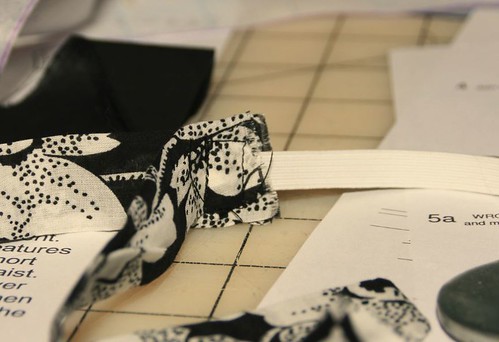
The tie ends are long rectangles, iron them in half
right sides together, sew one end and the long side, leaving the other small
end open so you can turn them right side out.
Use a pin to pull out the corners
and press. Then you will take a 3/8 inch wide piece of elastic that is a couple
inches shorter than your back width, sandwich the elastic between two ties at
each end and sew yourself a little square. Then set them aside.
The arm bands have a dovetail shape to them for the
underarm. When sewing them I suggest starting from the middle and sewing
outward, this will give you a cleaner point.
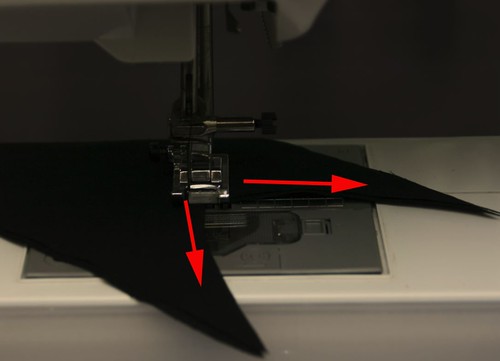
Once the two pieces are sewn you will want to fold
them in half and press. Be sure to clip the center point and press seams first.

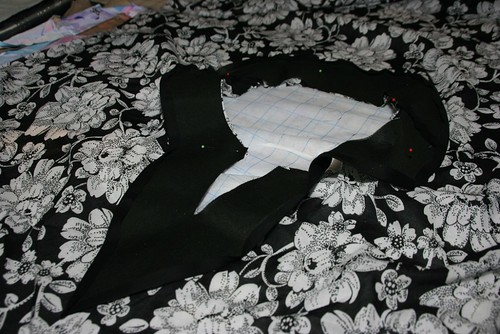
Once all the small pieces are done you will sew the
shoulders together of the two main kaftan pieces, then press the outside edges
of the neck contrast in by 3/8 of an inch. Next, pin and sew the neck contrast,
right side down on the wrong side of the kaftan fabric, shown here:
You will then want to flip the band to the RIGHT
side of the kaftan and press flat. When turning you can use a pin to pull the
corner out to a sharp point.

Topstitch
all the way around the outside edges where you should have already pressed
under. Once that is done sew up the side
seams of the kaftan and attach the arm and hem bands as shown in the PDF
instructions. Next I put the kaftan on
and marked where I wanted the elastic channel to go, pinned it in place and then topstitched it down. The
instructions show you how to press the elastic channel before topstitching.

Here is the elastic channel sewn down.

I use this nifty notion that has a slide grip for
threading elastic or ties.
And here is one side pulled all the way through.
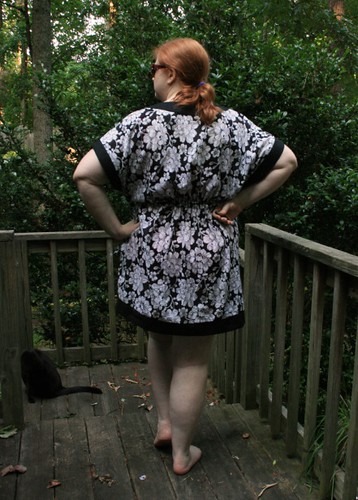
Put the kaftan on at this point and tie the ties into a bow in the most
comfortable place for you. VIOLA! Beach cover up.

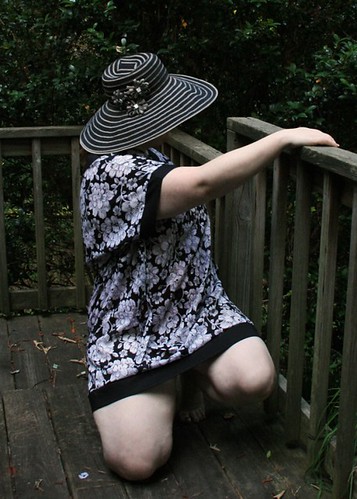
Alright folks, grab your sunscreen, hats, and beach
towel and head on out. Now you can lounge fabulously while the kids wear
themselves out in the water. Cheers!
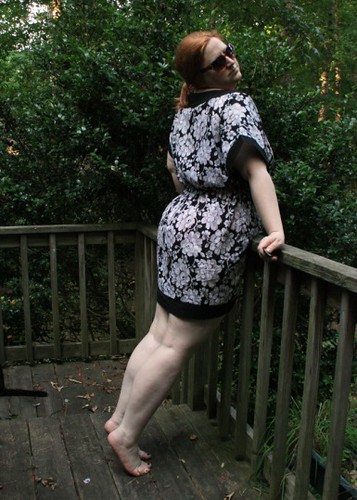
Seriously, how gorgeous is she?? I love how easy, breezy and still completely fabulous this is. I need one! And also a fabulous hat. Be sure to check out the lovely coverup she made for her daughter as well. So sweet! Thank you for sharing it with us, LadyKatza!
8 comments:
Great tutorial, great new blog to read! Thanks Katie and LadyKatza!
Thanks Katie - I love this coverup and need to make myself quite a few of different fabric types (thin to thick) . . .
You are too kind! Let me know if anyone has questions.
Is it wrong of my to say that your butt looks great in that thing? 'Cause it does! :) It's altogether great on you!
That is a really fantastic top. I think it's partially the fabric choice and partially the flawless construction. I love that you guys are covering so much ground in this swimalong!
This is wonderful. I have some voile I purchased that would be perfect. One question on the sizing - did you use the chart on the hot patterns website? Did it run large like the big 4 patterns (I fall between sizes)? Thanks so much!
Thank you! And that's quite alright. I am quite happy with how it looks on me too.
I went by the chart on the Hot Patterns site. I recommend measuring the flat pattern just to be safe. I did the size 18 and went to a 20 for my hips so I could sit/squat/whatever without it going above my butt. I could probably just throw on a slip and call it a dress.
Post a Comment