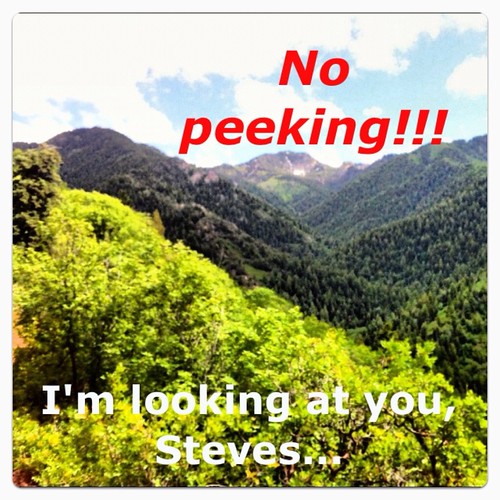
If you happen to be the groom, please enjoy this lovely photograph of our favorite hike up Millcreek Canyon. Stop reading now and return to your prior task.
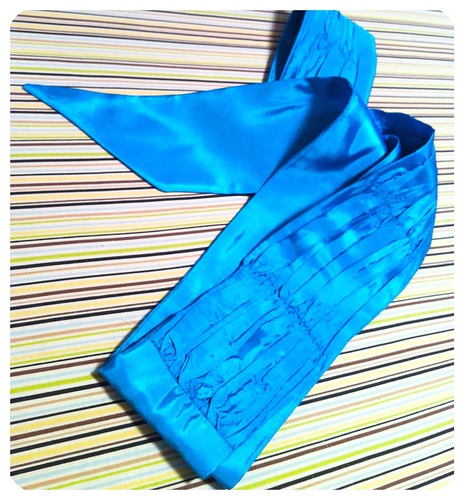
As for the wedding dress, progress is being made! I actually finished the sash, which pleases me.
Pretty, eh? The color isn't quite right on my monitor. It is more teal and less blue, but very saturated and with a nice sheen. I didn't use a pattern, just ruched a panel the length of the dress around the waist from the back princess seams around and 1/2 yard wide. I stitched gathering stitches every four inches then gathered them as far as they would go, fused some lightweight tricot to the back to stabilize the gathers and removed the gathering threads. I added tie ends and trimmed the ruched panel to make a sash 3 inches wide, then lined the sash with self fabric.
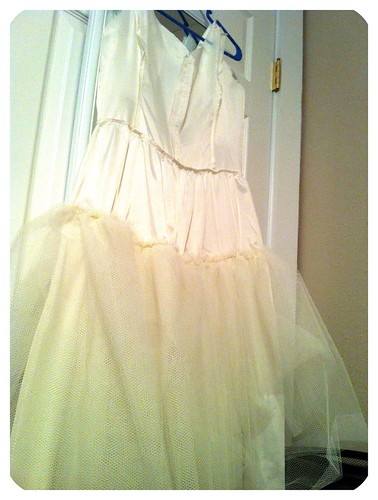
The lining is completely assembled and the net underskirt is attached. The net ruffle is a full 7 yards gathered up and double layered. It provides a nice bit of fluff. I attached it just below the hips so that it would flare the skirt without adding unwanted bulk.

I assembled the bodice, but didn't want to go forward until we had another fitting since the lace overlay won't be alterable. Based on the lining, it looked like we might need a bit more room in the bust, which I thought was odd, since we'd fit 3 muslins, but I added a bit at the princess seam and stitched it up. I'm not sure what was up with the lining, but I ended up taking out the addition I made, so I'm really glad we did another fitting. This picture was before I fixed the bodice - you can see the excess making unsightly wrinkles on the right. Those are all fixed now! The skirt is just basted on, but I wanted to fit with the weight of the skirt in place, since that can effect the fit of the bodice. I also wanted to be sure that we are in the right place with the length before I cut the lace for the skirt.

Now that we are happy with the fit in the bodice, I'm catchstitching all of the seam allowances to the underlining. I feel like we are making really good progress, but there is still a bit more to do...
Still to come:
1)
Cut and sew the lace and tulle for the skirt.
2)
Baste lace/tulle overskirt to shantung/organza skirt and attach to bodice.
3)
Assemble lace overbodice, lapped seaming mostly by hand.
4)
Attach lace overlay at CB and baste at neckline.
5)
Baste elastic button loops at CB & insert hand-picked zip.
6)
Attach lining at neckline and hand sew to zipper.
7)
Assemble and attach sleeves. Hand fell lining at armscye.
8)
Apply lace to neckline and hem.
9)
Stitch horsehair braid to FF hem, hand sew hem.
10) Hem lining.
Attach buttons and snaps. Consider waist stay and apply if needed.
So, there is still a lot to do, but it feels nice to have the list out there. I also have been thinking it will be helpful to have a dress form to do the lace work on, but Breanna is quite petite and my dressform is too long in the torso, so we are going to make a duct tape form for her. Fun times!


2 comments:
Fantastic dress coming together - so talented Katie! Congrats on the progress - it's fun following this complex and important project!
Looking good!!
Post a Comment